
This pipe was acquired from a Goodwill auction along with several other pipes and a pipe stand. Unfortunately I don’t know who the original owner of this pipe was. Often when I’m on a pipe hunt, I’m hopeful that I not only find some interesting pieces to restore, but that I may be imparted with some information about the previous smoker.
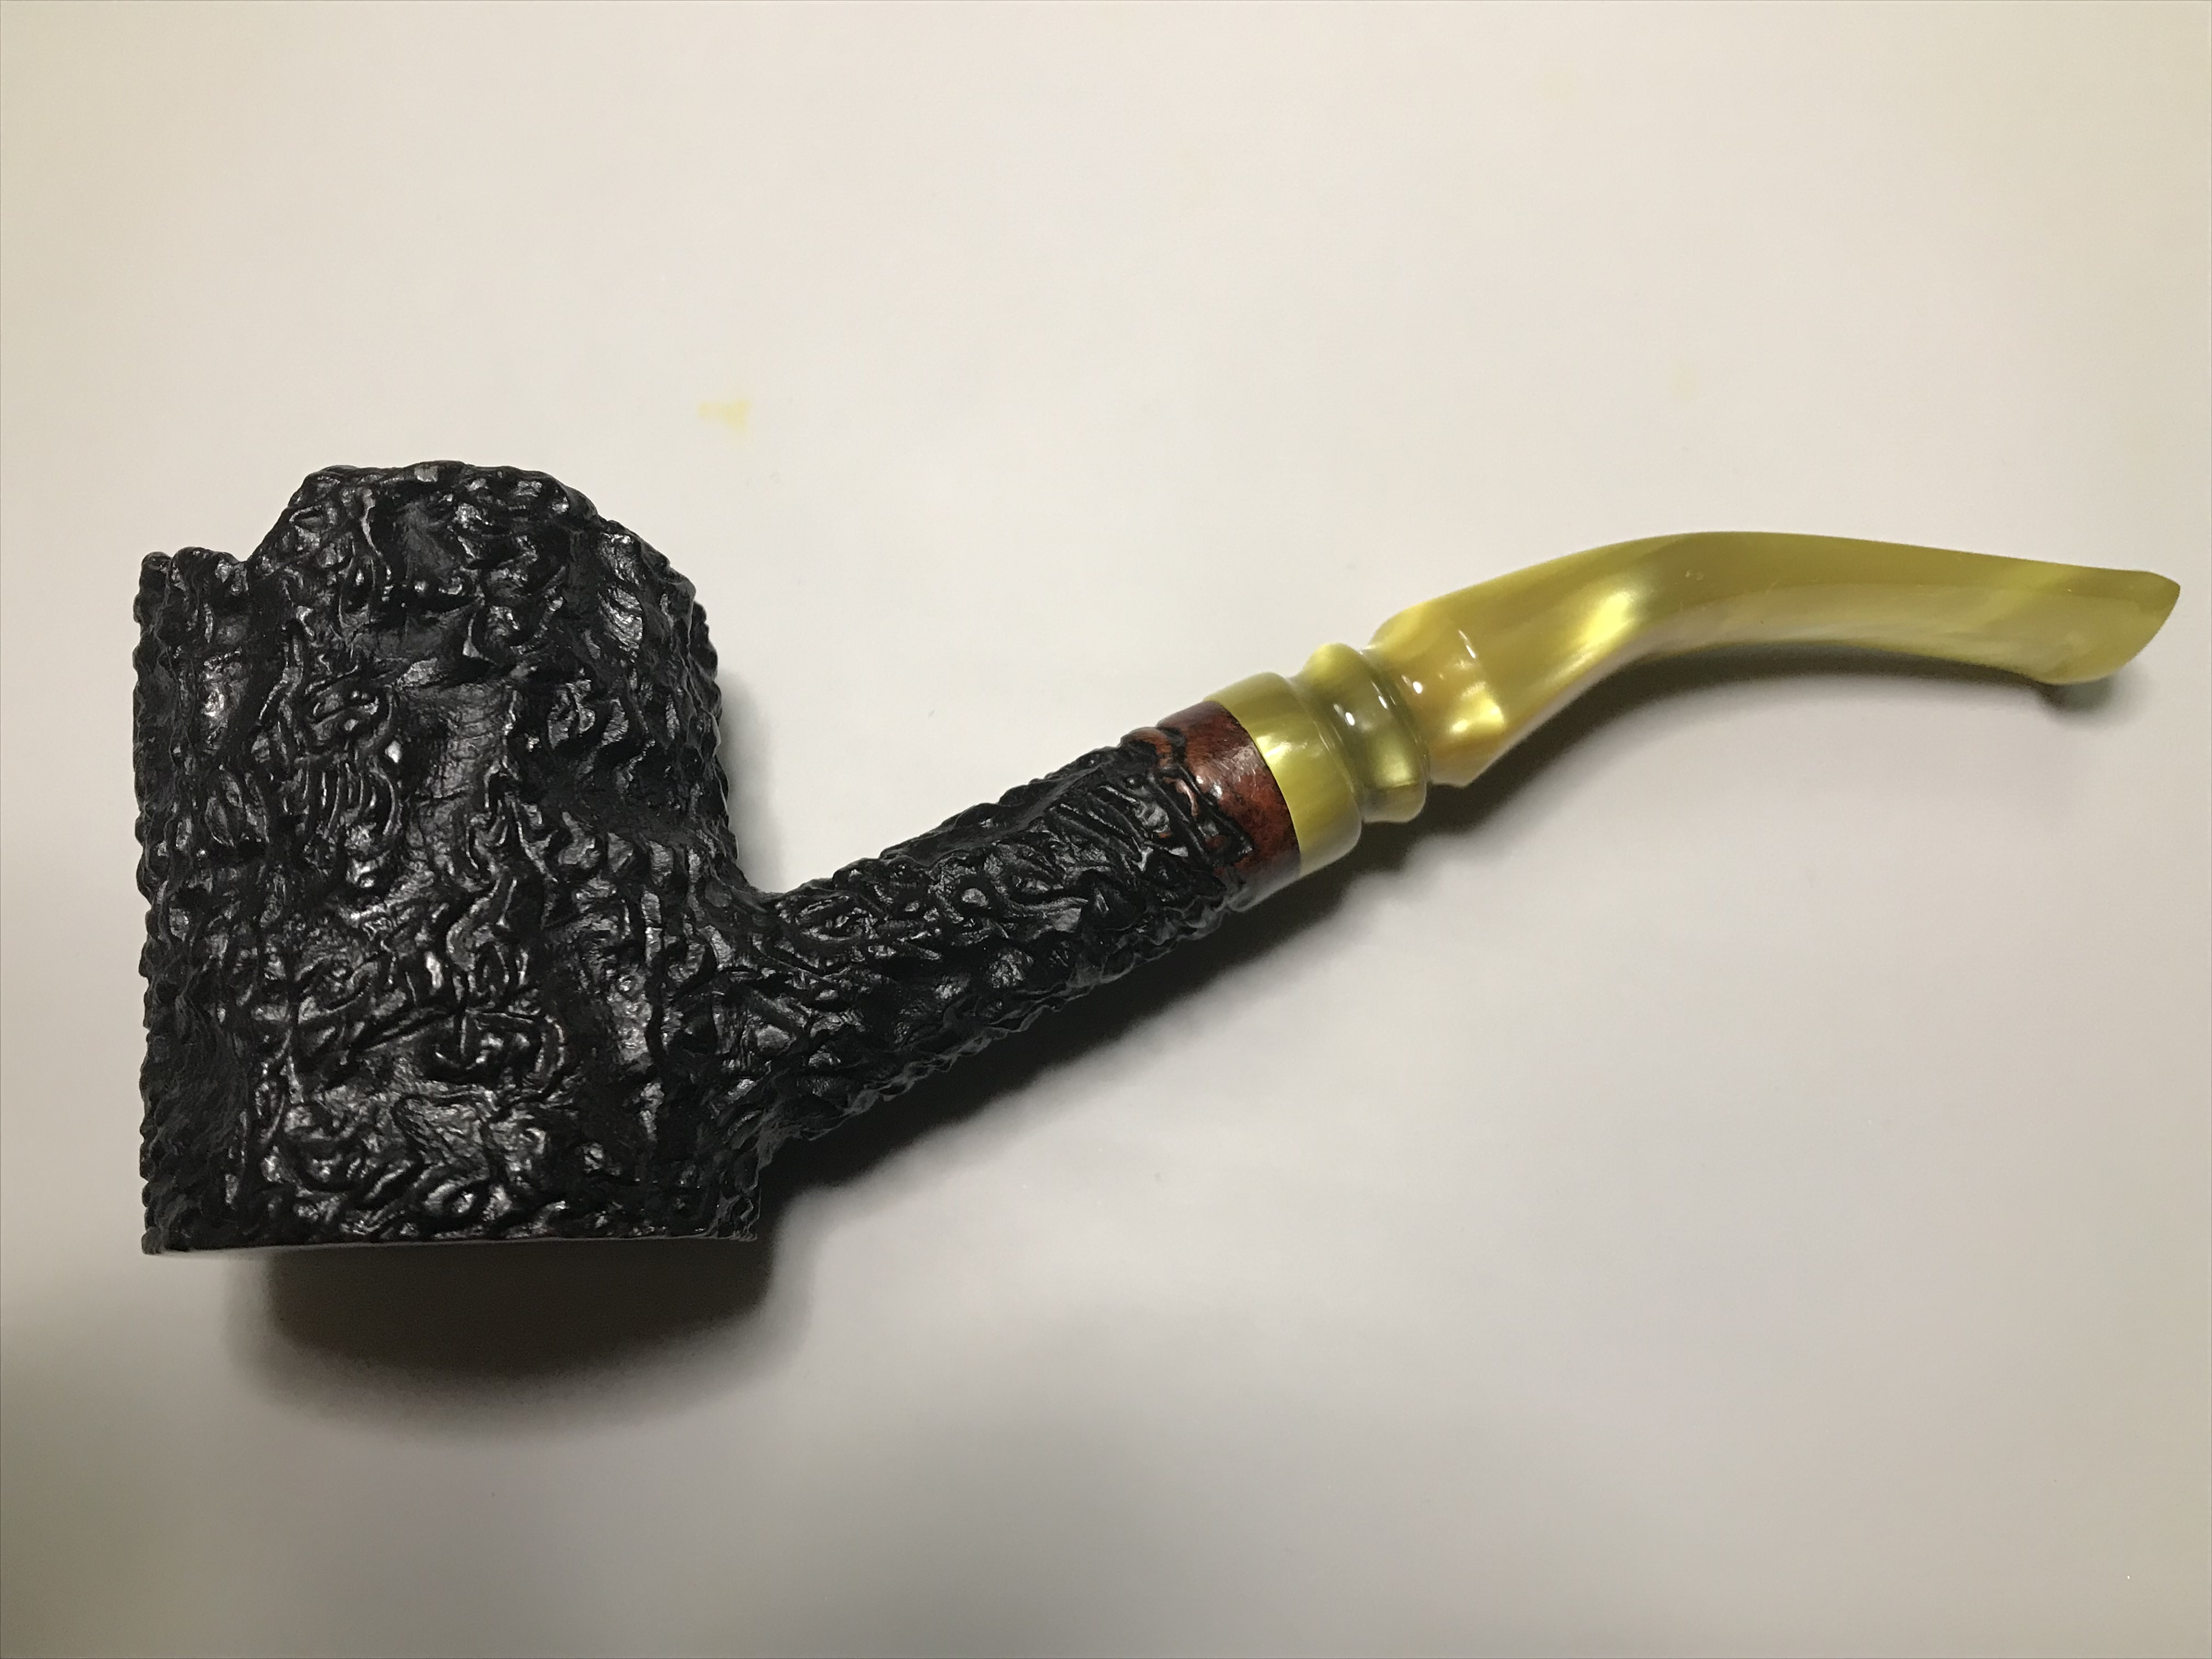
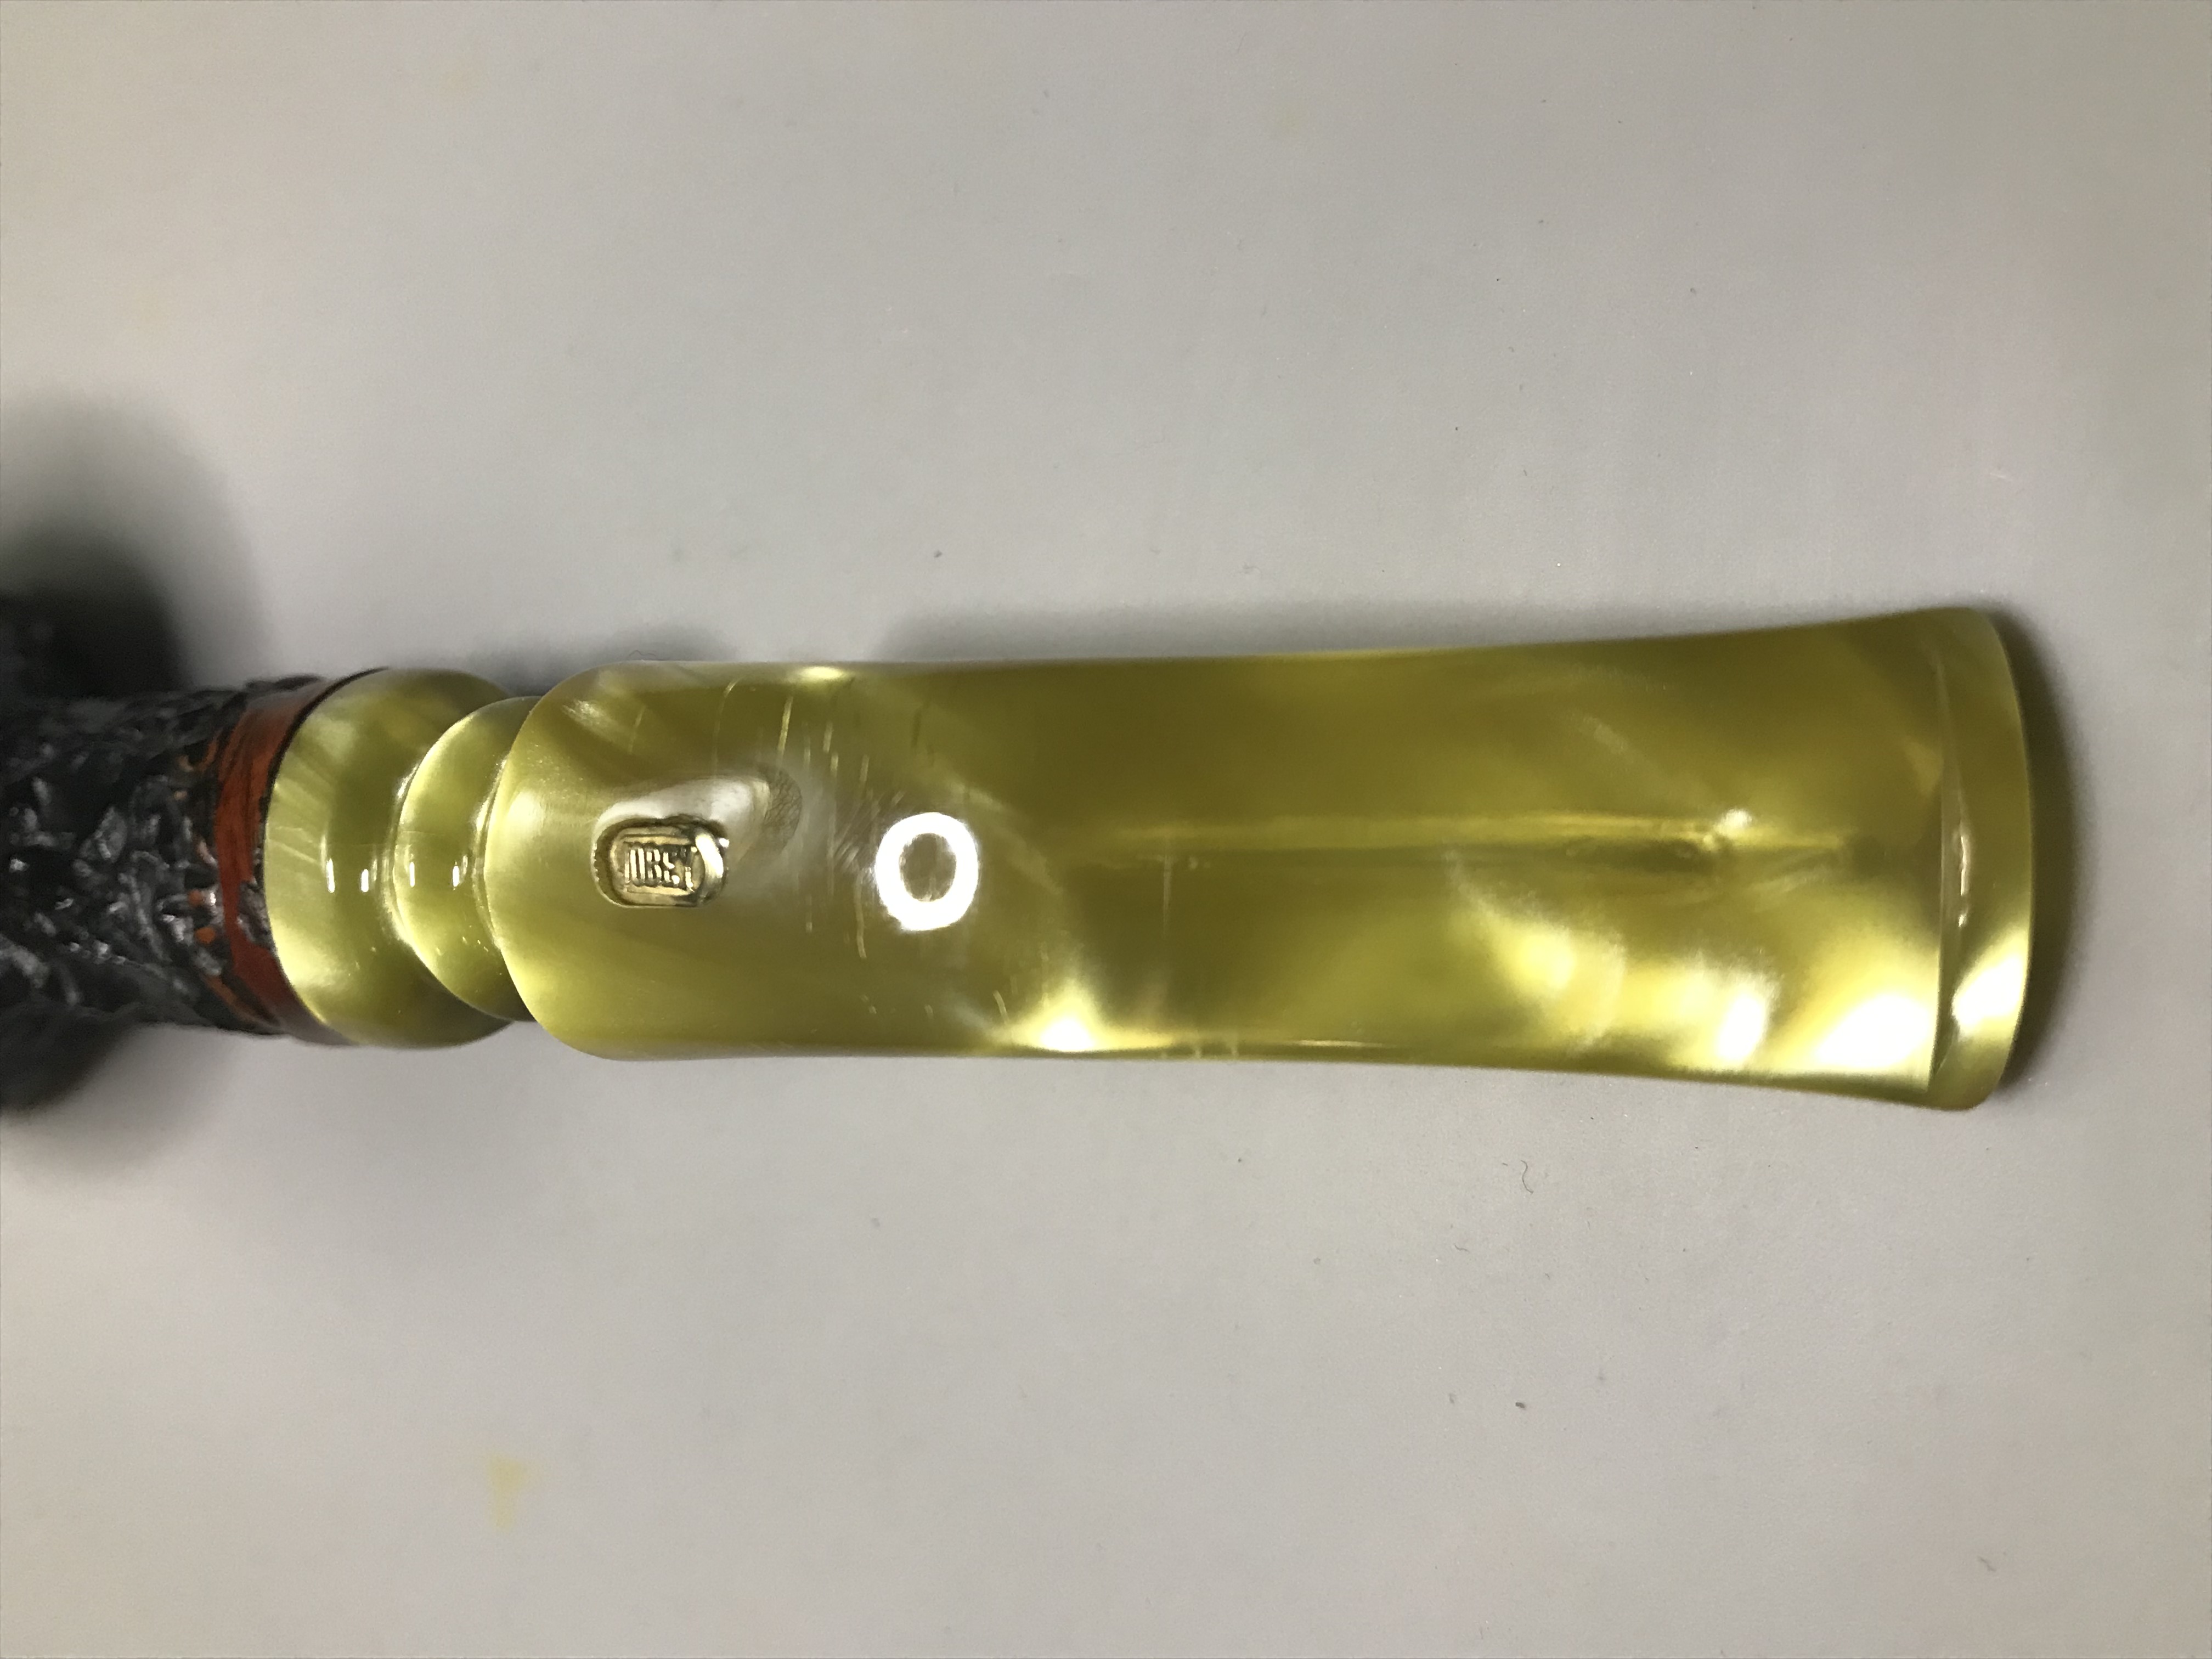
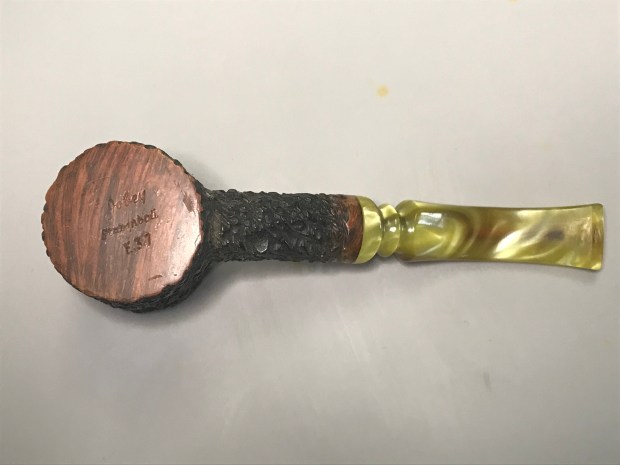
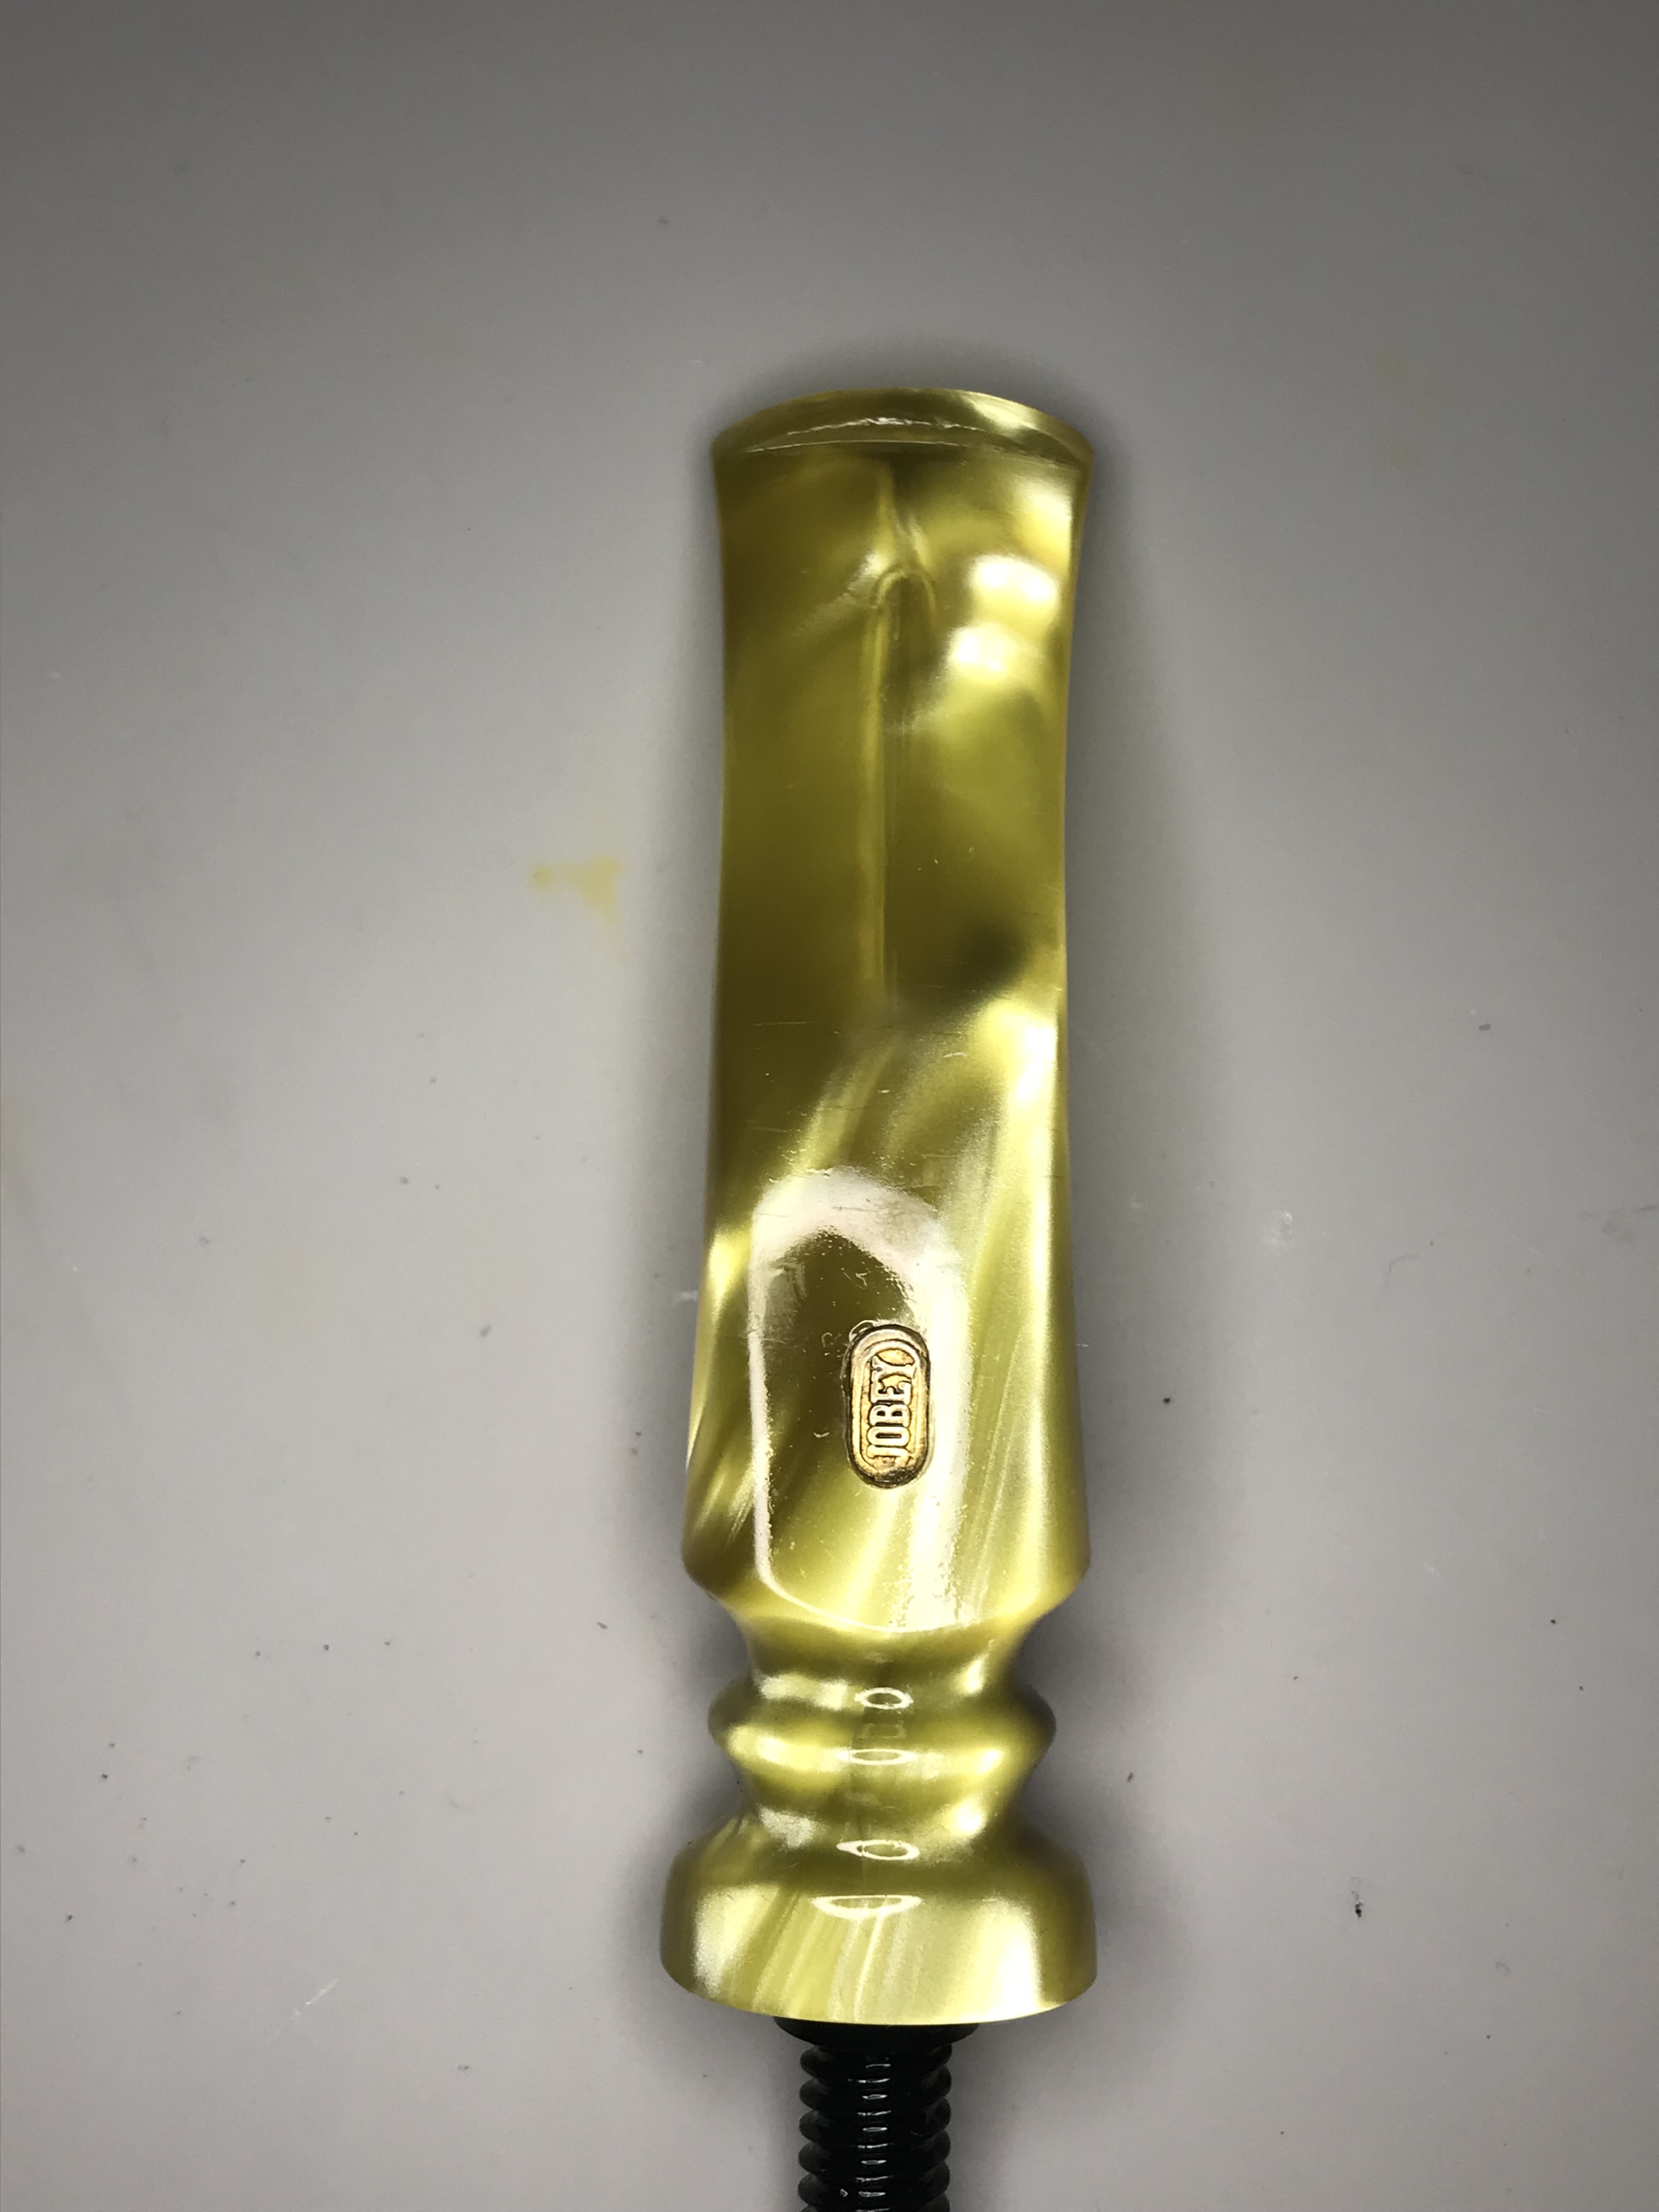
The nomenclature on the pipe reads Jobey Stomboli E37. Jobey was an American pipe manufacturer, the ownership of which changed hands throughout the years and sometimes made under the banner of another brand. I turned to pipedia to see what I can glean about Jobey. From what I could find.
“the first mention of Jobey seems to be back in 1915, when two brothers named Ulysses and Louis Jobey of Brooklyn, New York obtained a patent for an odd sort of cavalierish pipe in 1915” (Source; Pipedia).
pipedia
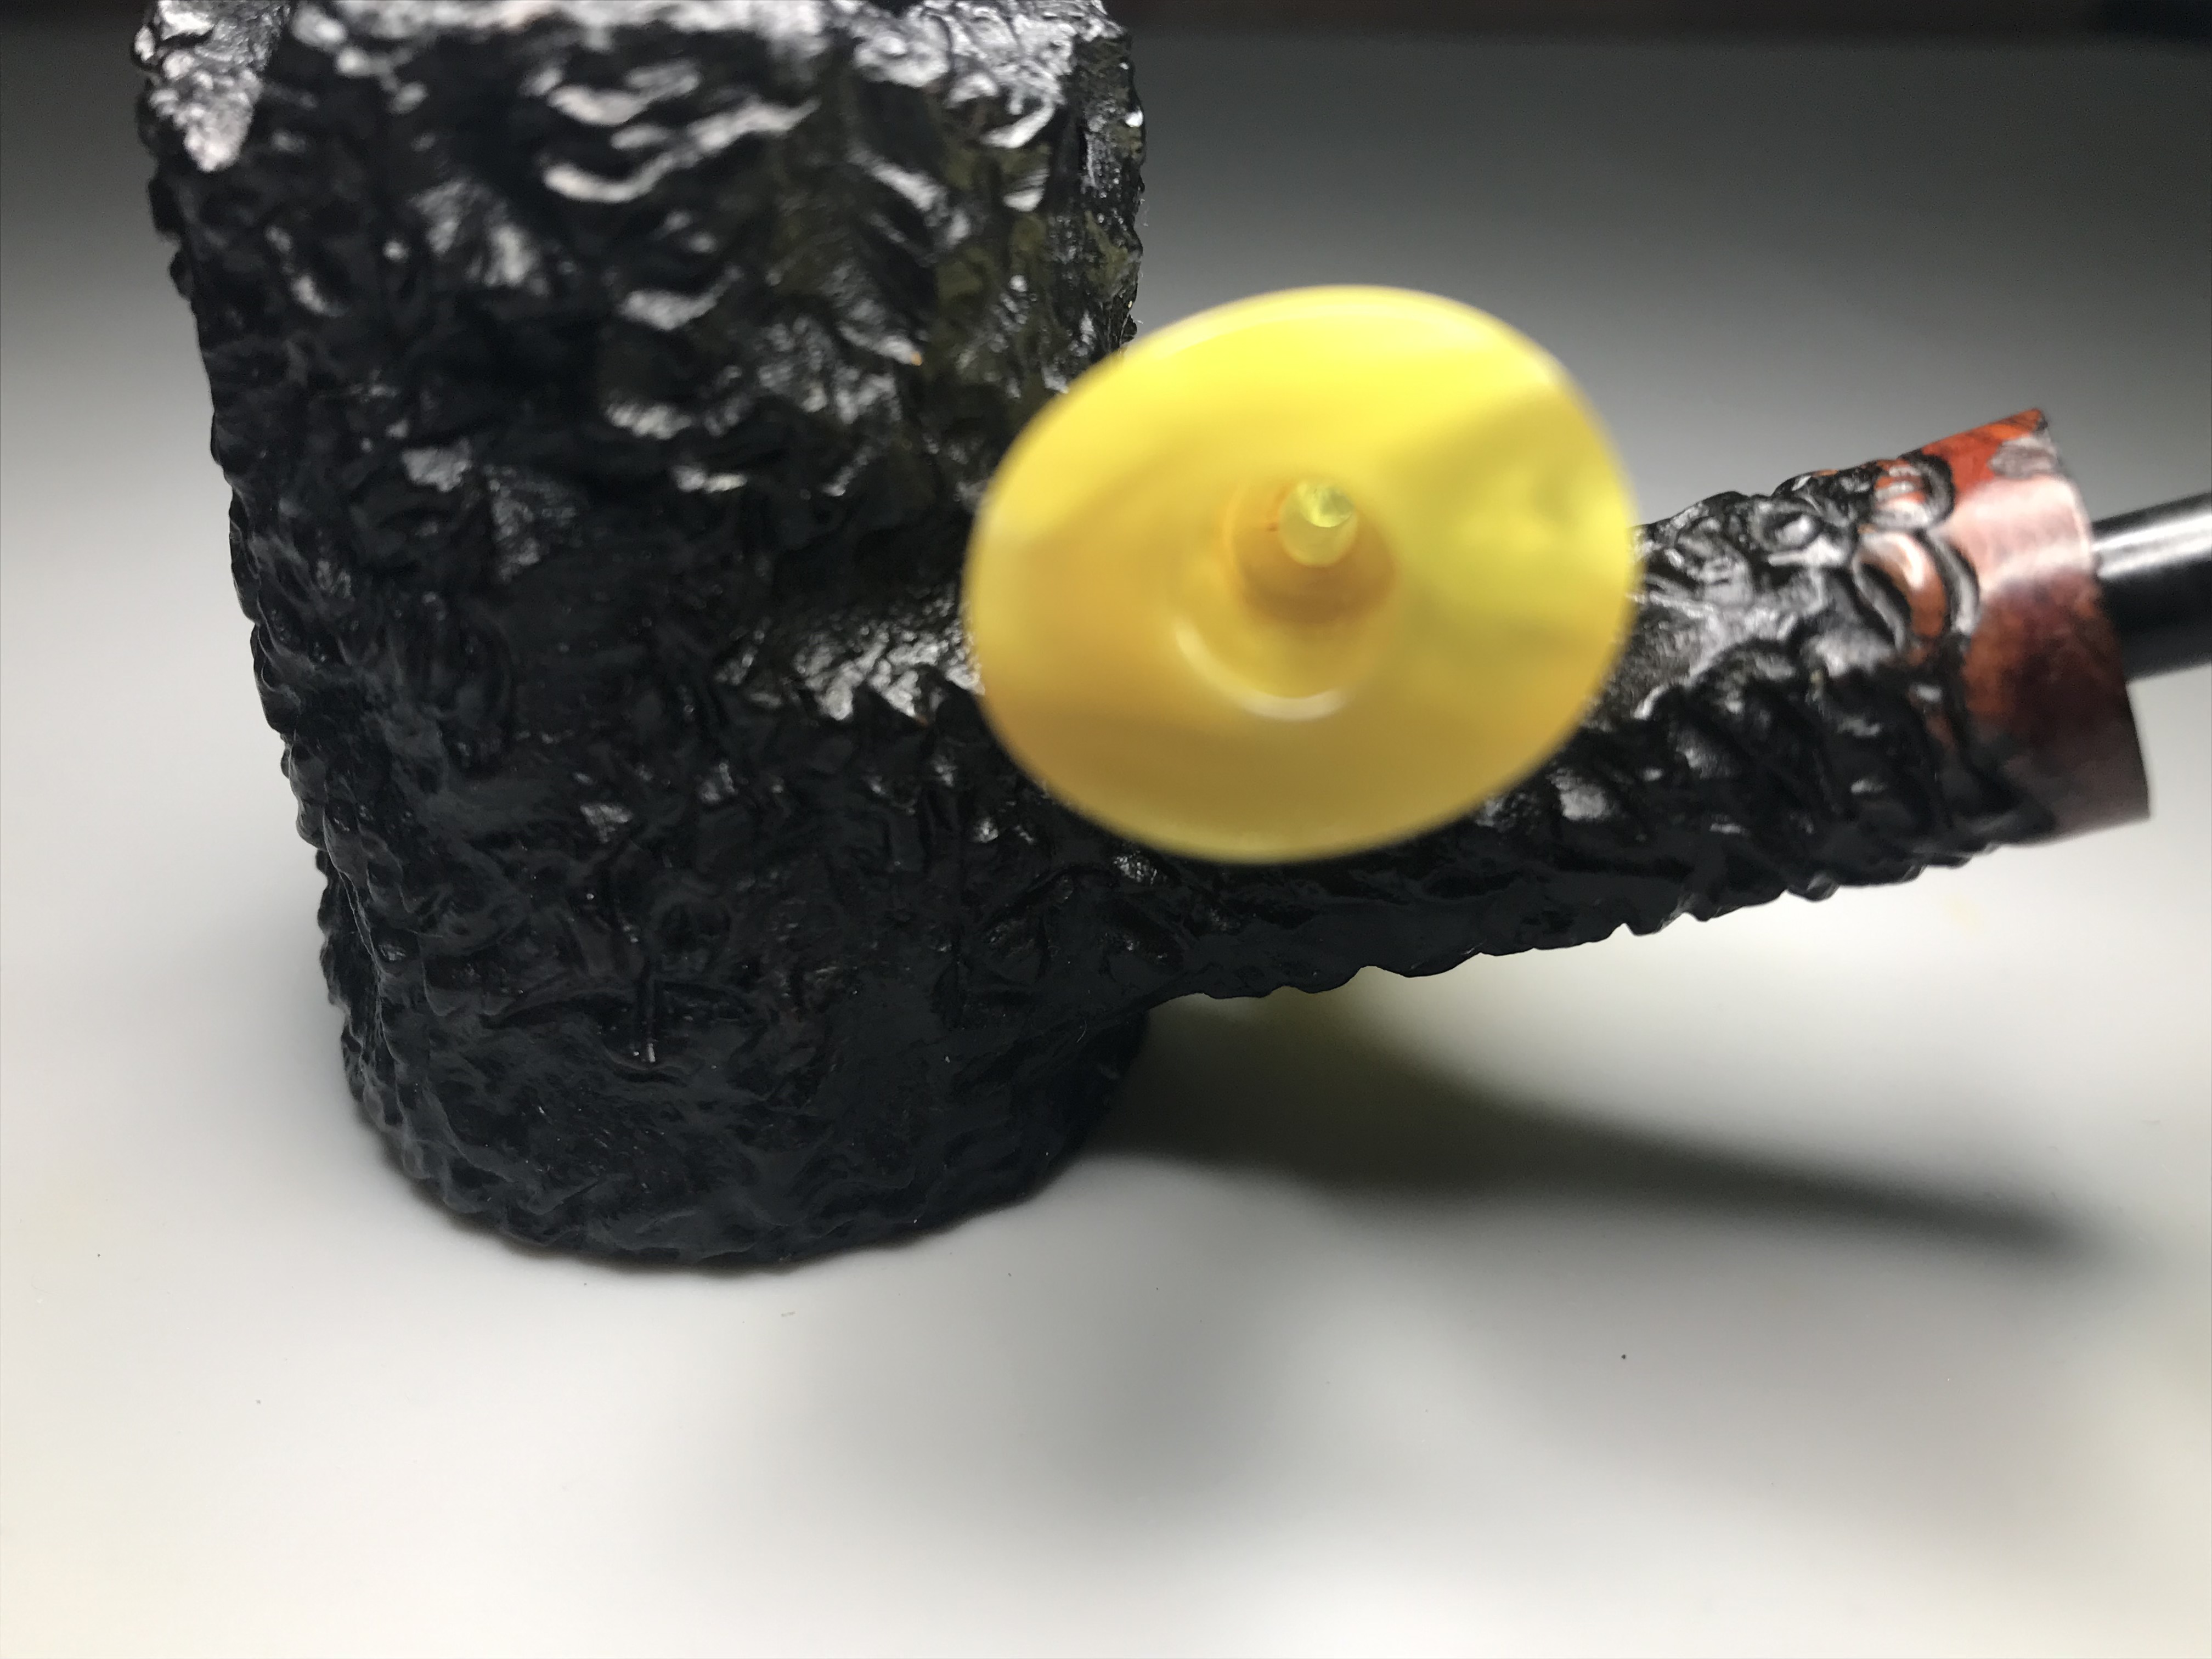
Pipedia also refers to the patent for the “Jobey Link” in 1970. The Jobey link is an alternative pipe tenon. The mortise of the pipe is threaded along with one end of the tenon itself. The tenon is threaded into the pipe, the remaining end is smooth and acts like a push-tenon to connect the stem. The stem is simply held in place by friction. This is pretty well a reverse of how most pipes are made. At least in my opinion. Here is a picture of the patent for the Jobey tenon.

First Impressions

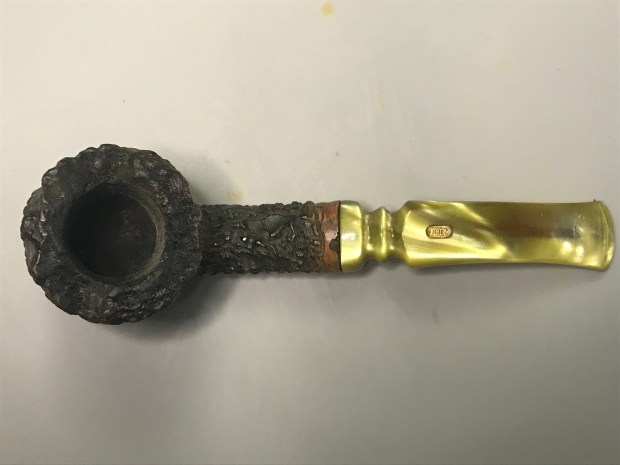


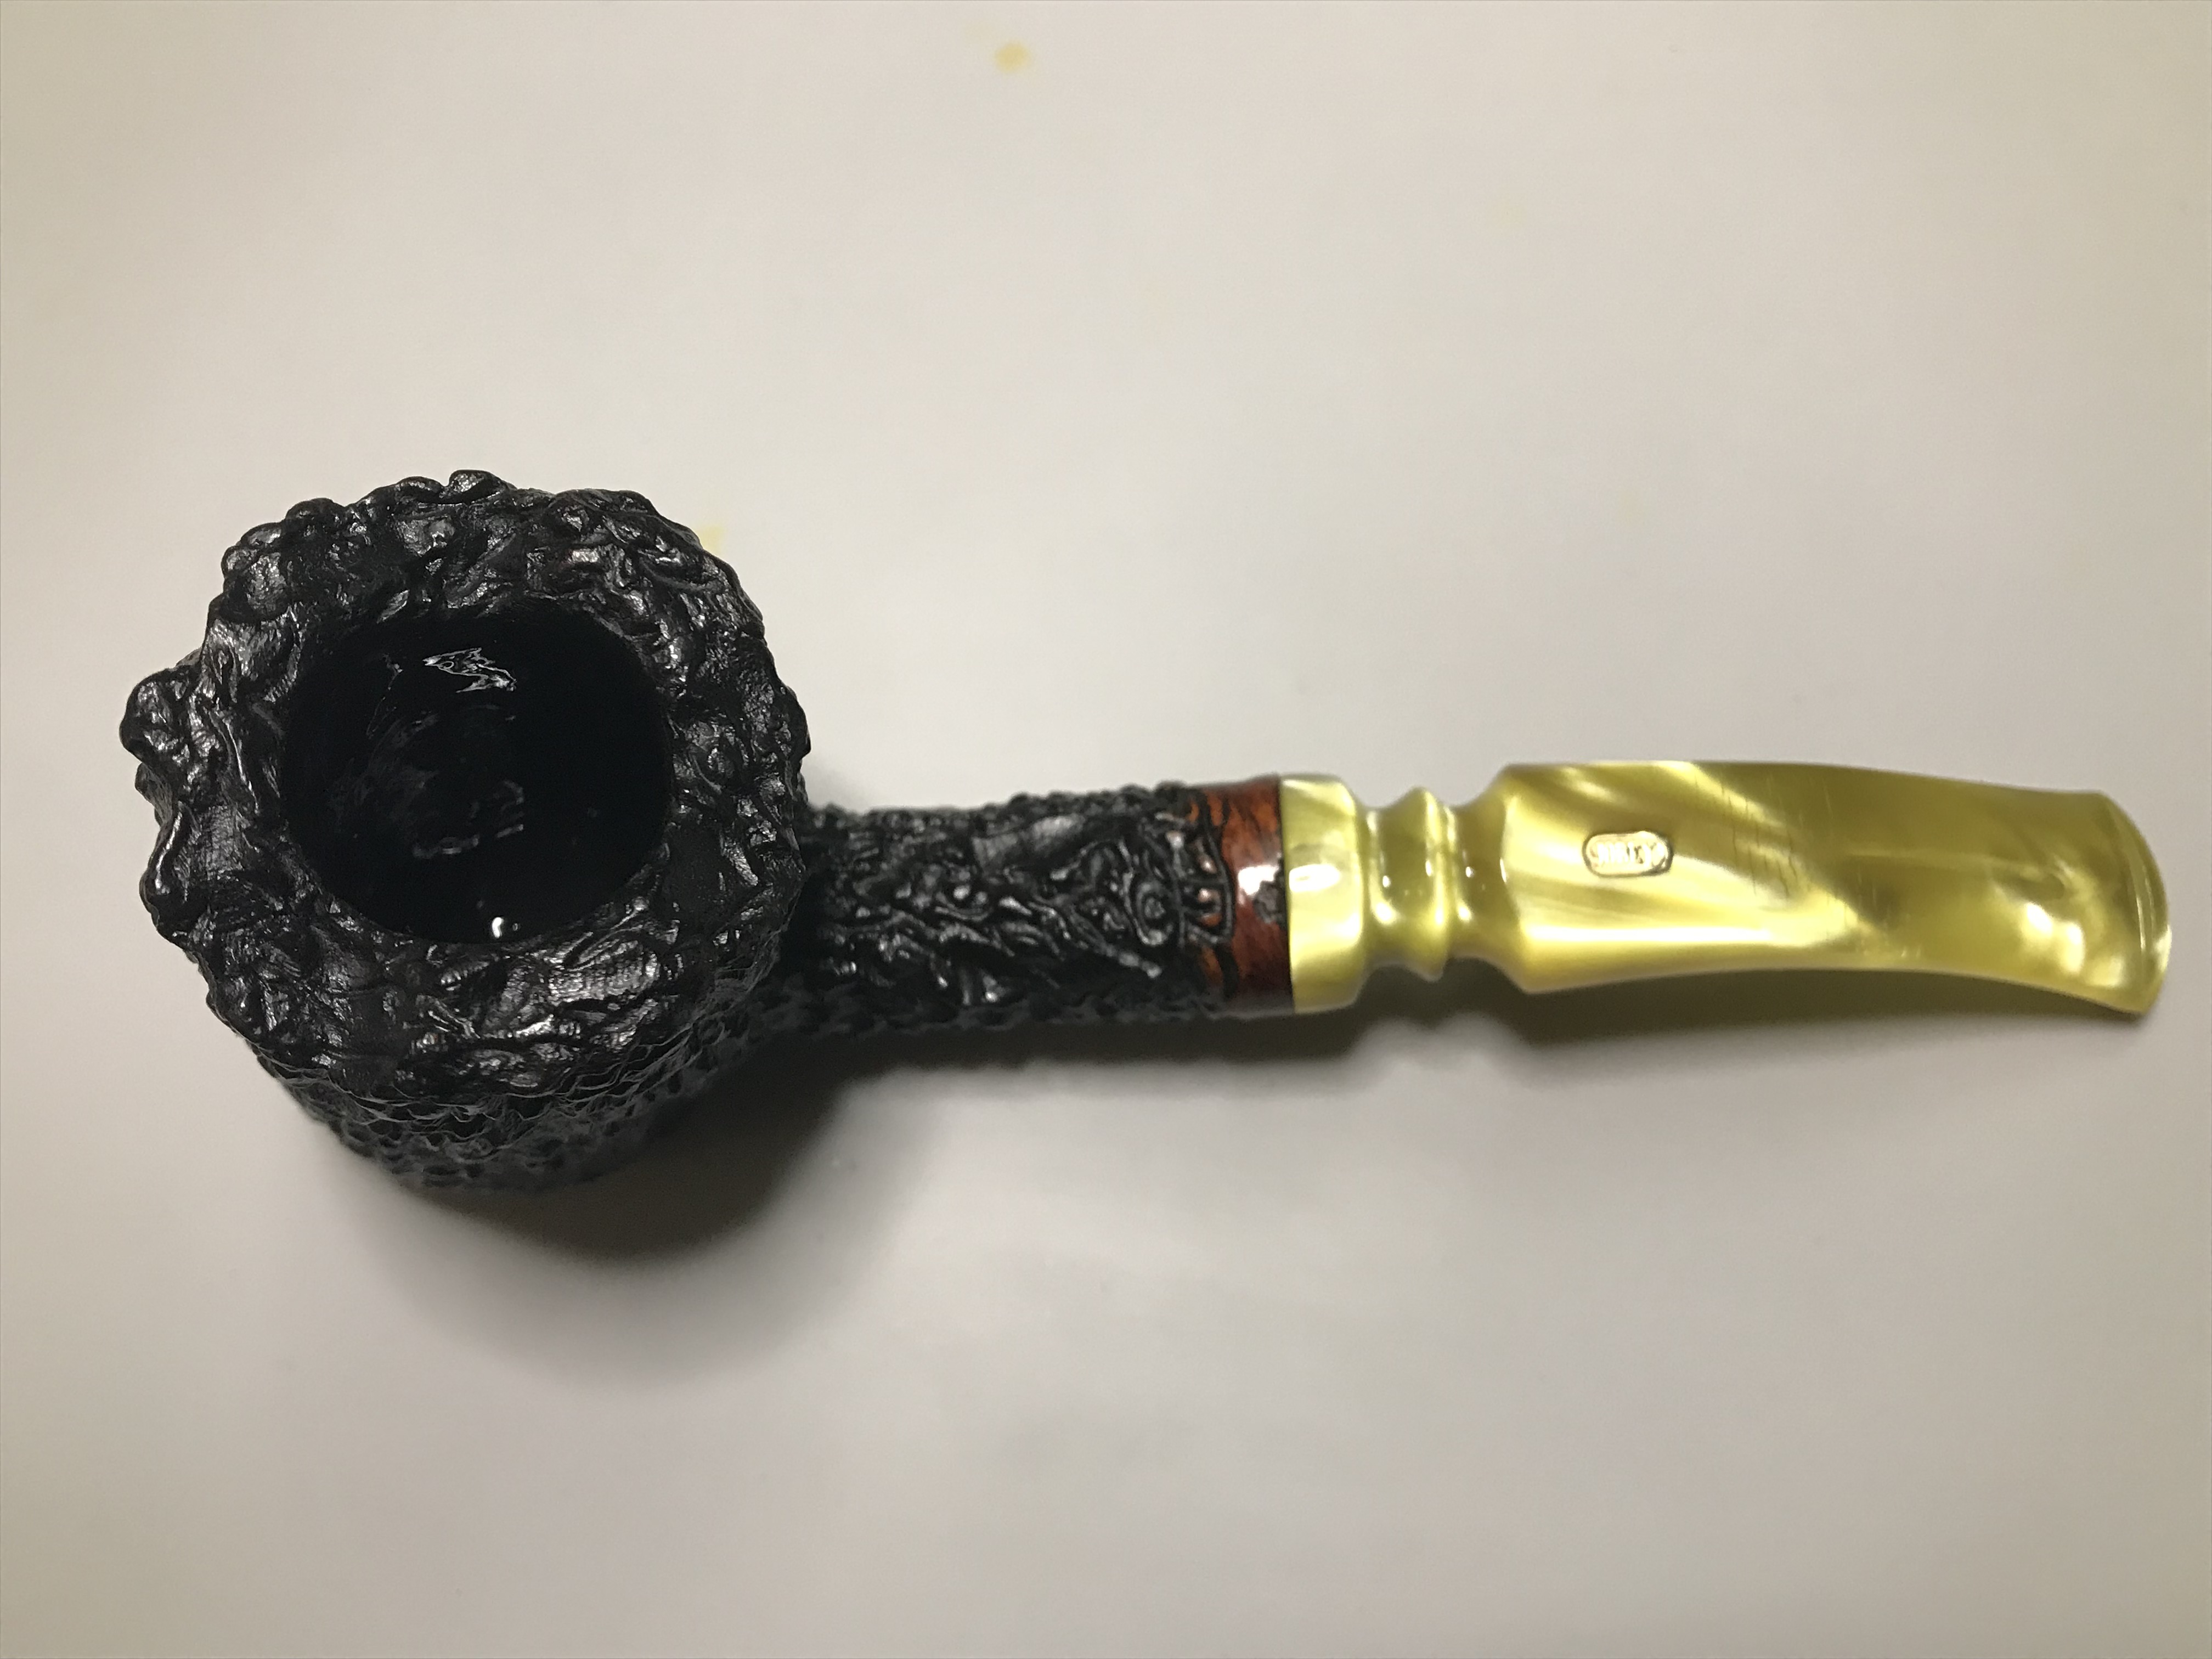
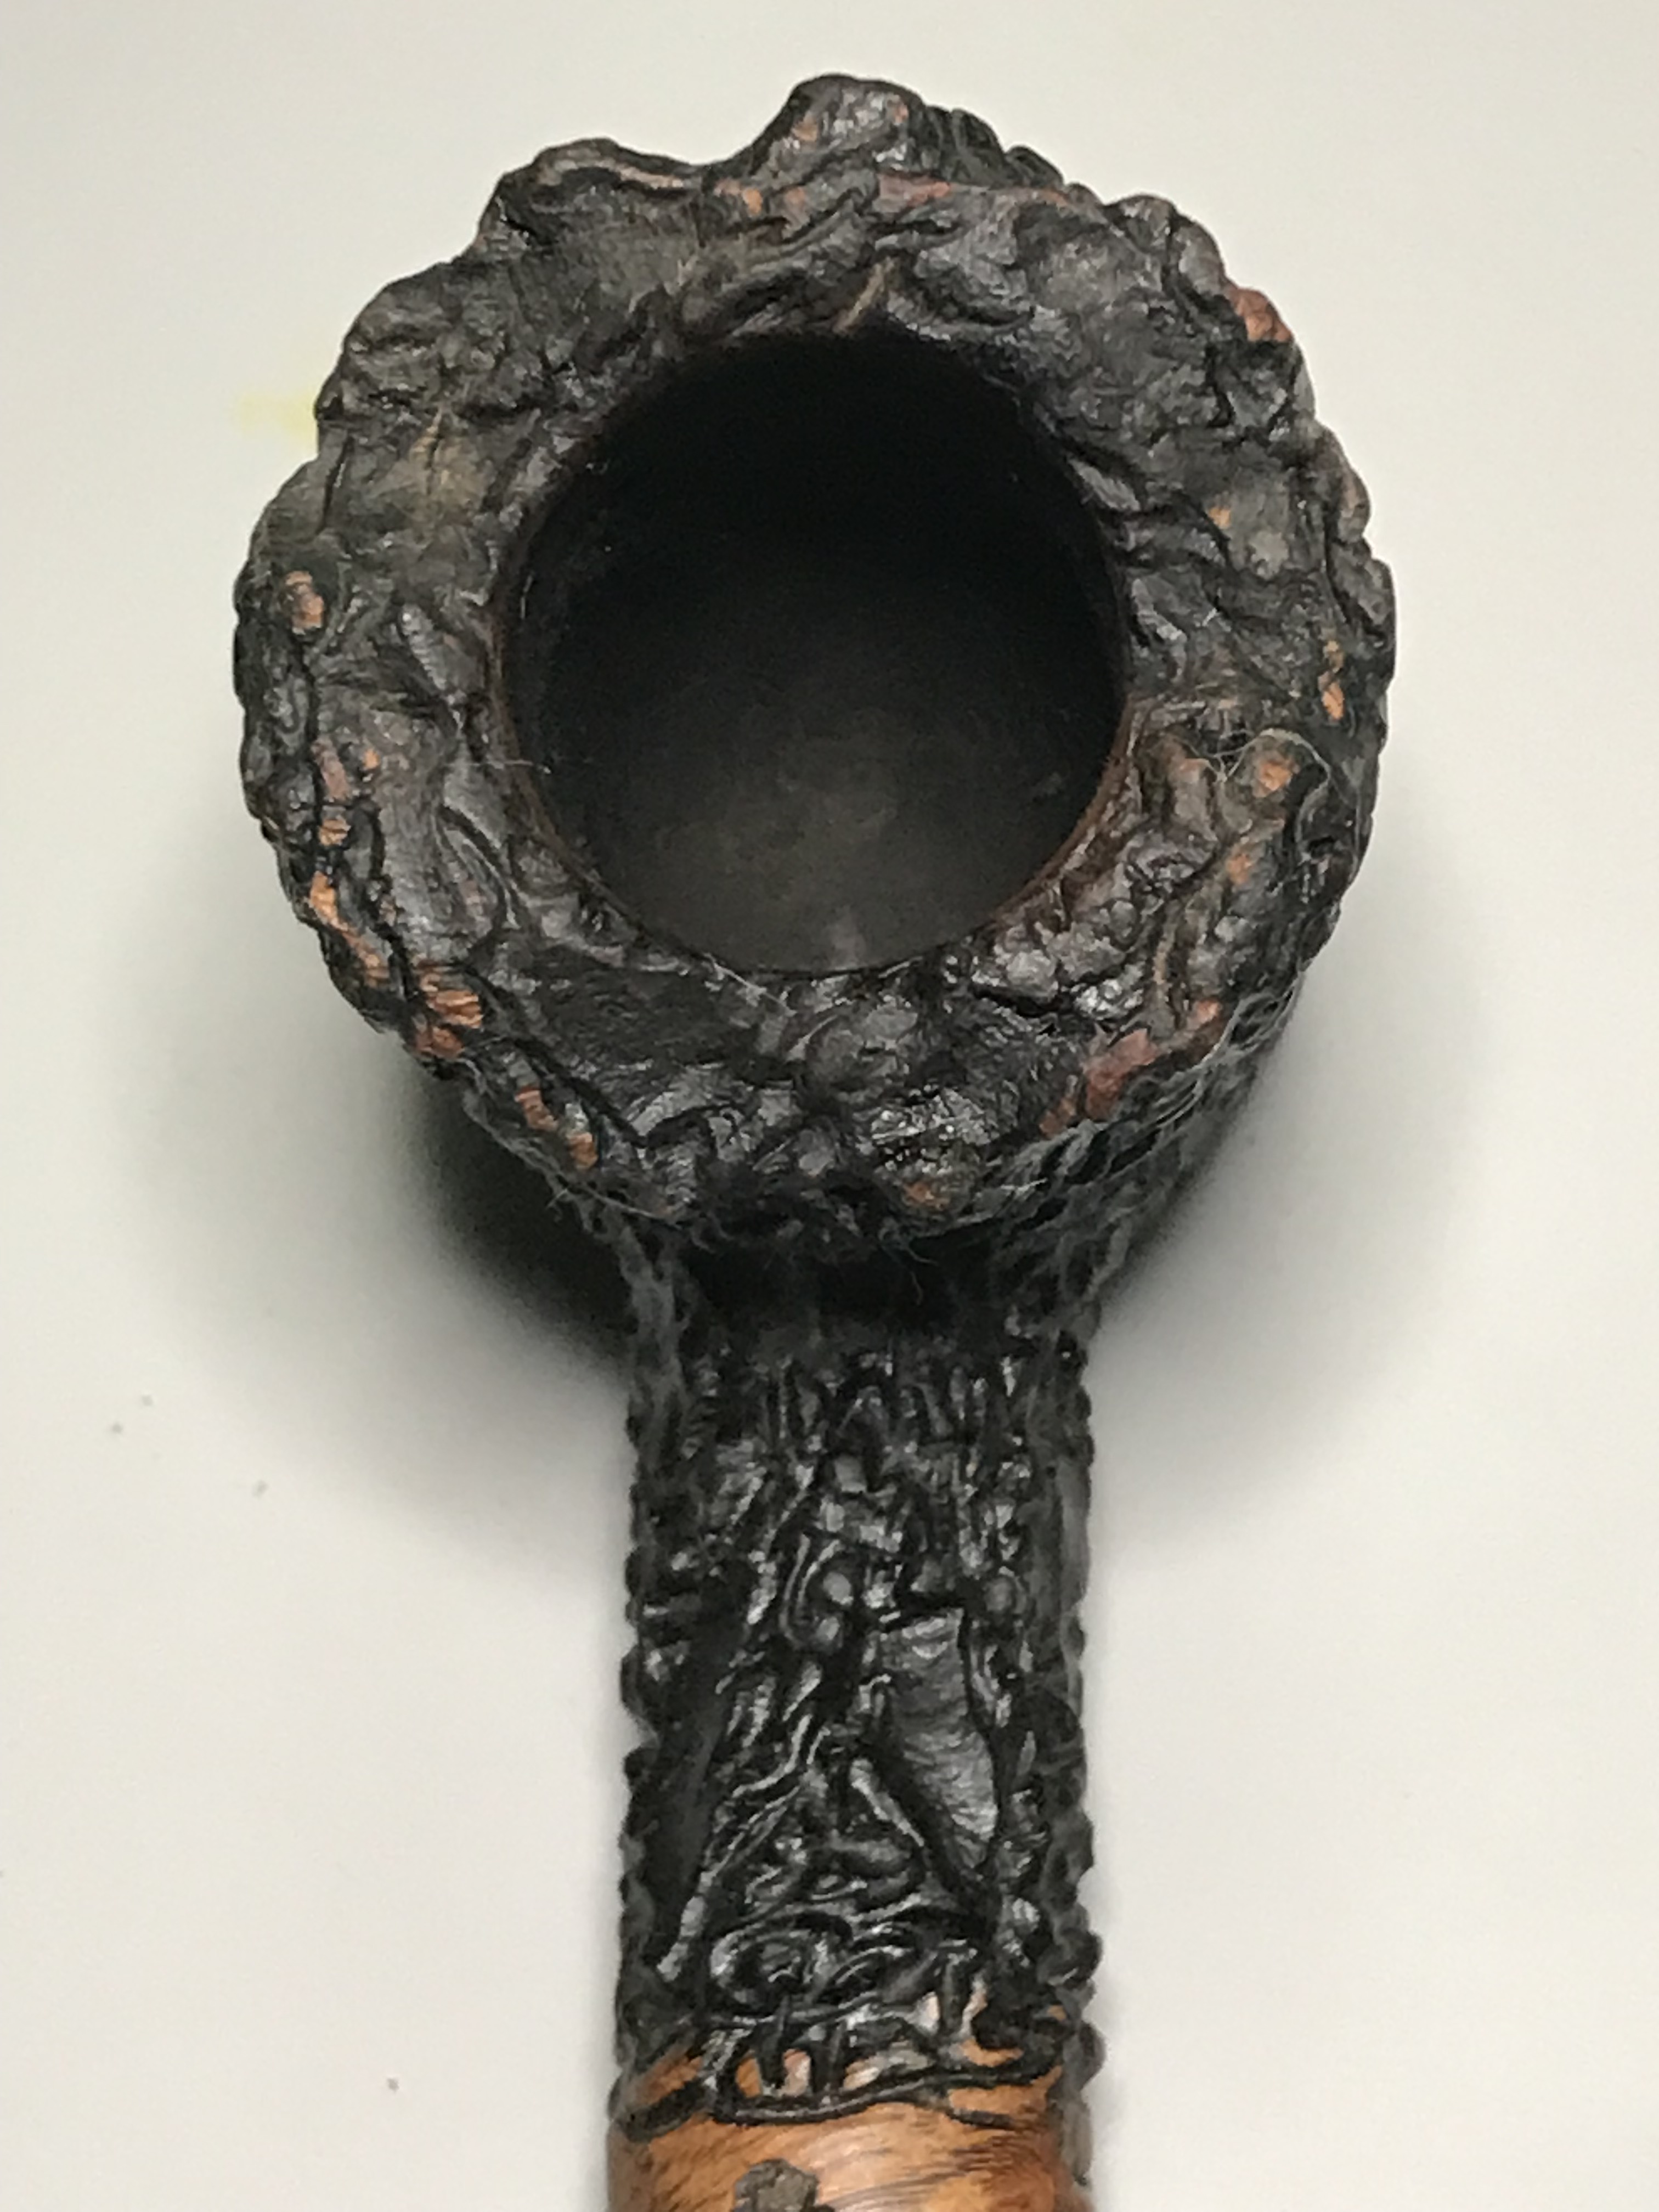
The pipe was in sound condition. There was no evidence of cracks in the shank or breaches of the airway in the stem due to harsh clenching. The finish is a very craggily deep rustication on both the rim and the body of the stummel. You can see dust or dirt had collected in these craggily areas and the finish was dull. The Jobey link was seized in the stem, fortunately it threaded out of the stummel quite easily. The stem is a acrylic, the airway was heavily soiled from smoking and was a visible brown right through the stem.
Step 1: Remove Carbon buildup
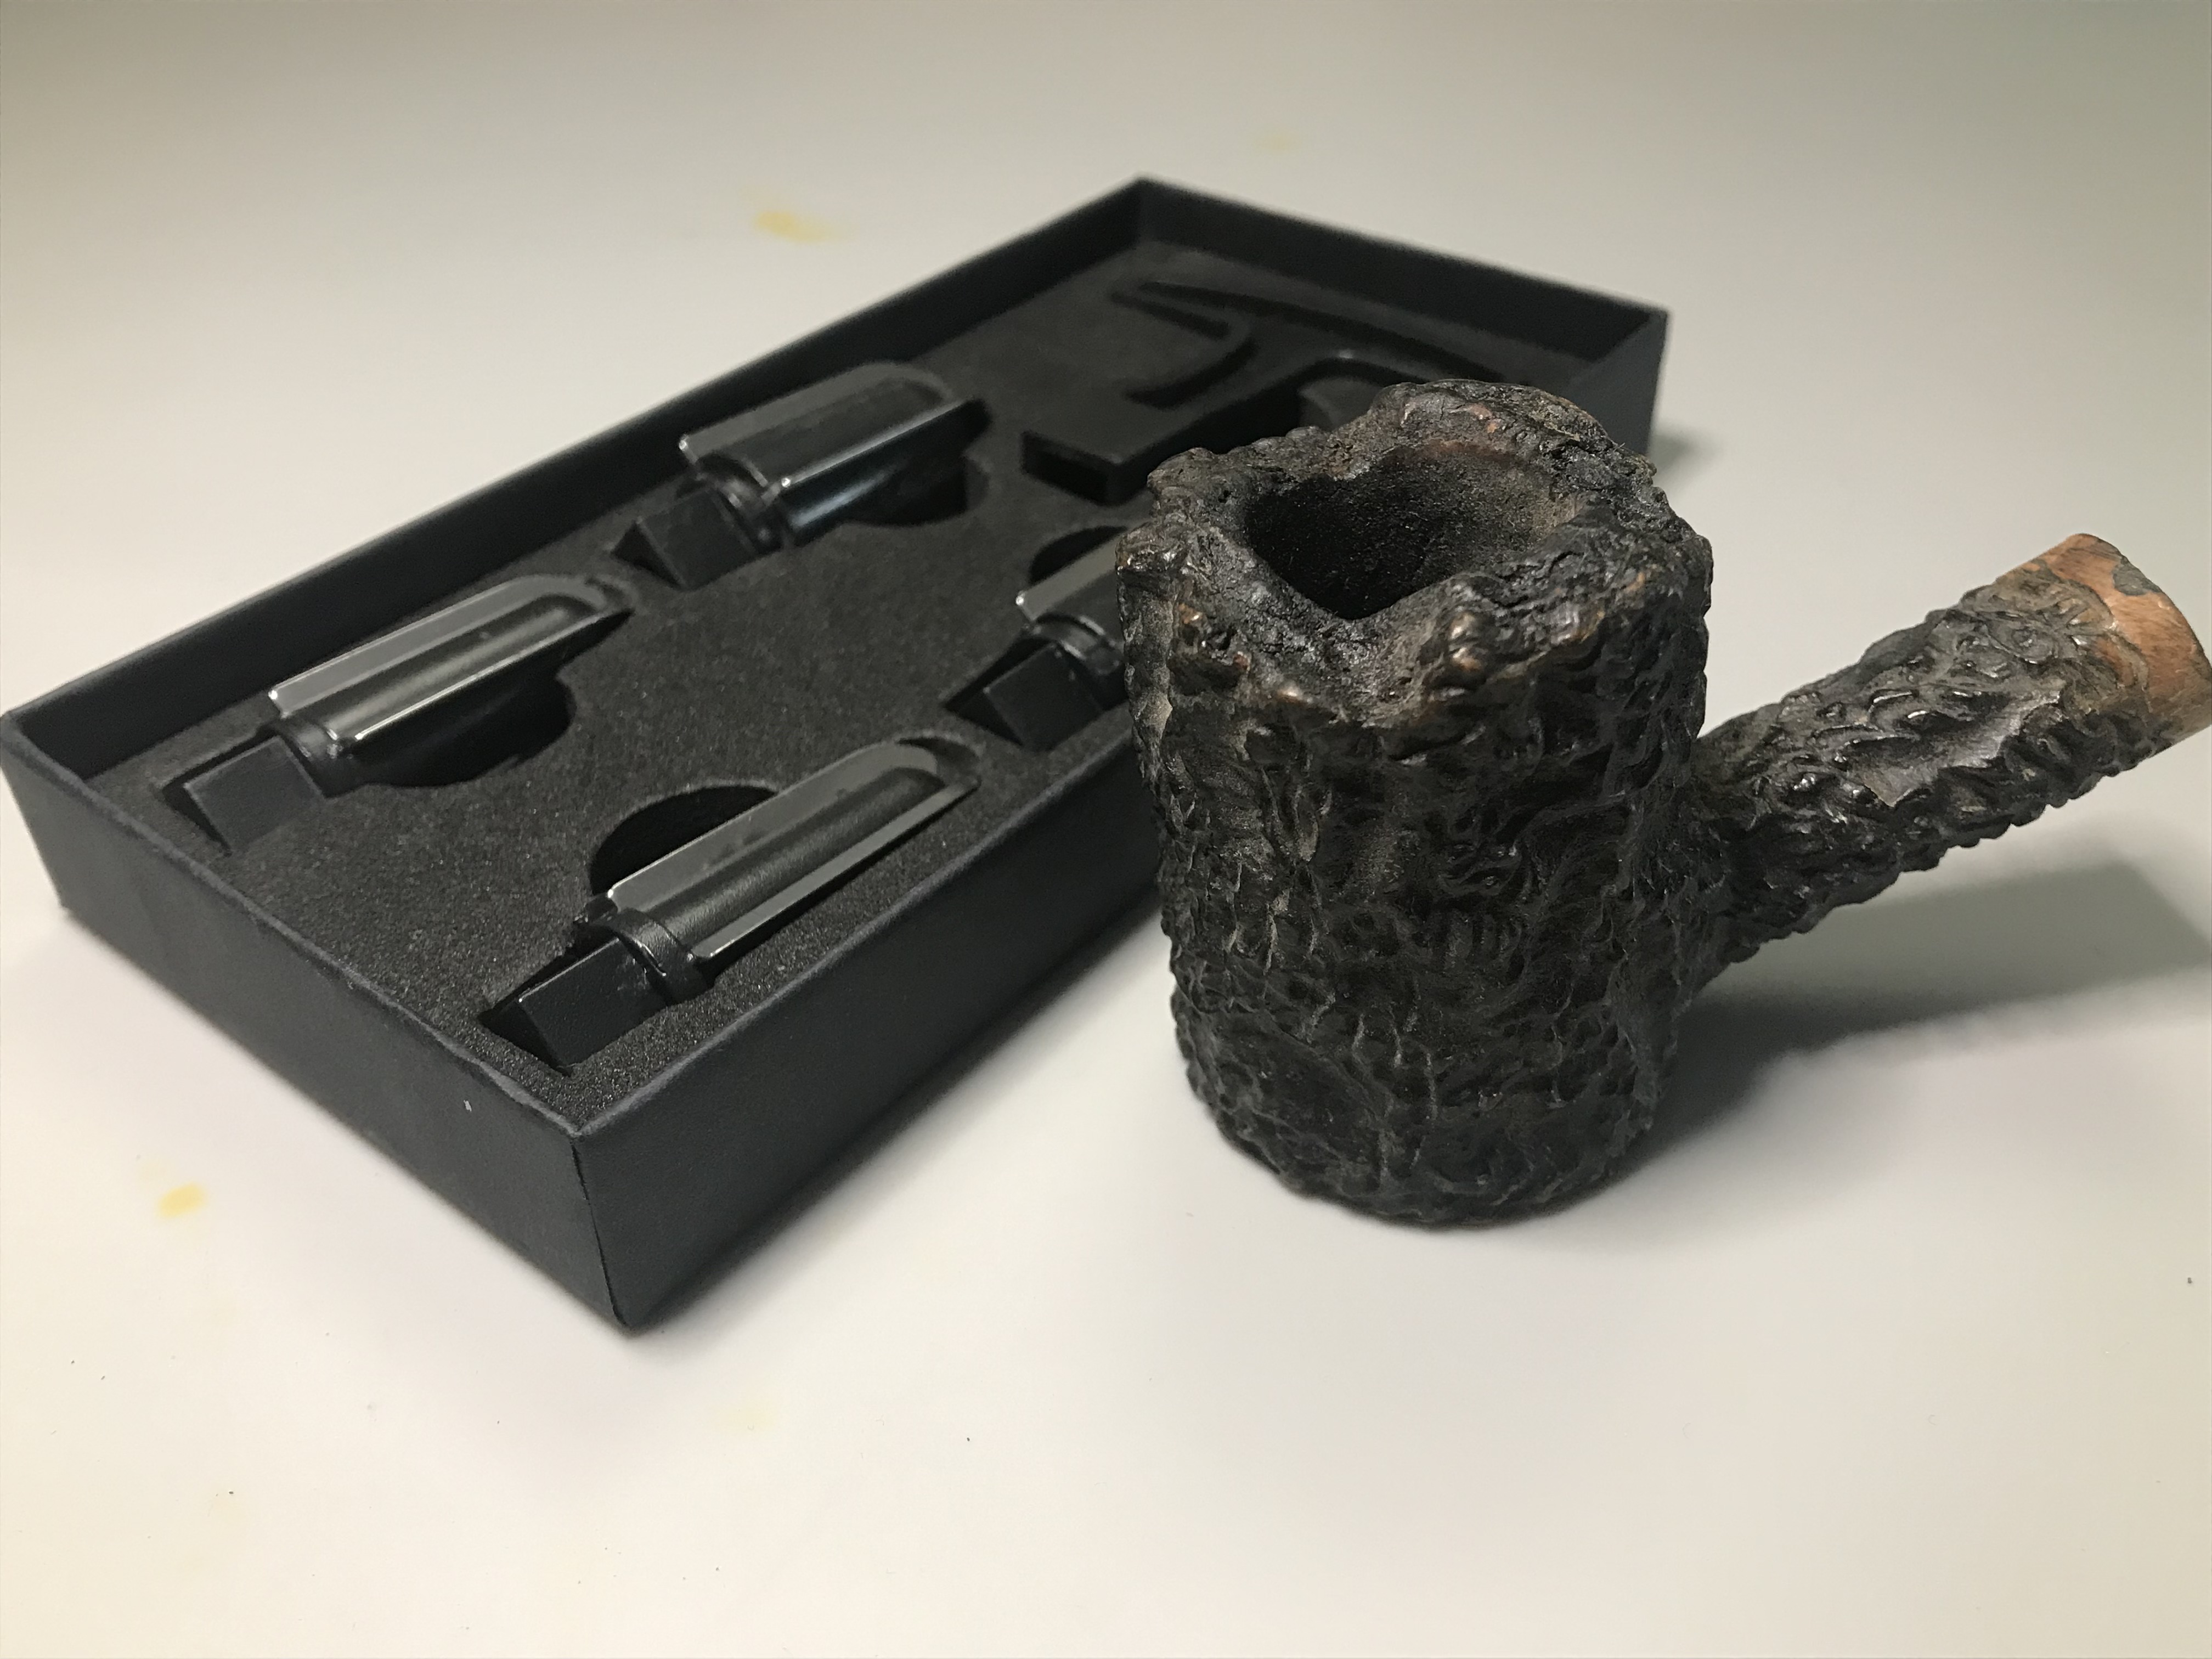

The tobacco chamber on this pipe was quite large. I was able to insert the 3rd largest reamer bit to remove the carbon buildup in the chamber. As always I will ream the pipe right back to the briar if I can. The purpose of which is so I can assess the condition of the tobacco chamber and determine if there any heat fissures or cracks in the bowl.

After I finished removing the carbon buildup from the tobacco chamber I used some steel wool and a wire brush (steel) to remove the carbon buildup on the rim of the pipe and within the rusticated finish. A brass brush is much softer that the steel brush, however; in my experience, you will discover that the brass will leave a metal sheen on the pipe as some of the brass will transfer right onto the pipe itself creating more work. Here’s the before and after:


Step 2: Clean & Deoderize
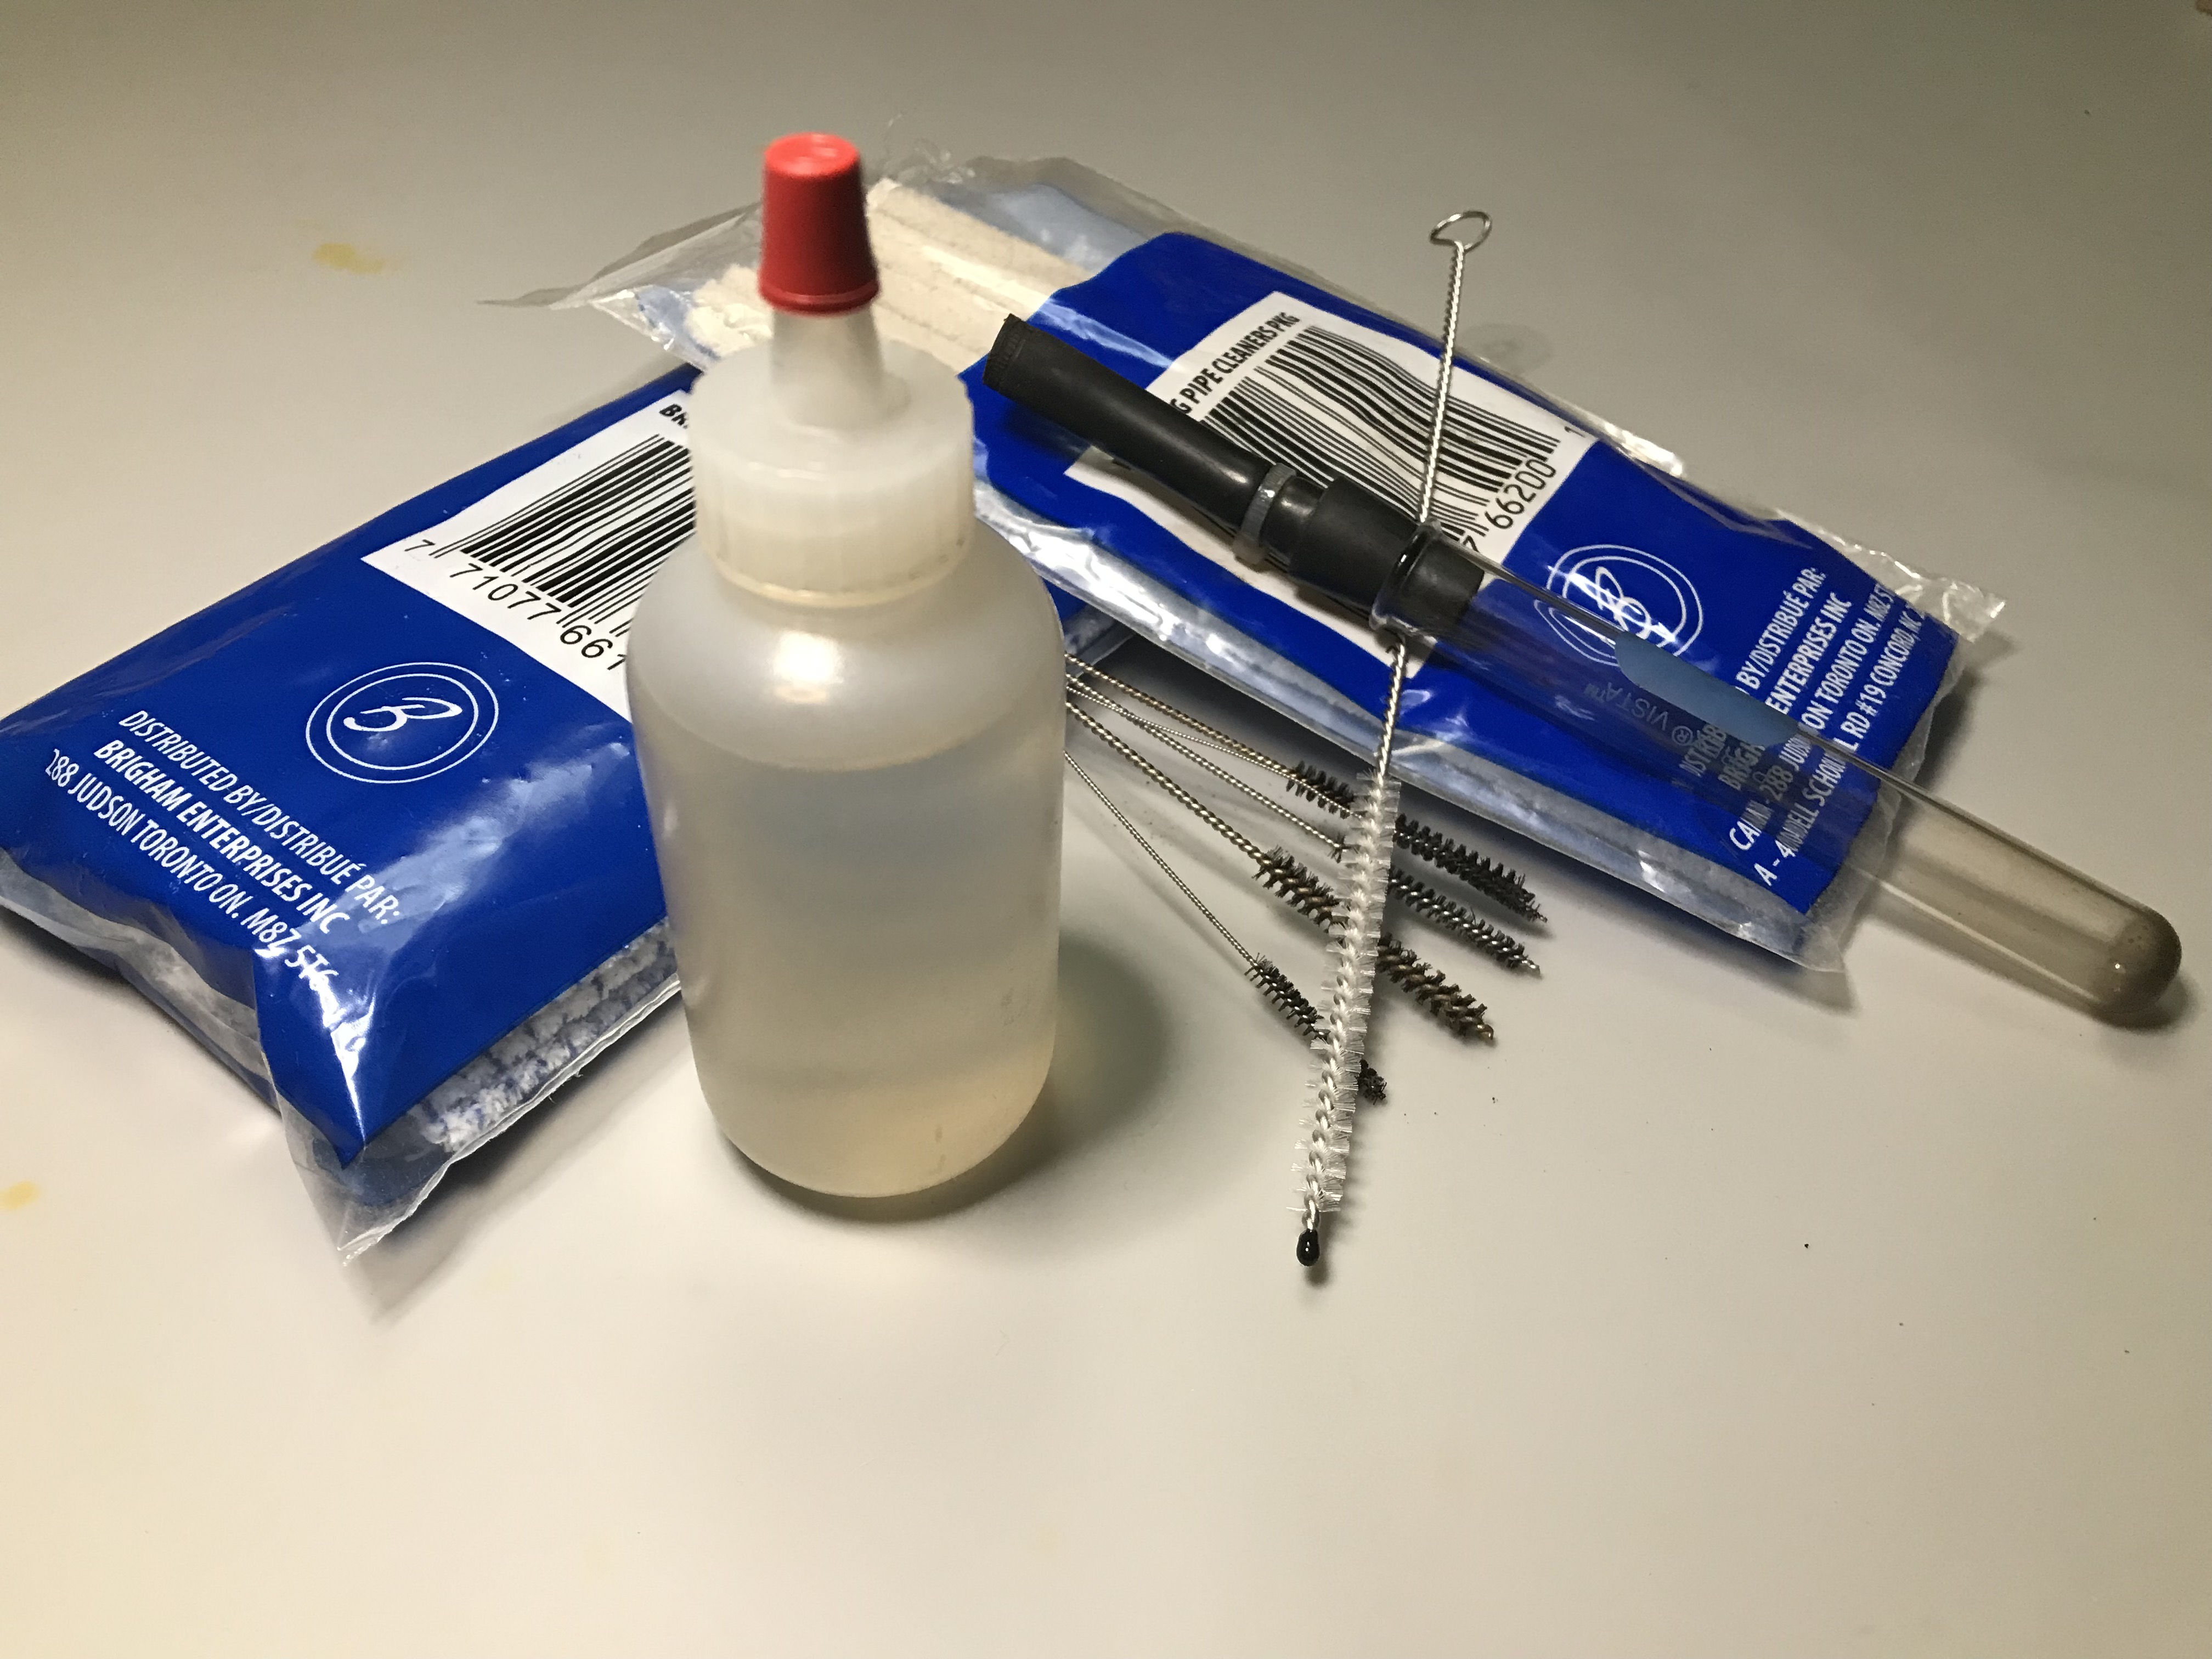
With the carbon buildup removed, it was time to clean and deoderize the internals of the airway of the stummel and clean the airway in the stem. I use a combination of nylon brushes, bristled pipe cleaners, regular pipe cleaners and a retort system.
First, I scrubbed and cleaned the stem until I was able to remove all of the brown buildup in the airway.

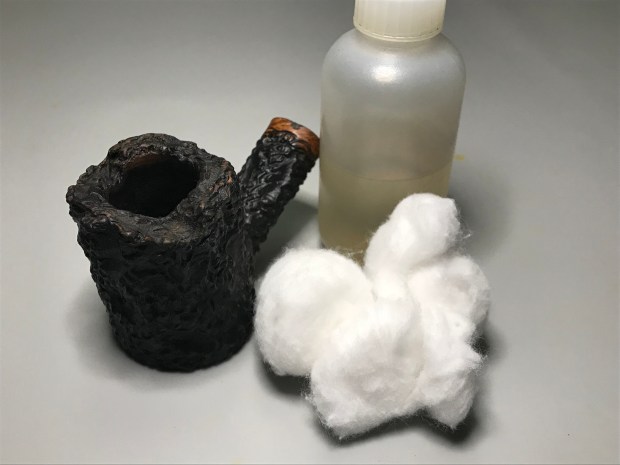
I used cotton batting soaked with alcohol to deodorize any lingering aromas or flavours left behind in the pipe.
Step 3: Refinishing


I used a combination of Feibings Dark Brown leather dye to restore the brown finish on the smooth accent on the shank as wells as the smooth bottom where the nomenclature is located. I touched up the rim and any peaks in the rustication with a Wood Furniture Repair Marker in the Espresso colour. These stain markers are one of the most useful tools for matching stains when refinishing pipes. You can buy these usually in a pack of 6 at most Hardware stores.
Step 4: Stem Polishing

I used my micro fibre pads to restore the finish on the acrylic stem. I don’t often work with acrylic as most of the pipes that come my way usually have Vulcanite stems. I find acrylic very forgiving to work with when you reach the polishing stage. I was able to start at 1500 grit and work my way up quite quickly. I was able to achieve an excellent finish on the stem, I don’t think I even needed to buff it, but I will anyway for the sake of process.

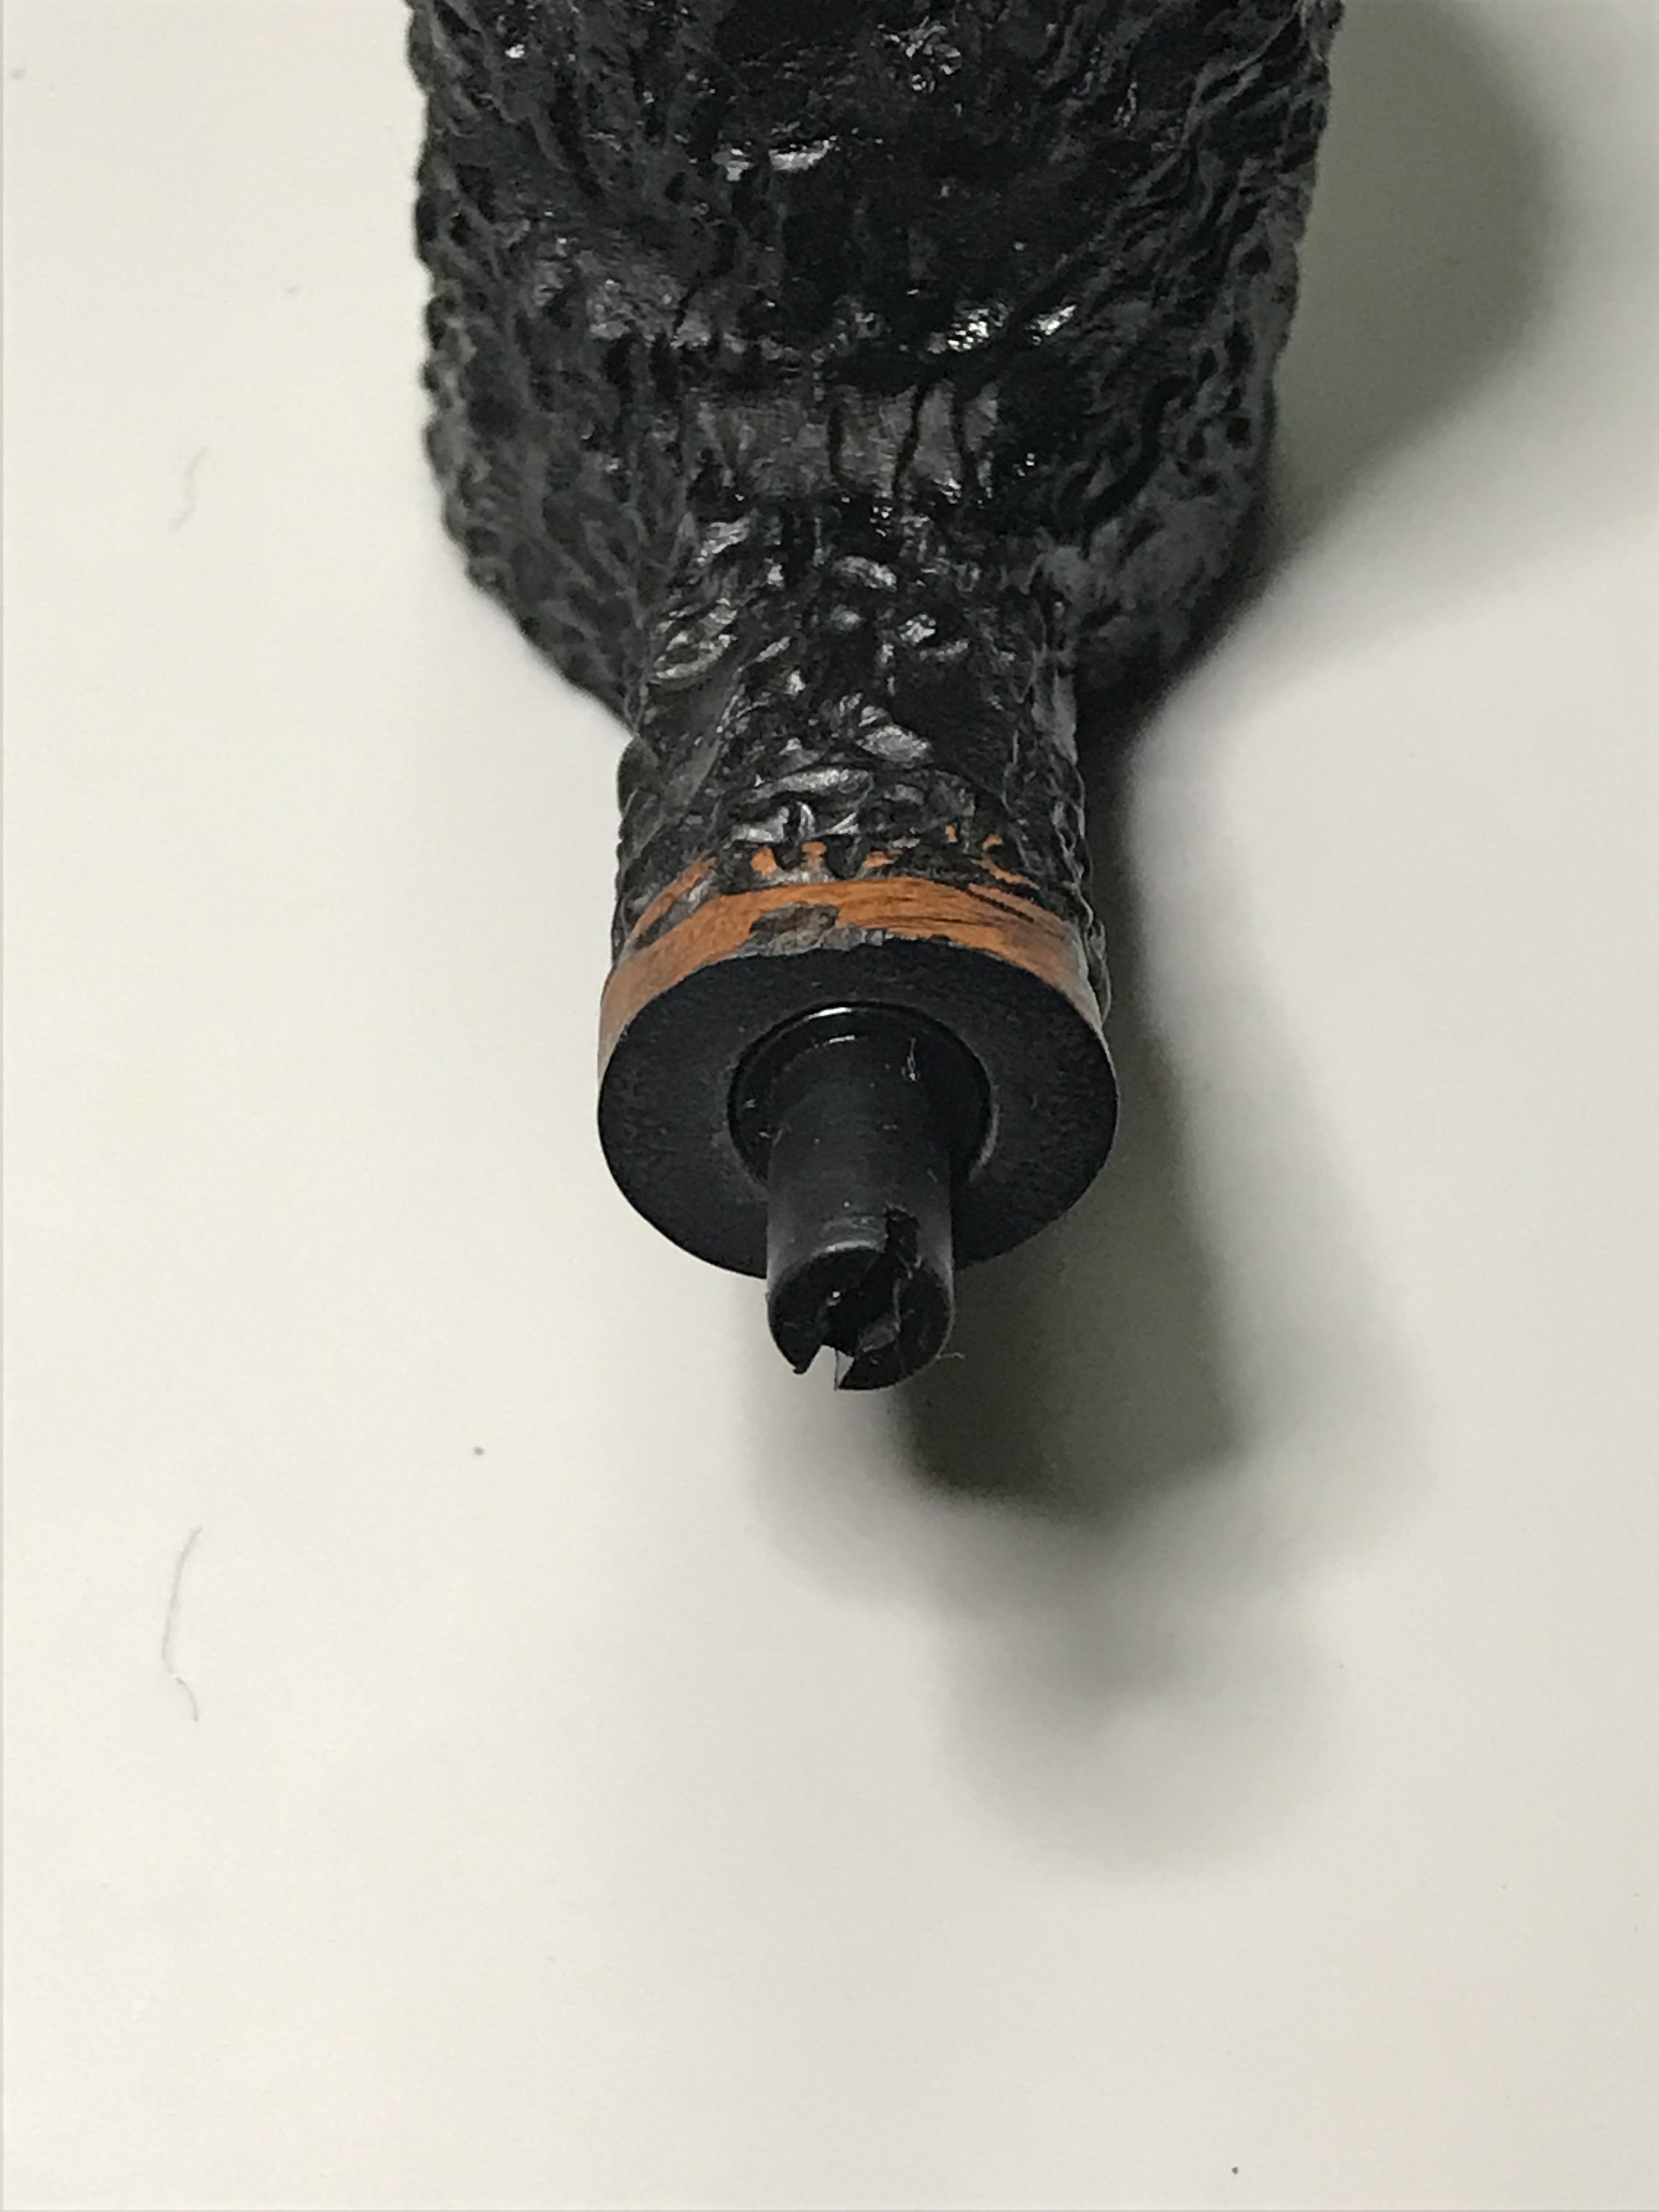
Before moving to the buffing stage for this pipe, I replaced the Jobey link back into the shank of the pipe. It threaded back in quite easily and I was able to push and pull the stem from pipe as originally intended. The stem seated firmly on the push tenon firmly.
Step 5: Buffing and Polishing

I used a buffing wheel on my rotary tool to buff and polish the whole pipe. I start with Red Tripoli, then White Diamond and finally Carnauba Wax. Here is the finished pipe.
This pipe is available at the Lunting Bear Store BUY IT NOW for $60 plus shipping!