
One look at a Falcon pipe and you are transported back in time to the mid-century modern period of design that was characterized by a contemporary, seemingly futuristic aesthetic and an emphasis on function.
“The Mid-century Modern design movement spanned from about 1933 to 1965 and included architecture as well as industrial, interior, and graphic design.”
Architectural Digest
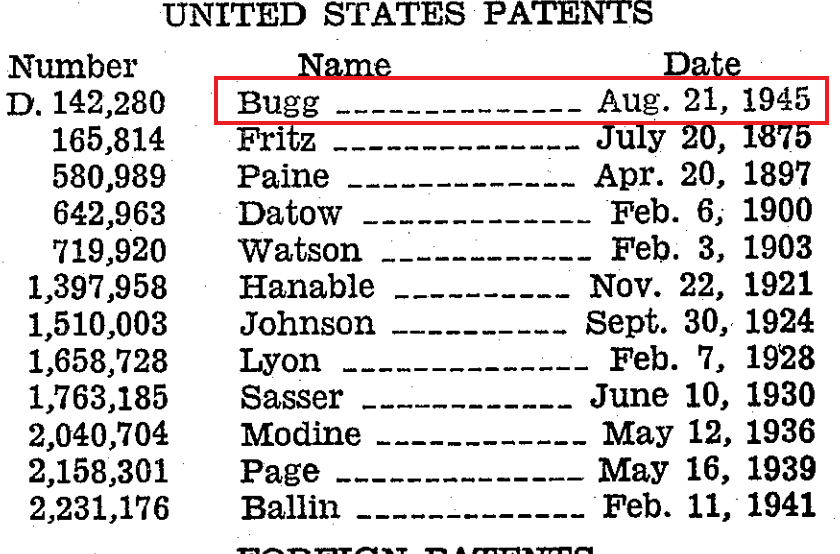
At the stepping off point of this movement, American engineer Kenly C. Bugg invented an alternative tobacco pipe in 1936 combining metal and briar. Kenly Bugg later patented his pipe invention in 1945. The Falcon pipe is a metal pipe with a threaded dish at the end of a metal shank. The pipe has interchangeable Briar bowls of different shapes and finishes that thread into the metal dish of the pipe.

Kenly Bugg claimed that the Falcon Pipe provided the pipe smoker a cooler, dryer smoke. The briar bowls could be cleaned like any other briar pipe, while the metal stem and could be cleaned easily with a pipe cleaner. In fact you could wash it with soap and water if you wanted to.
Falcon Pipes were produced in the United States until the 1960’s, after which production was moved to England.
First Impressions
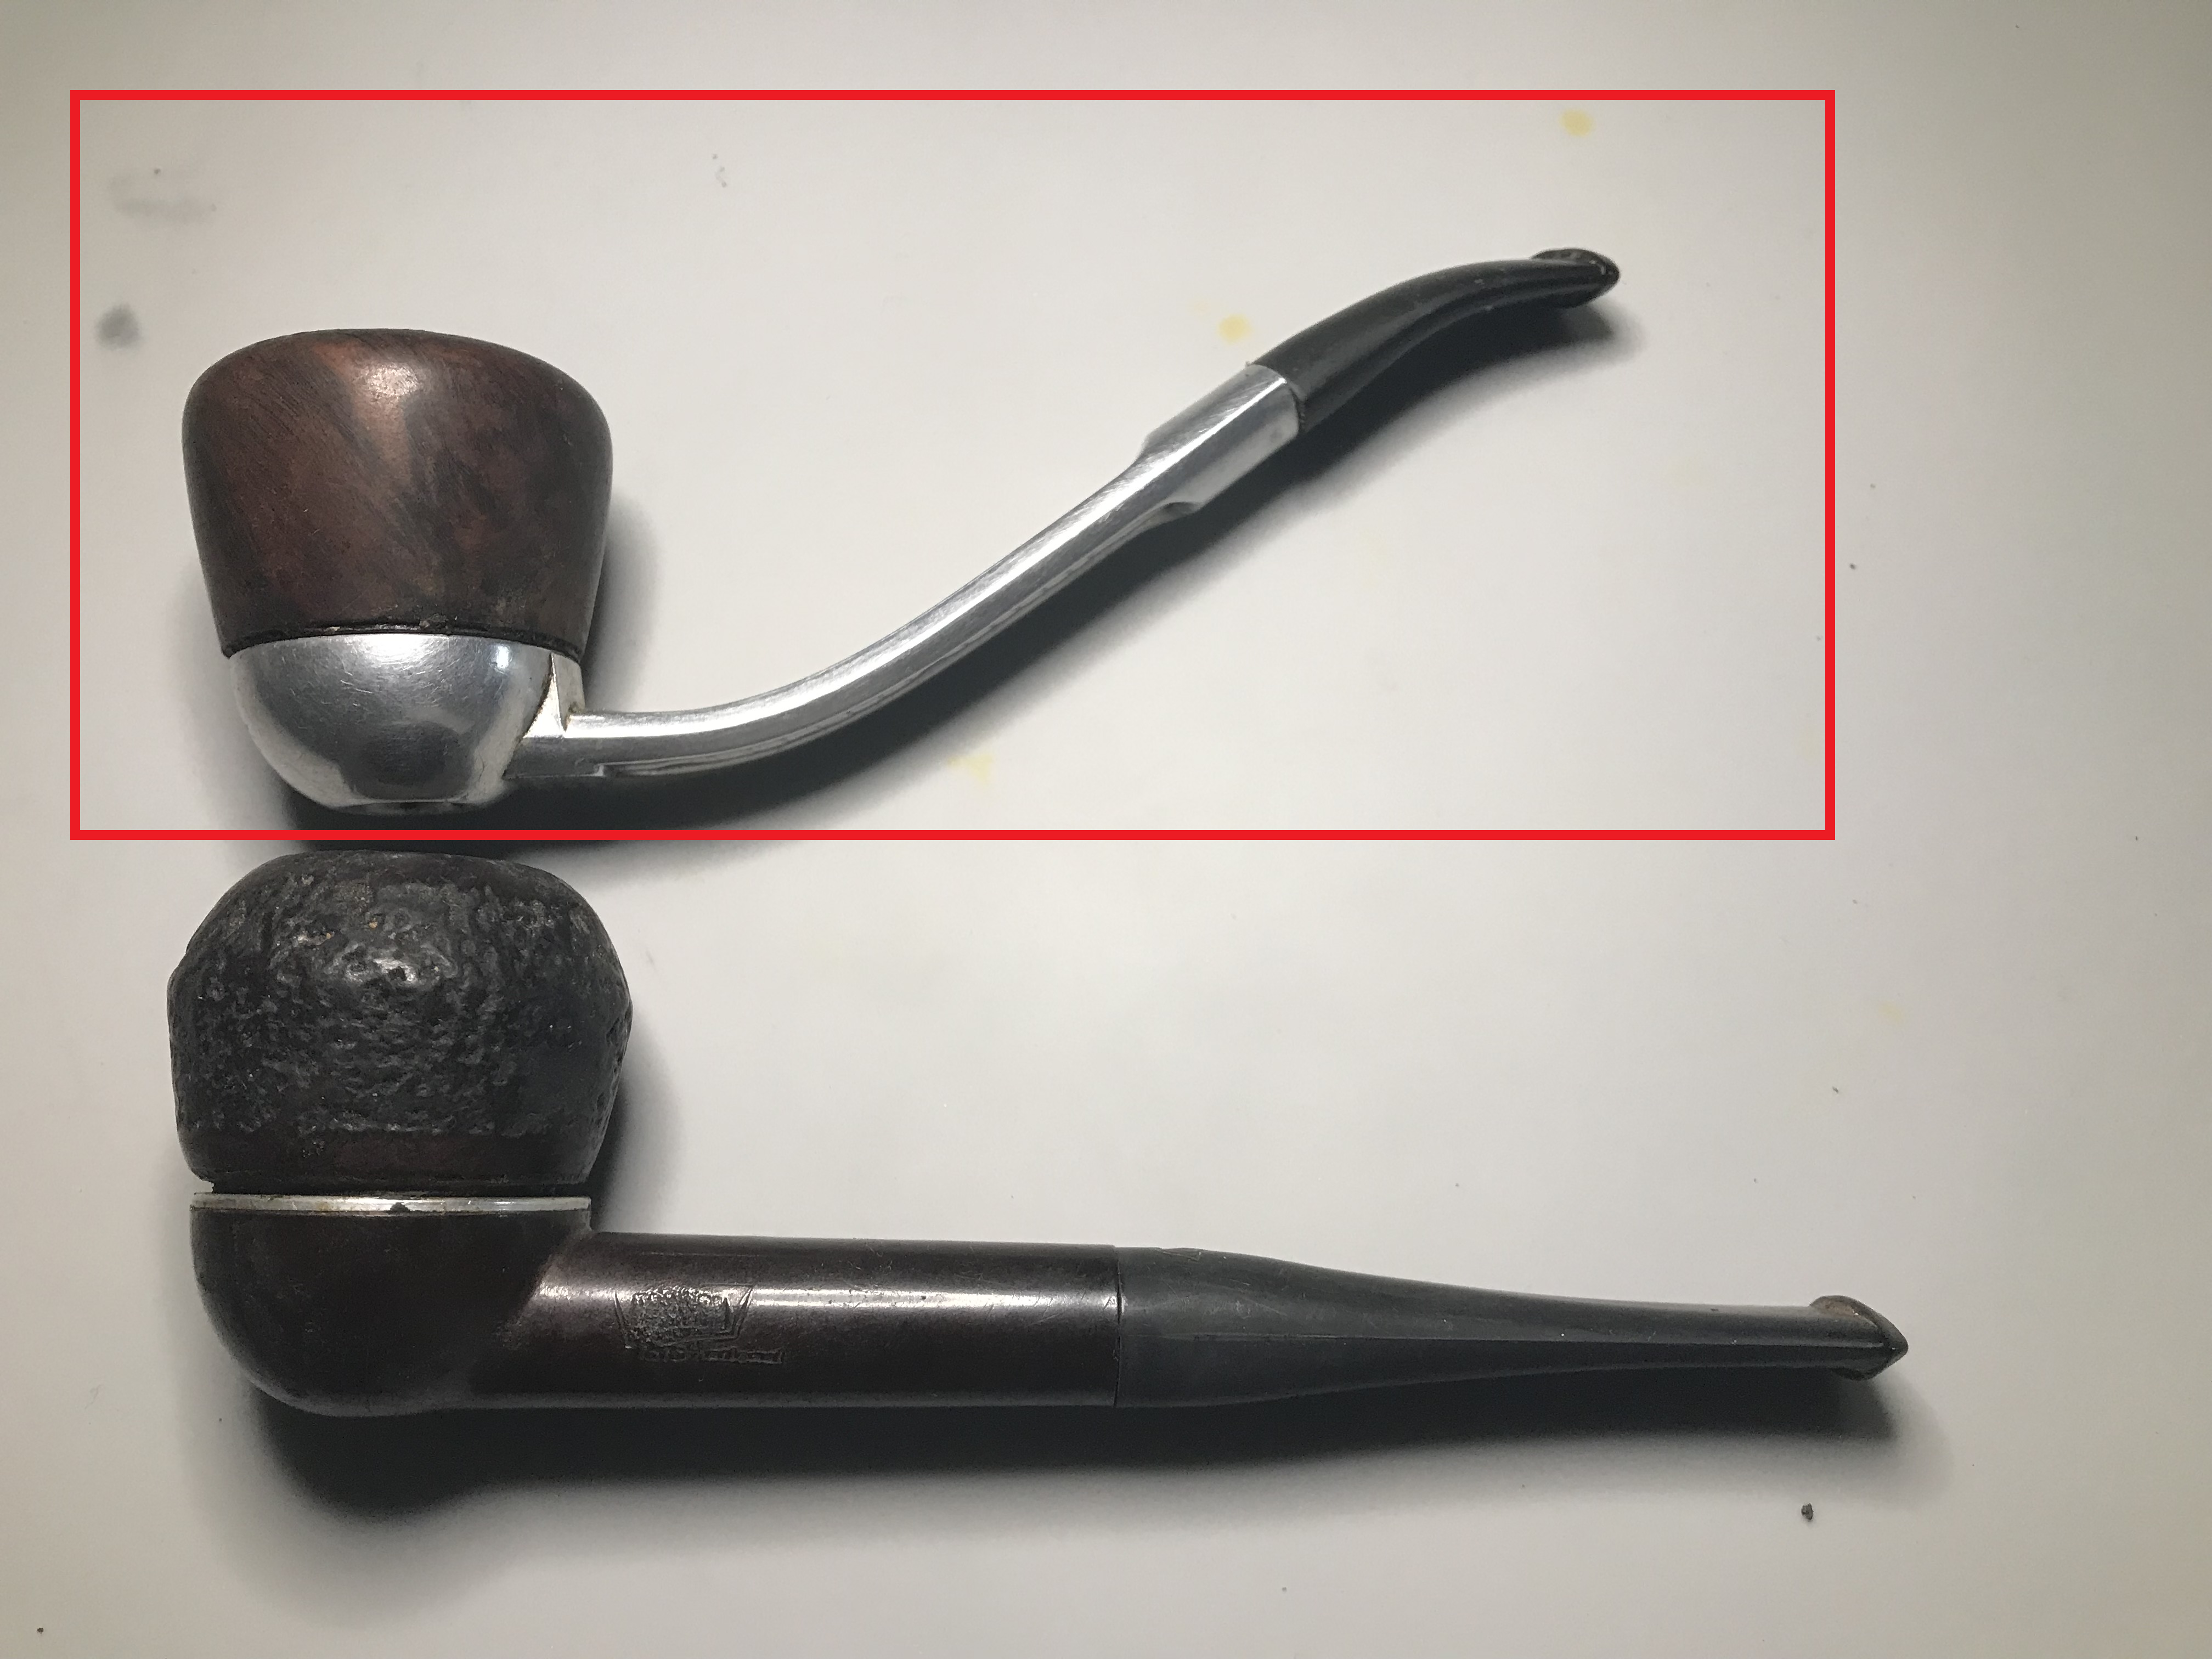

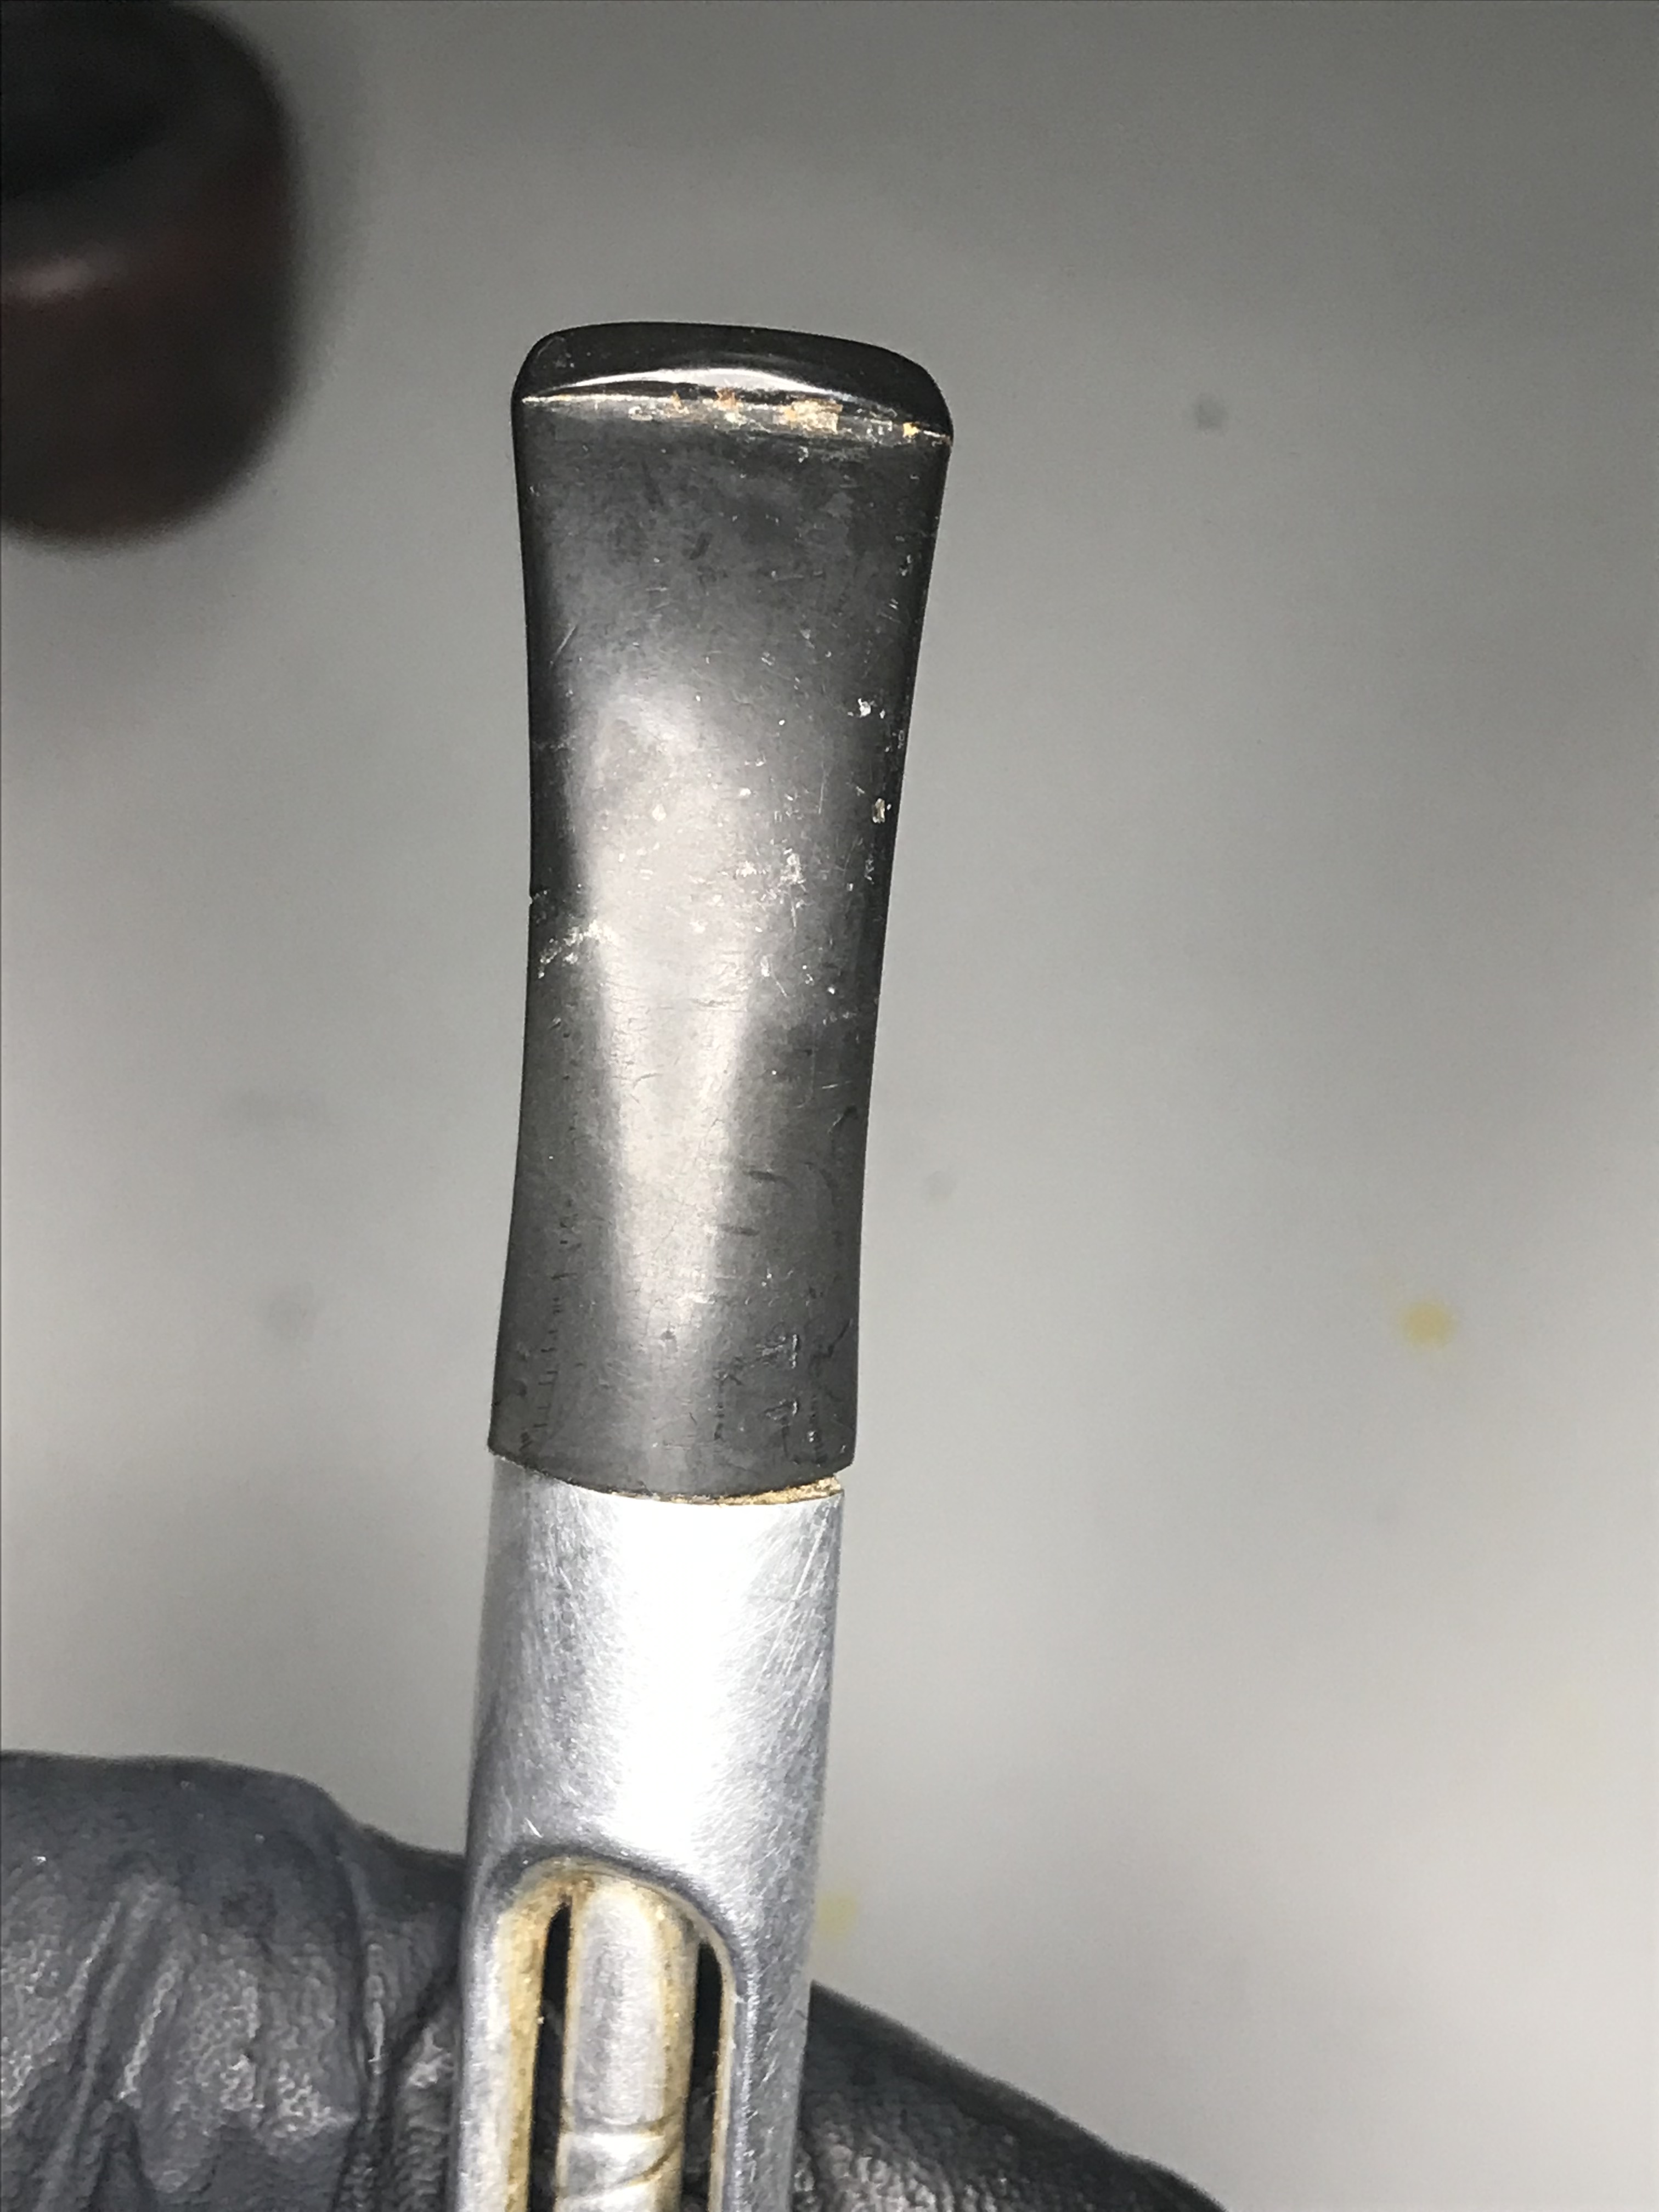


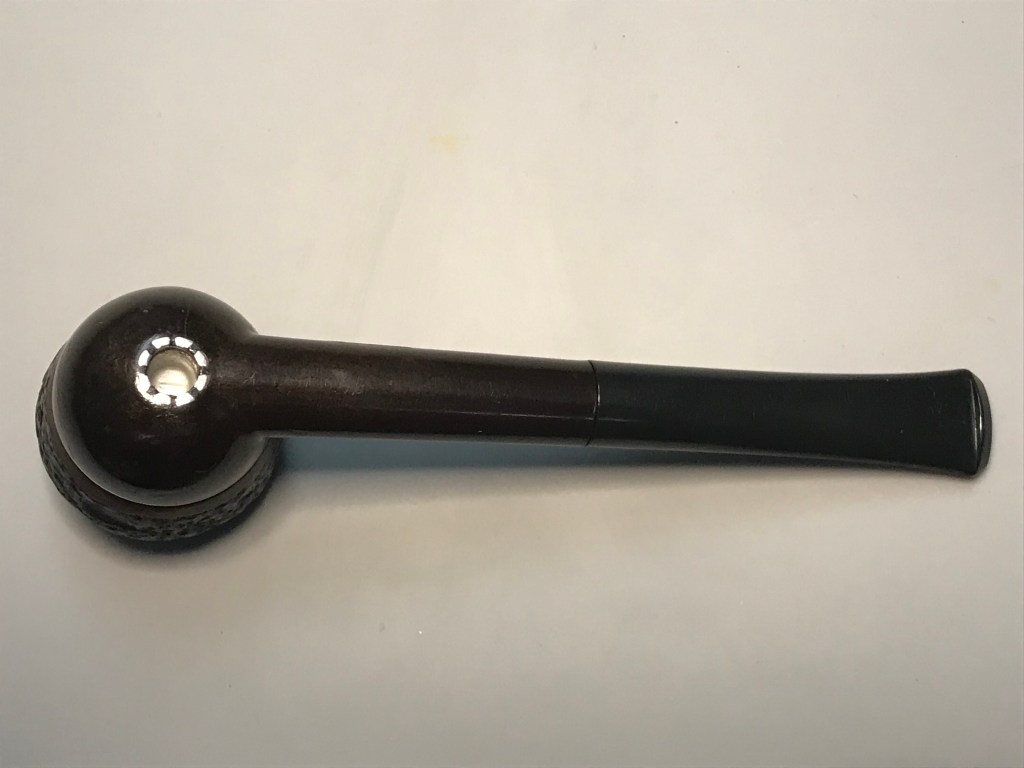
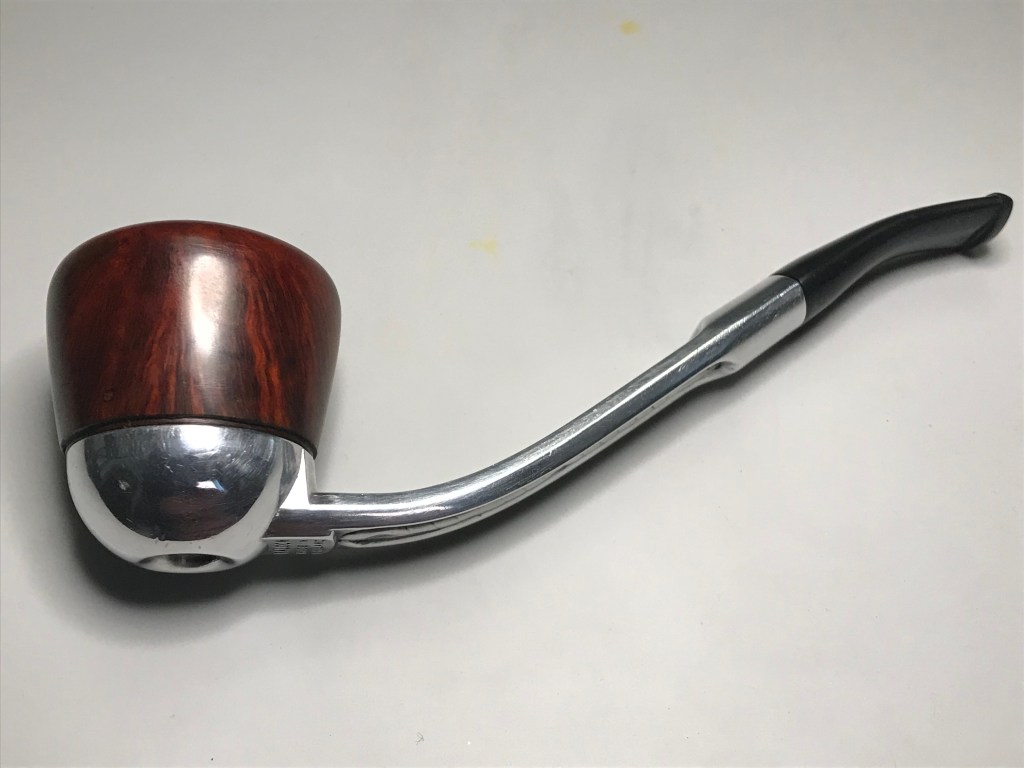
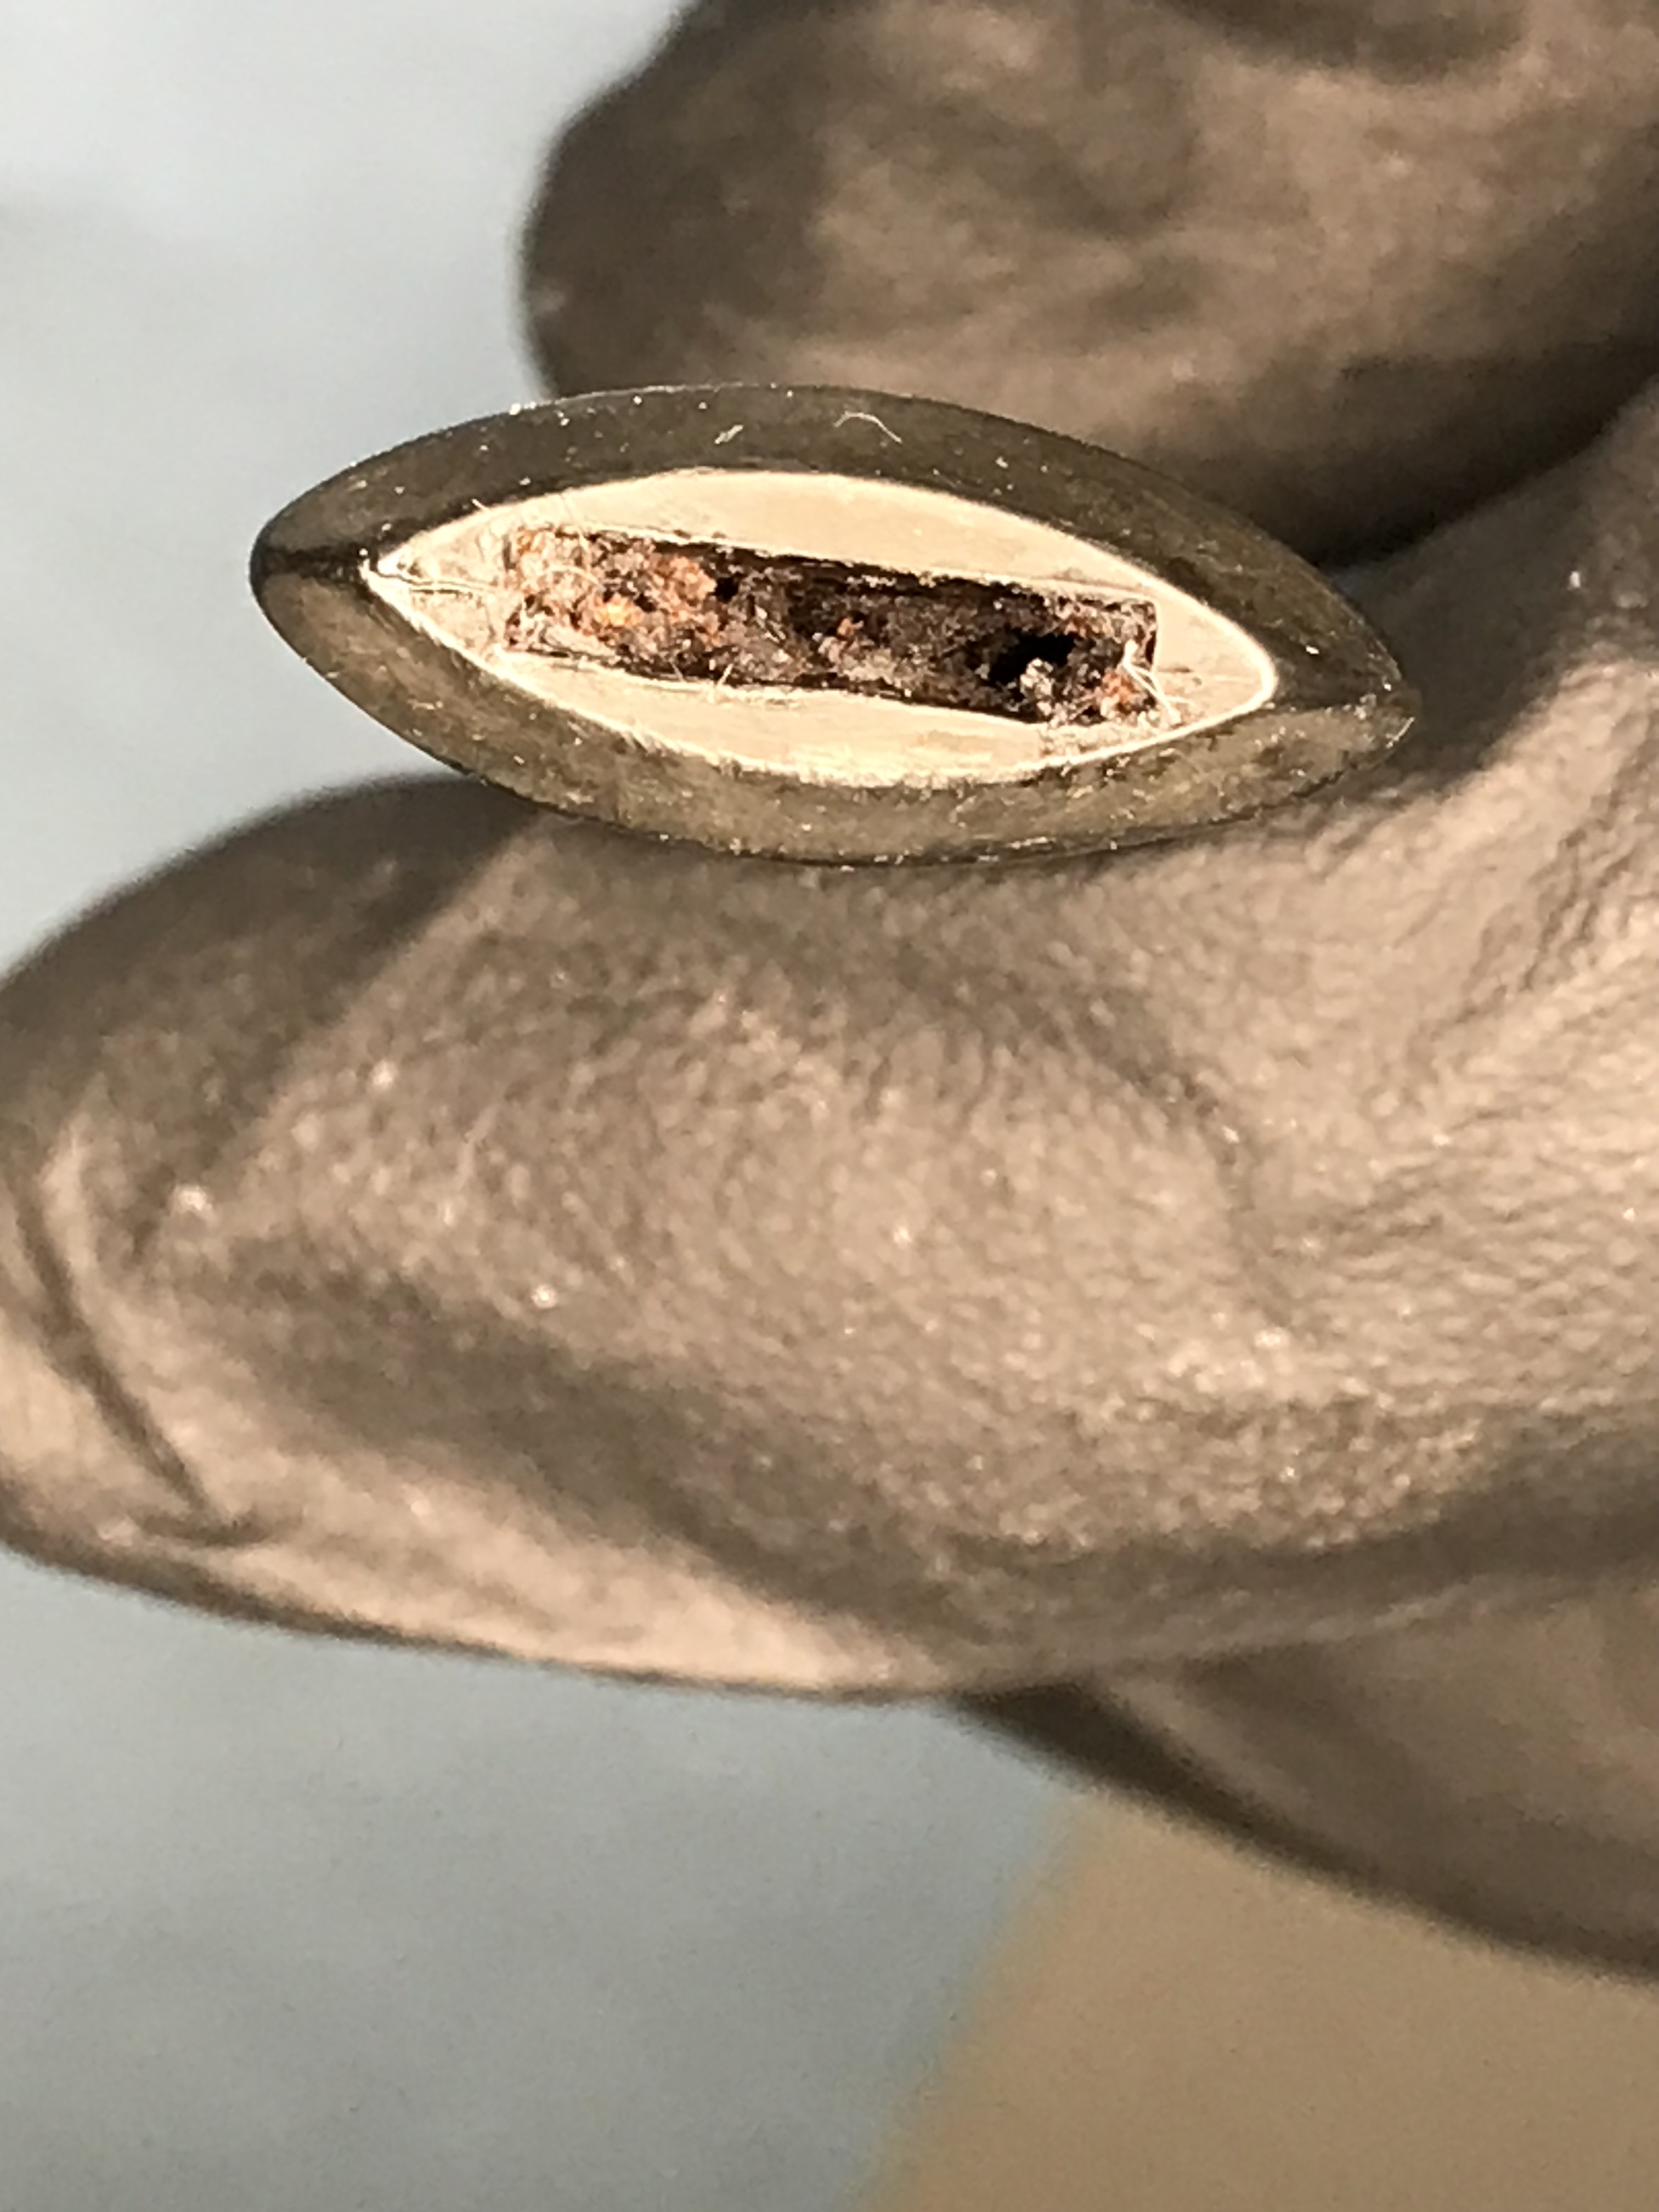
The first Falcon Pipe is the original design, with a bent stem, and marked “Made in England” which tells me that it was made after 1960’s. There are a couple of dents on the tube that runs down the centre of the stem, probably from getting knocked around all these years. The mouthpiece is made of nylon.


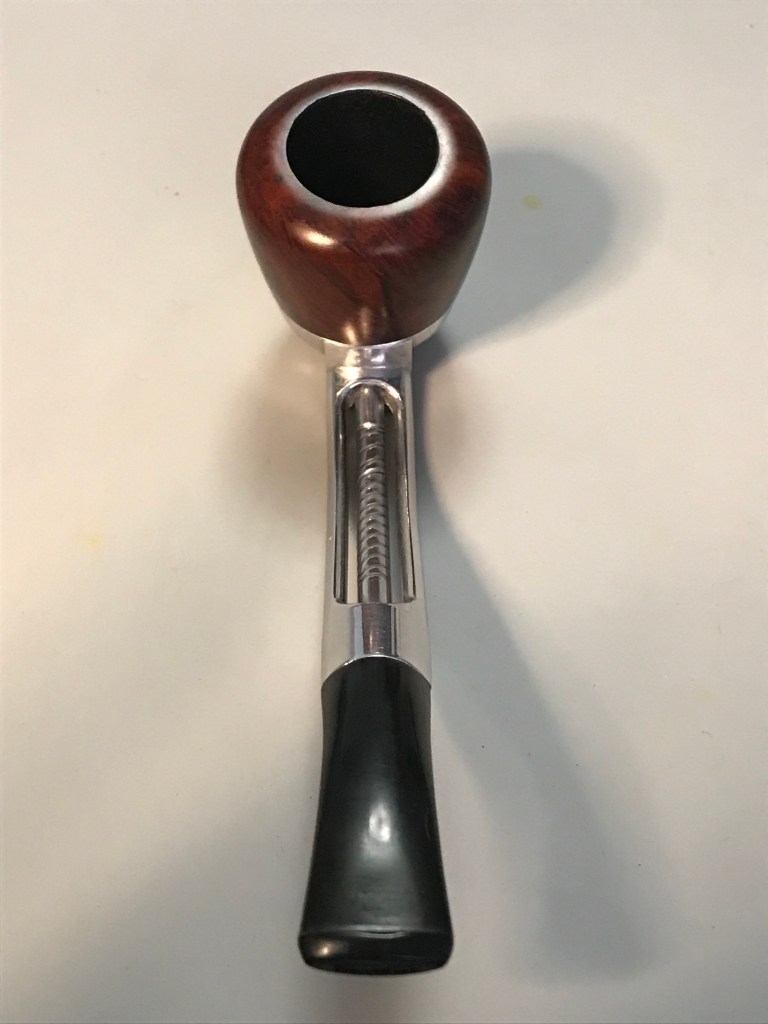
The second Falcon had a more traditional straight body, still had the versatility of the falcon system but the stem could also accommodate a 6mm filter. The metal pipe has a wrap that gives it the brown colour. The wrap had nicks and abrasions that are not going to be corrected without sanding away the coating. The nomenclature was also unreadable, it took me some time to find the “Falcon International” logo to determine that’s what it used to say. The mouthpiece is also made of nylon.
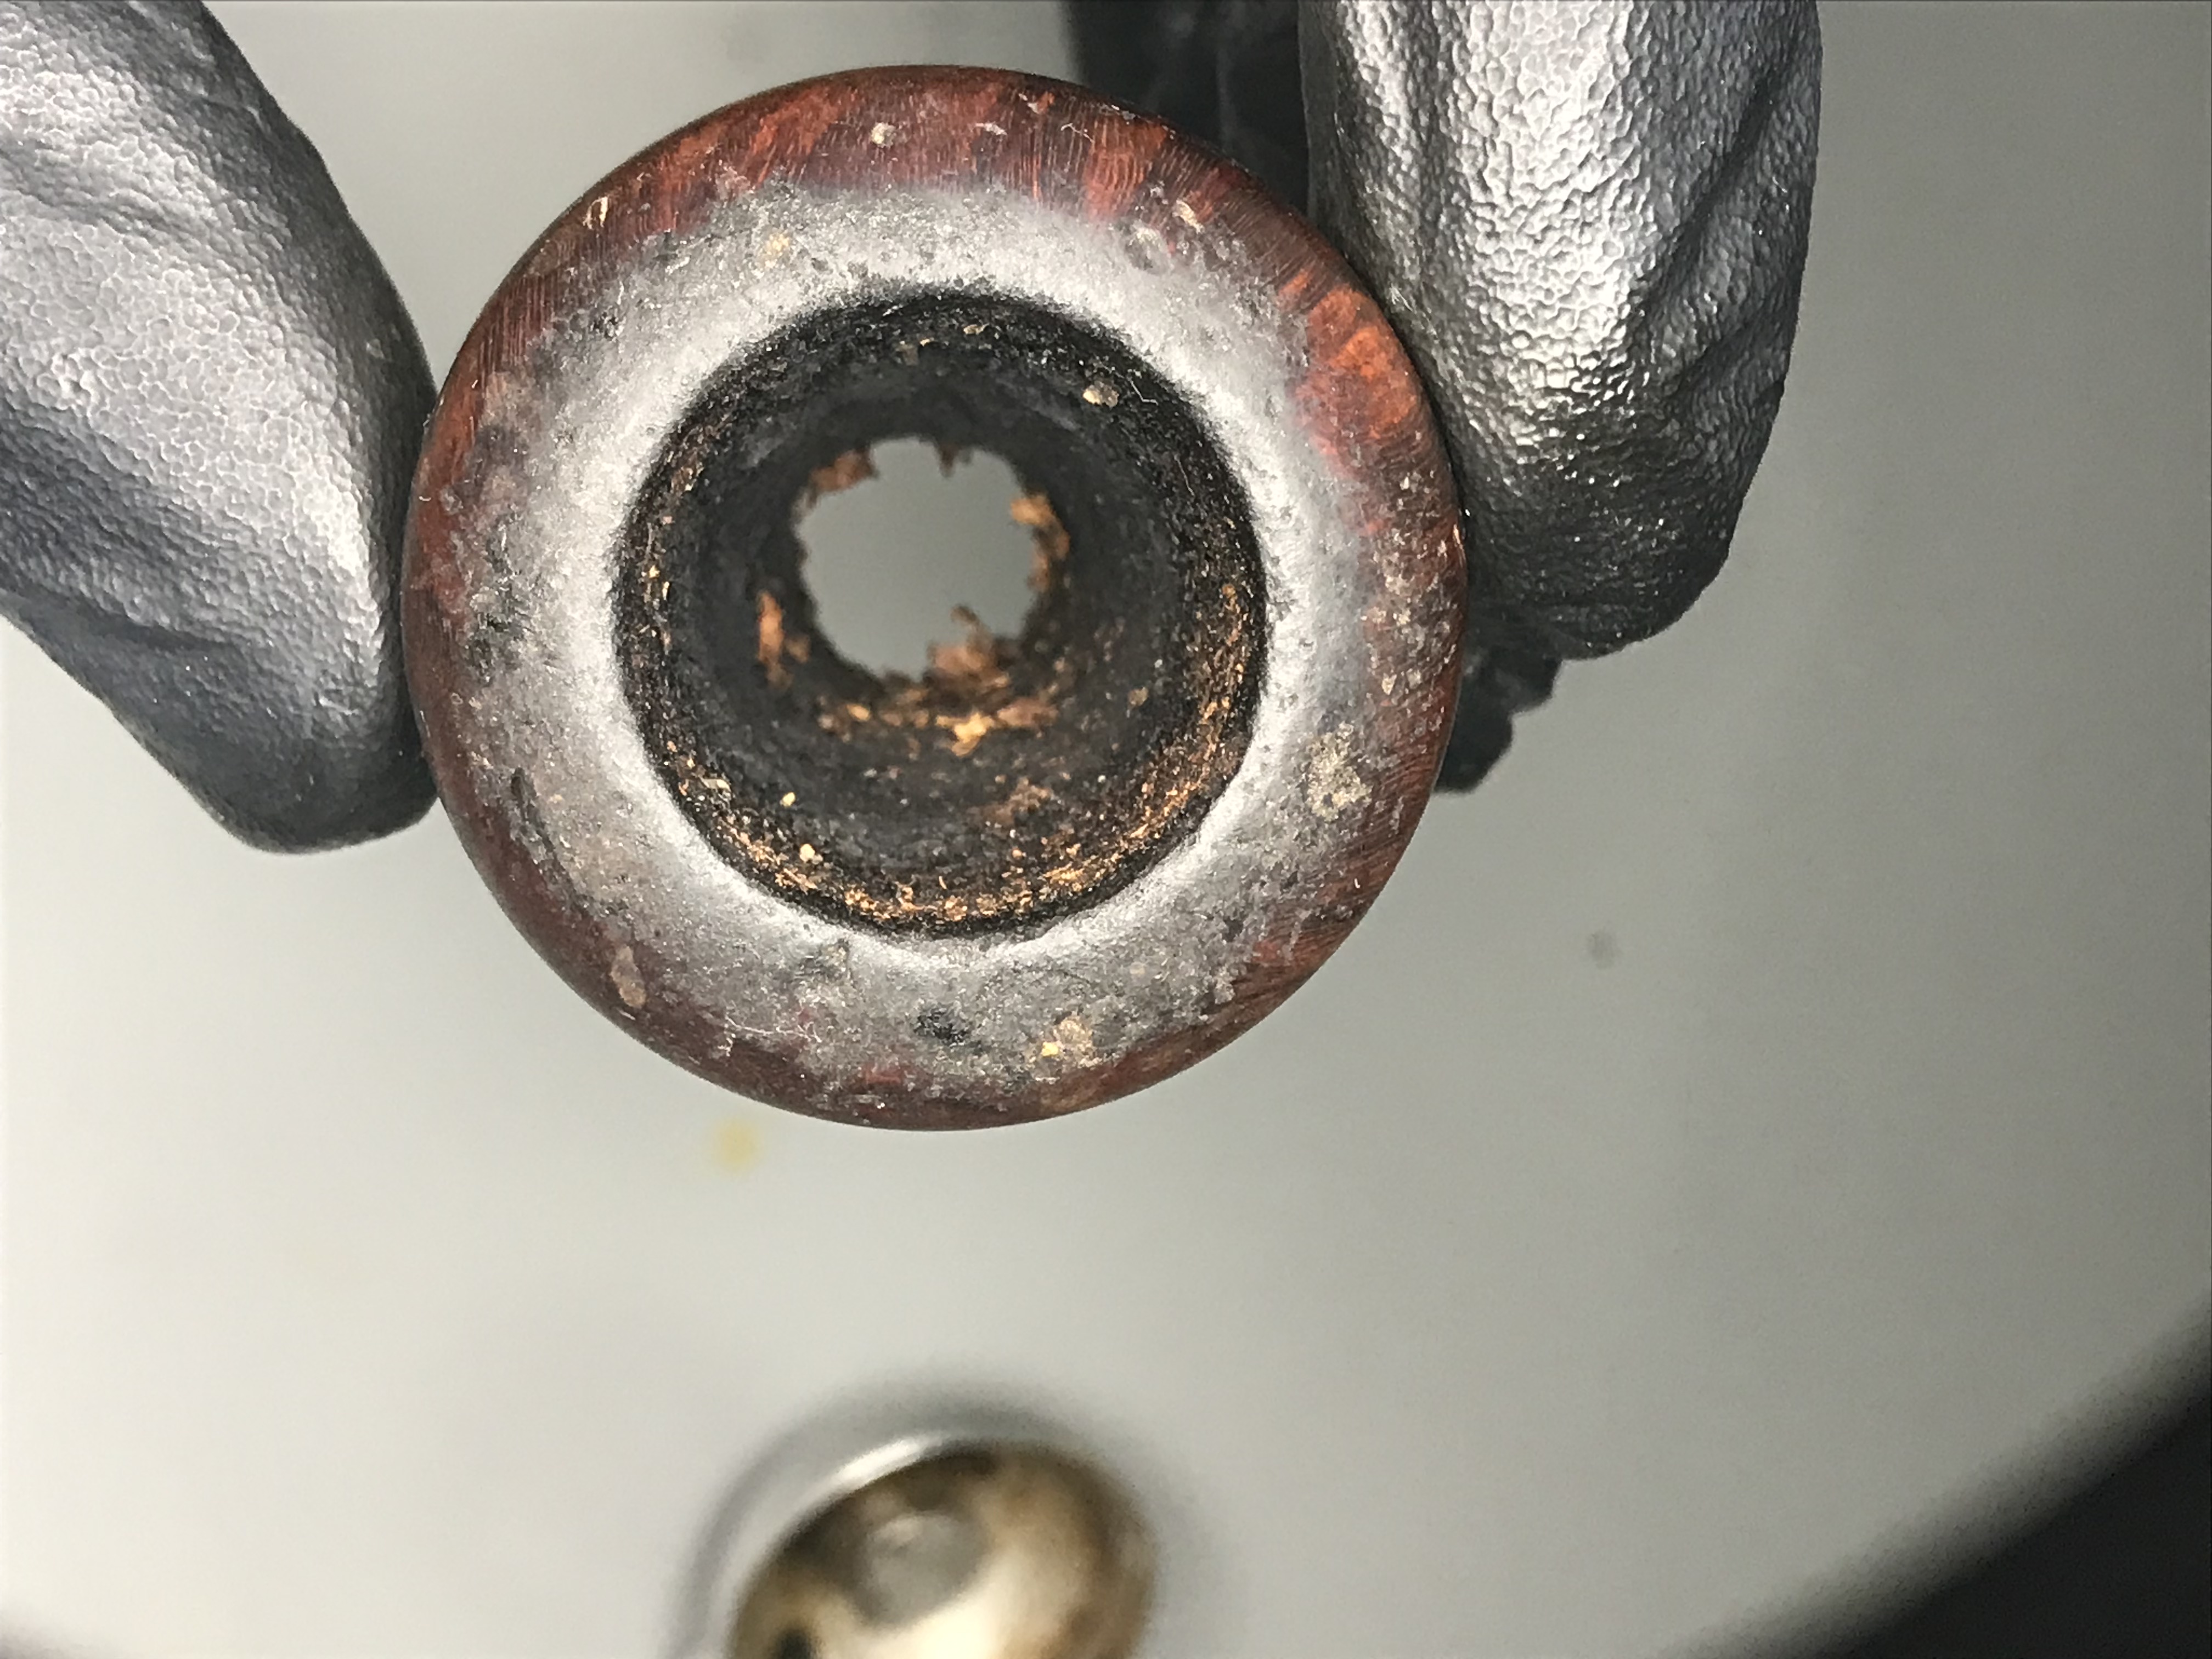
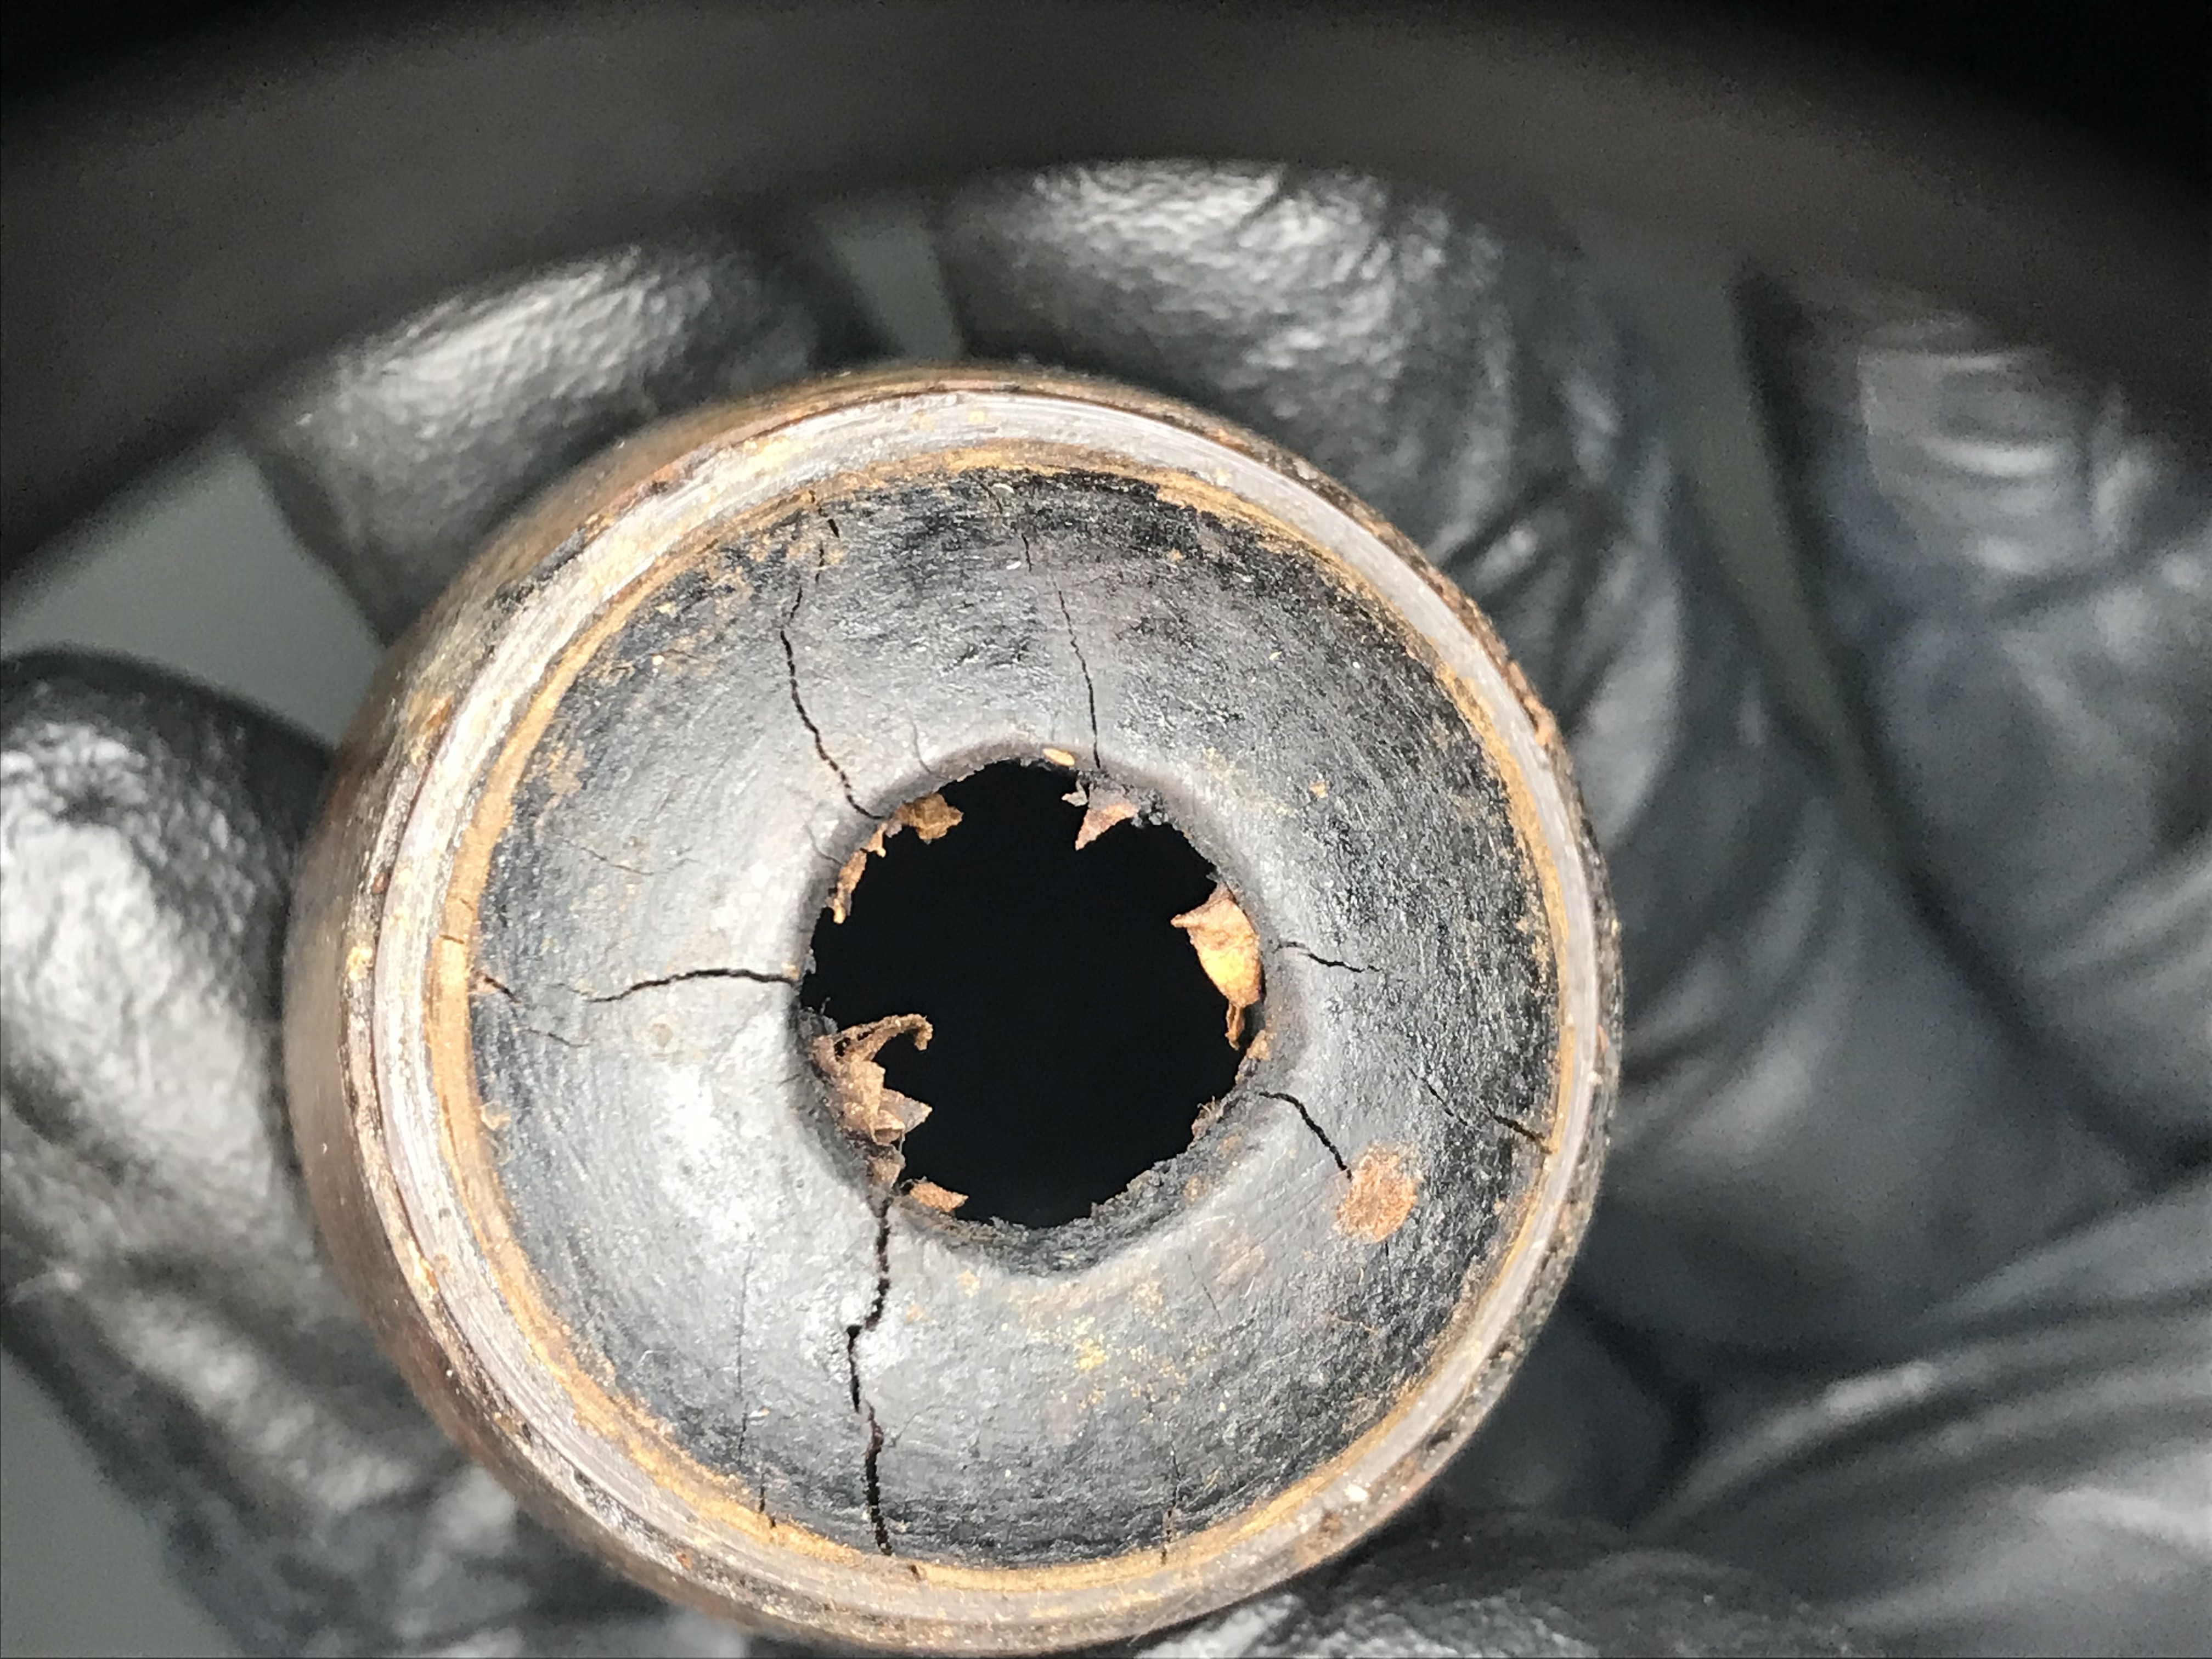
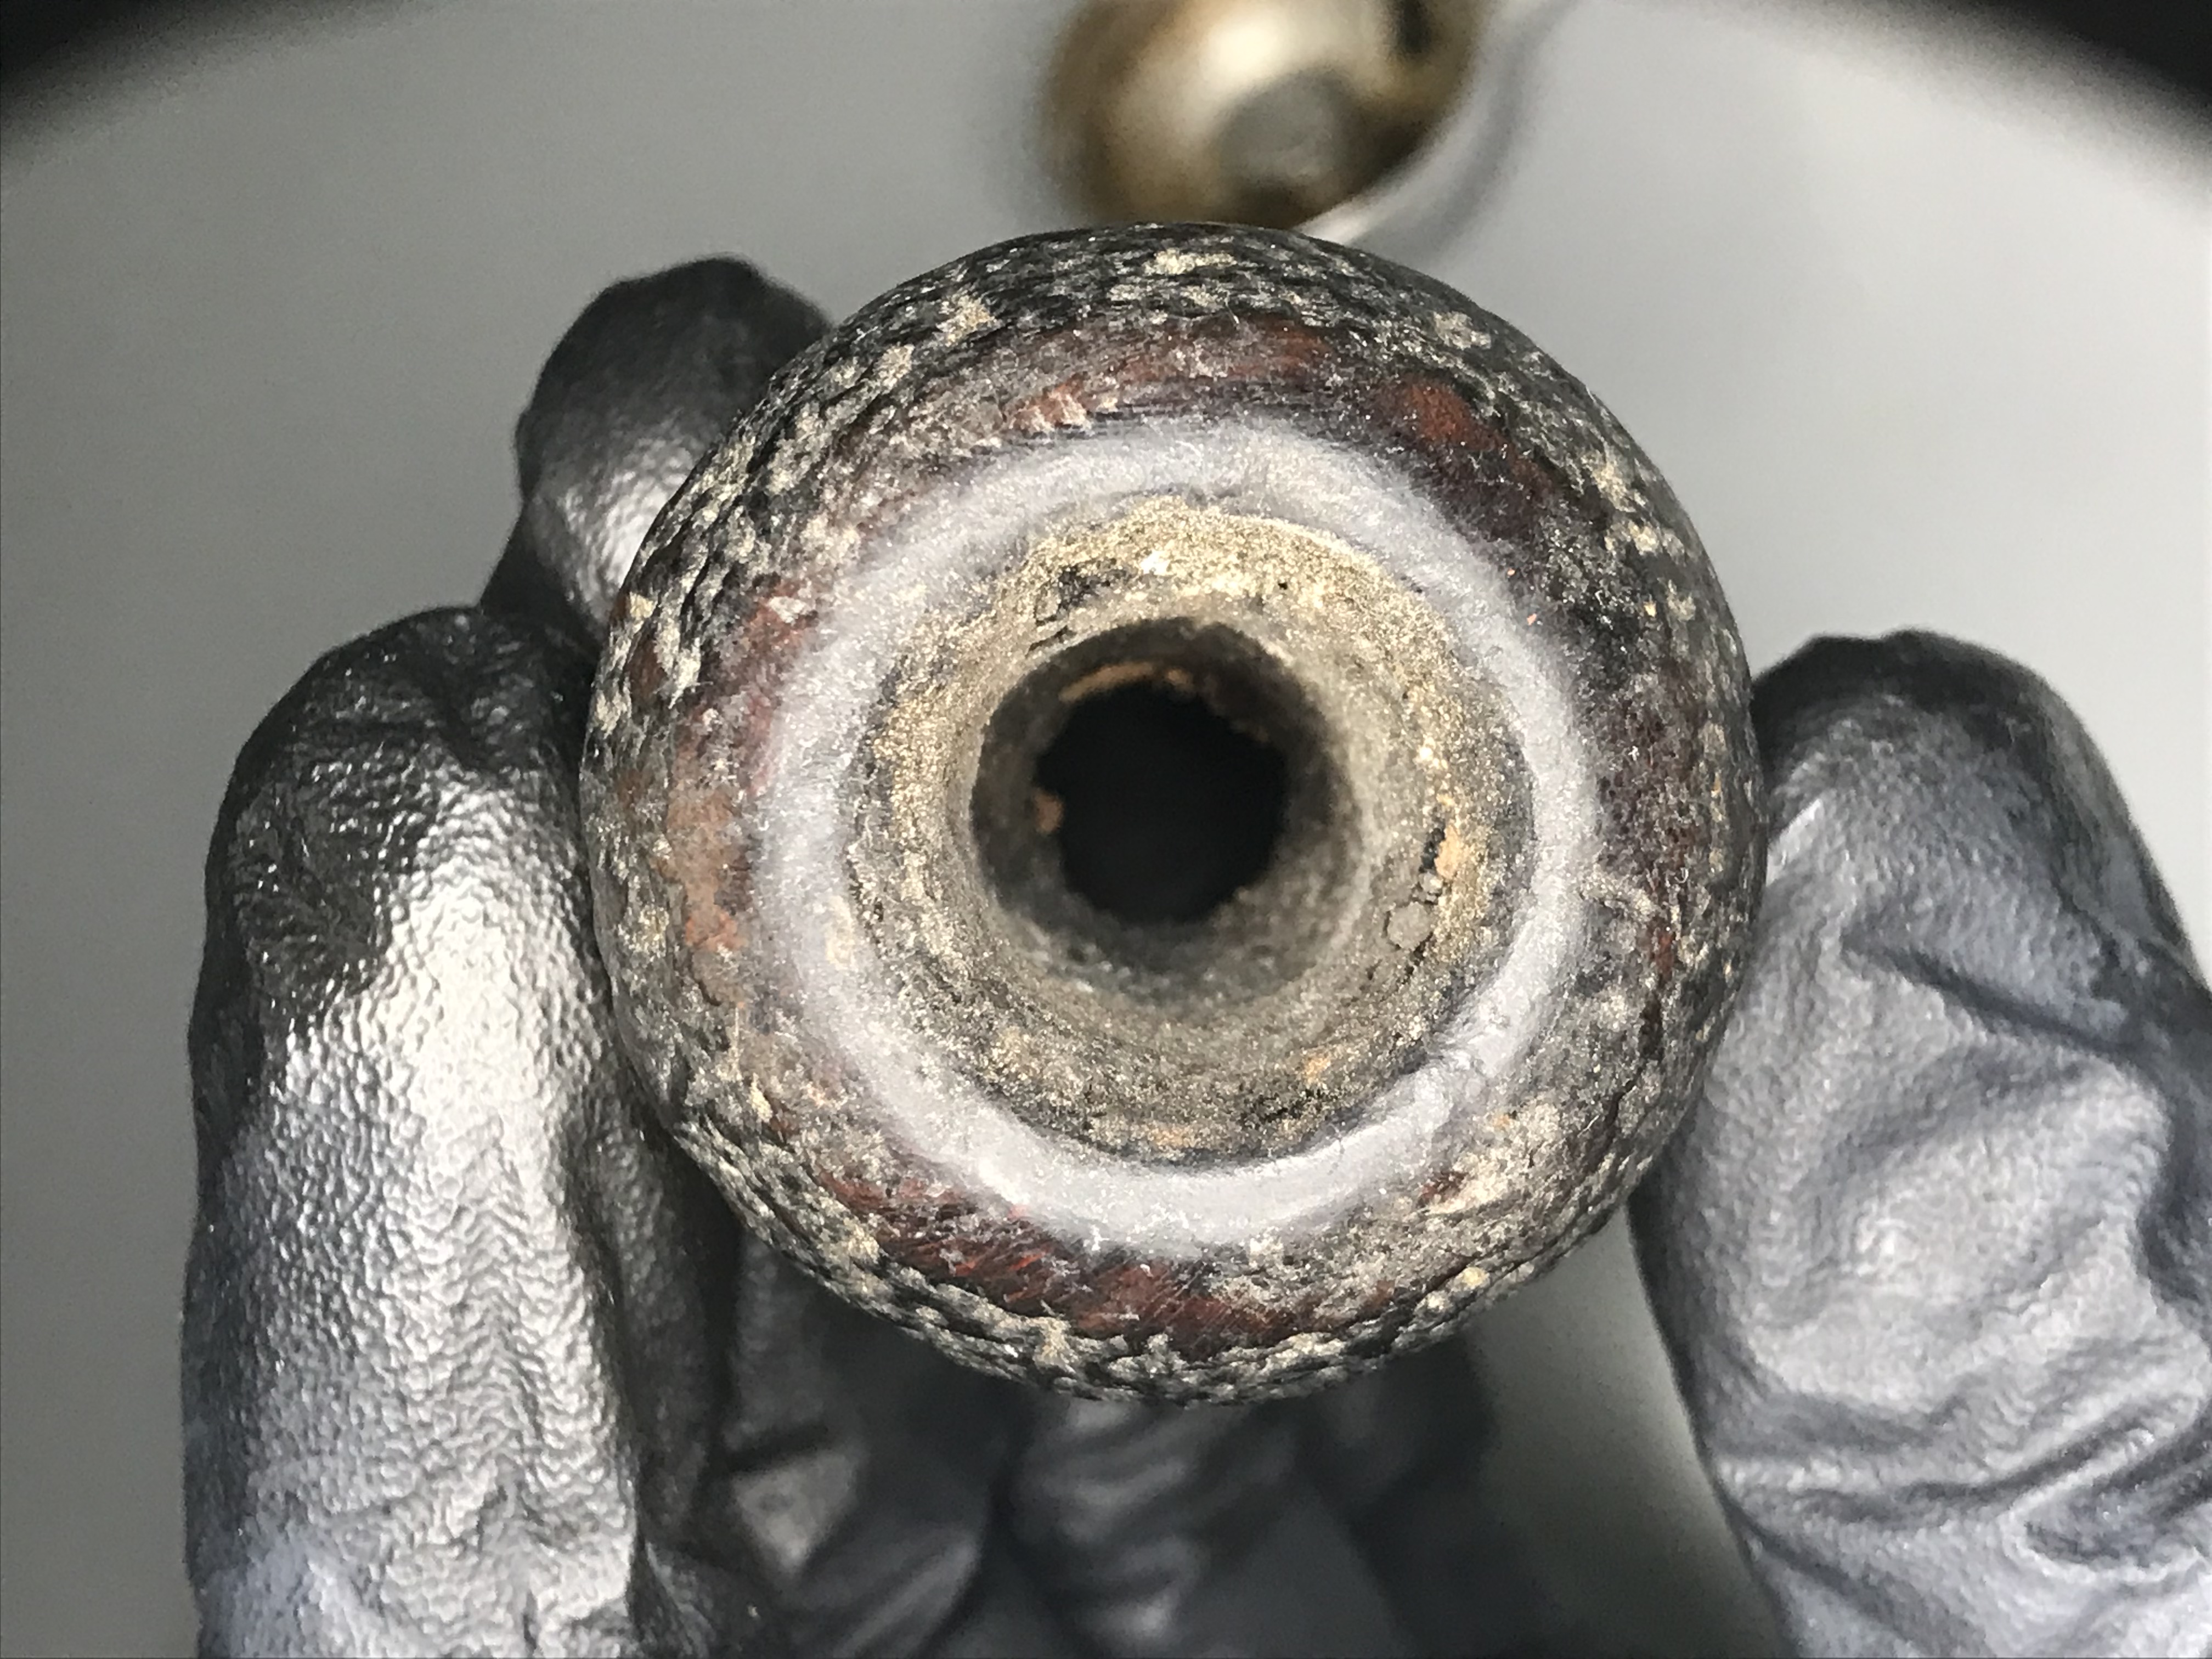
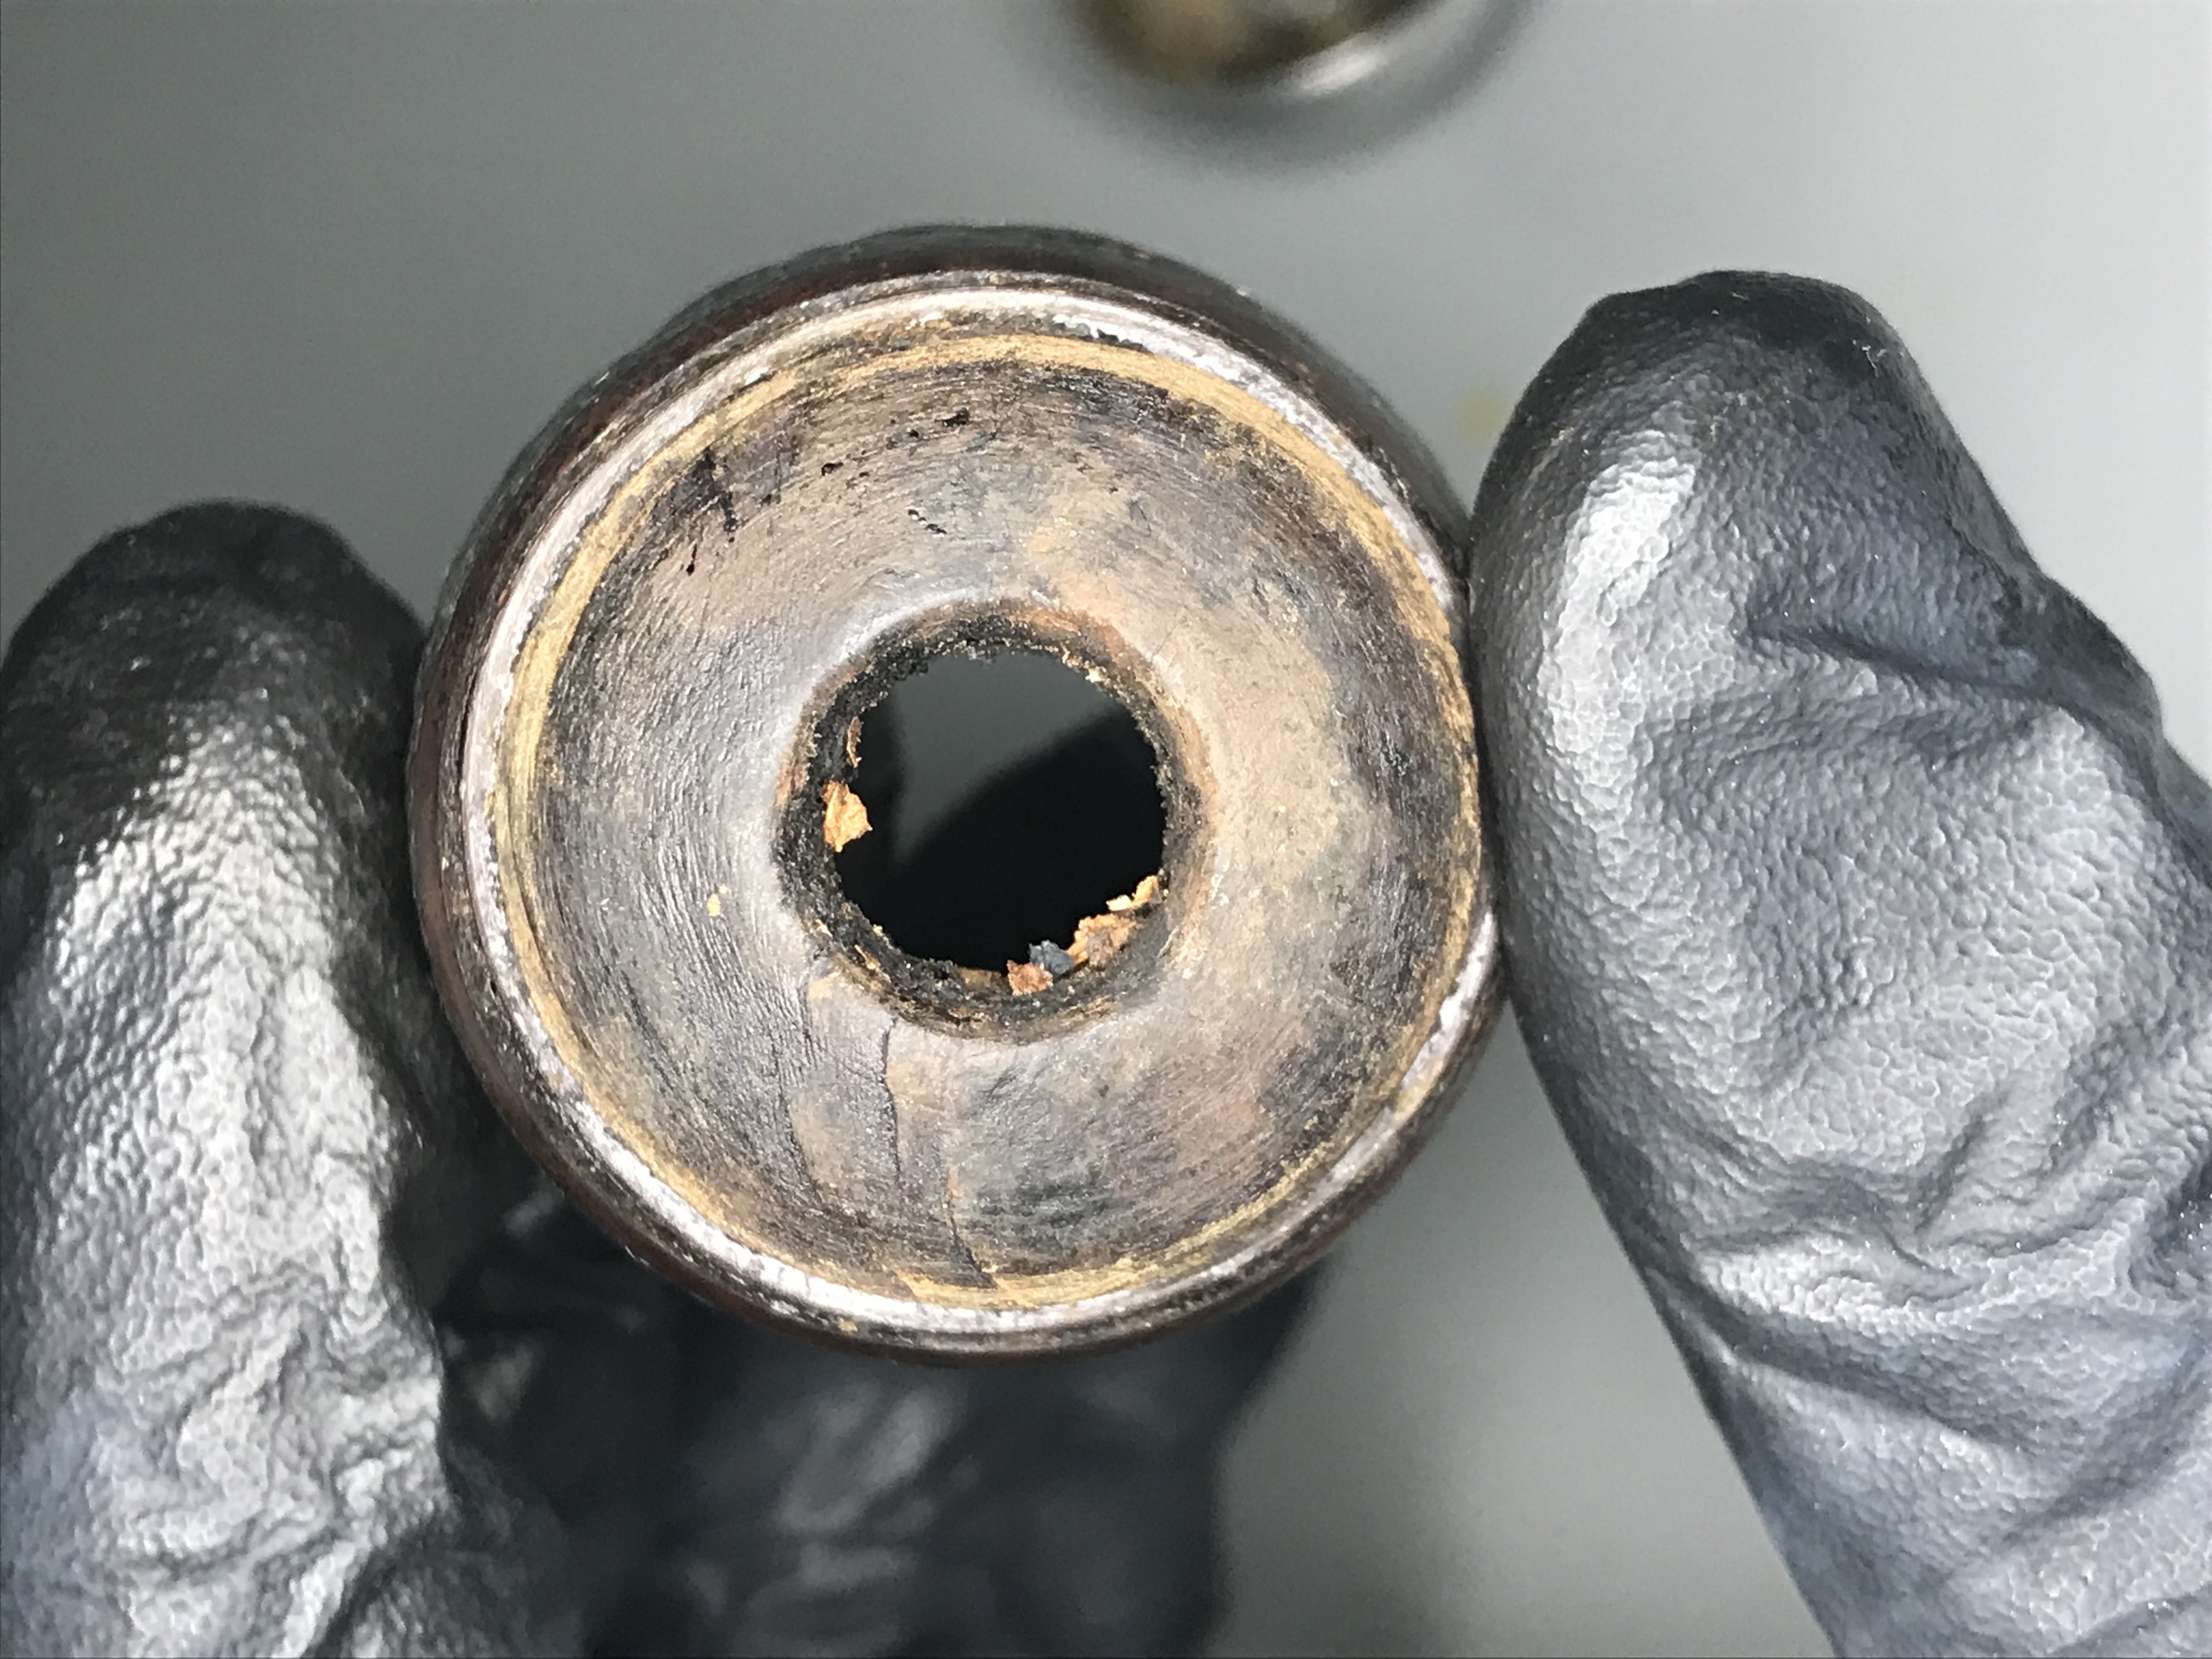
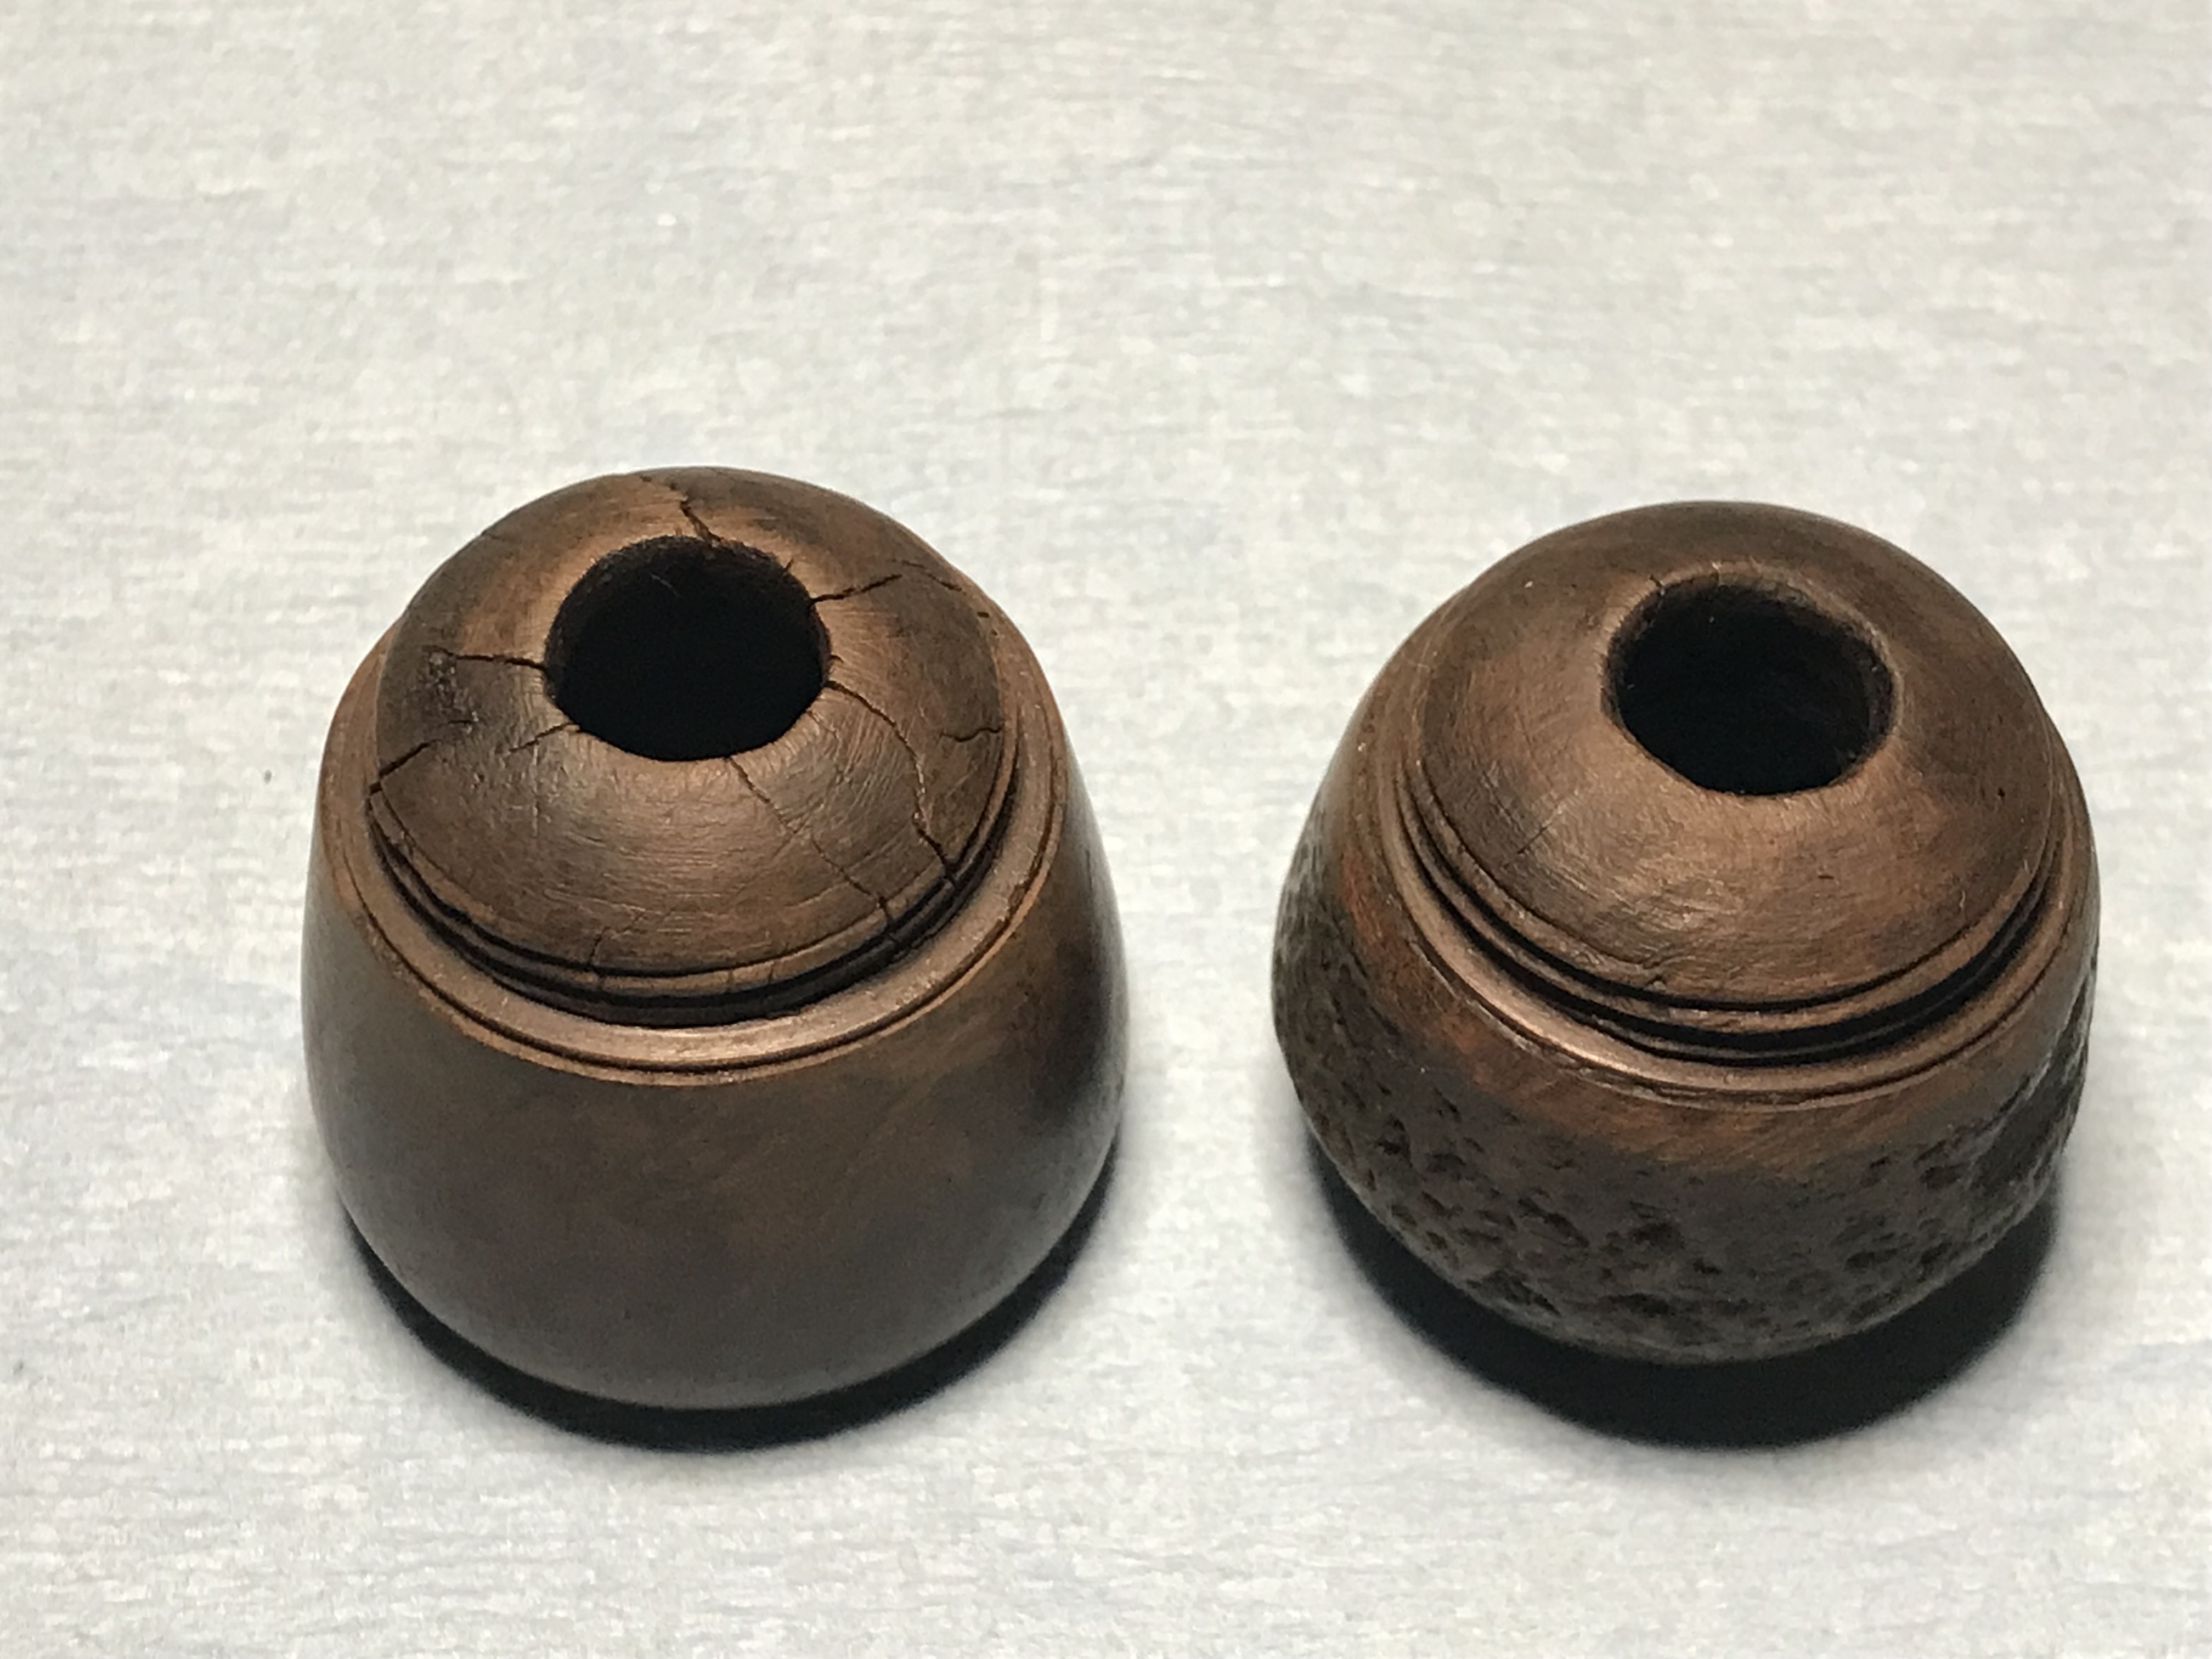
Both of the briar bowls were heavily smoked and had a heavy layer of carbon buildup. The finish of each bowl were worn off and covered with dirt and carbon buildup as well. The base of the briar bowls both had cracks in the bottom. The cracks did not breach the tobacco chamber but would need to be addressed.
Step 1: Carbon Buildup Removal
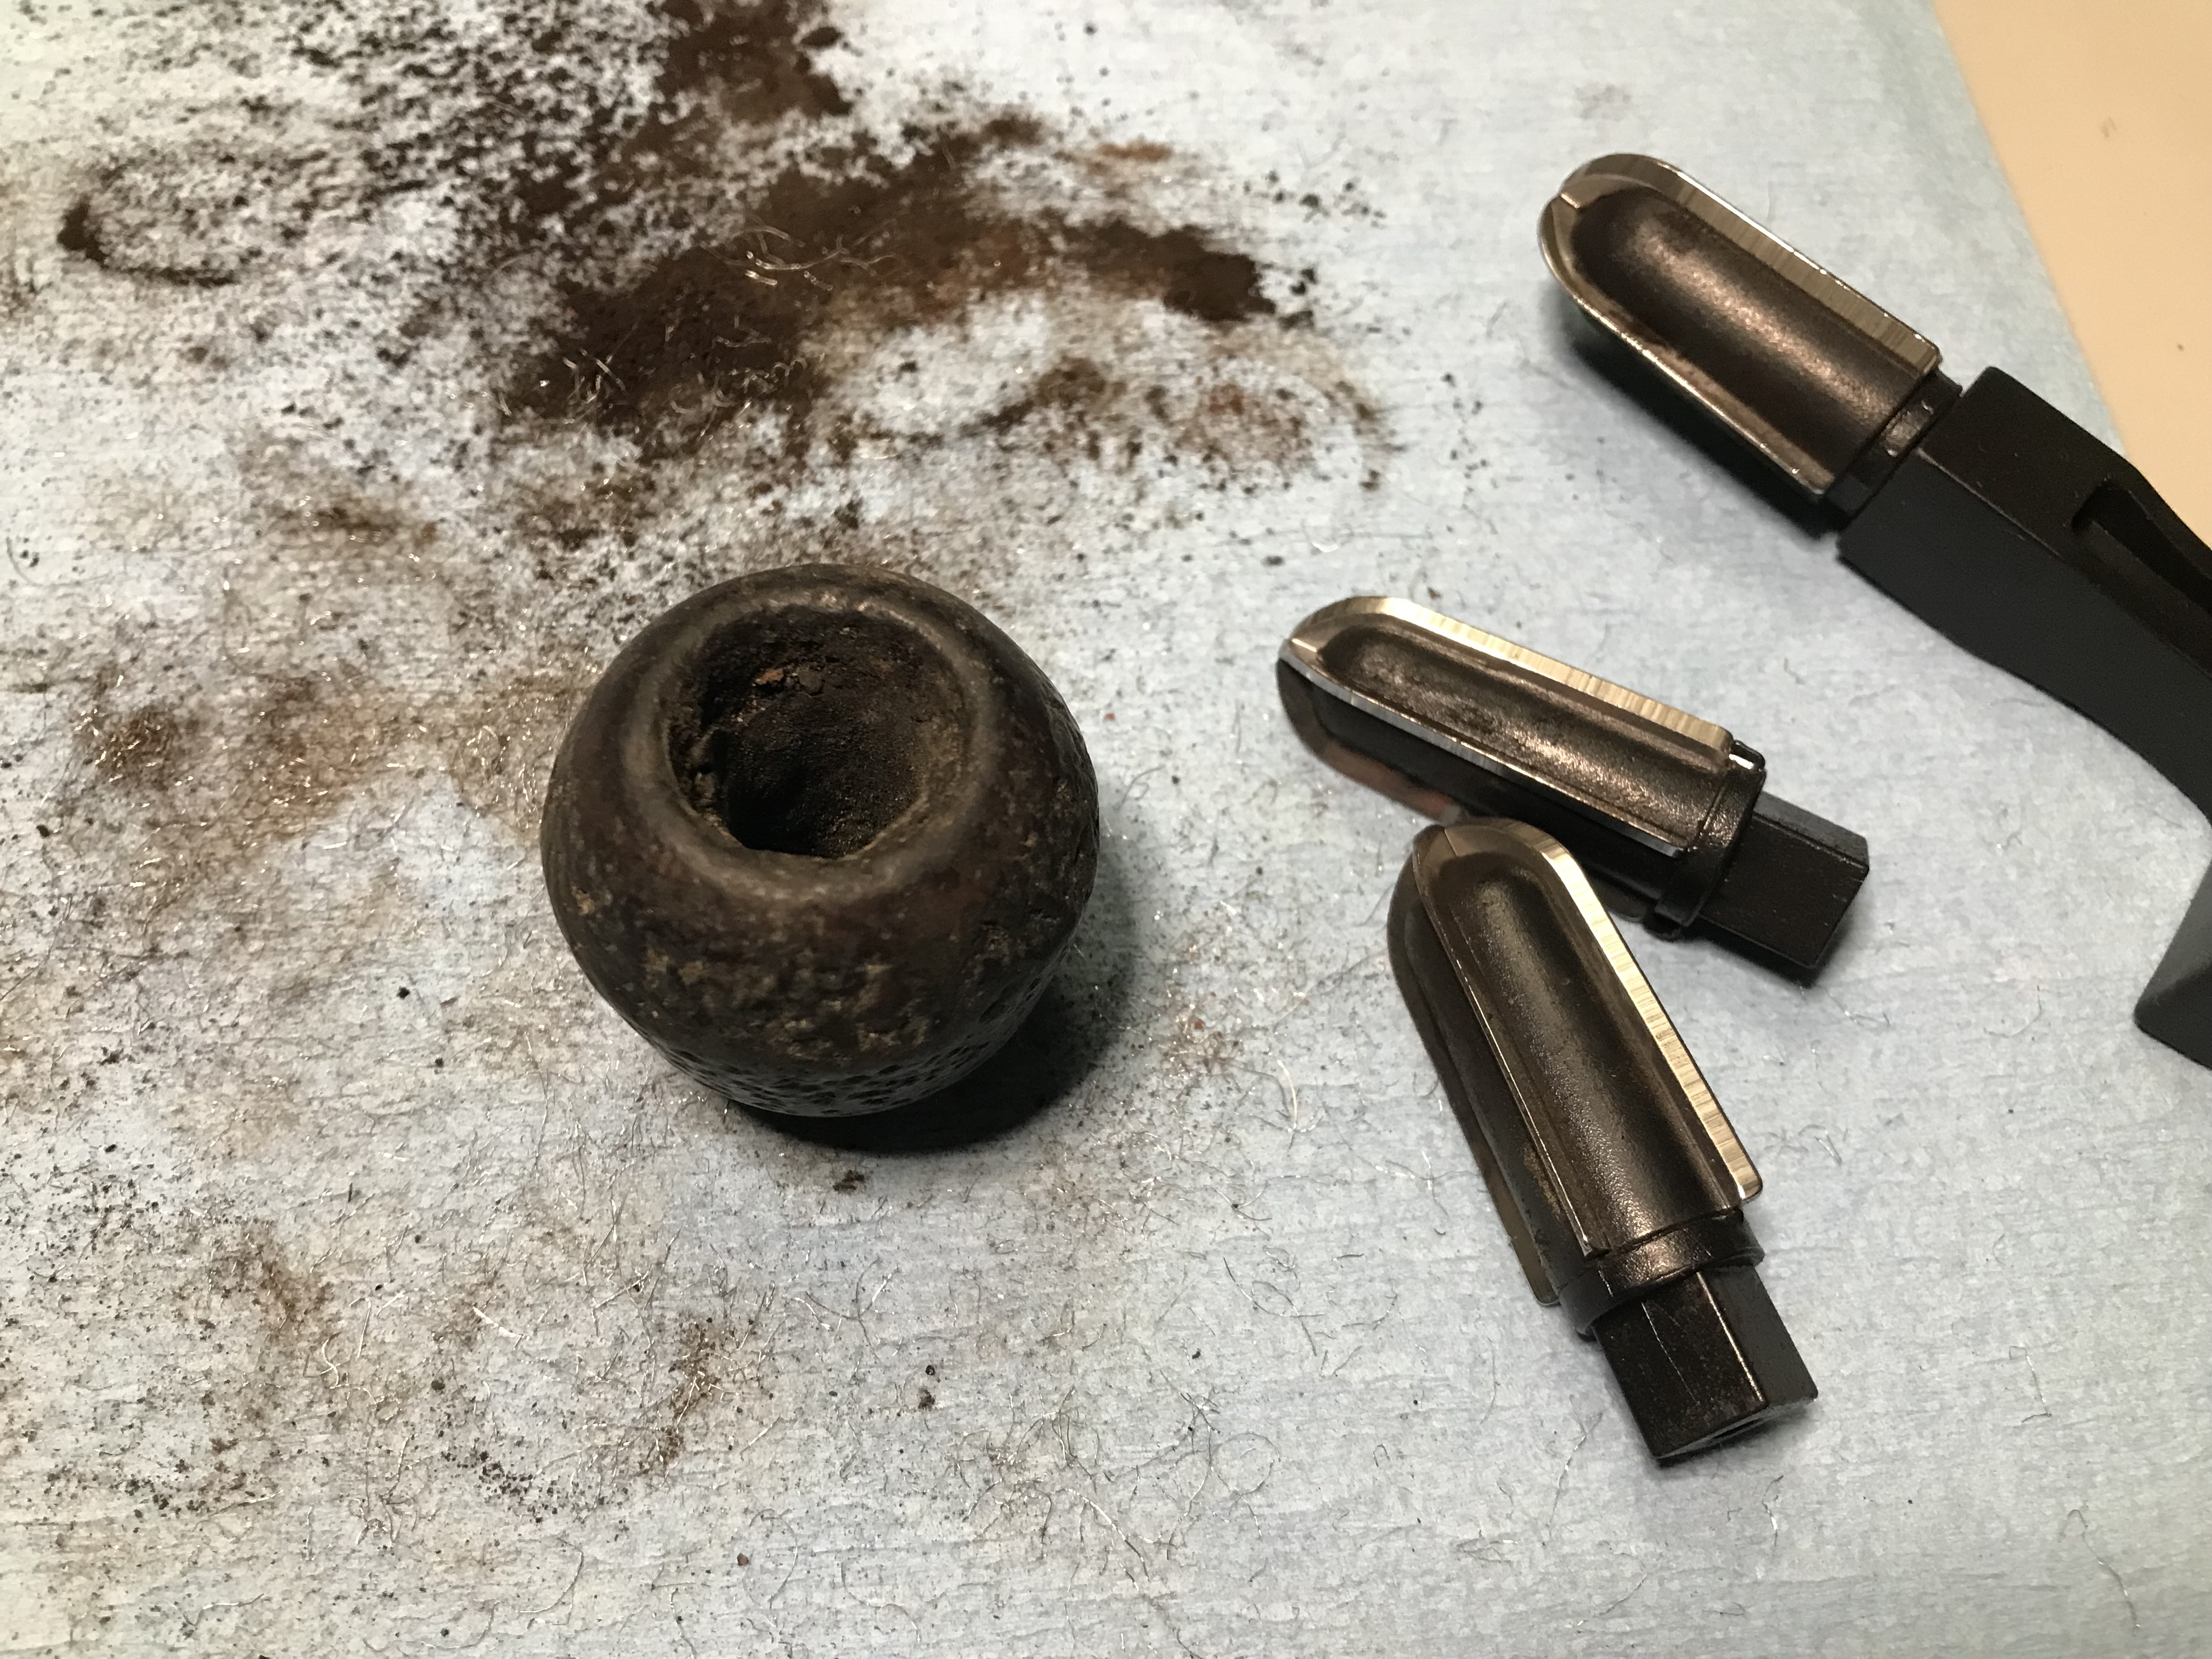

My pipe reamer set made short work of the carbon buildup located in the upper half of both bowls. I used 100 grit sandpaper to remove the buildup at the bottom portion of the bowl.
Step 2: Clean, Clean, Clean


I used some Murphy’s Oil Soap to scrub the briar bowls, then set them aside to dry while I worked on the stems and mouth pieces of the two Falcons.


The “Falcon international” mouthpiece removed quite easily. The body of the pipe was full of solids. The stem of the standard Falcon was completely clogged, I was unable to pass a pipe cleaner through it. I was able to get them both cleaned out using a combination of alcohol and soapy water.
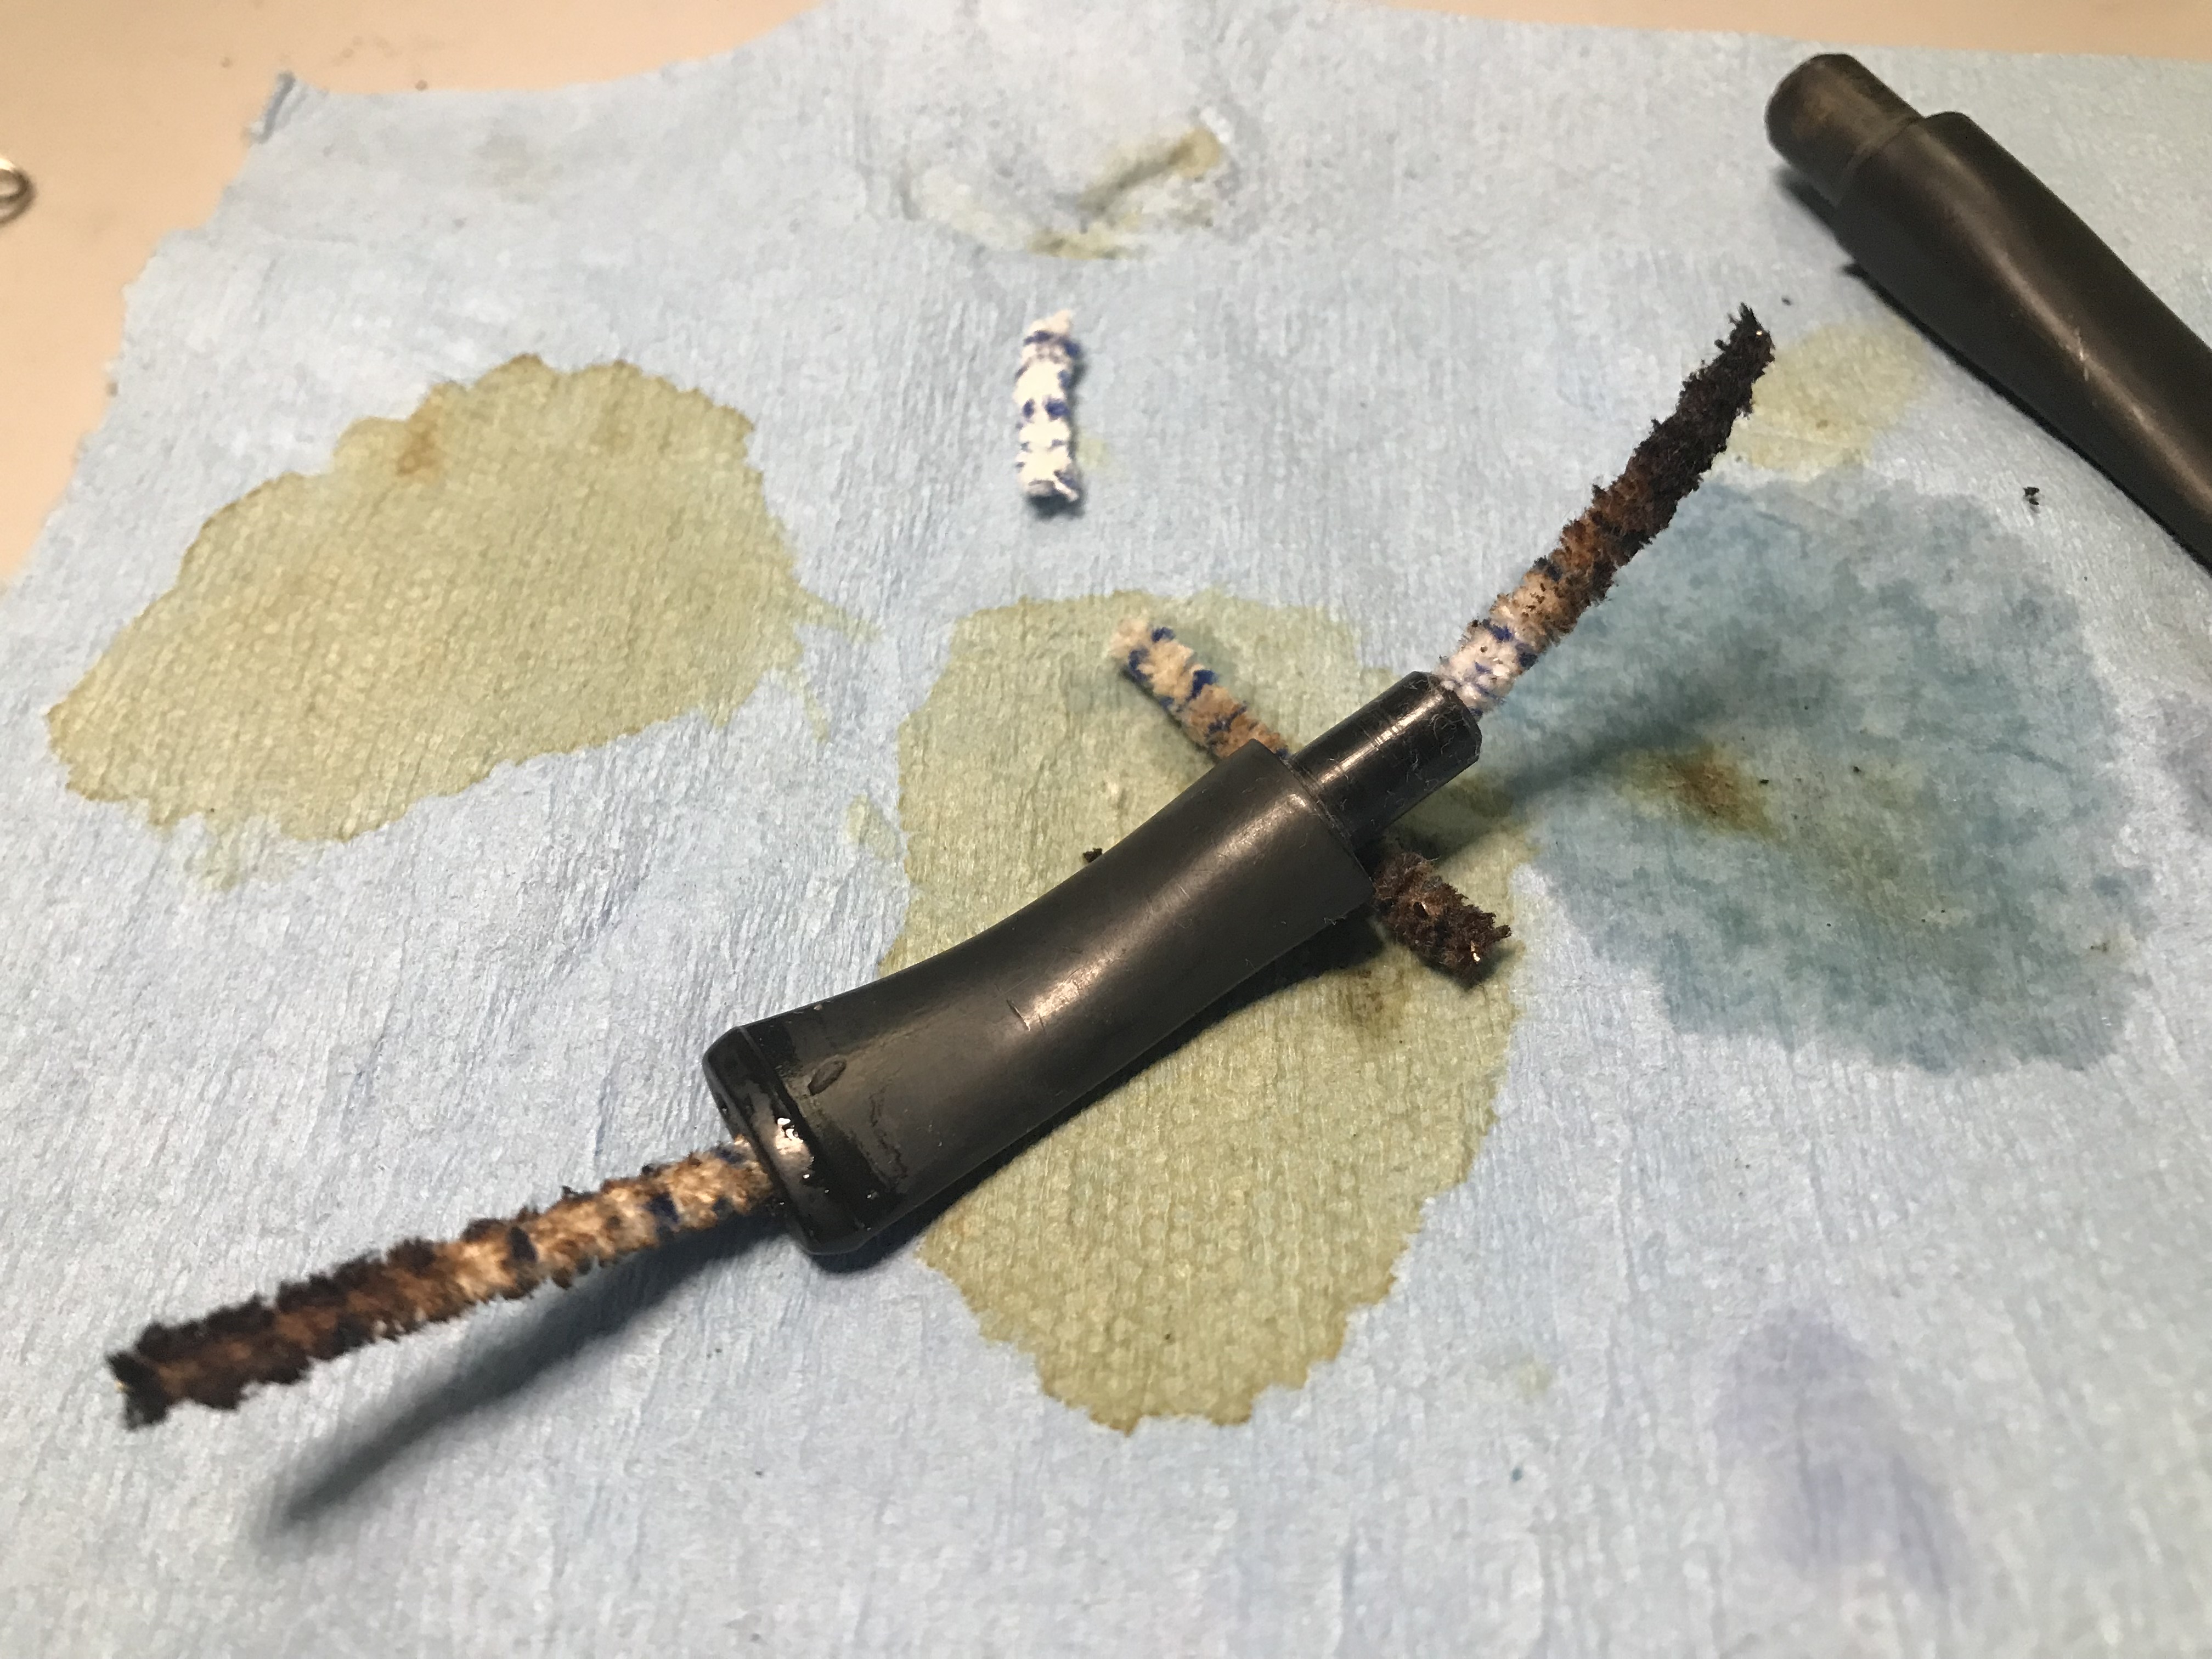

Both mouthpieces were completely clogged. I soaked them in alcohol to loosen the solids in the stems, and used hot soapy water and a dental tool to pull the grime out of the mouthpieces. In the end I was able to get them completely clean.

I used steel wool to ream the metal bowls of the stems, then used more alcohol to clean the stems, and mouthpieces to an acceptable standard.
Step 3: Repairs
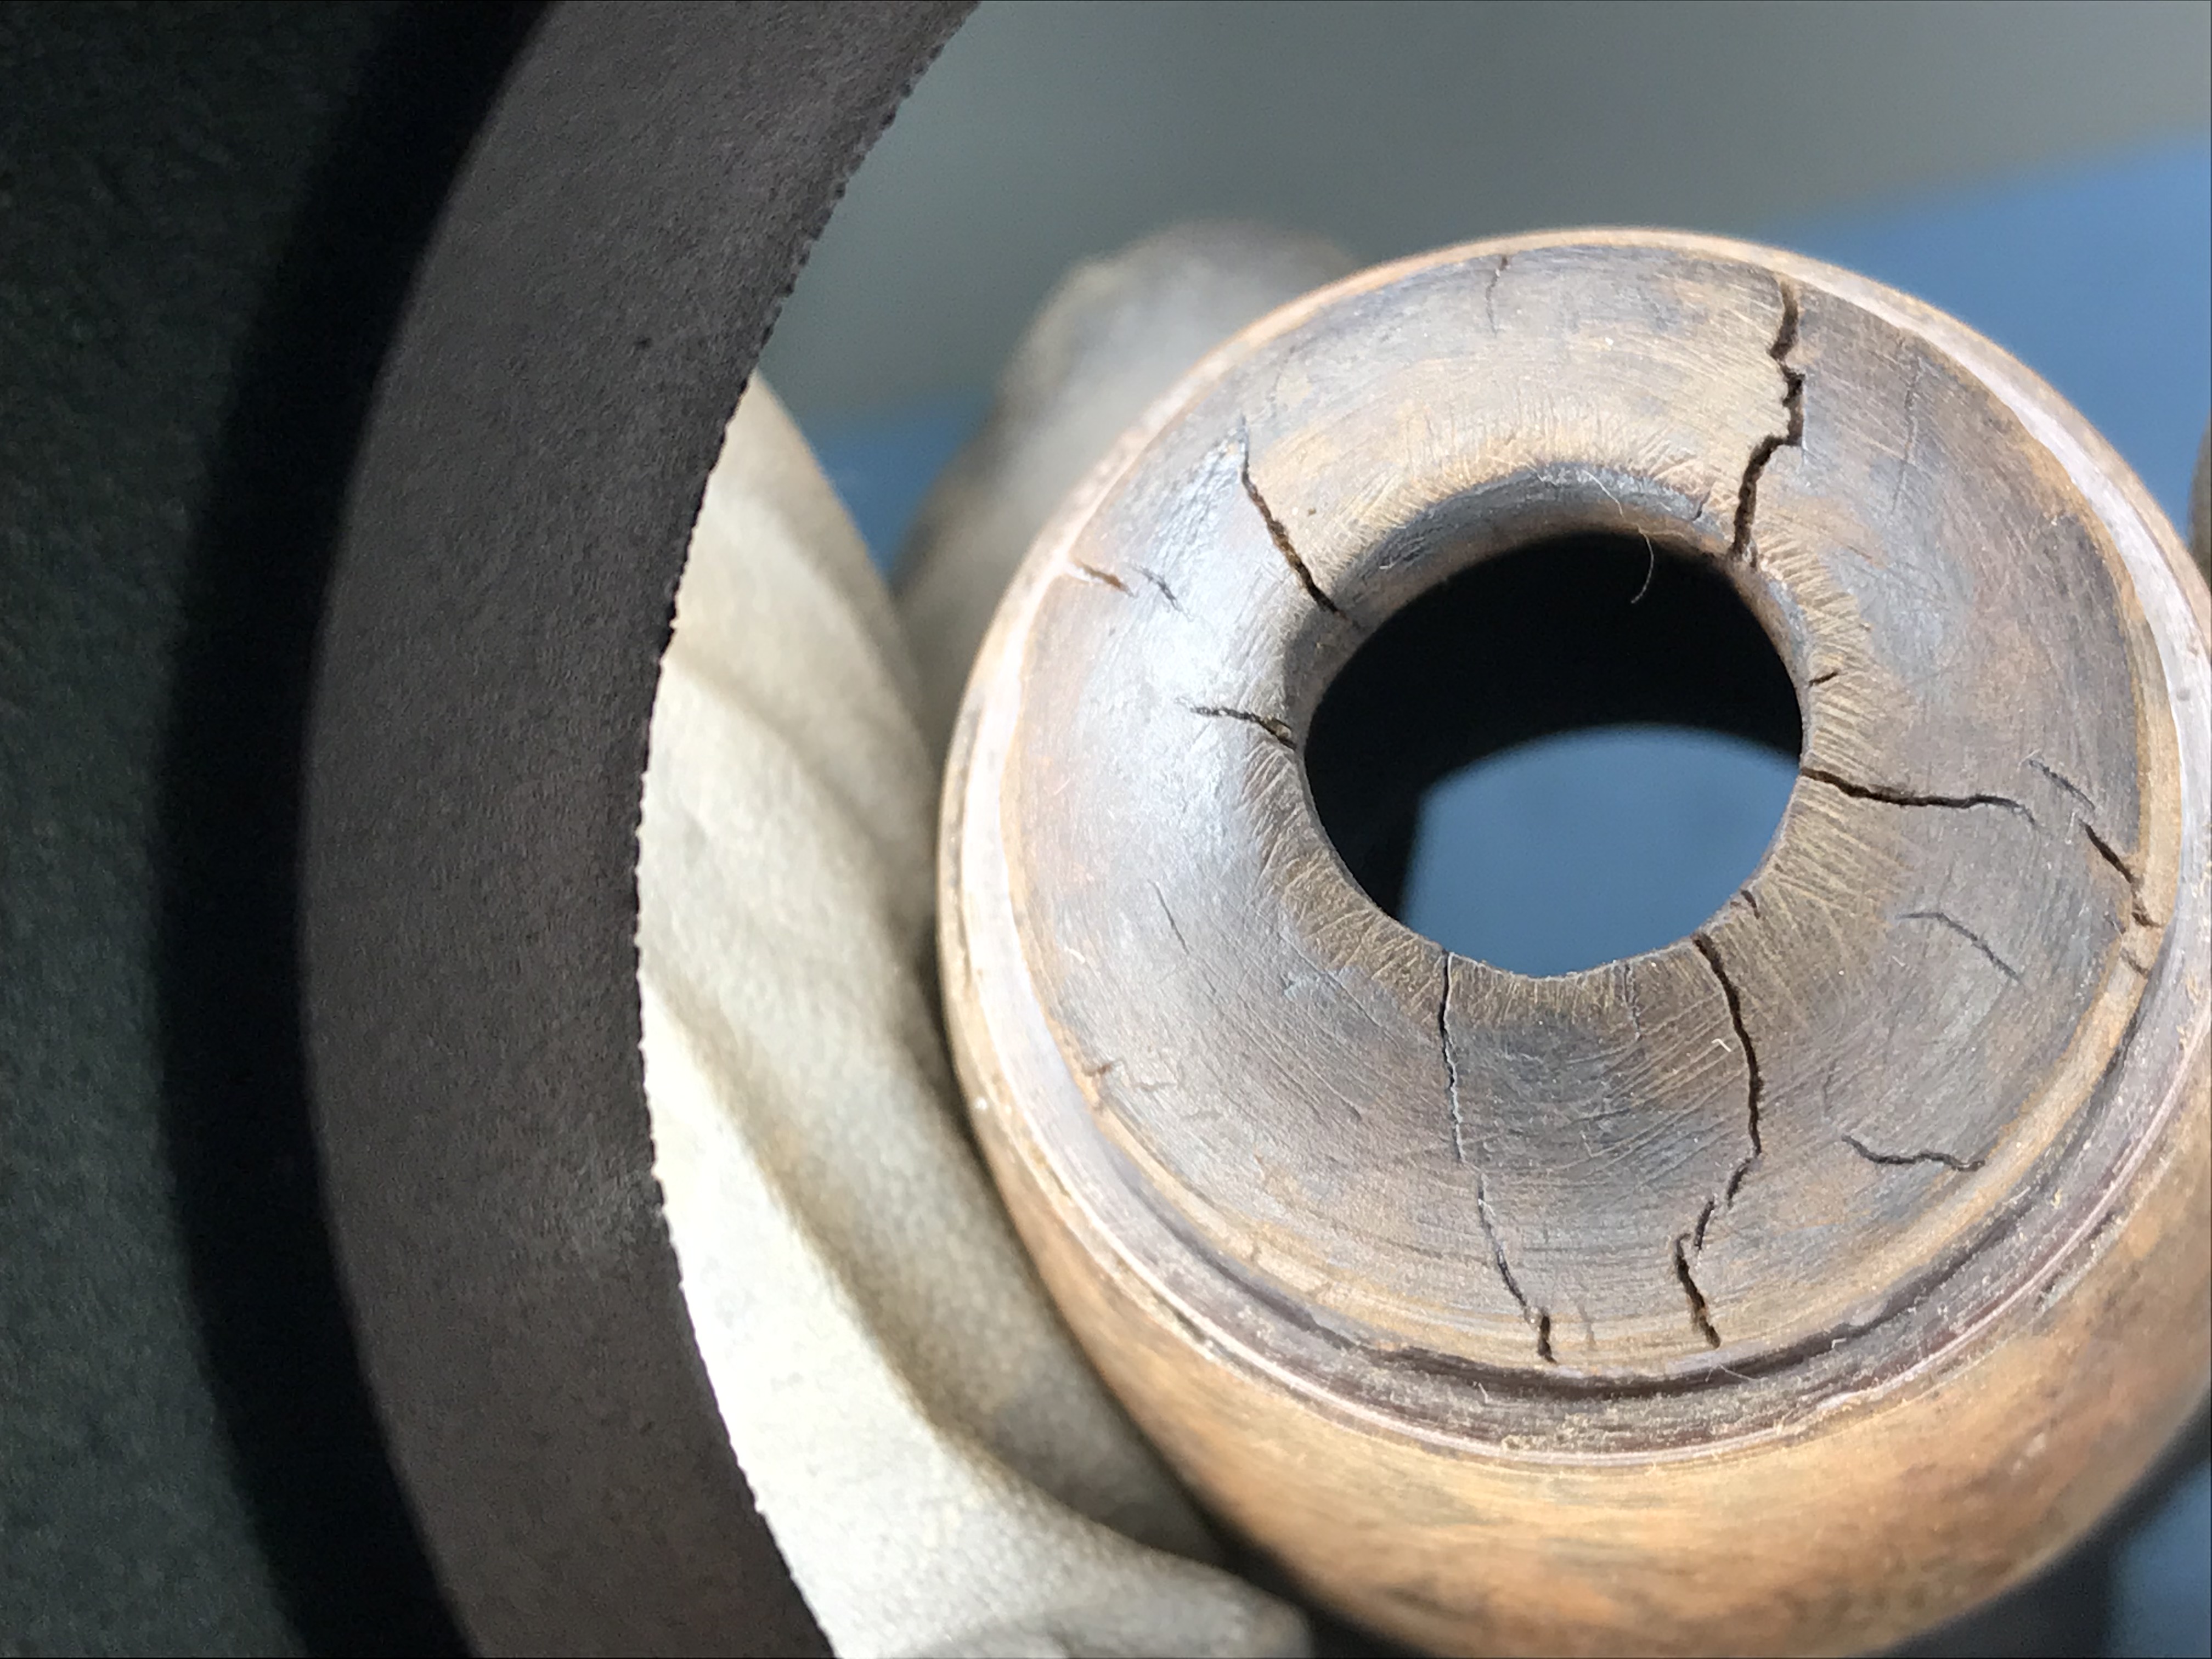


Both briar bowls had cracks in the base of the bowls. Oddly they didn’t breach the walls of the pipe at all. I filled the cracks with an adhesive product called “Chair Doctor” using a syringe. It will soak into the end grain of wood, swell the wood and then freeze the wood in the swollen state as it cures. A film of dry glue lines the wood cells, preventing contraction. It dries clear and is easy to sand and also heat resistant.
Step 4: Refinishing
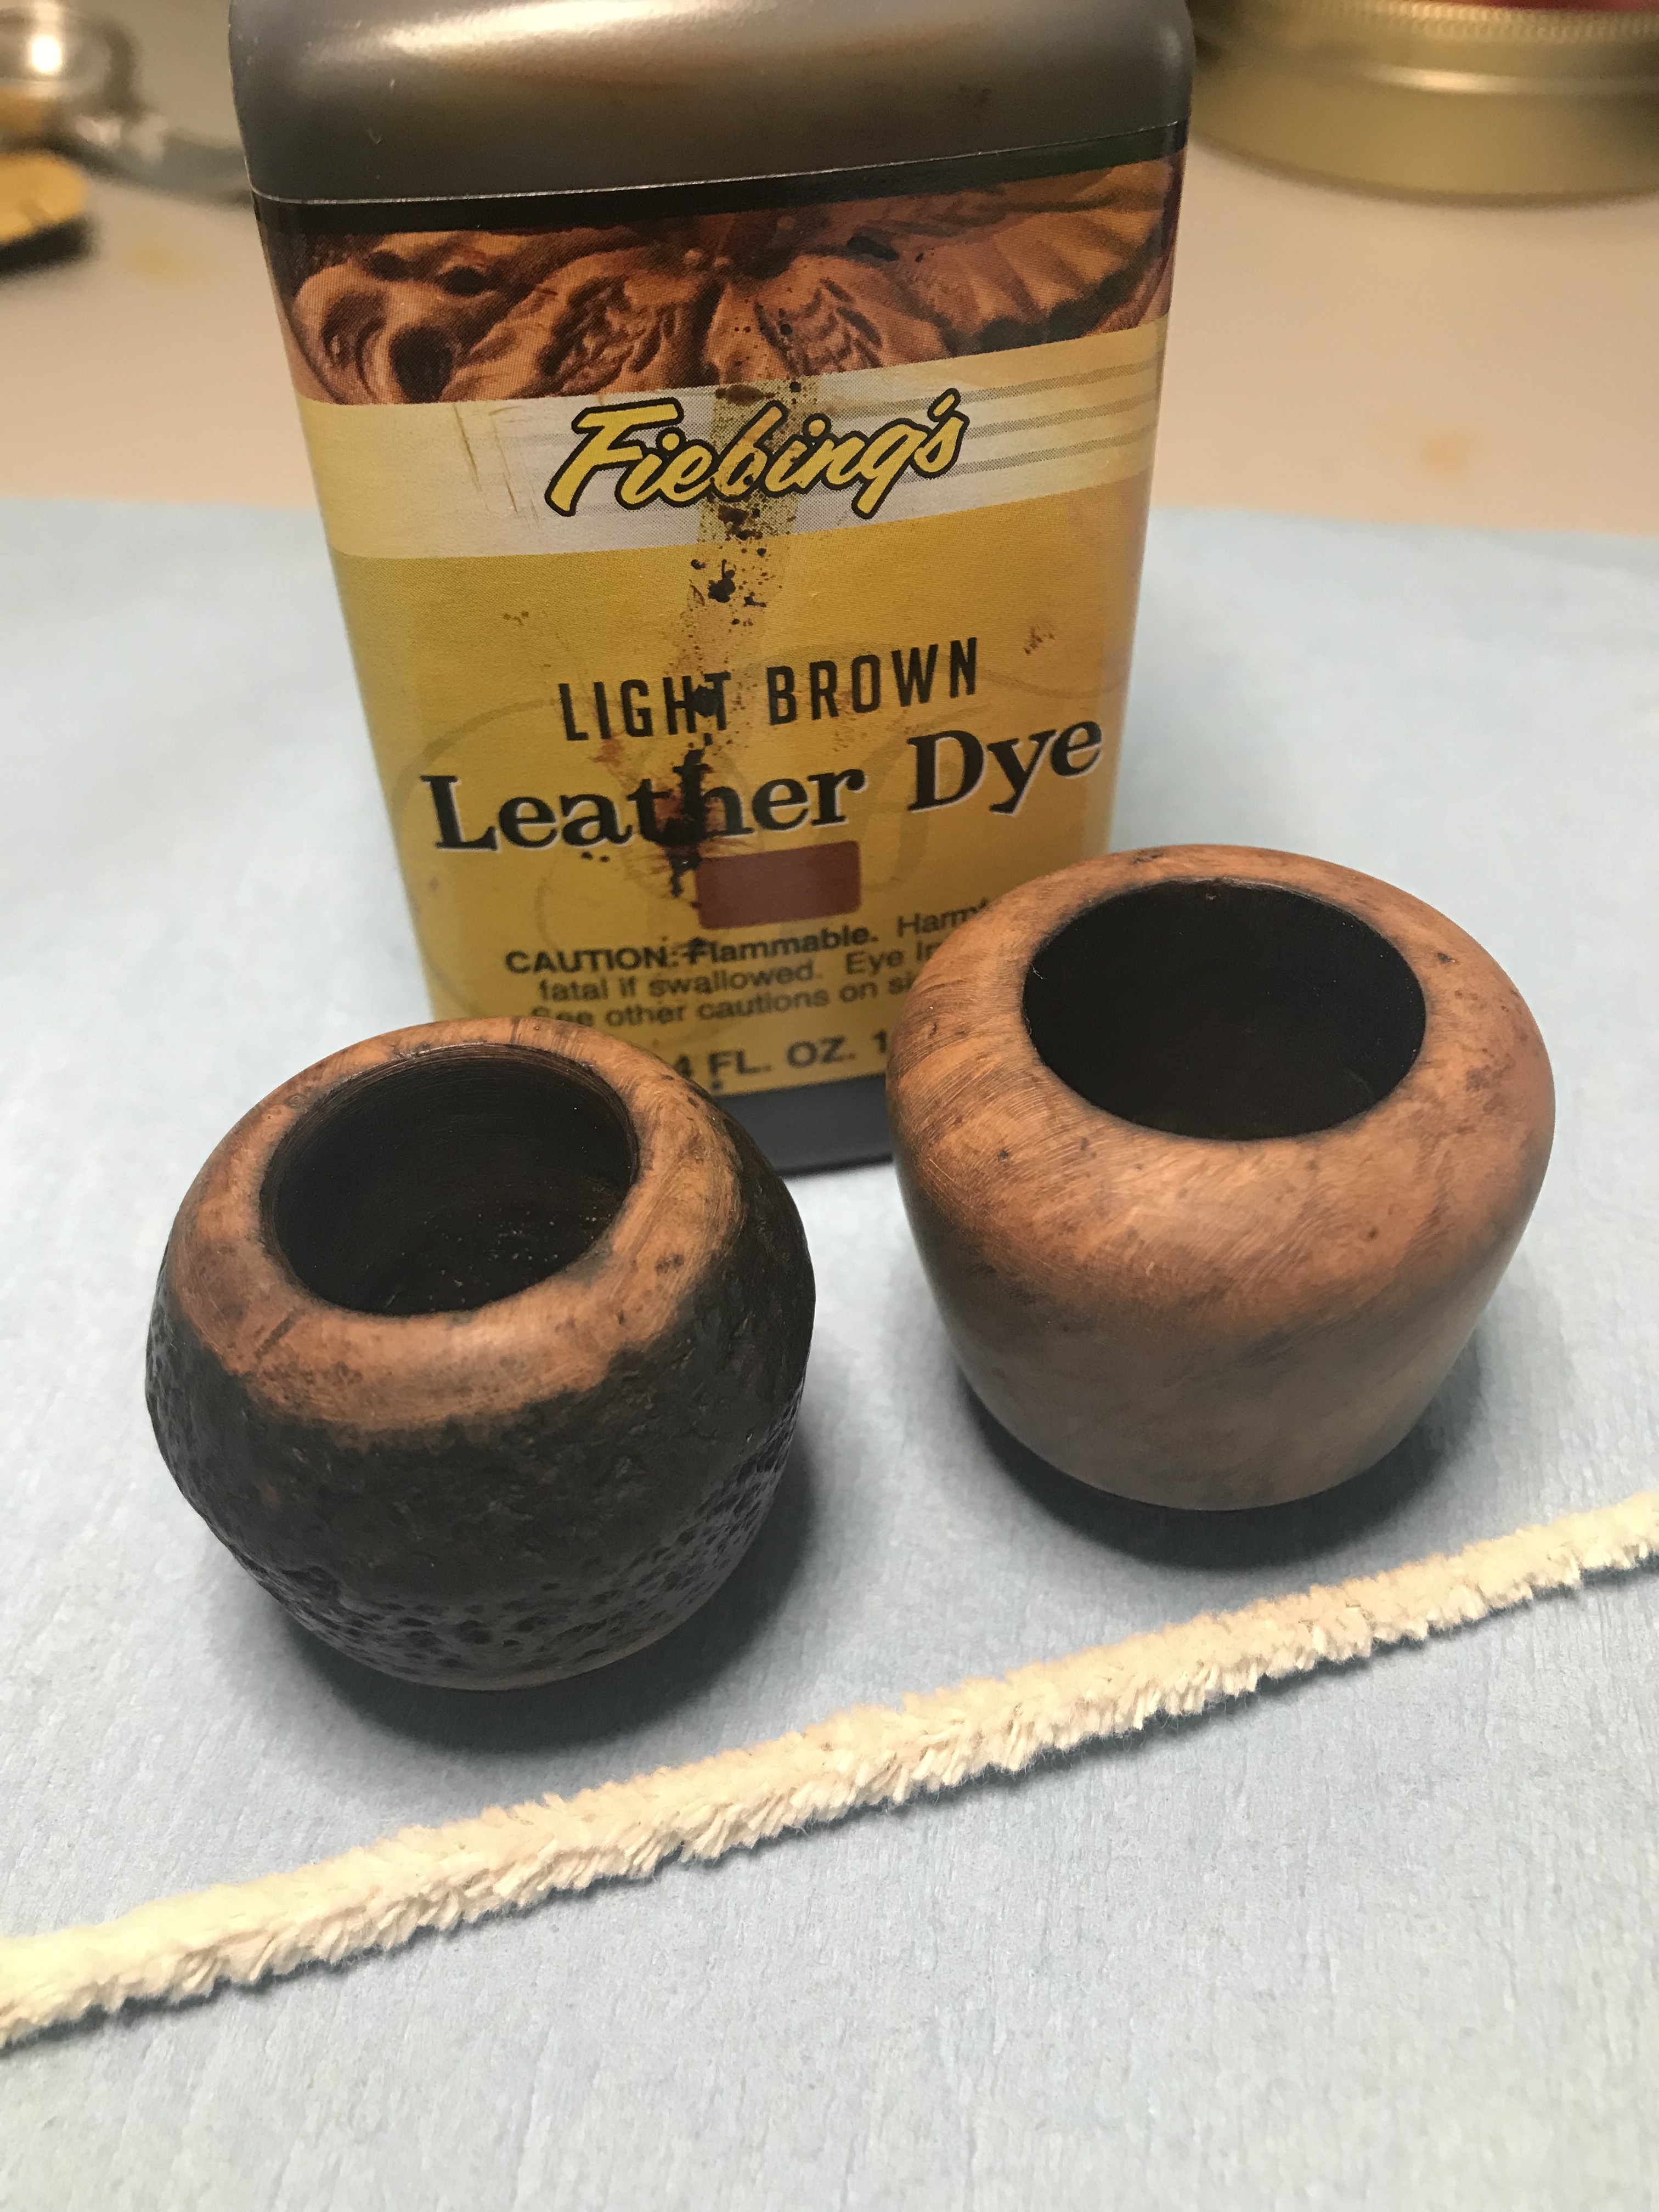
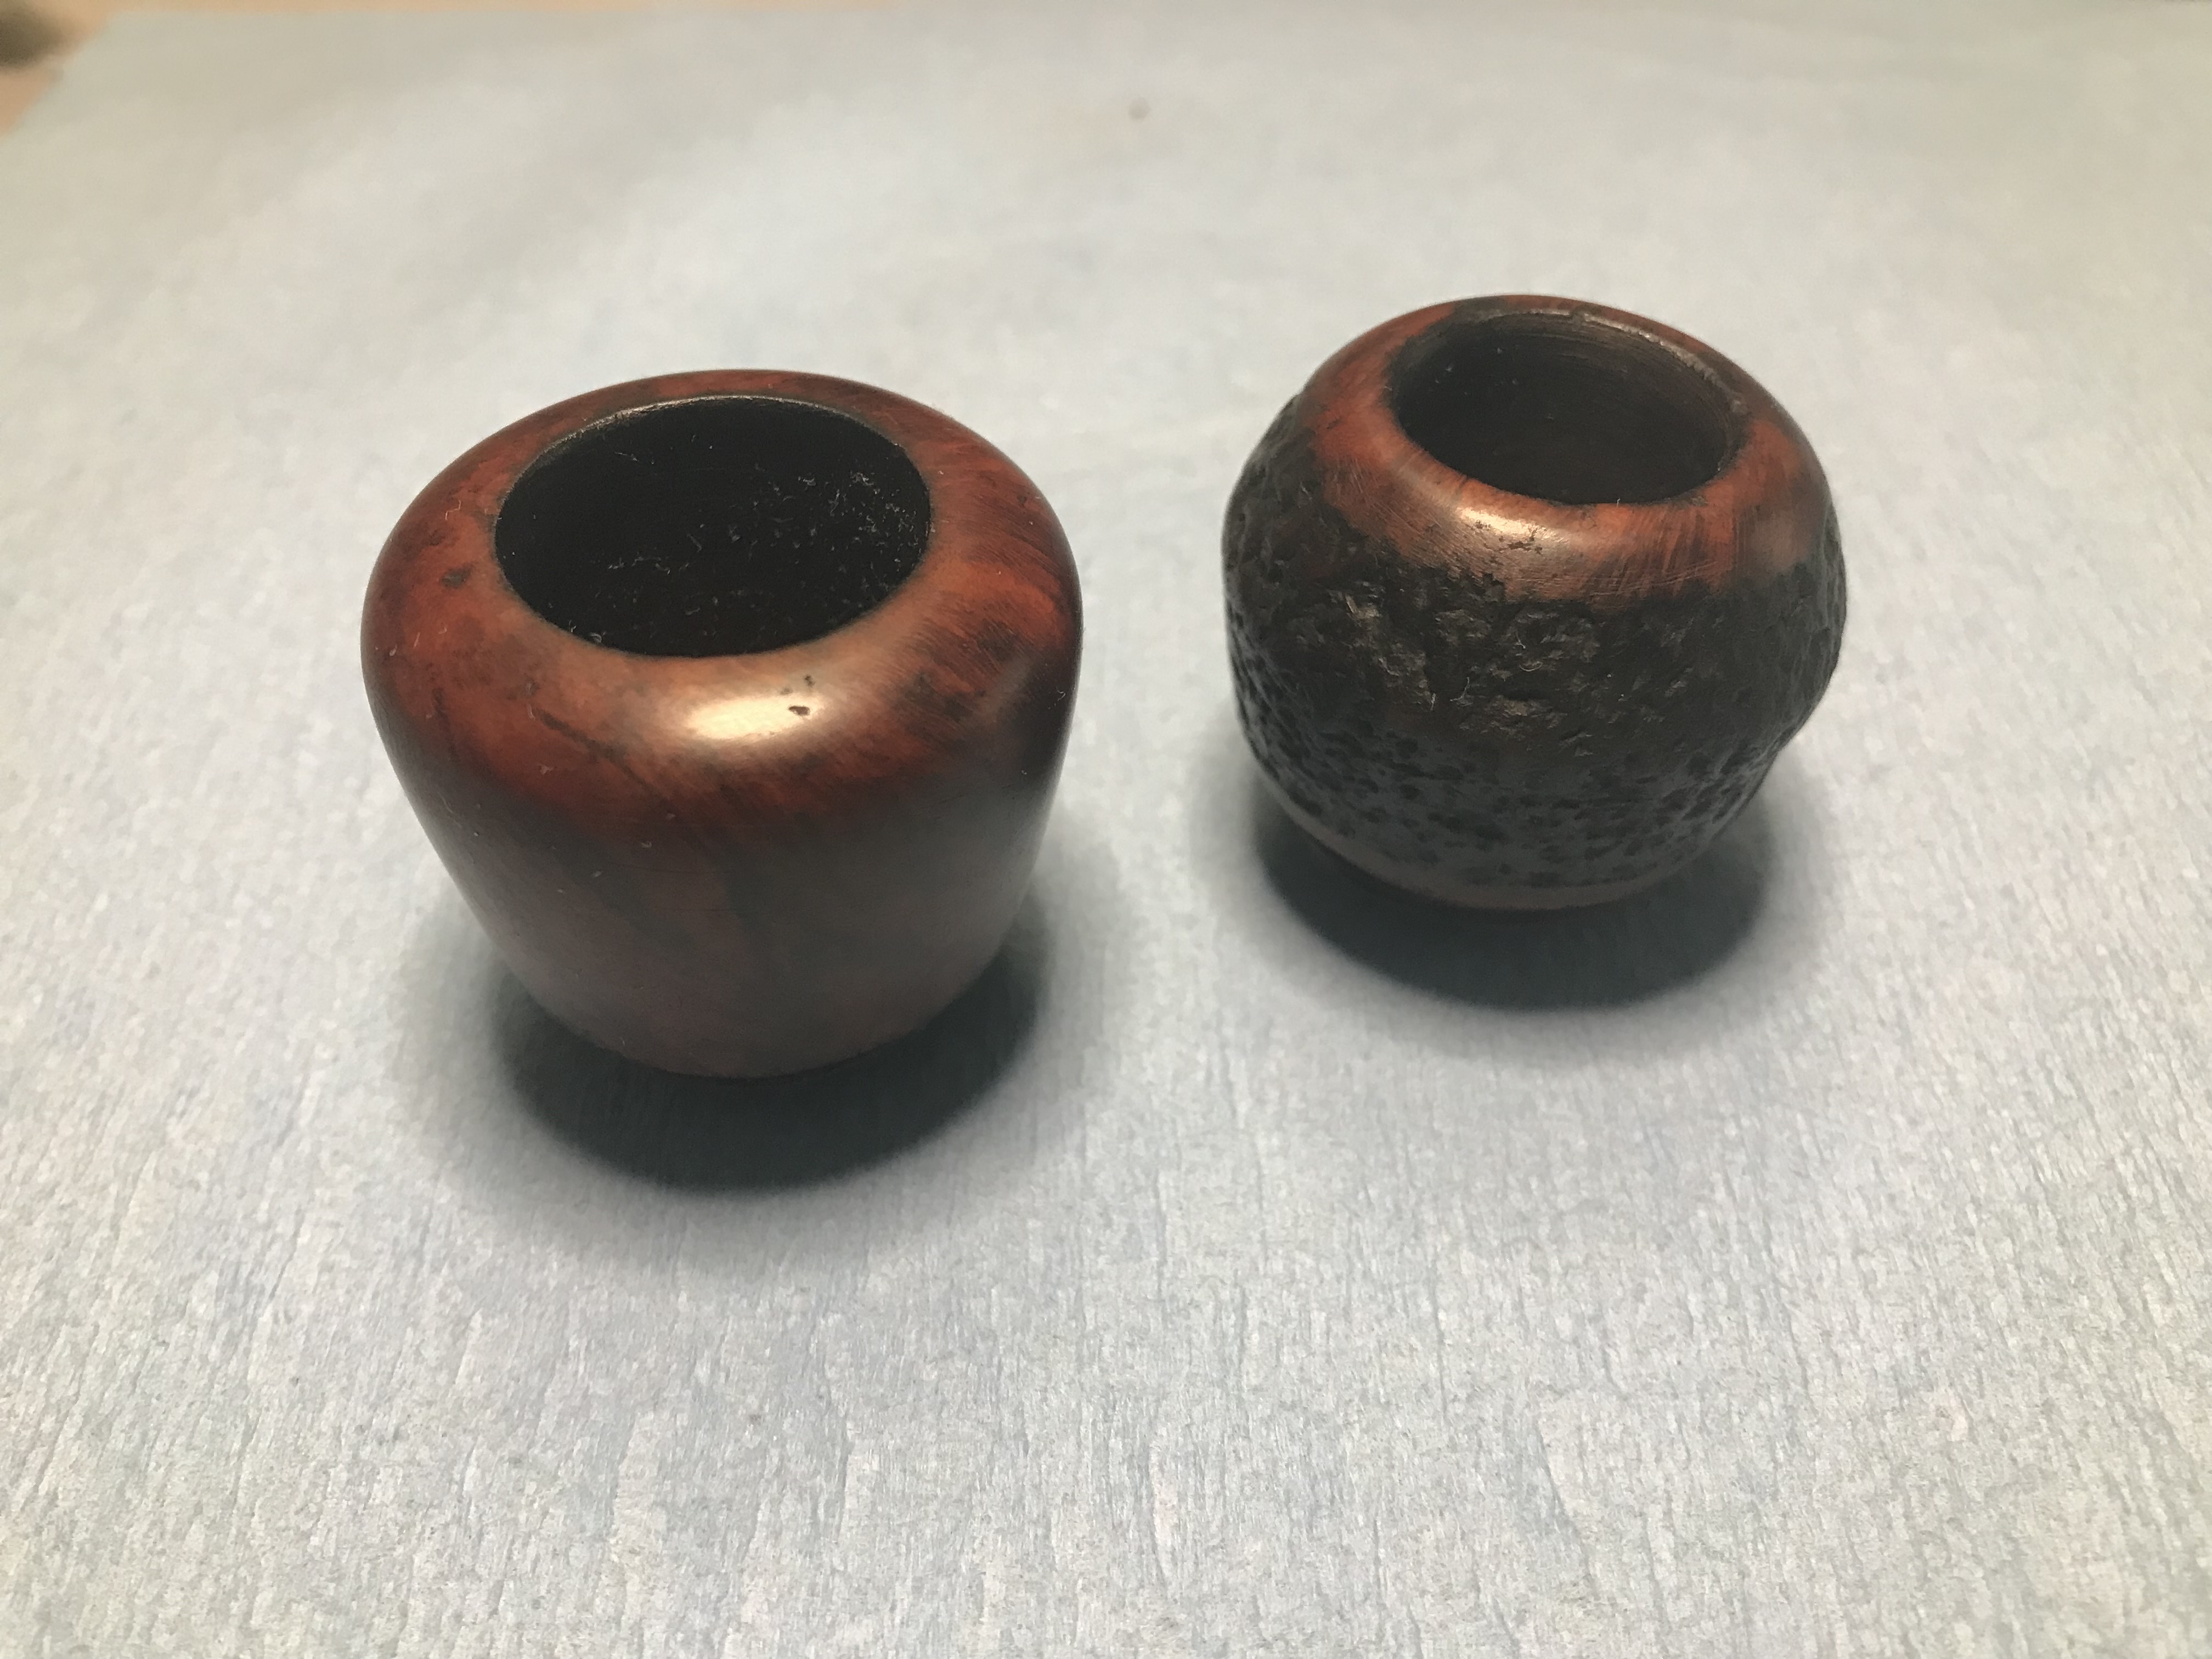

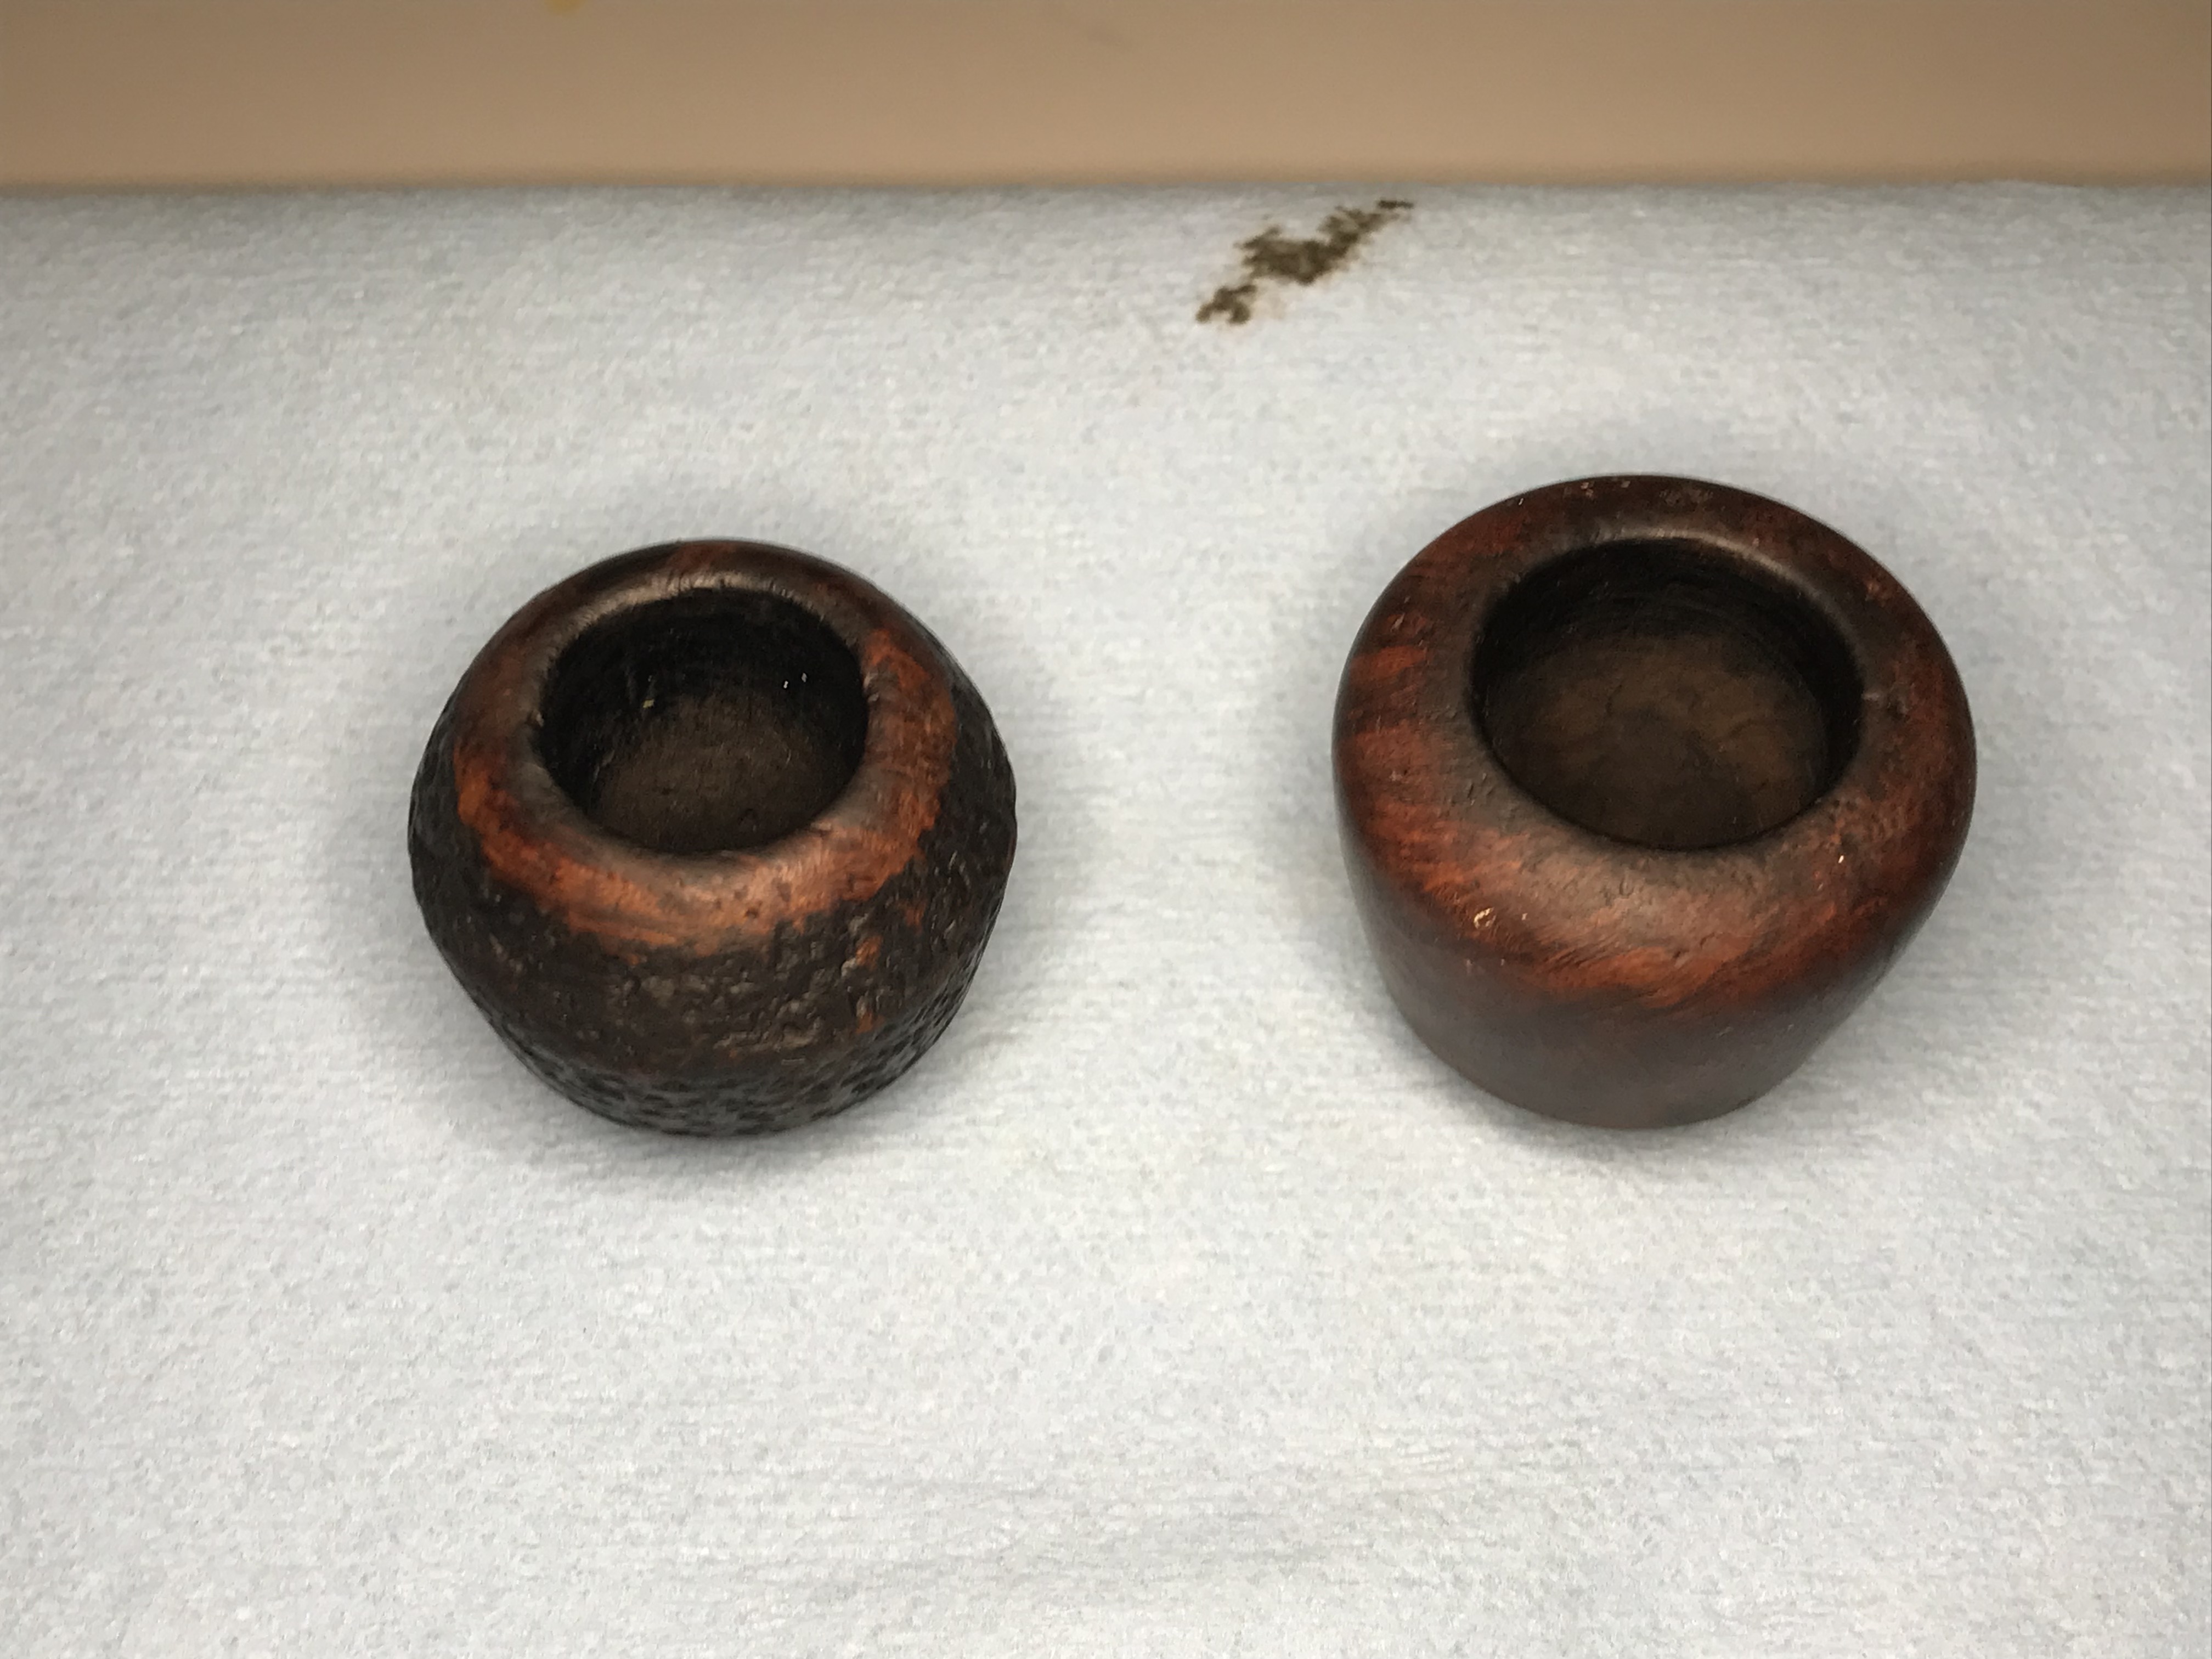
Both bowls needed to be refinished. I sanded the old finish off both bowls but left the rustication alone on the one. I used Fiebings Light Brown leather dye to restore the colour to both bowls. Afterwards I applied a light coating of mineral oil to help set the stain in the bowls. The mineral oil deepened the colour of the stain including the original stain on the rusticated portion of the one bowl.
Step 5: Stem & Mouthpiece restoration
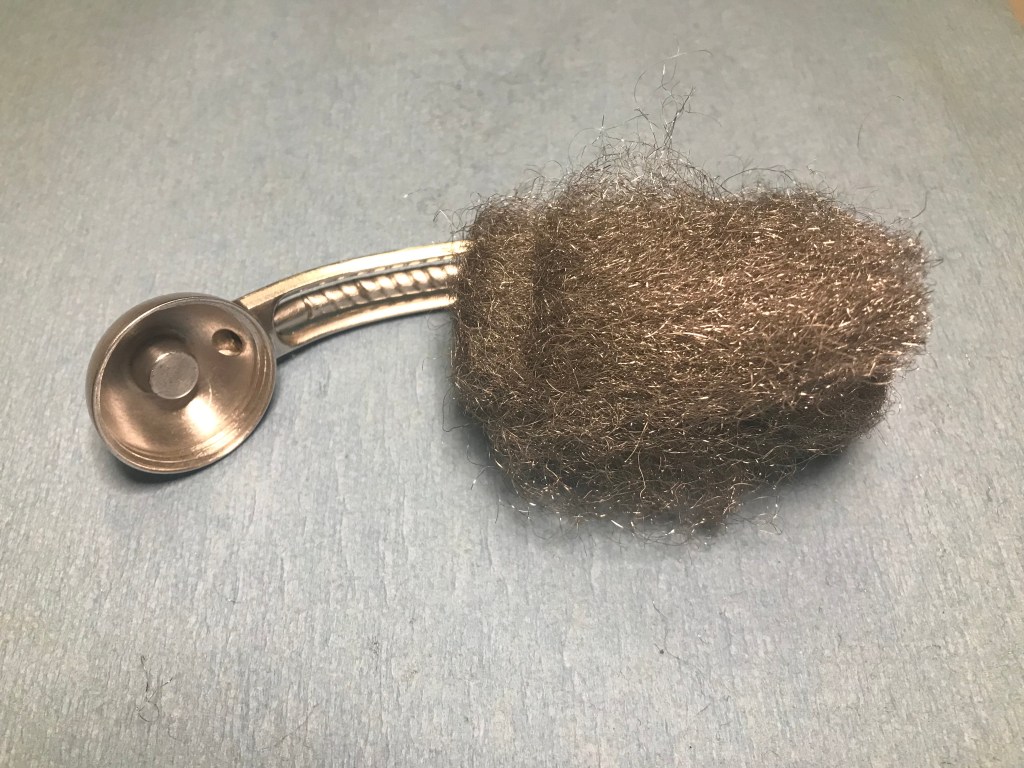


I began polishing the standard Falcon stem with 0000 Steel wool which worked really well to remove scratches in the metal and get it ready for further polishing. Next I used my microfibre pads and sanded the stem from 1500 – 12000 grit. Lastly I used my rotary tool and a buffing wheel to polish the stem with white diamond. The stem was like chrome when I finished, it looks amazing.

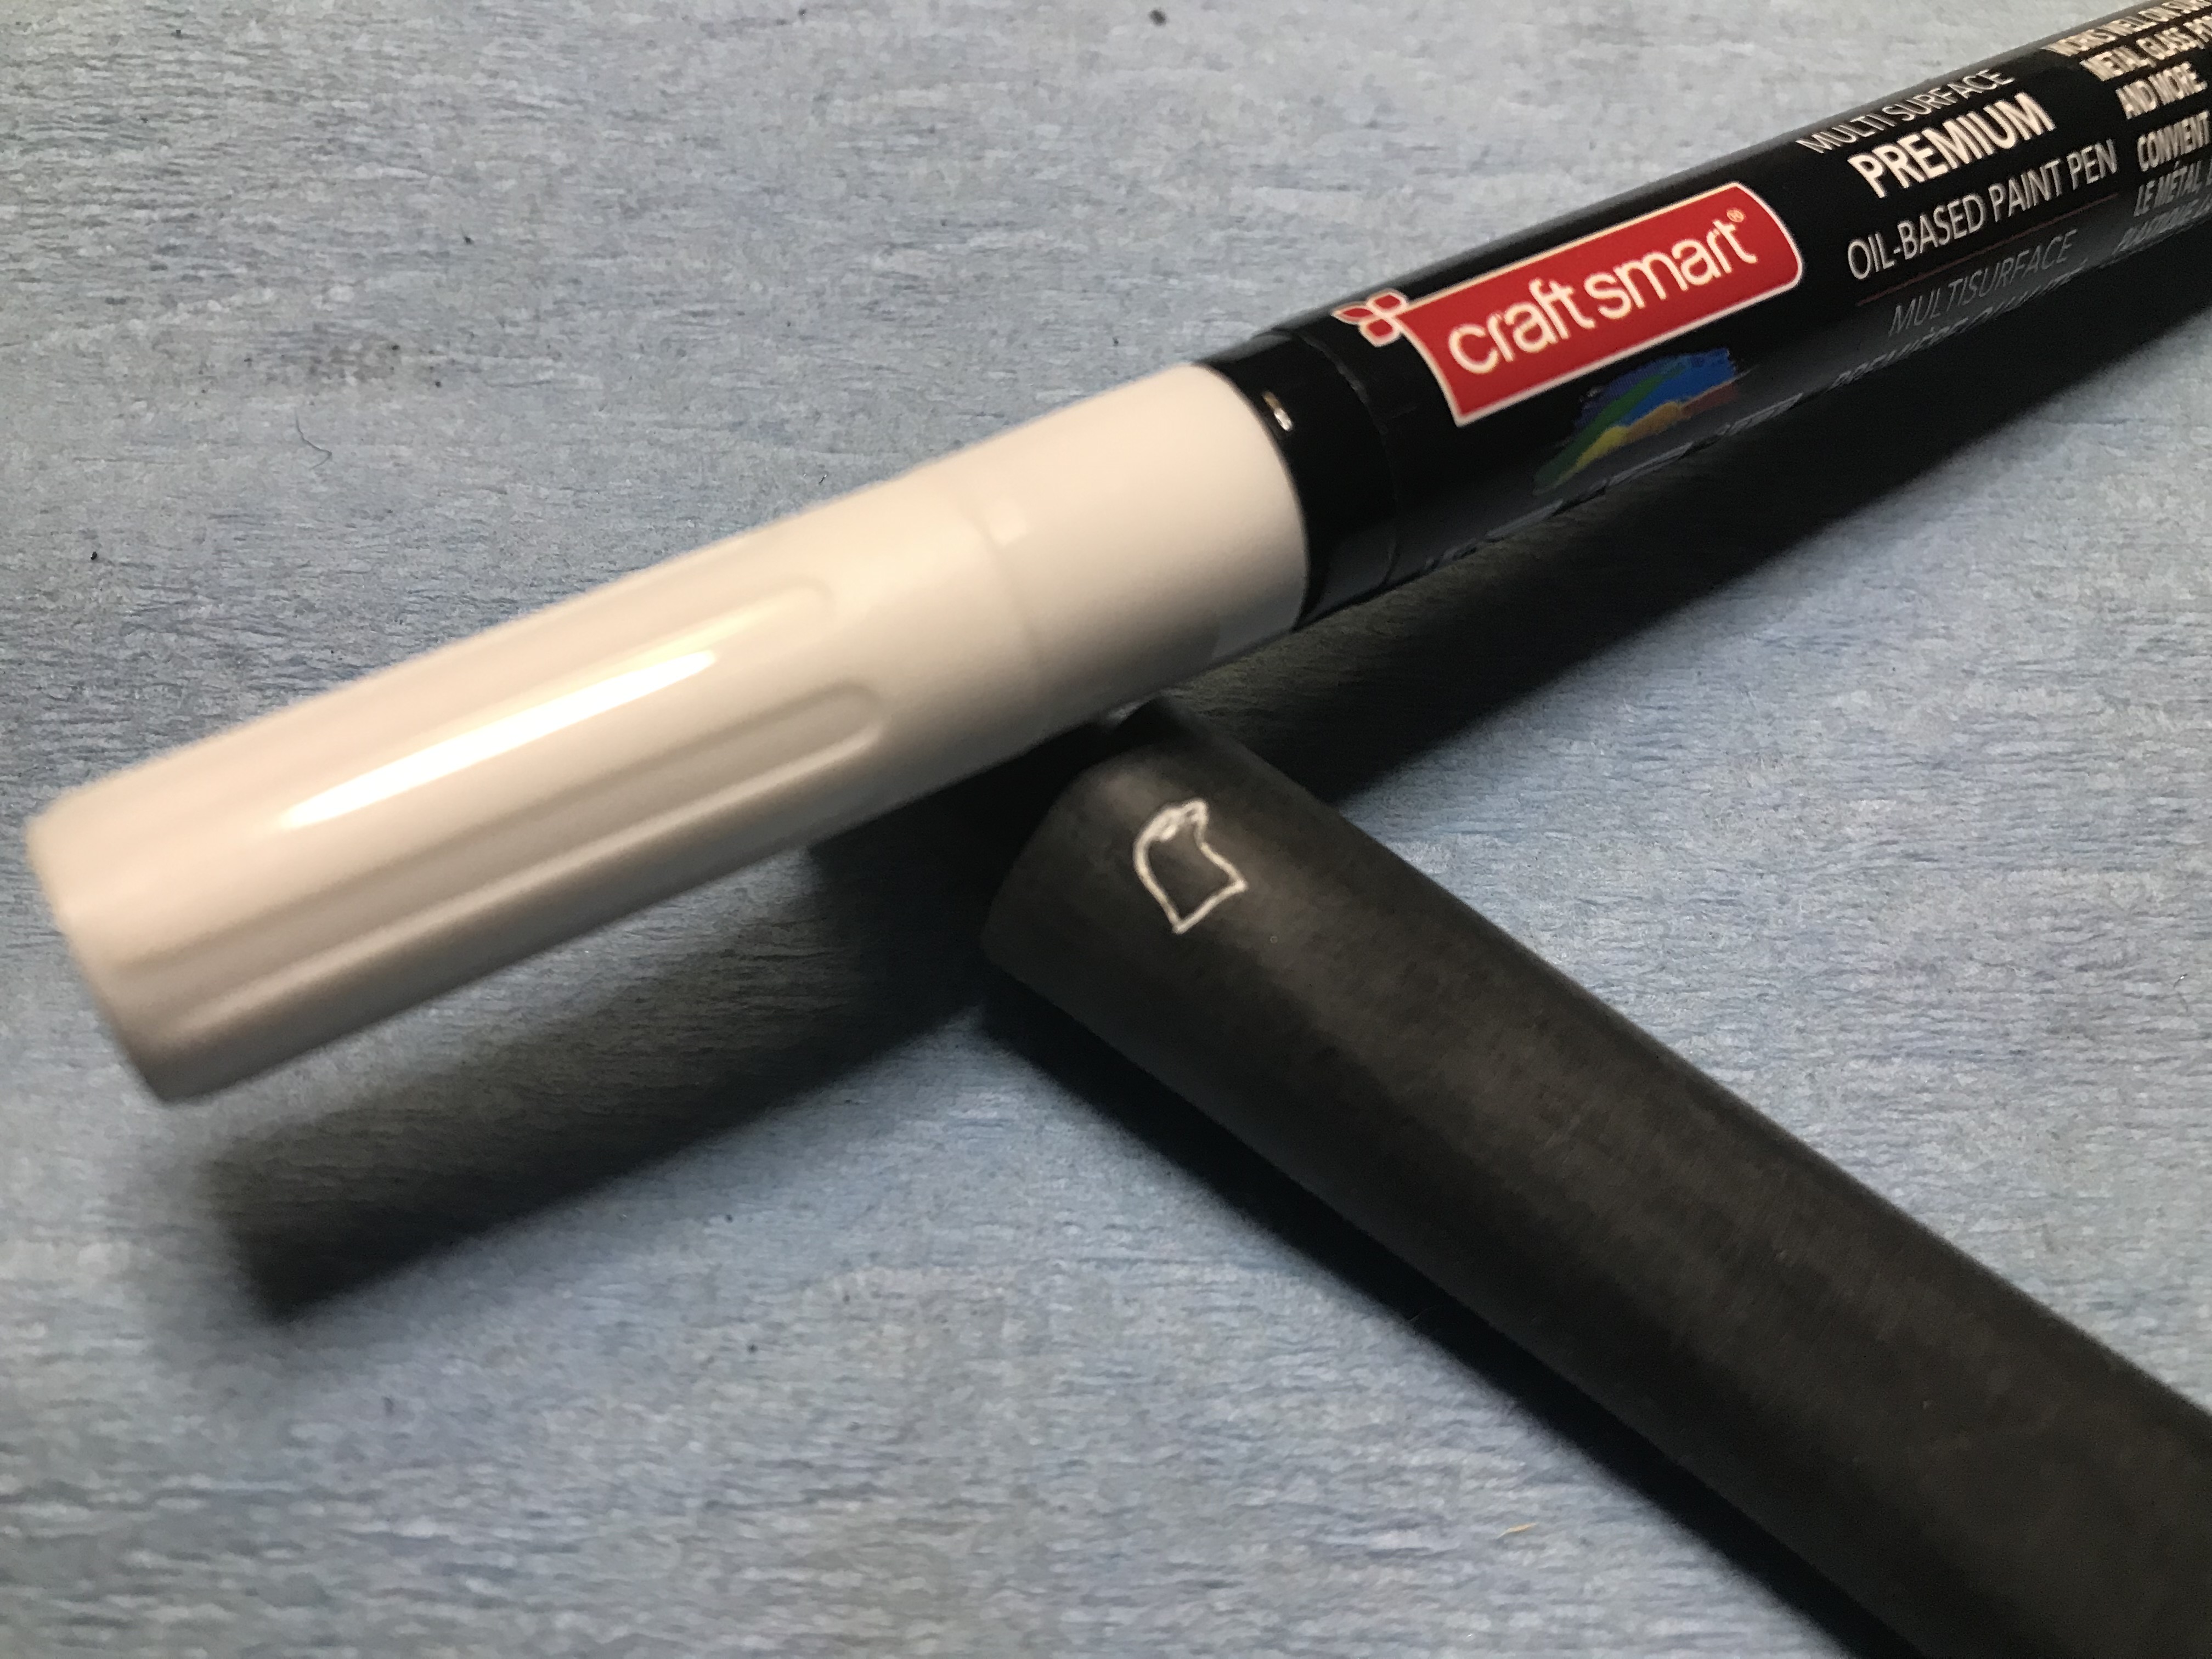
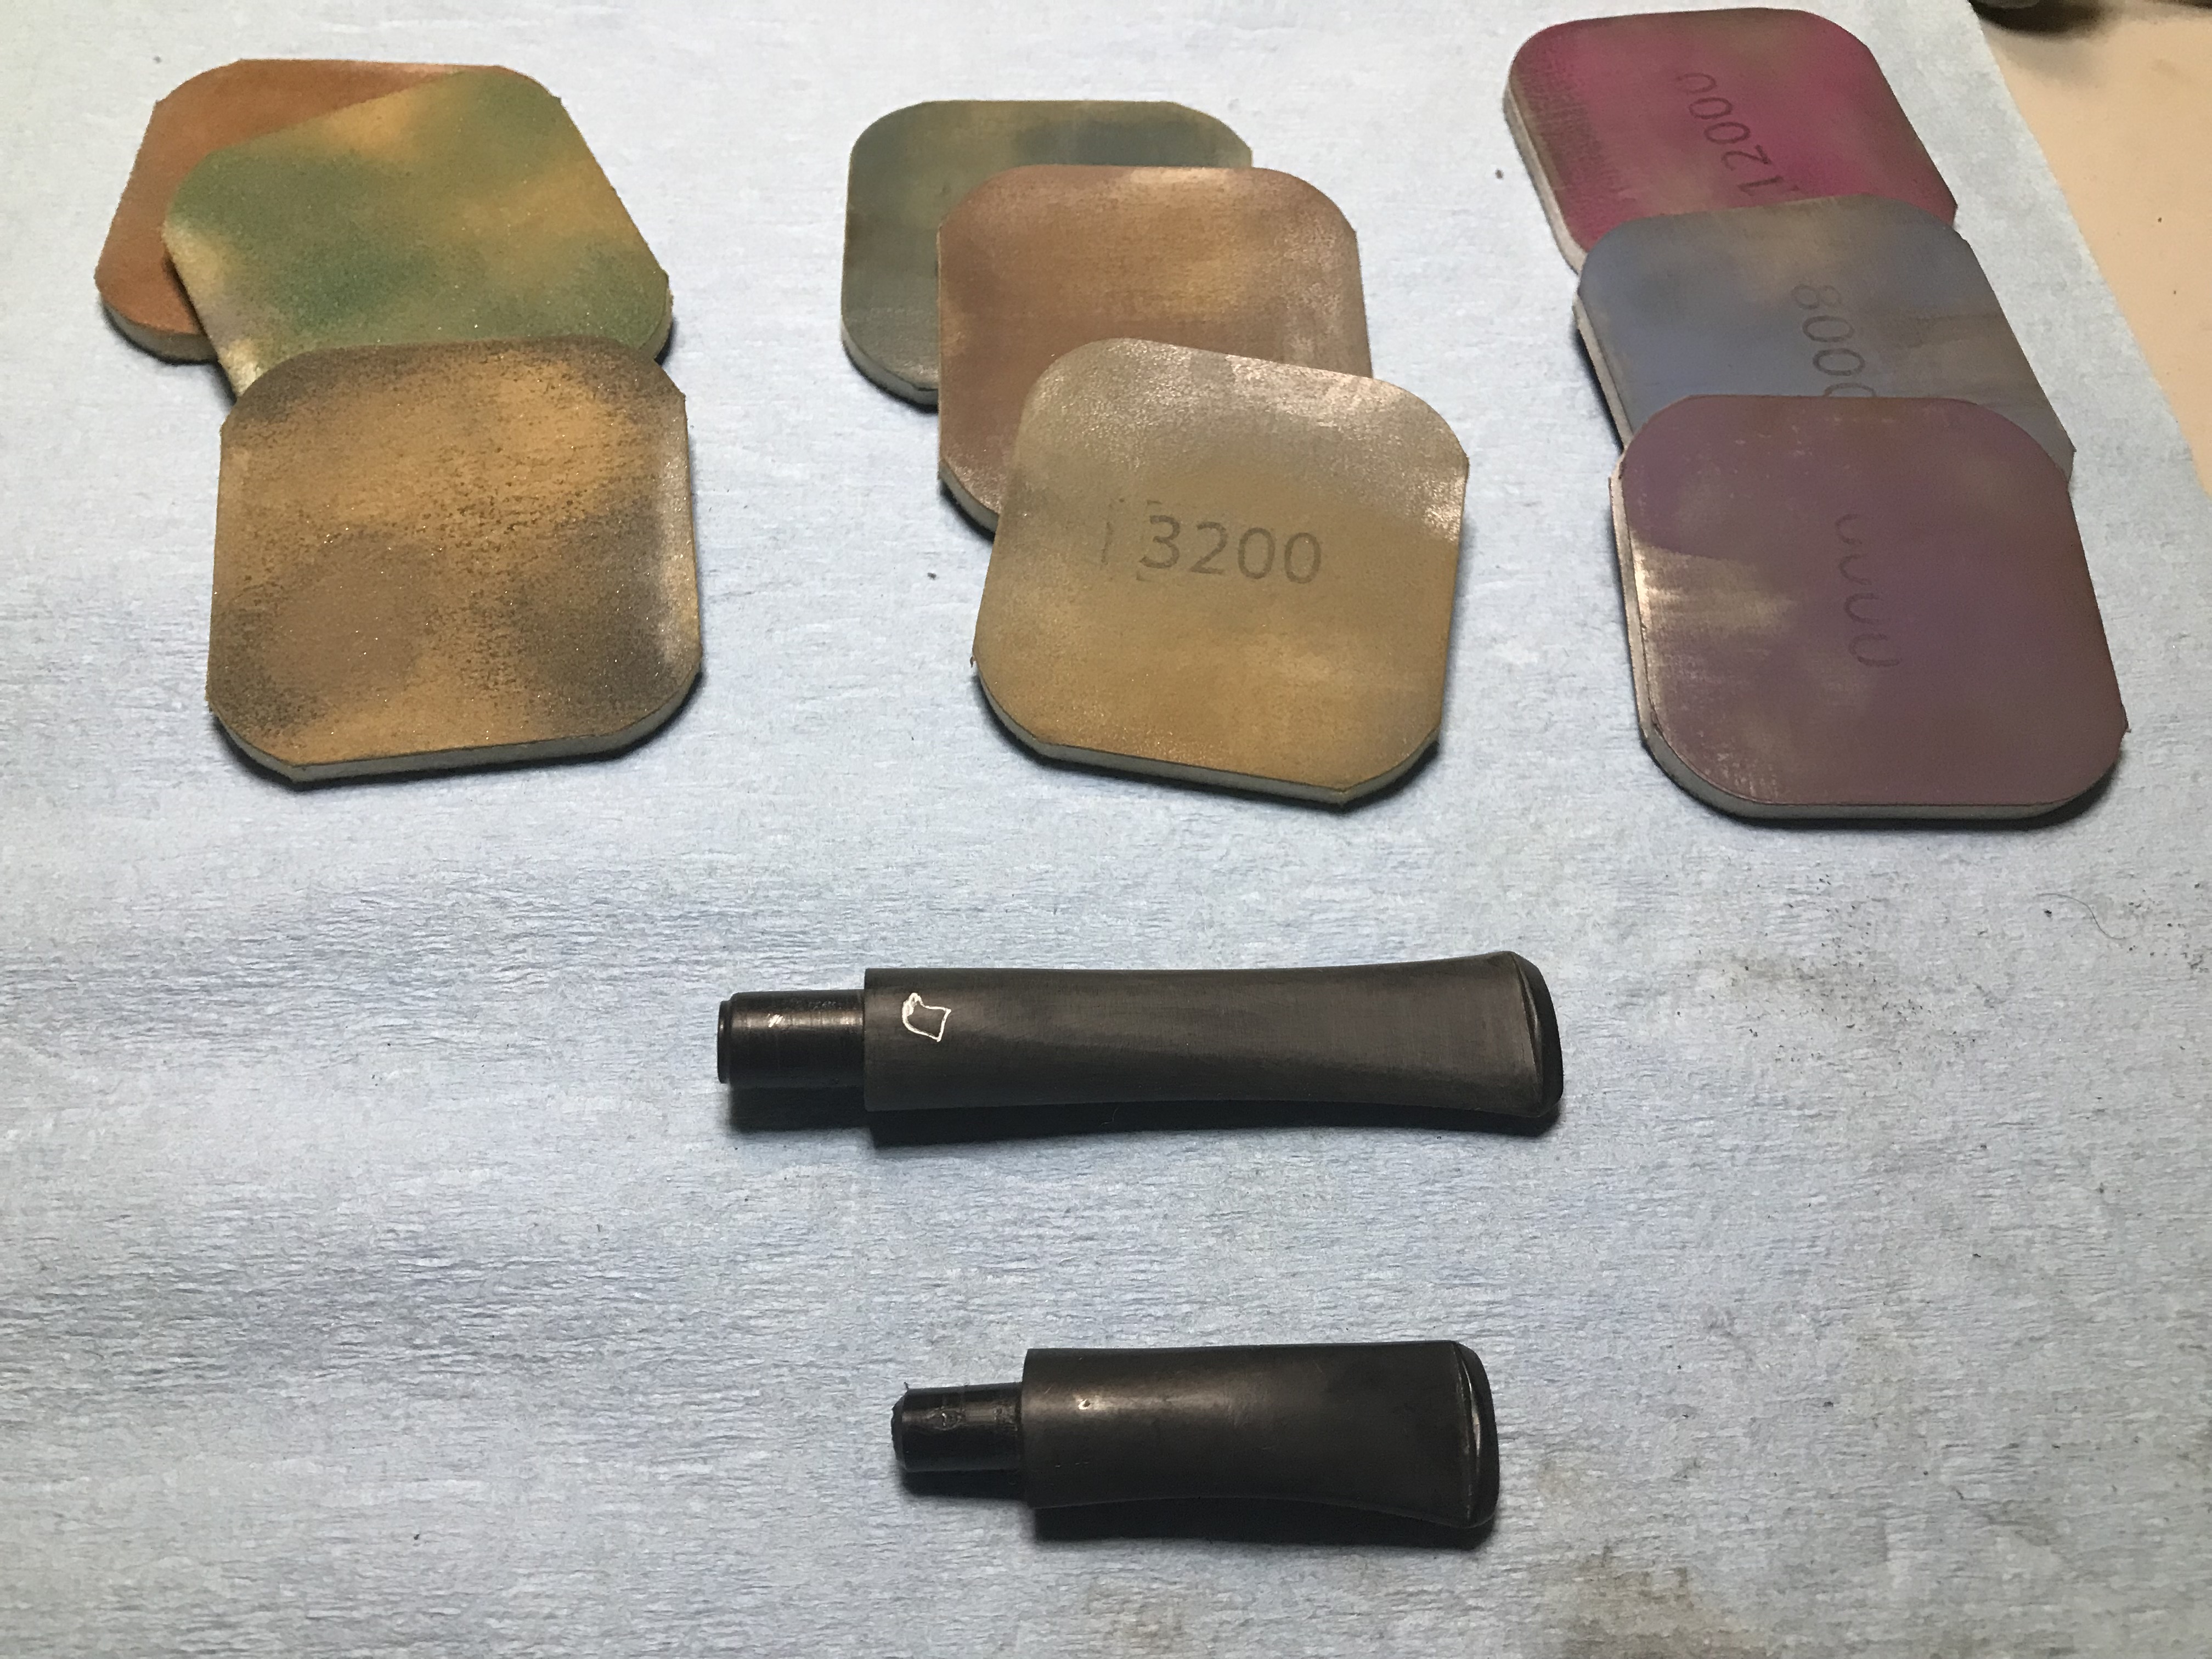

The Falcon logo on the one mouthpiece was discoloured, and despite my best efforts to scrub it white, I was unsuccessful. I decided to use one of my dental tools to remove it. I then used an oil paint pen to fill in the logo again. Once that dried I sanded both nylon mouthpieces with microfibre pads then polished them with white diamond.
Step 6: Final buffing and polishing


I buffed the briar bowls with white diamond, then buffed and polished the bowls and mouthpieces with Carnauba wax. Lastly, both bowls received a waterglass bowl coating (forgot to take pictures) using activated charcoal, white pumice and sodium silicate (waterglass). This will provide a heat shield for the briar and extend the life of the bowls.
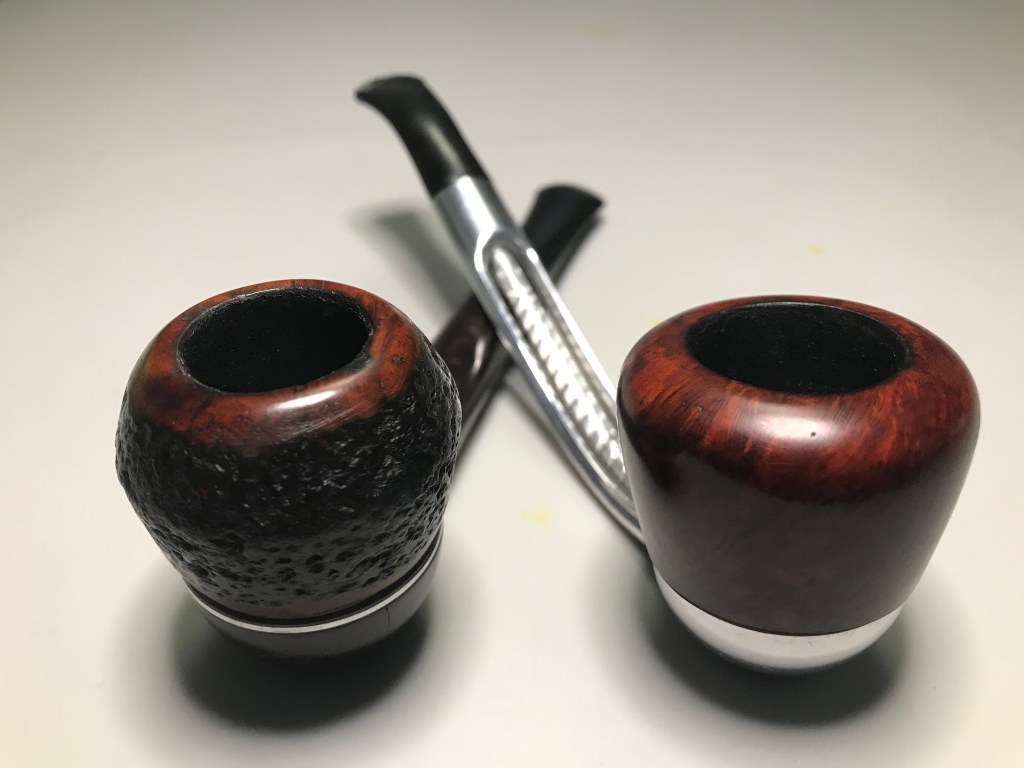
The Reveal
Thanks for reading. These two Falcons are ready to fly again! You can purchase the pair of Falcons at the Lunting Bear Store!