

“The Dunmore is one series we just don’t see a whole lot of anymore. They’re still fairly recognizable, however, as each edition features a minimalist presentation with the only accents being some ornate carving at the end of the shank. They’re also notable for the non-traditional shape numbers they’re usually stamped with.” source SmokingPipes.com.
First Impressions


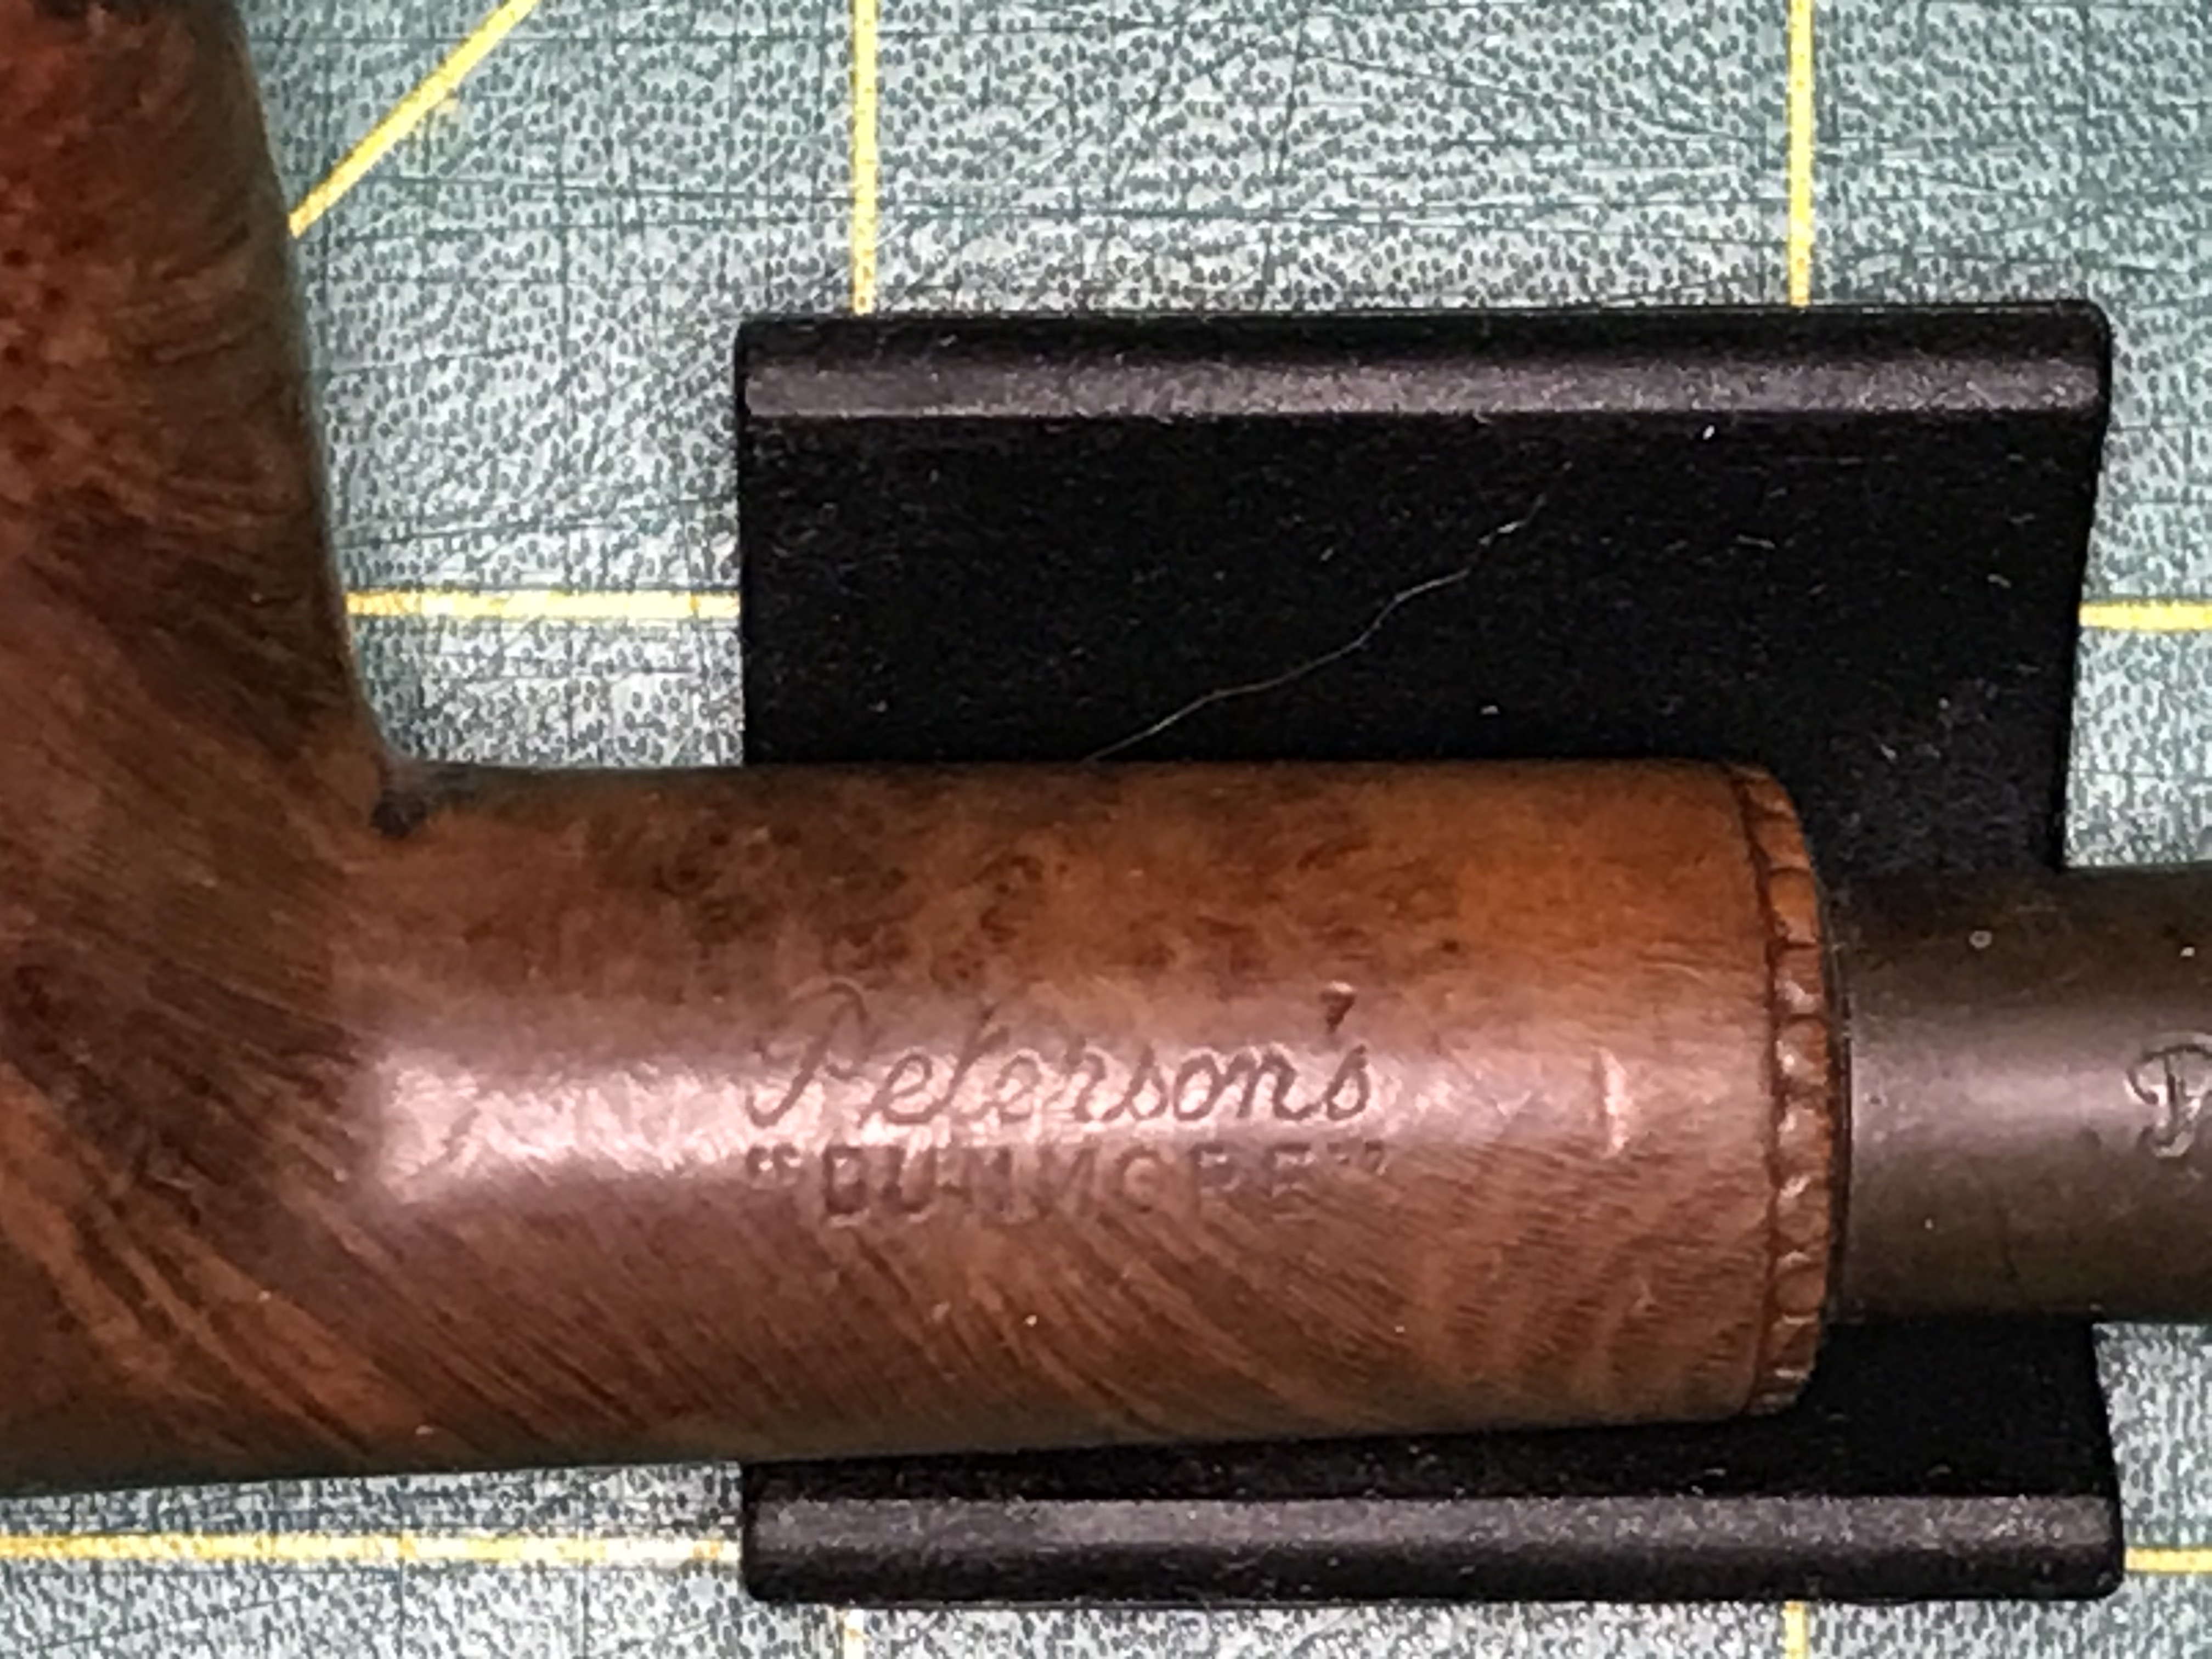


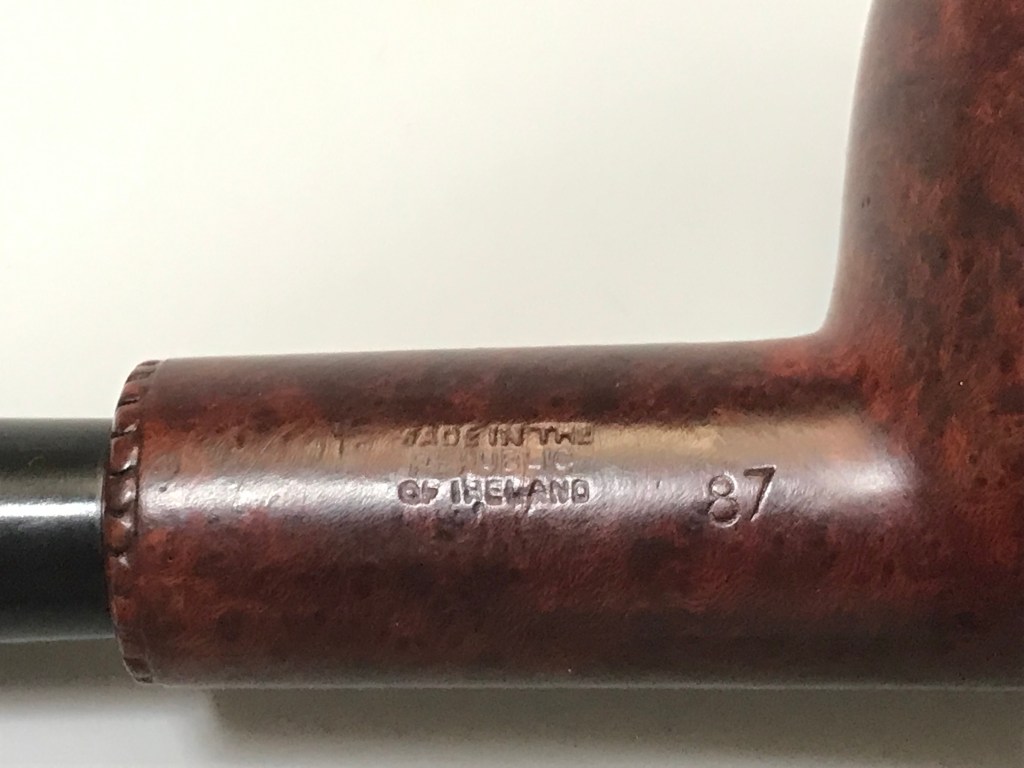
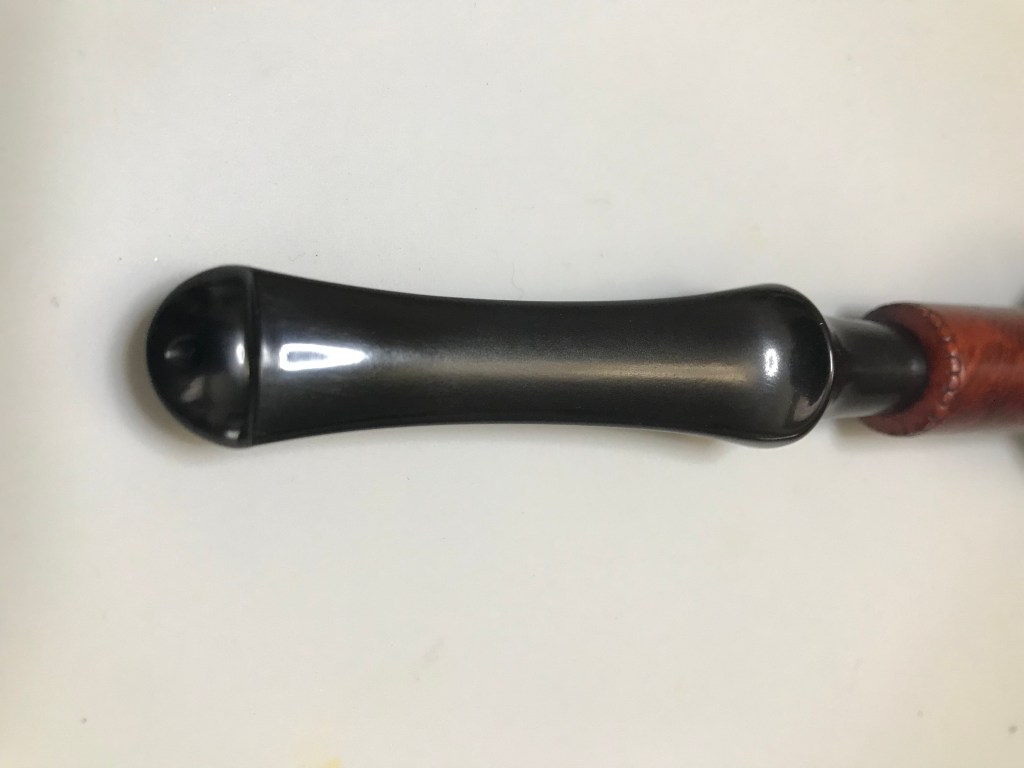
I would describe this pipe as a standard sized straight apple. The pipe is just over 7 inches long, with a “P Lip” stem. The pipe is stamped “Peterson’s Dunmore”, “Made in the Republic of Ireland”, Shape 87.
Judging by the condition of the pipe, I’m going to conclude that this was either the previous stewards favourite pipe or their workhorse pipe. The tobacco chamber was heavily caked with carbon buildup, I hazard a guess that they could barely fit a pinch of tobacco in the chamber. The oxidation on the stem was calcified to the surface of the vulcanite stem. Structurally the pipe was in good shape, there were no cracks or major flaws that needed repair. The pipe just needed a very thorough cleaning and reconditioning.
Step 1: Carbon buildup removal
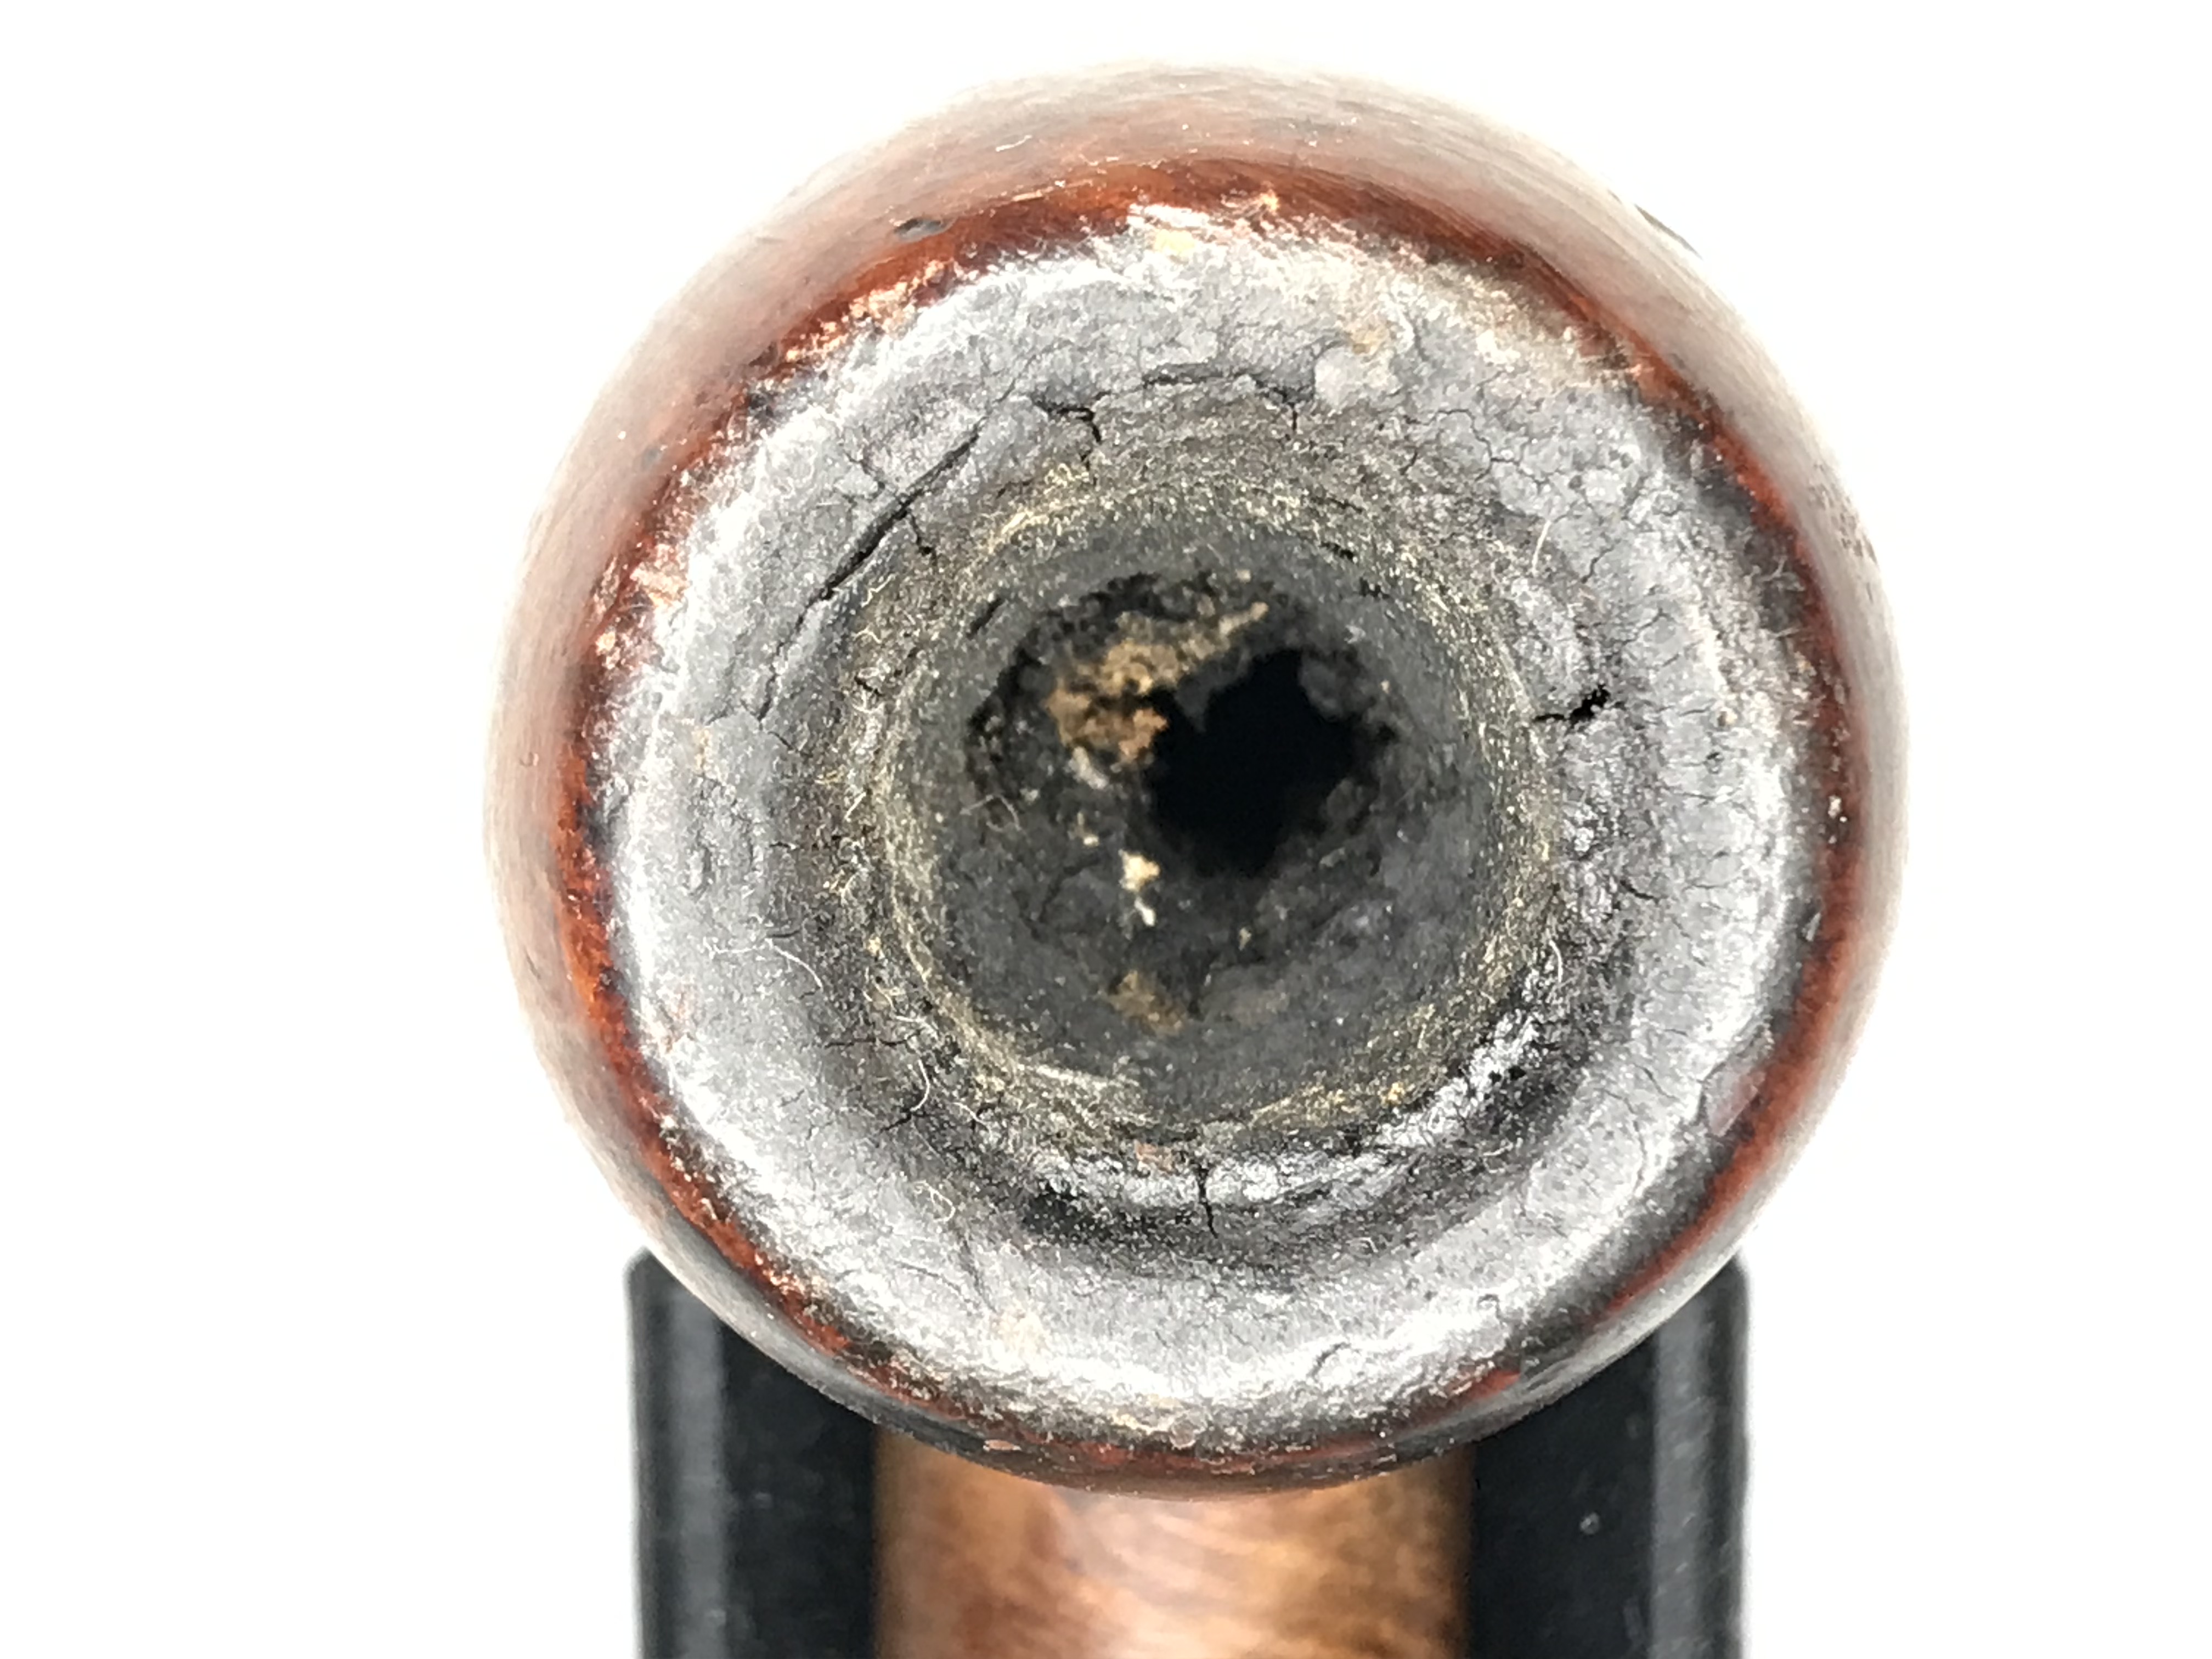
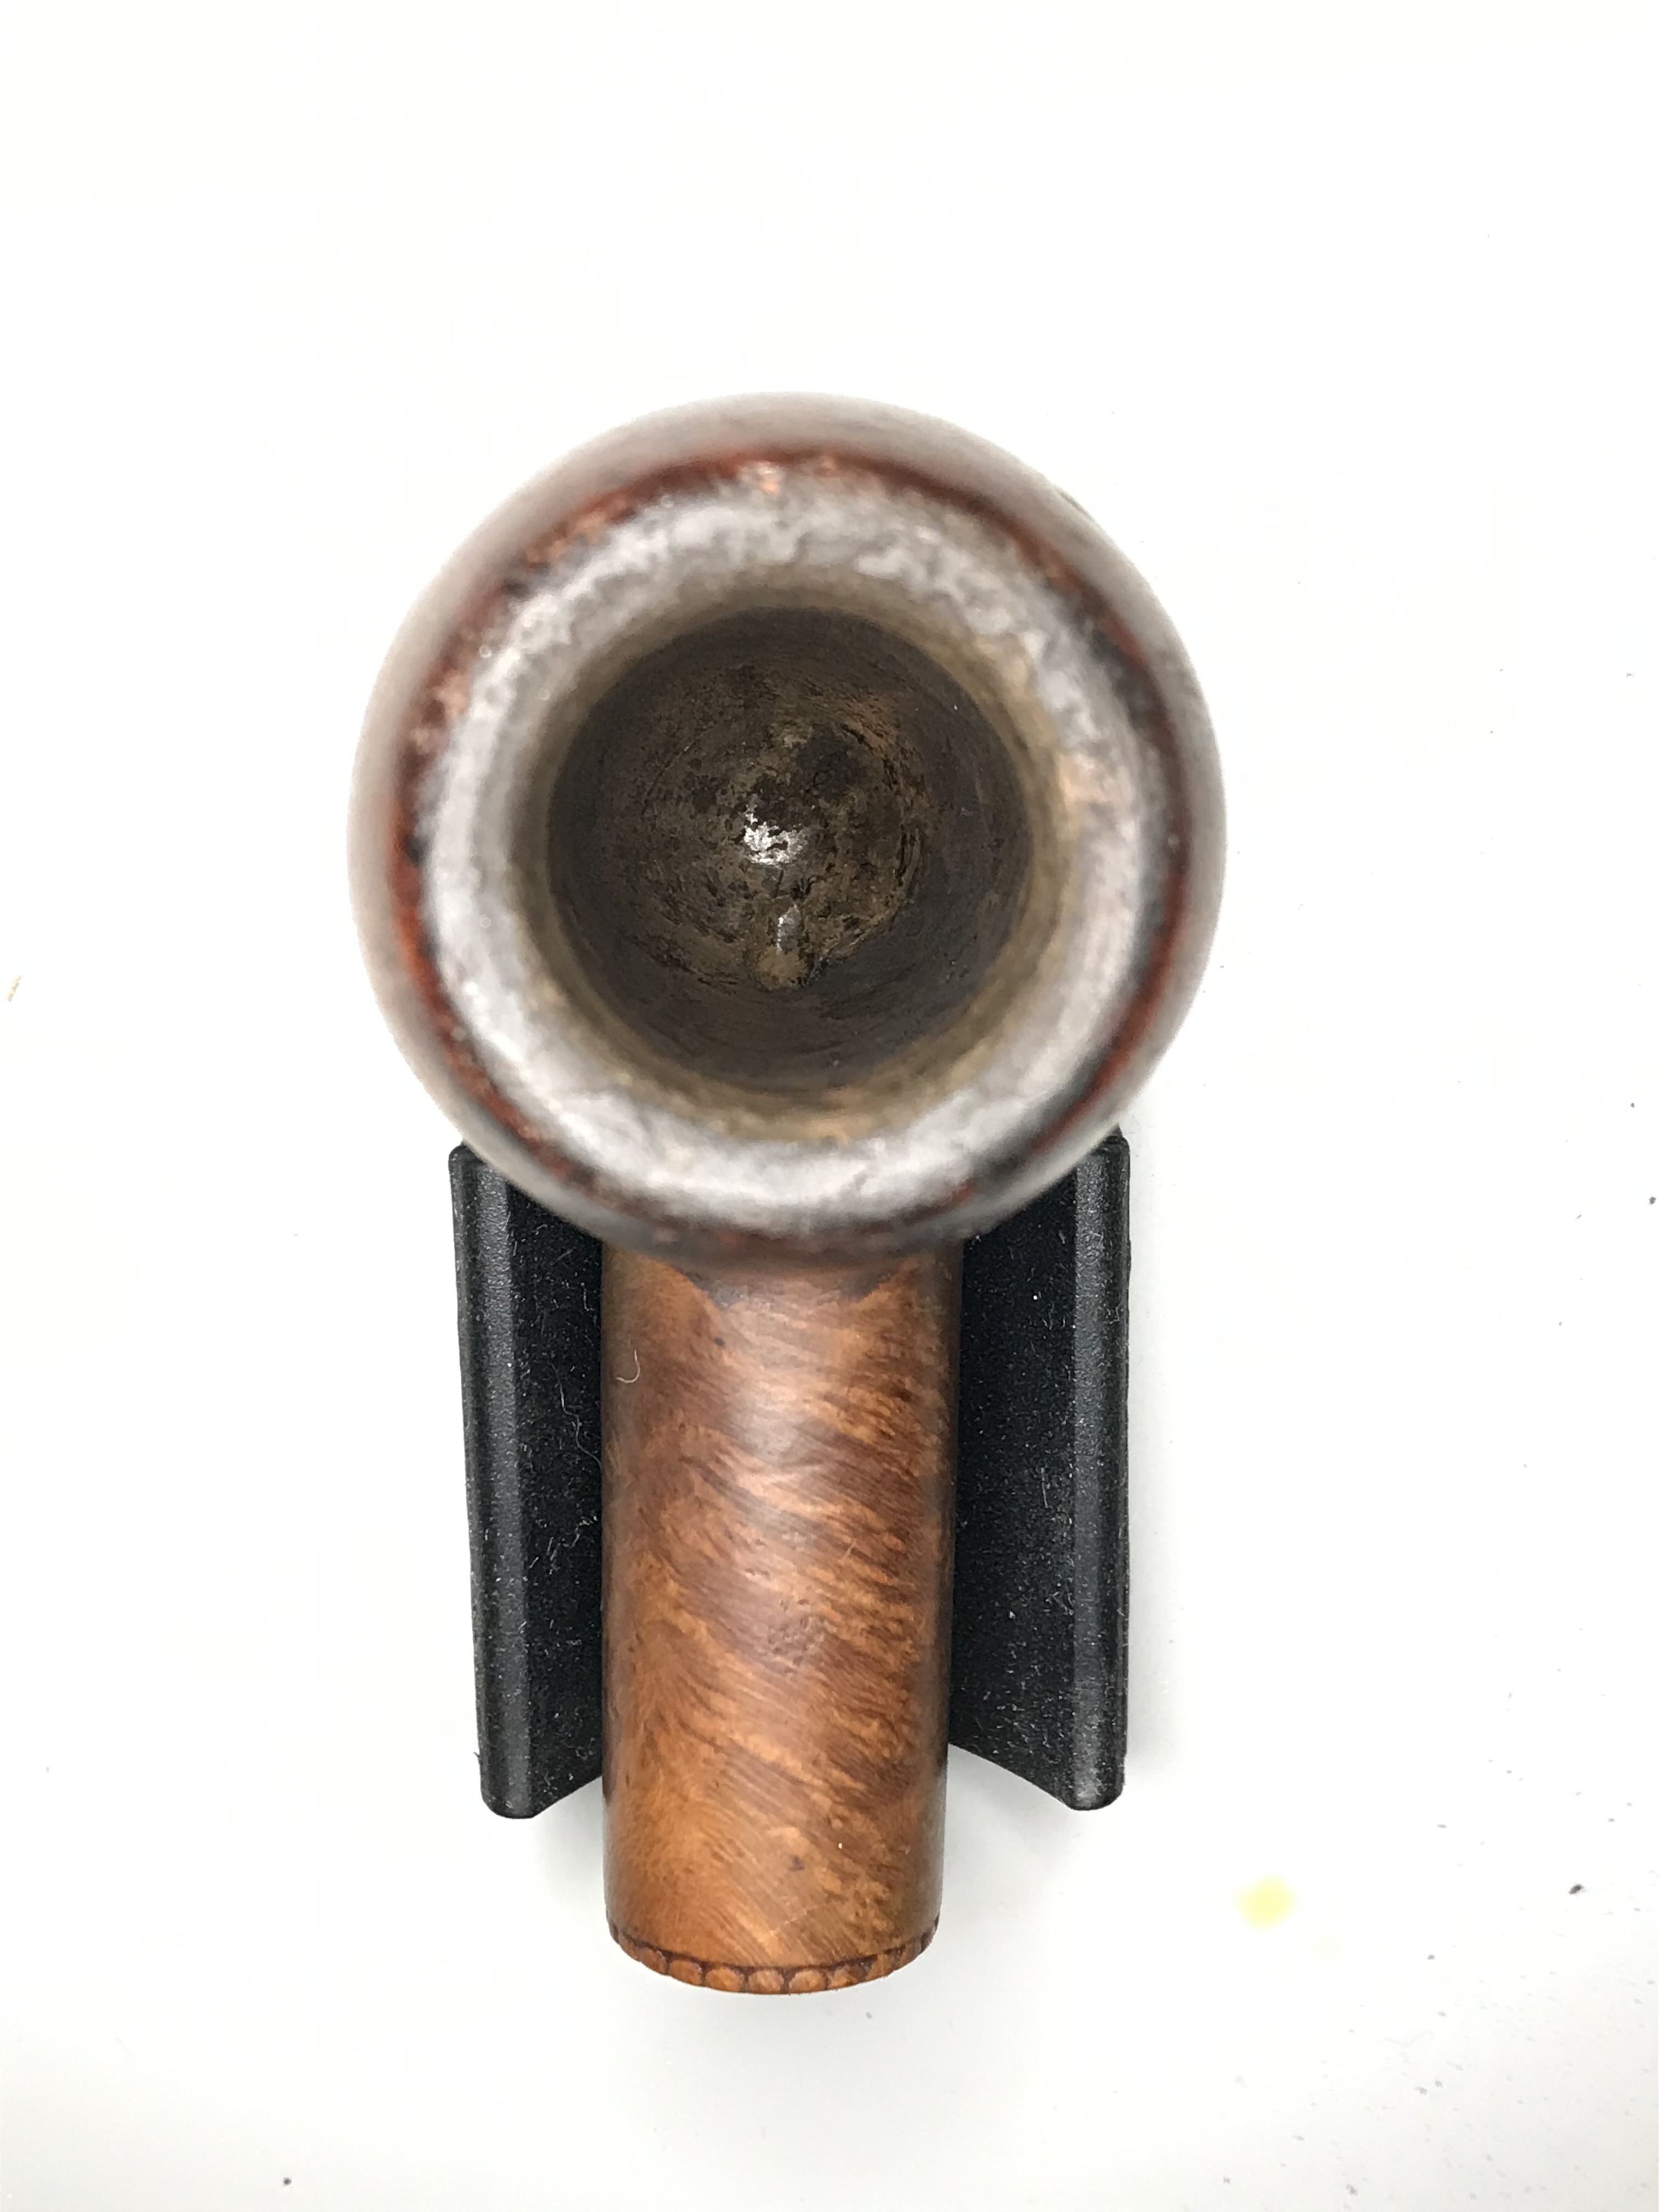
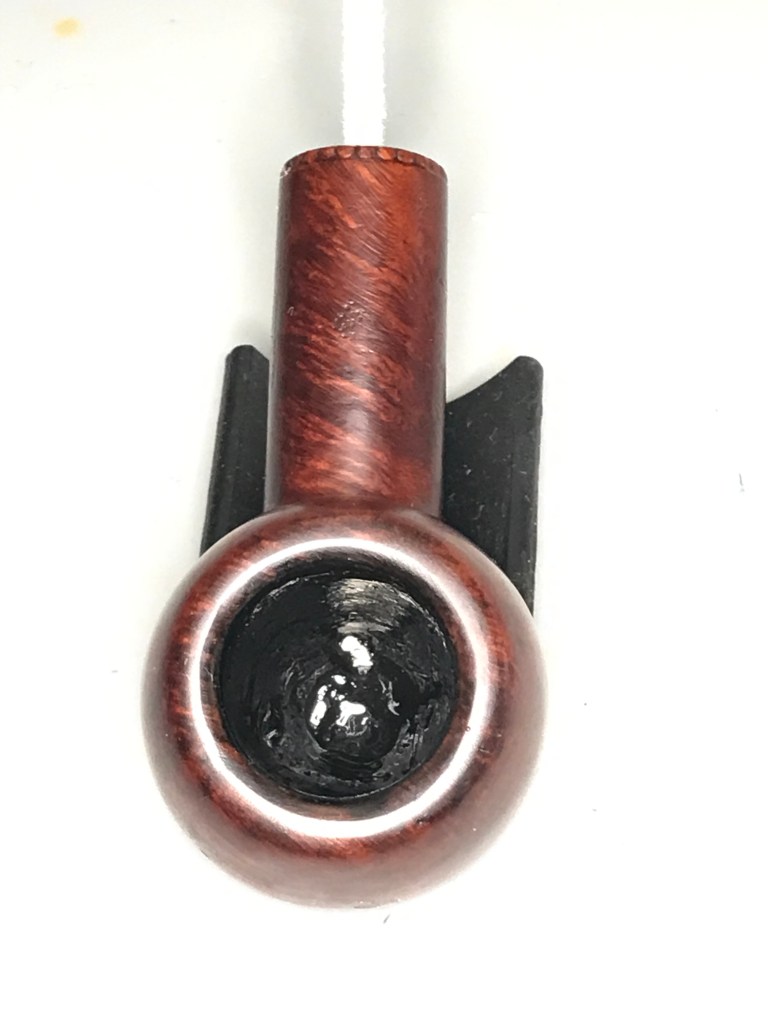
There was considerable buildup in the tobacco chamber and caked to the rim as well. I used both my castleford reaming set and a senior reamer to get through the carbon buildup and back to briar.
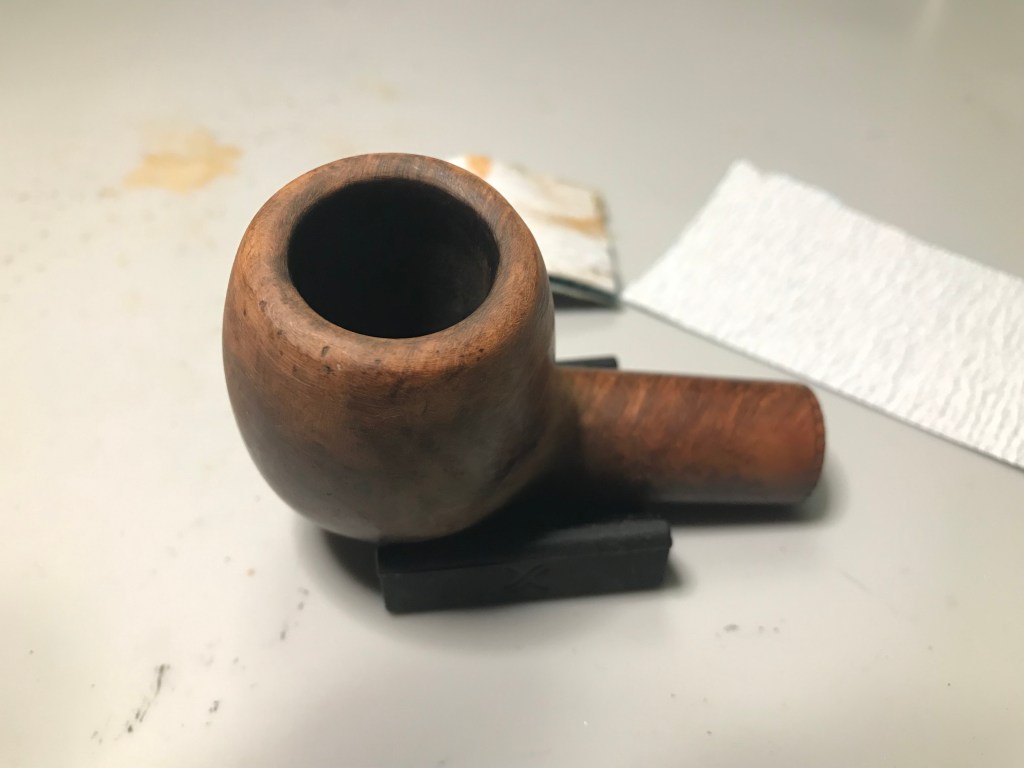
I used some steel wool to remove the carbon buildup on the rim. I was expecting to see some charring on the rim, there was none surprisingly. The carbon in the chamber and rim seemed to preserve briar beneath. There’s a couple of nicks on the rim but nothing of major concern.
Step 2: Recondition the airway and mortise
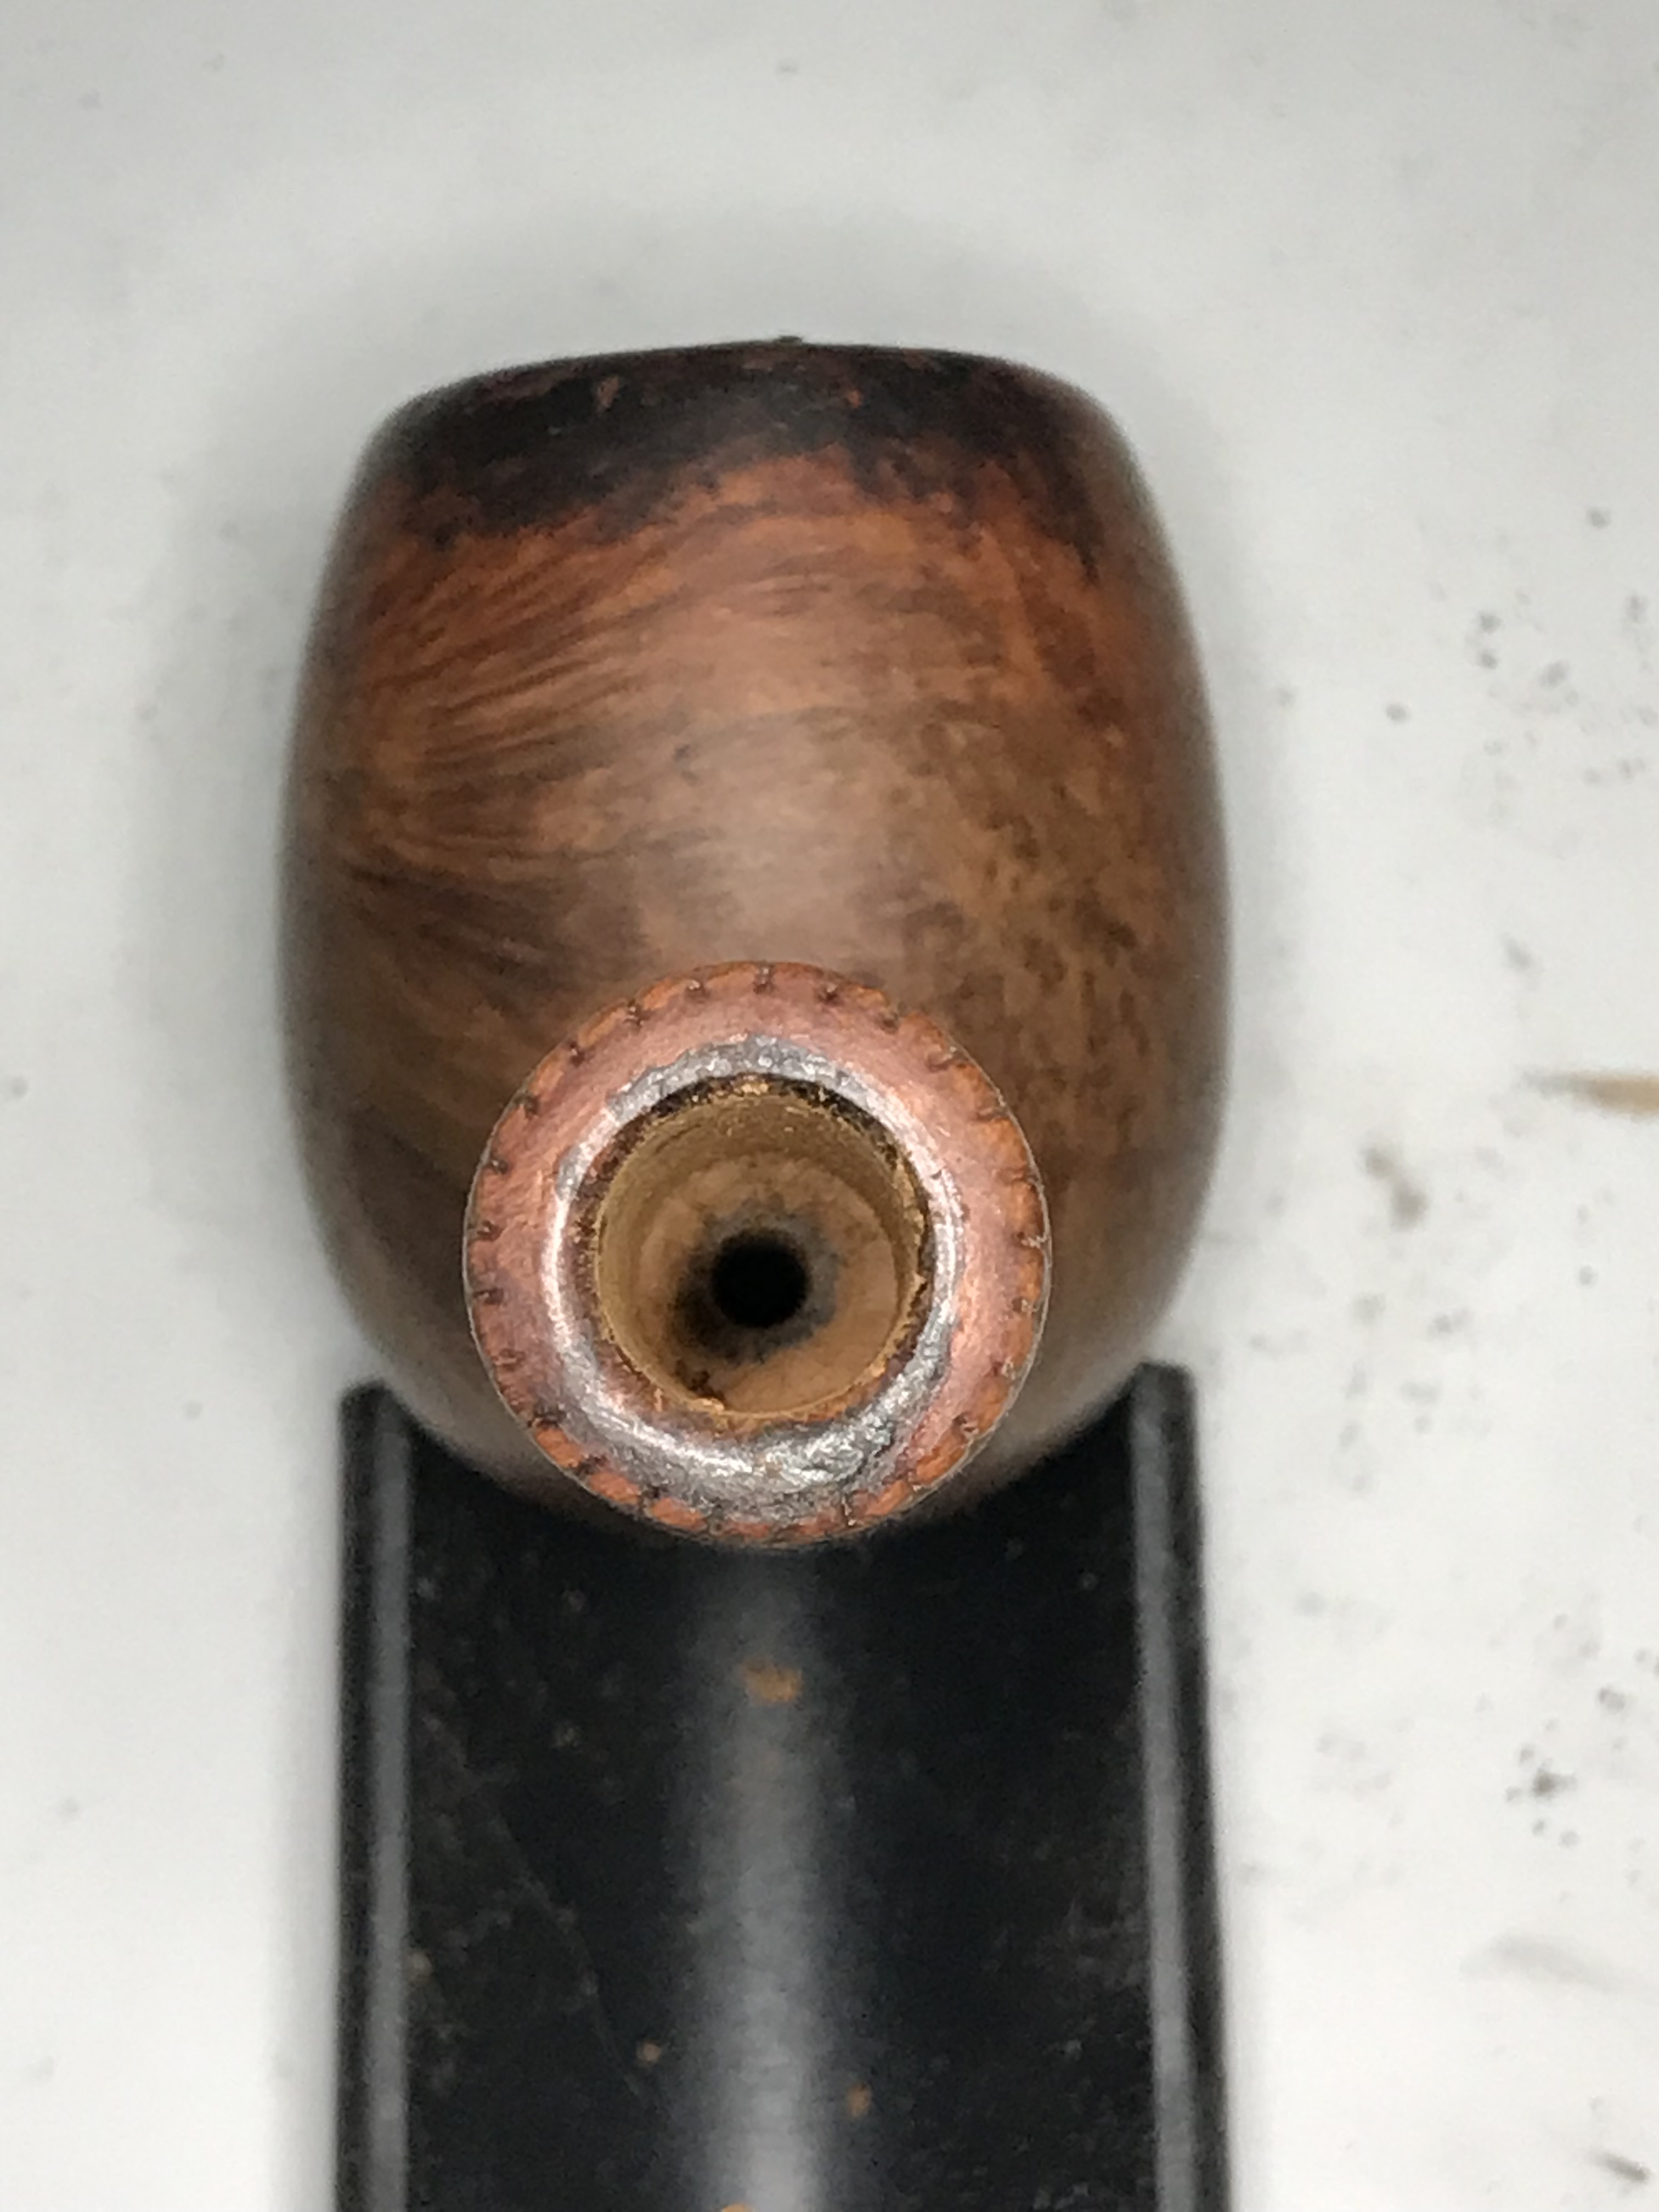
At first glance, when I looked down the mortise to the airway, I thought to myself. “How the heck did this smoker manage to deform the airway in such a way”. I thought the black matter I was looking at WAS the beginning of the airway at the end of the mortise. I was wrong! What you’re seeing in the before picture is a buildup of matter that accumulated on the walls of the mortise chamber itself (tars, nicotine, moisture etc).

To digress for a moment, the Peterson Patented system involves an alternative method of drilling the stummel of the pipe. It involves drilling a void within the pipe between the mortise and the tobacco chamber. This void, or “sump”, is there to collect the moisture created by the smoker and it naturally deposits itself in that sump. Well if you don’t ever clean out that sump, that deposited matter just builds upon itself until you have the buildup seen in this pipe.


I used a drill bit the same diameter of the mortise and turned the drill bit by hand to remove the material in the sump. In the image above you can see all the gunk that came out of the sump at the end of the drill bit in the bowl. I reamed the mortise all the way to the airway, with one last turn I refaced the beginning of the airway, thus concluding the bulk of the dirty work for this pipe.
Step 3: Clean the internals of the stem and stummel
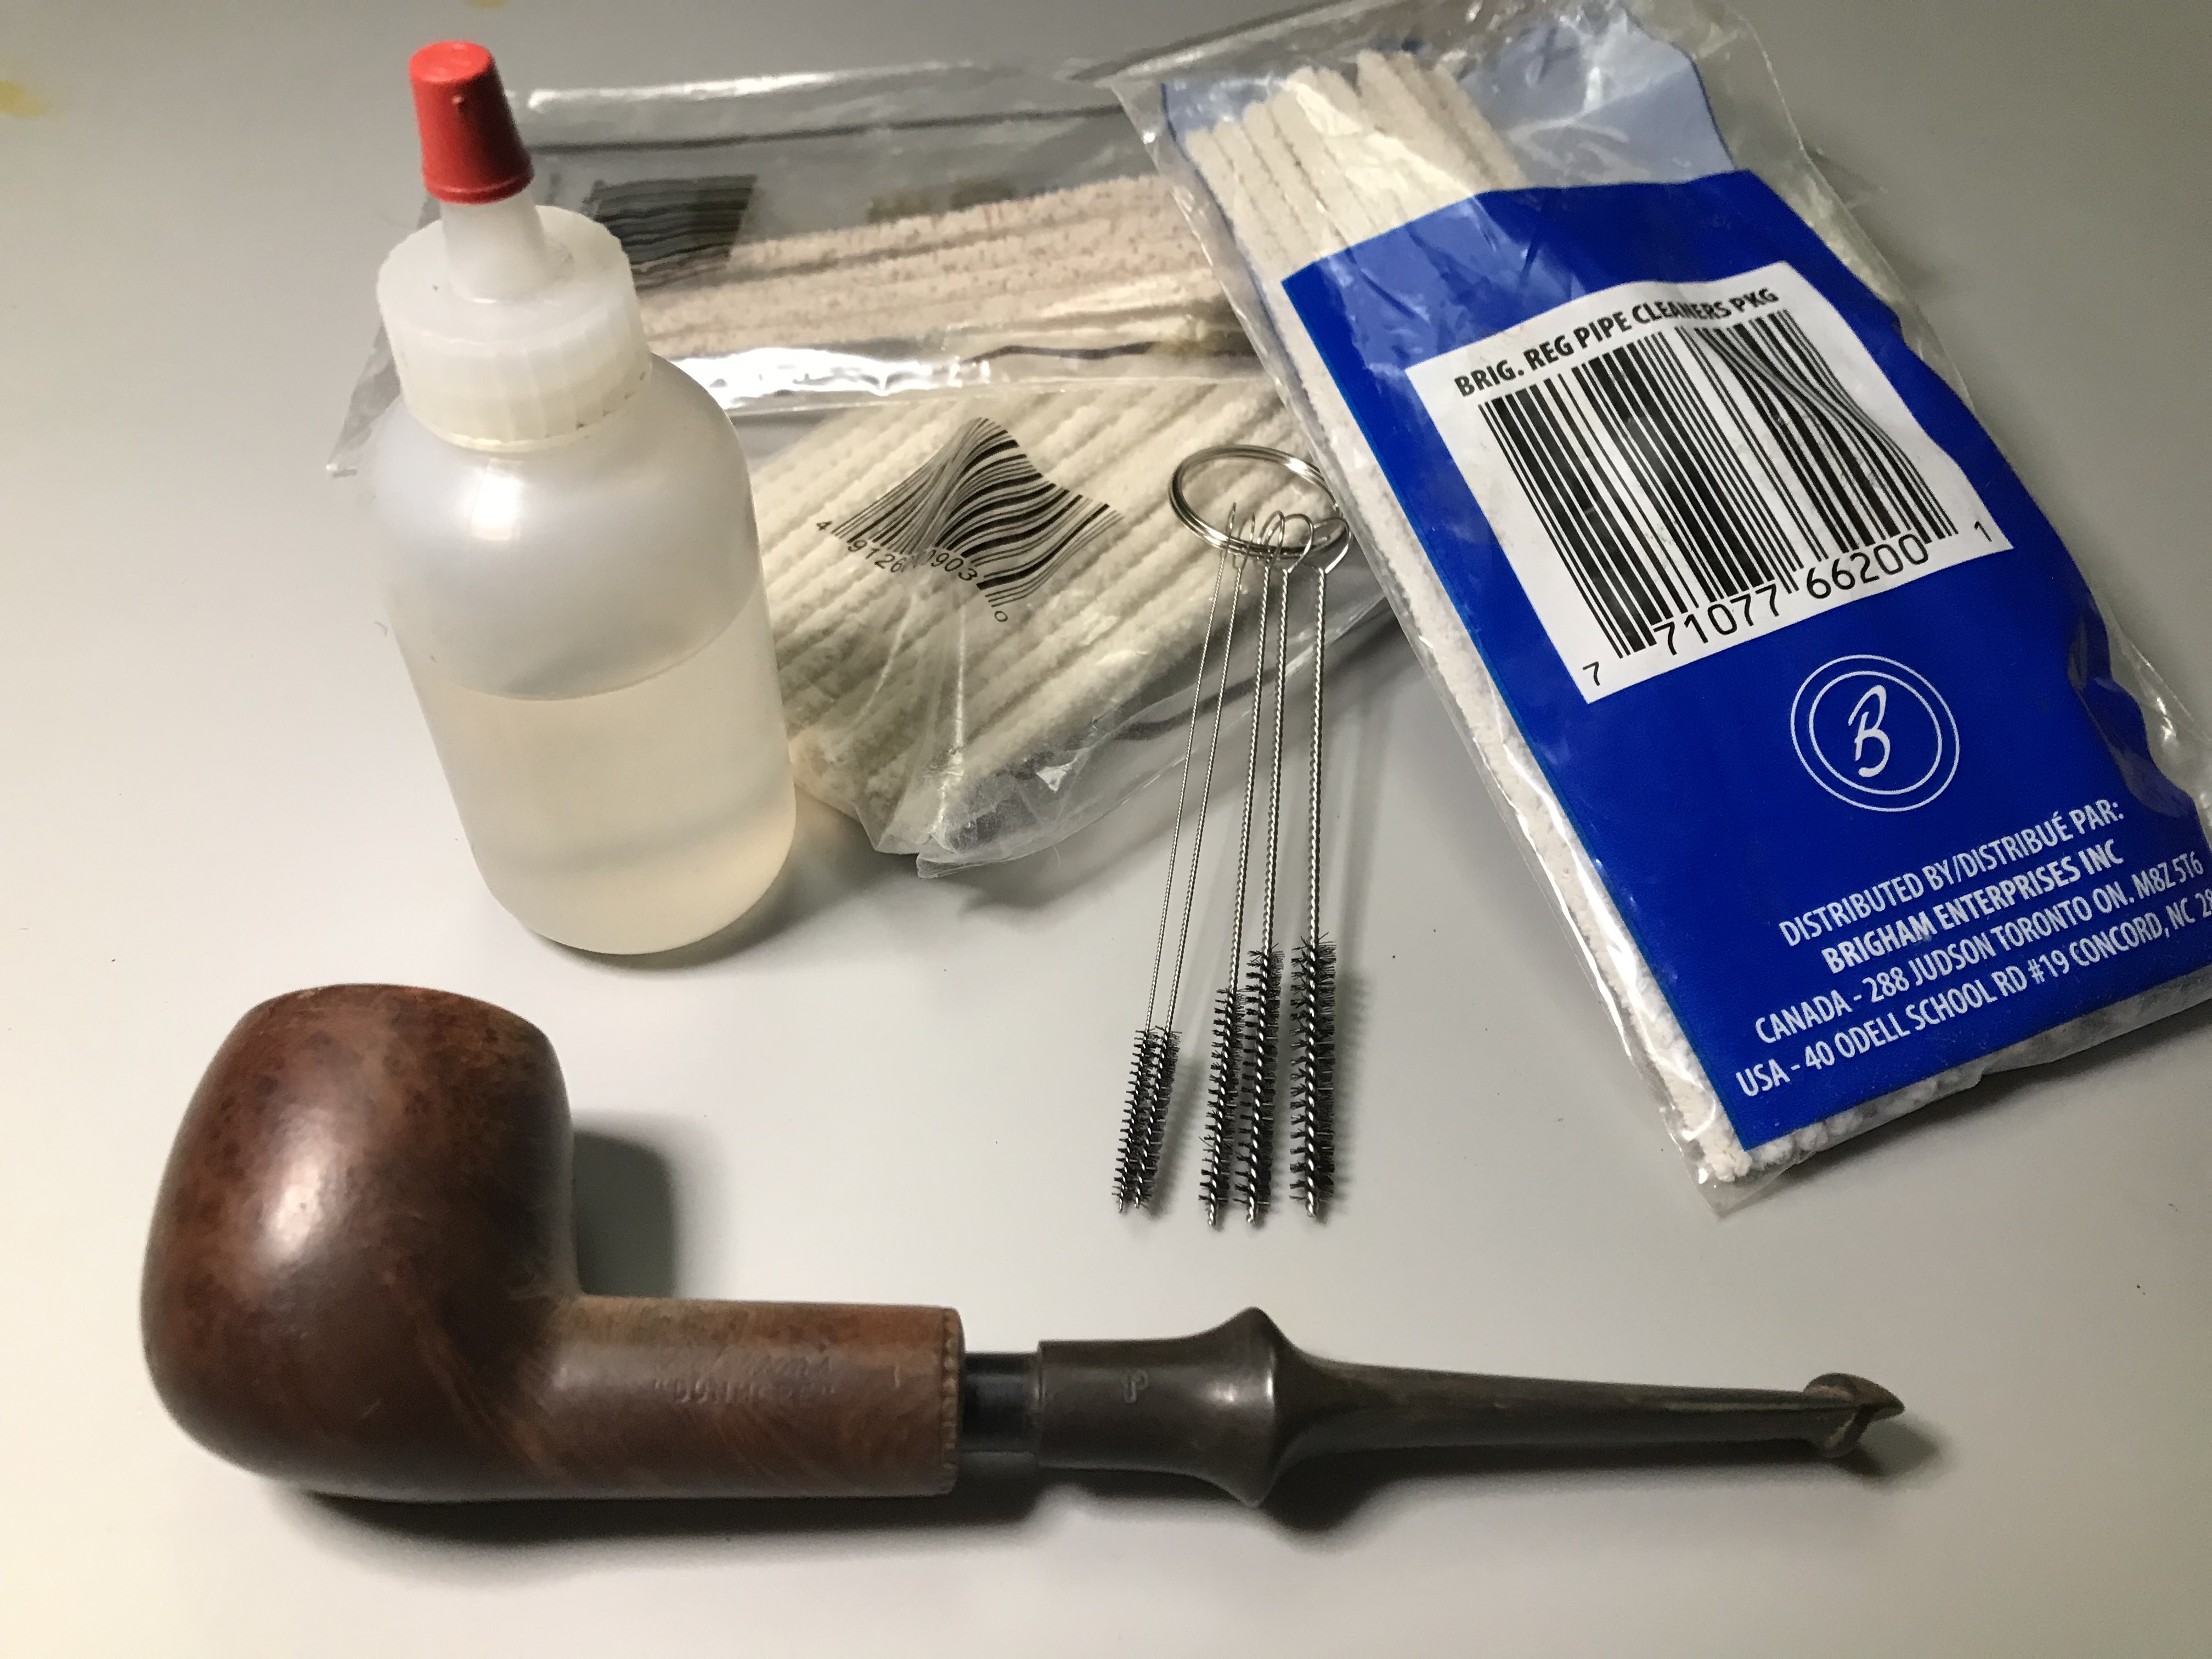


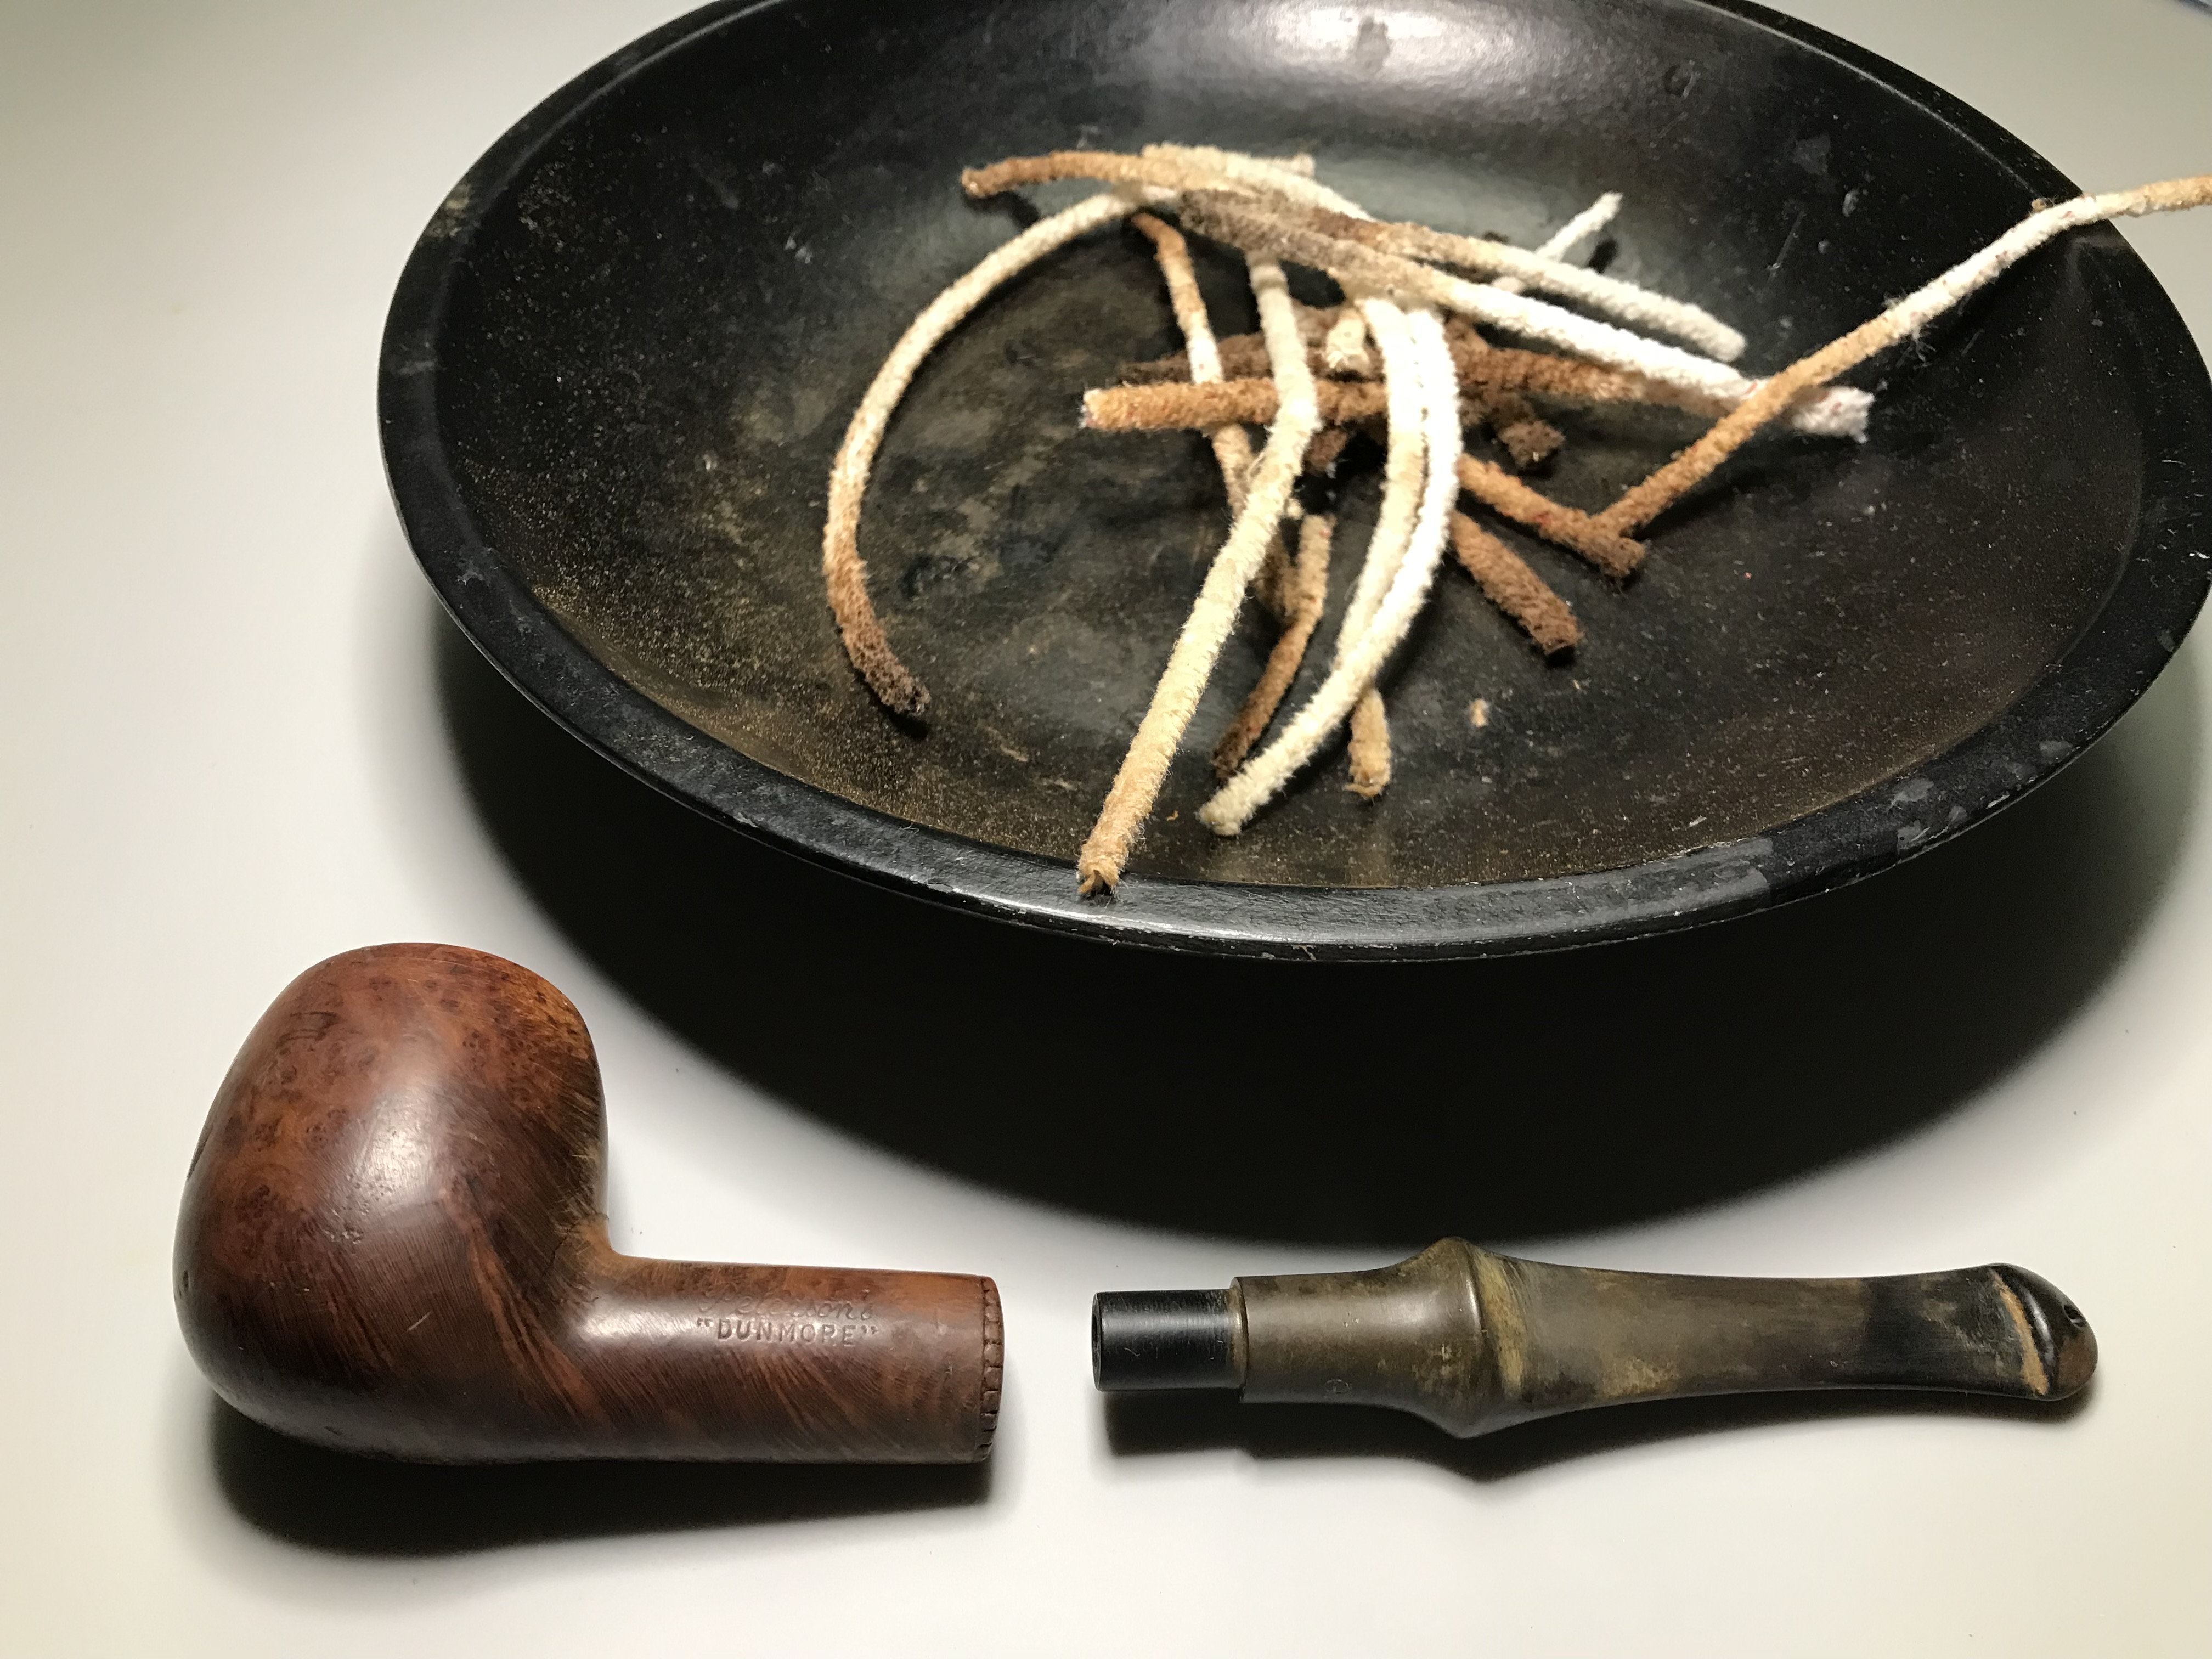
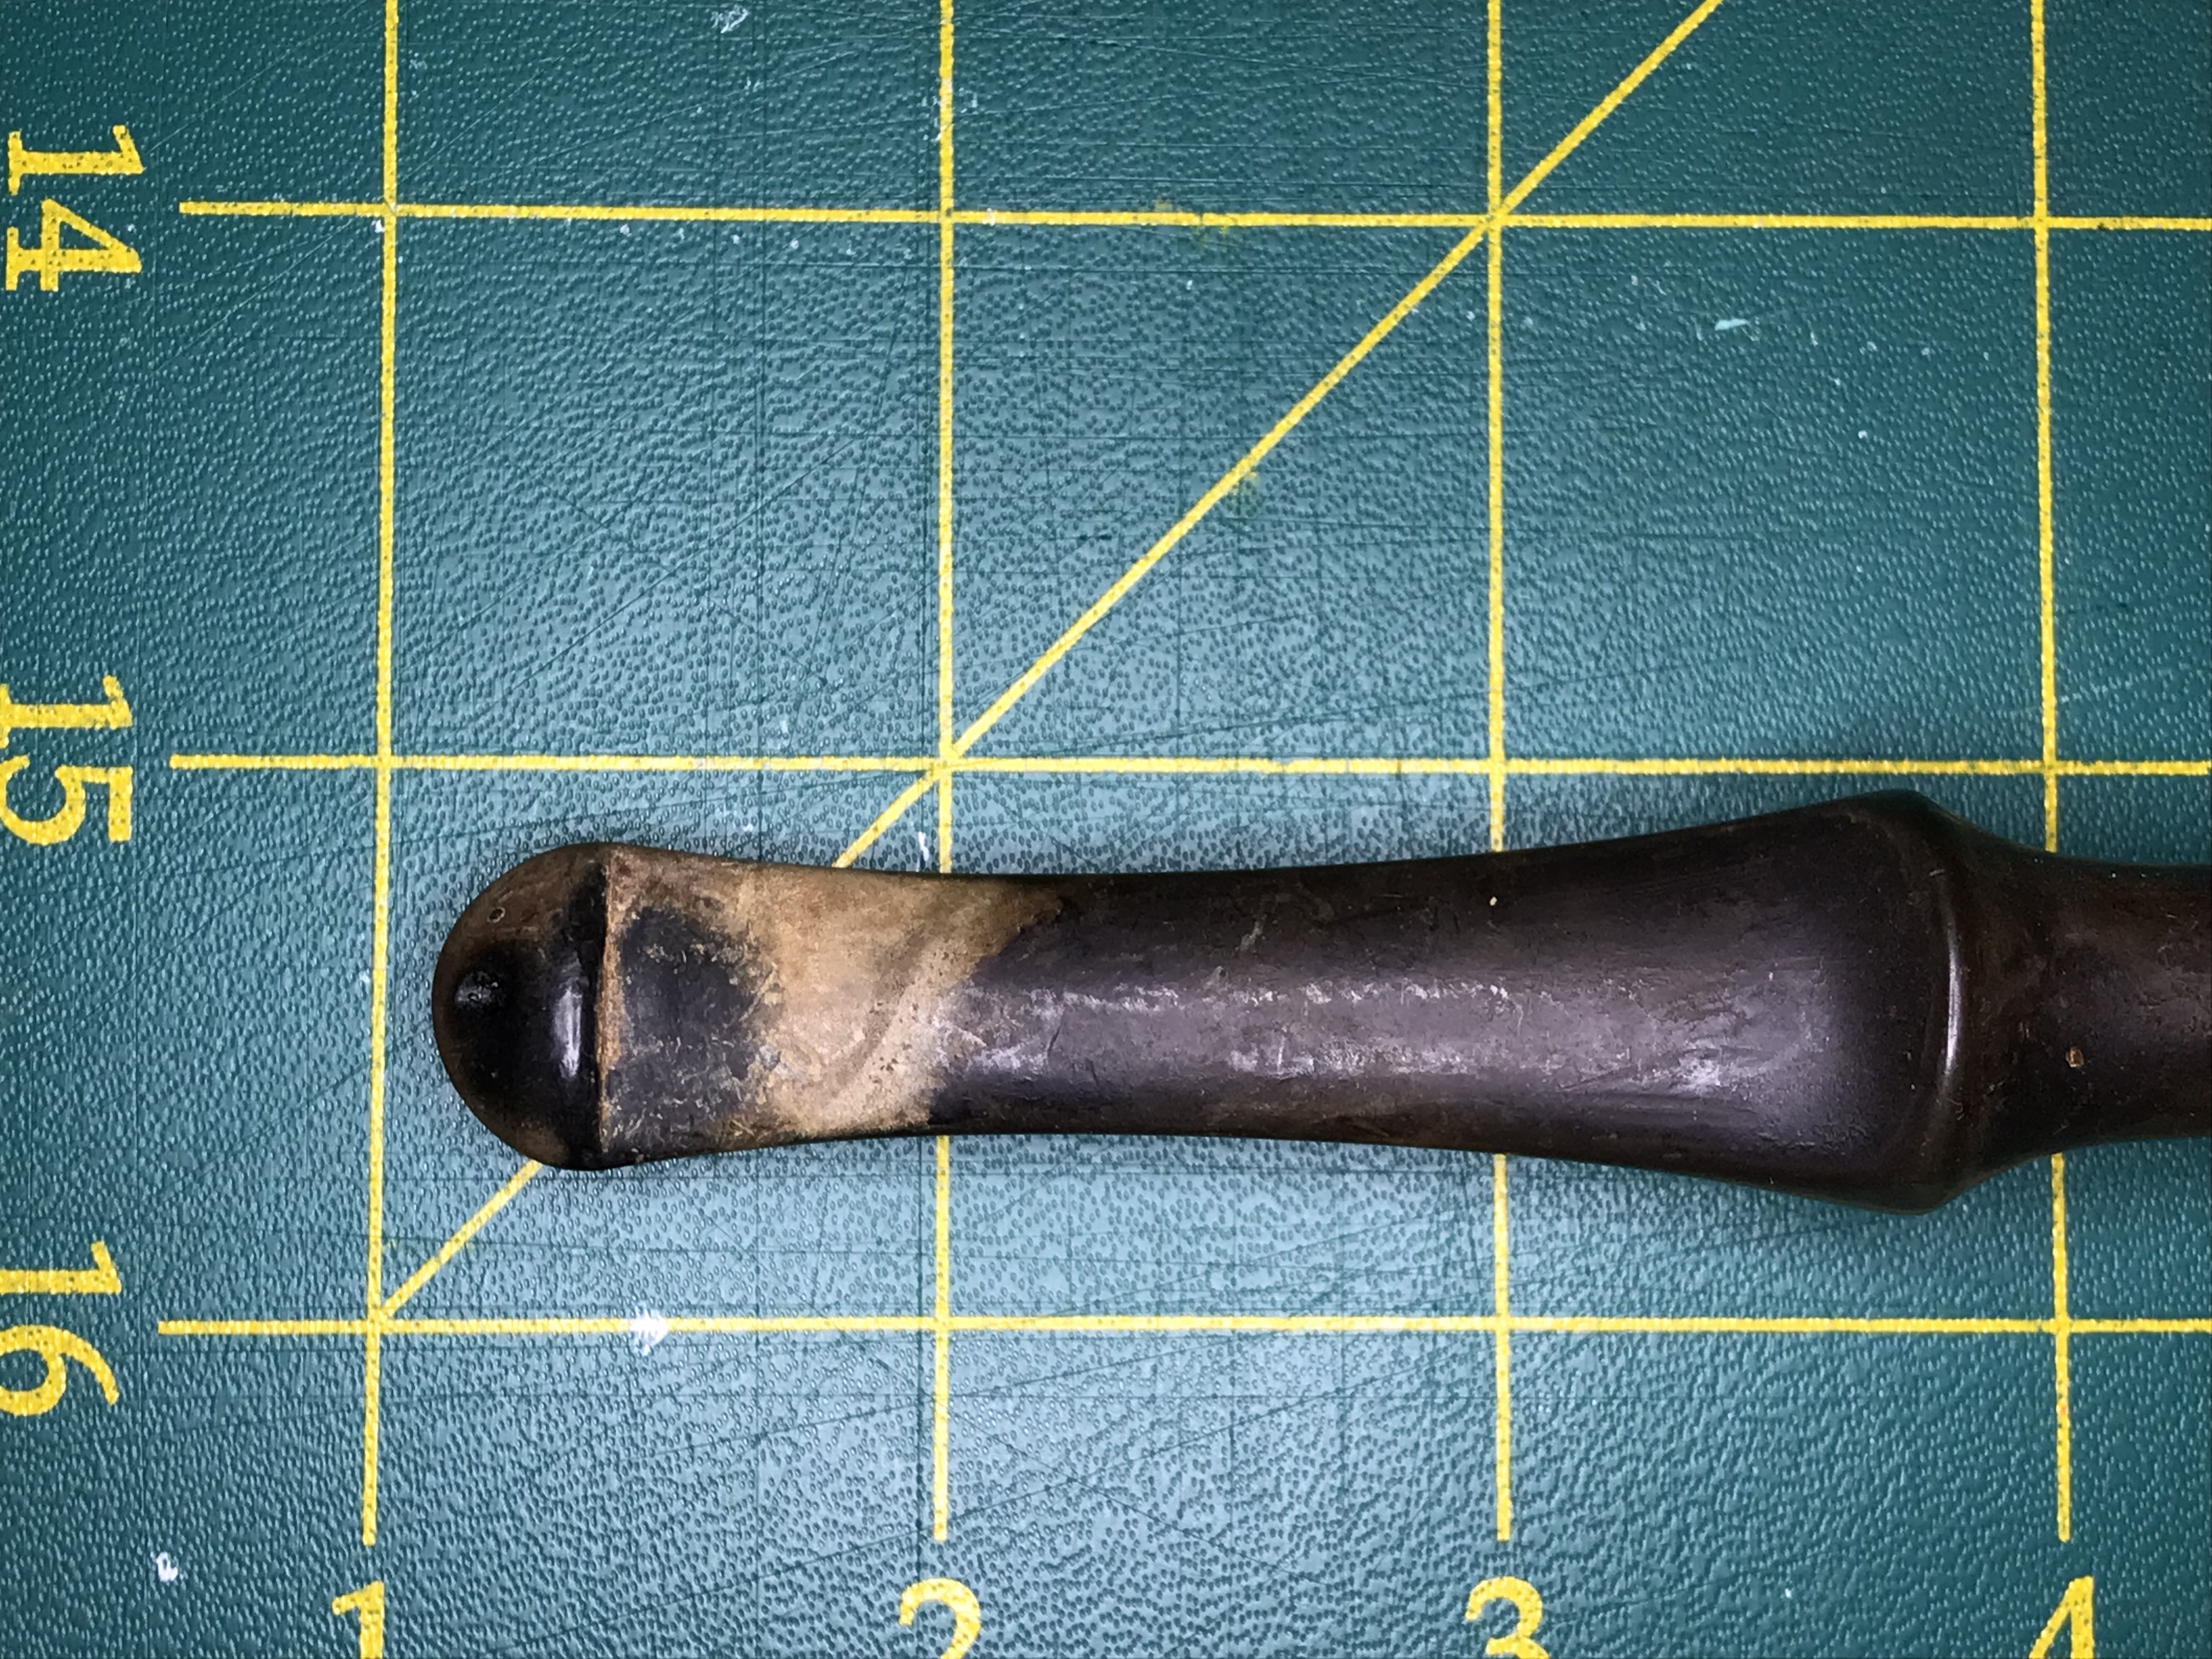
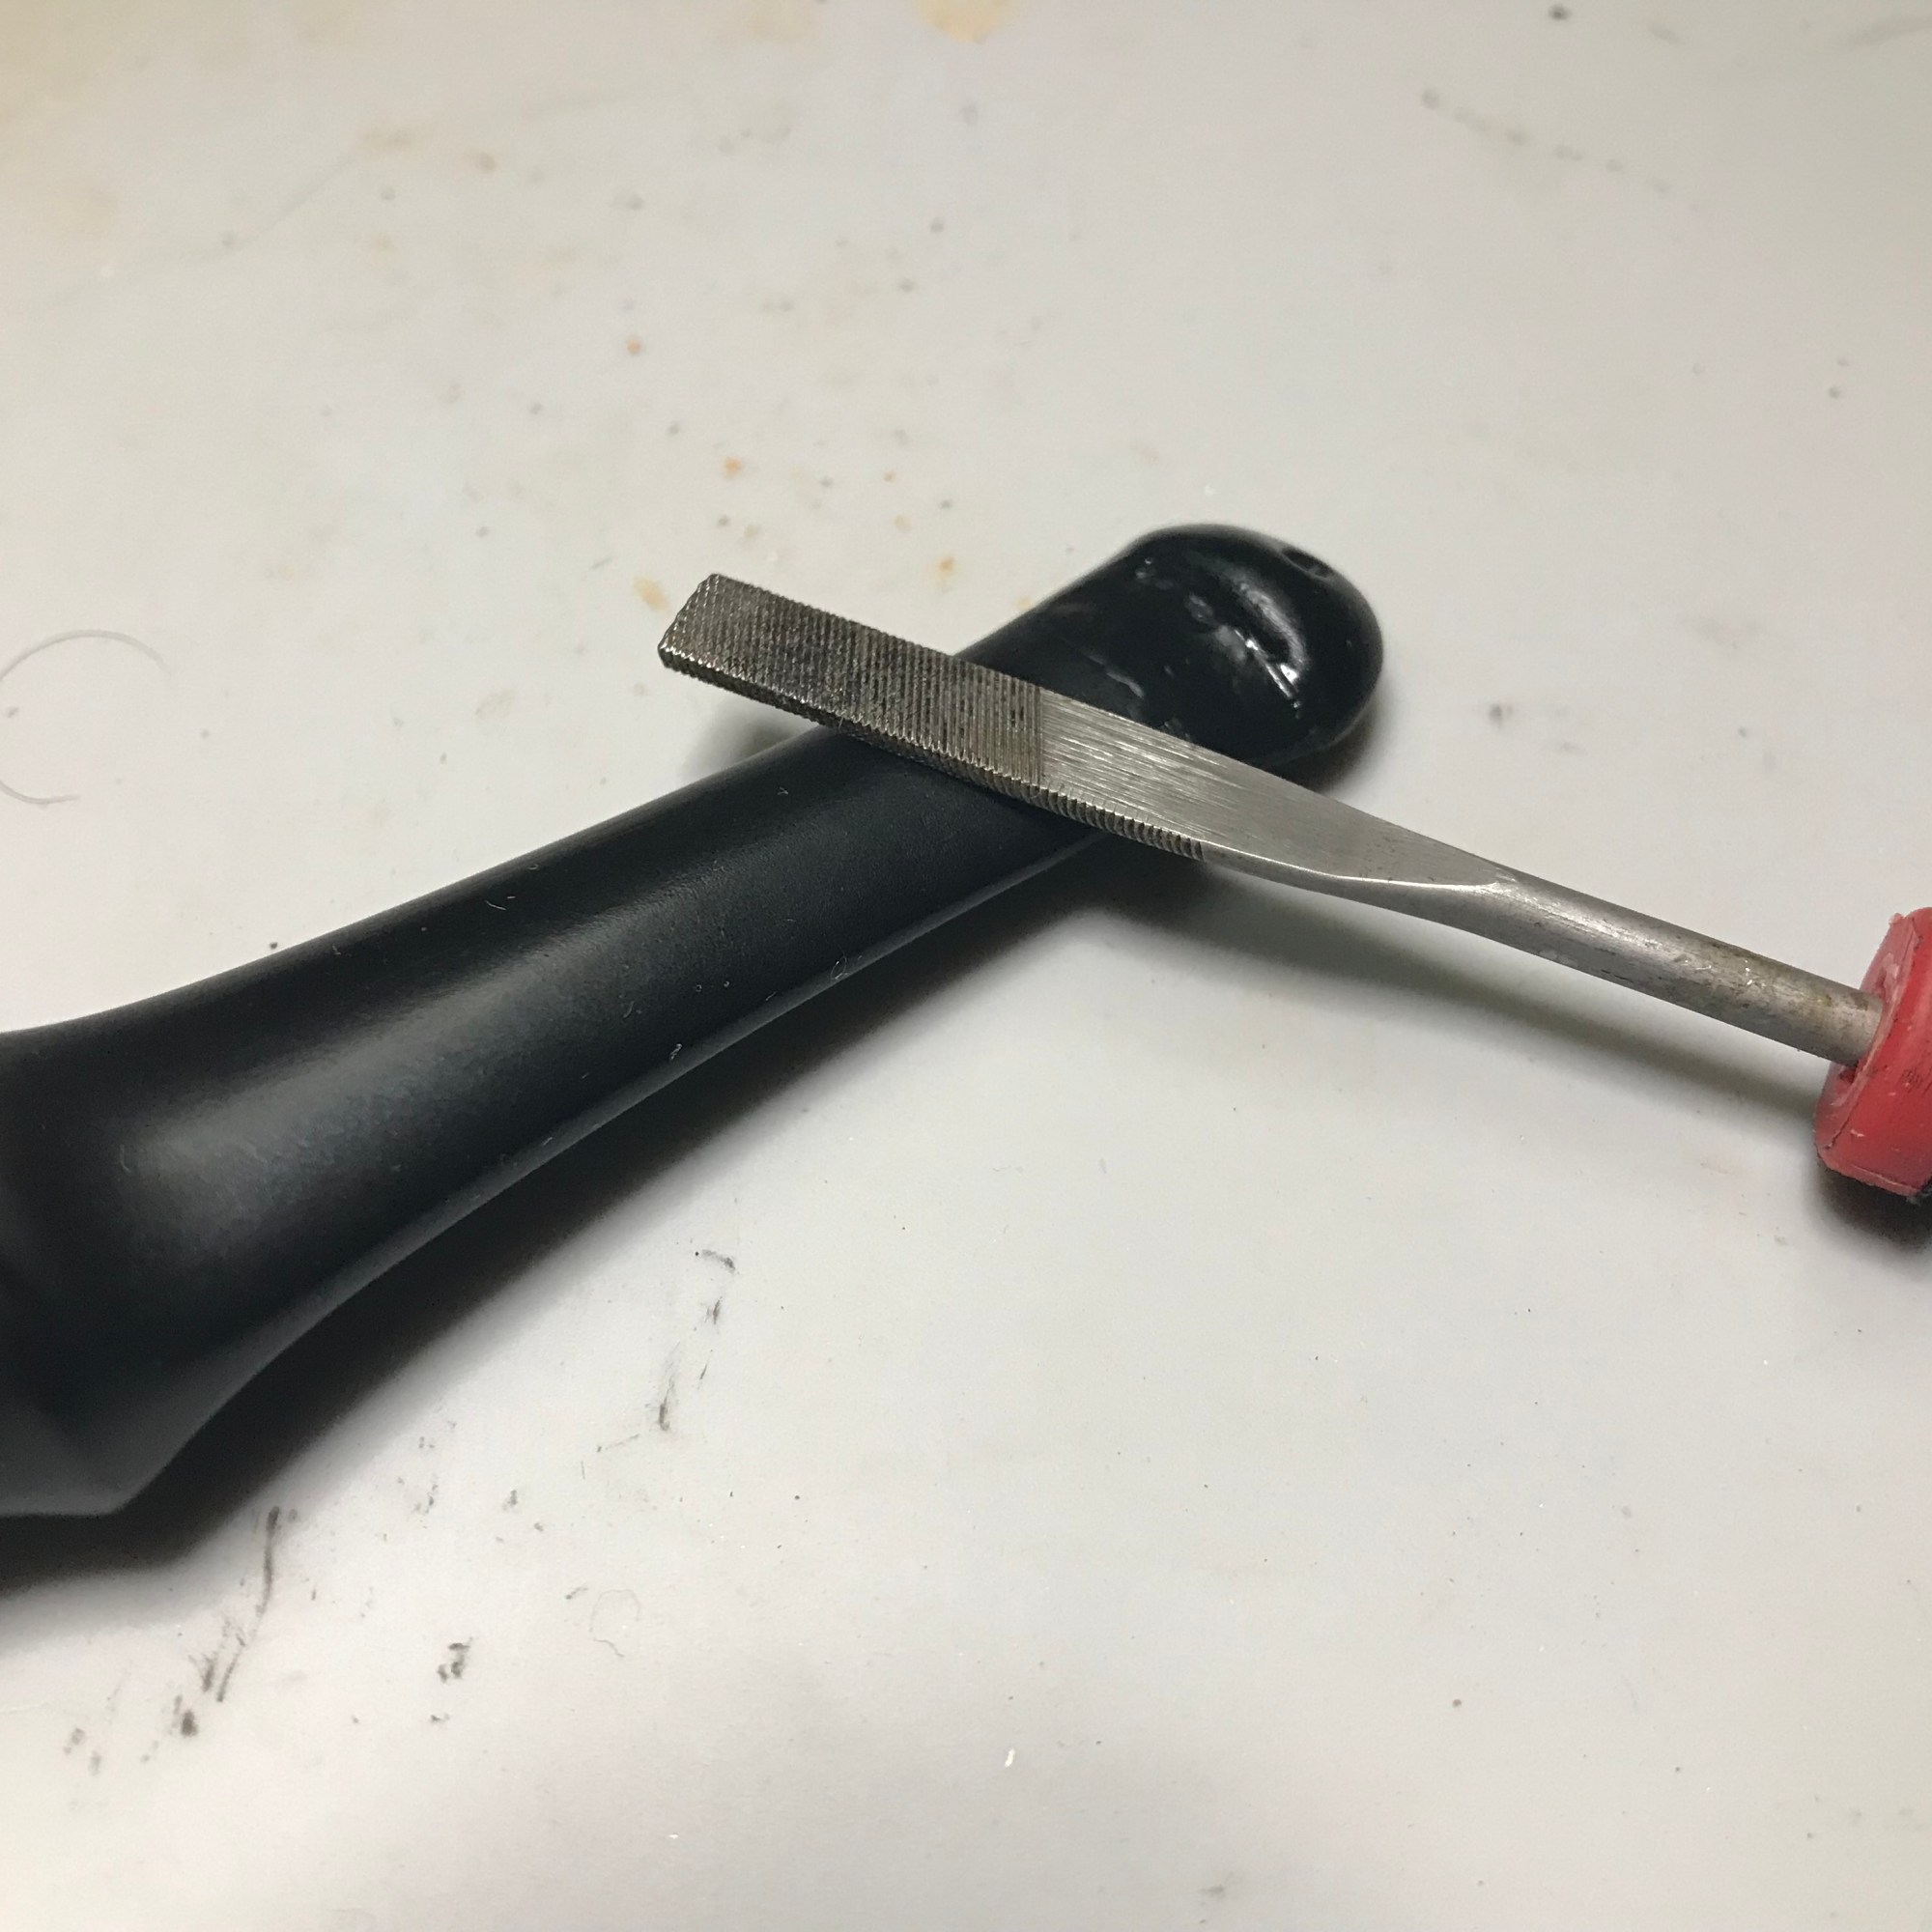
Before I started the alcohol cleansing process, I used some steel wool to remove the calcification off the stem. Afterwards I used a combination of pipe cleaners and nylon brushes to scrub and clean the internals of both the stem and stummel. The stem is still destined for a deoxidizing soak but I wanted to ensure it was clean before putting it in the deoxidizer. I figure this way the deoxidizer doesn’t have to work too hard and it will remove the oxidation on the stem much more efficiently.


Once I’m satisfied that the internals are clean, I will work on removing any ghosting or remnants of the previous smokers tobacco choices. Some tobaccos like Aromatics and other stronger tobaccos will “ghost” the bowl resulting in masking the flavour of other tabacco smoked in the bowl. This process helps to eliminate that.
Lastly after the cotton batting and alcohol have done their job I perform an alcohol retort on the stummel. I find this removes any stubborn tars and nicotine that may remain as well as cleaning all the previous steps away.
Step 4: Stem deoxidation

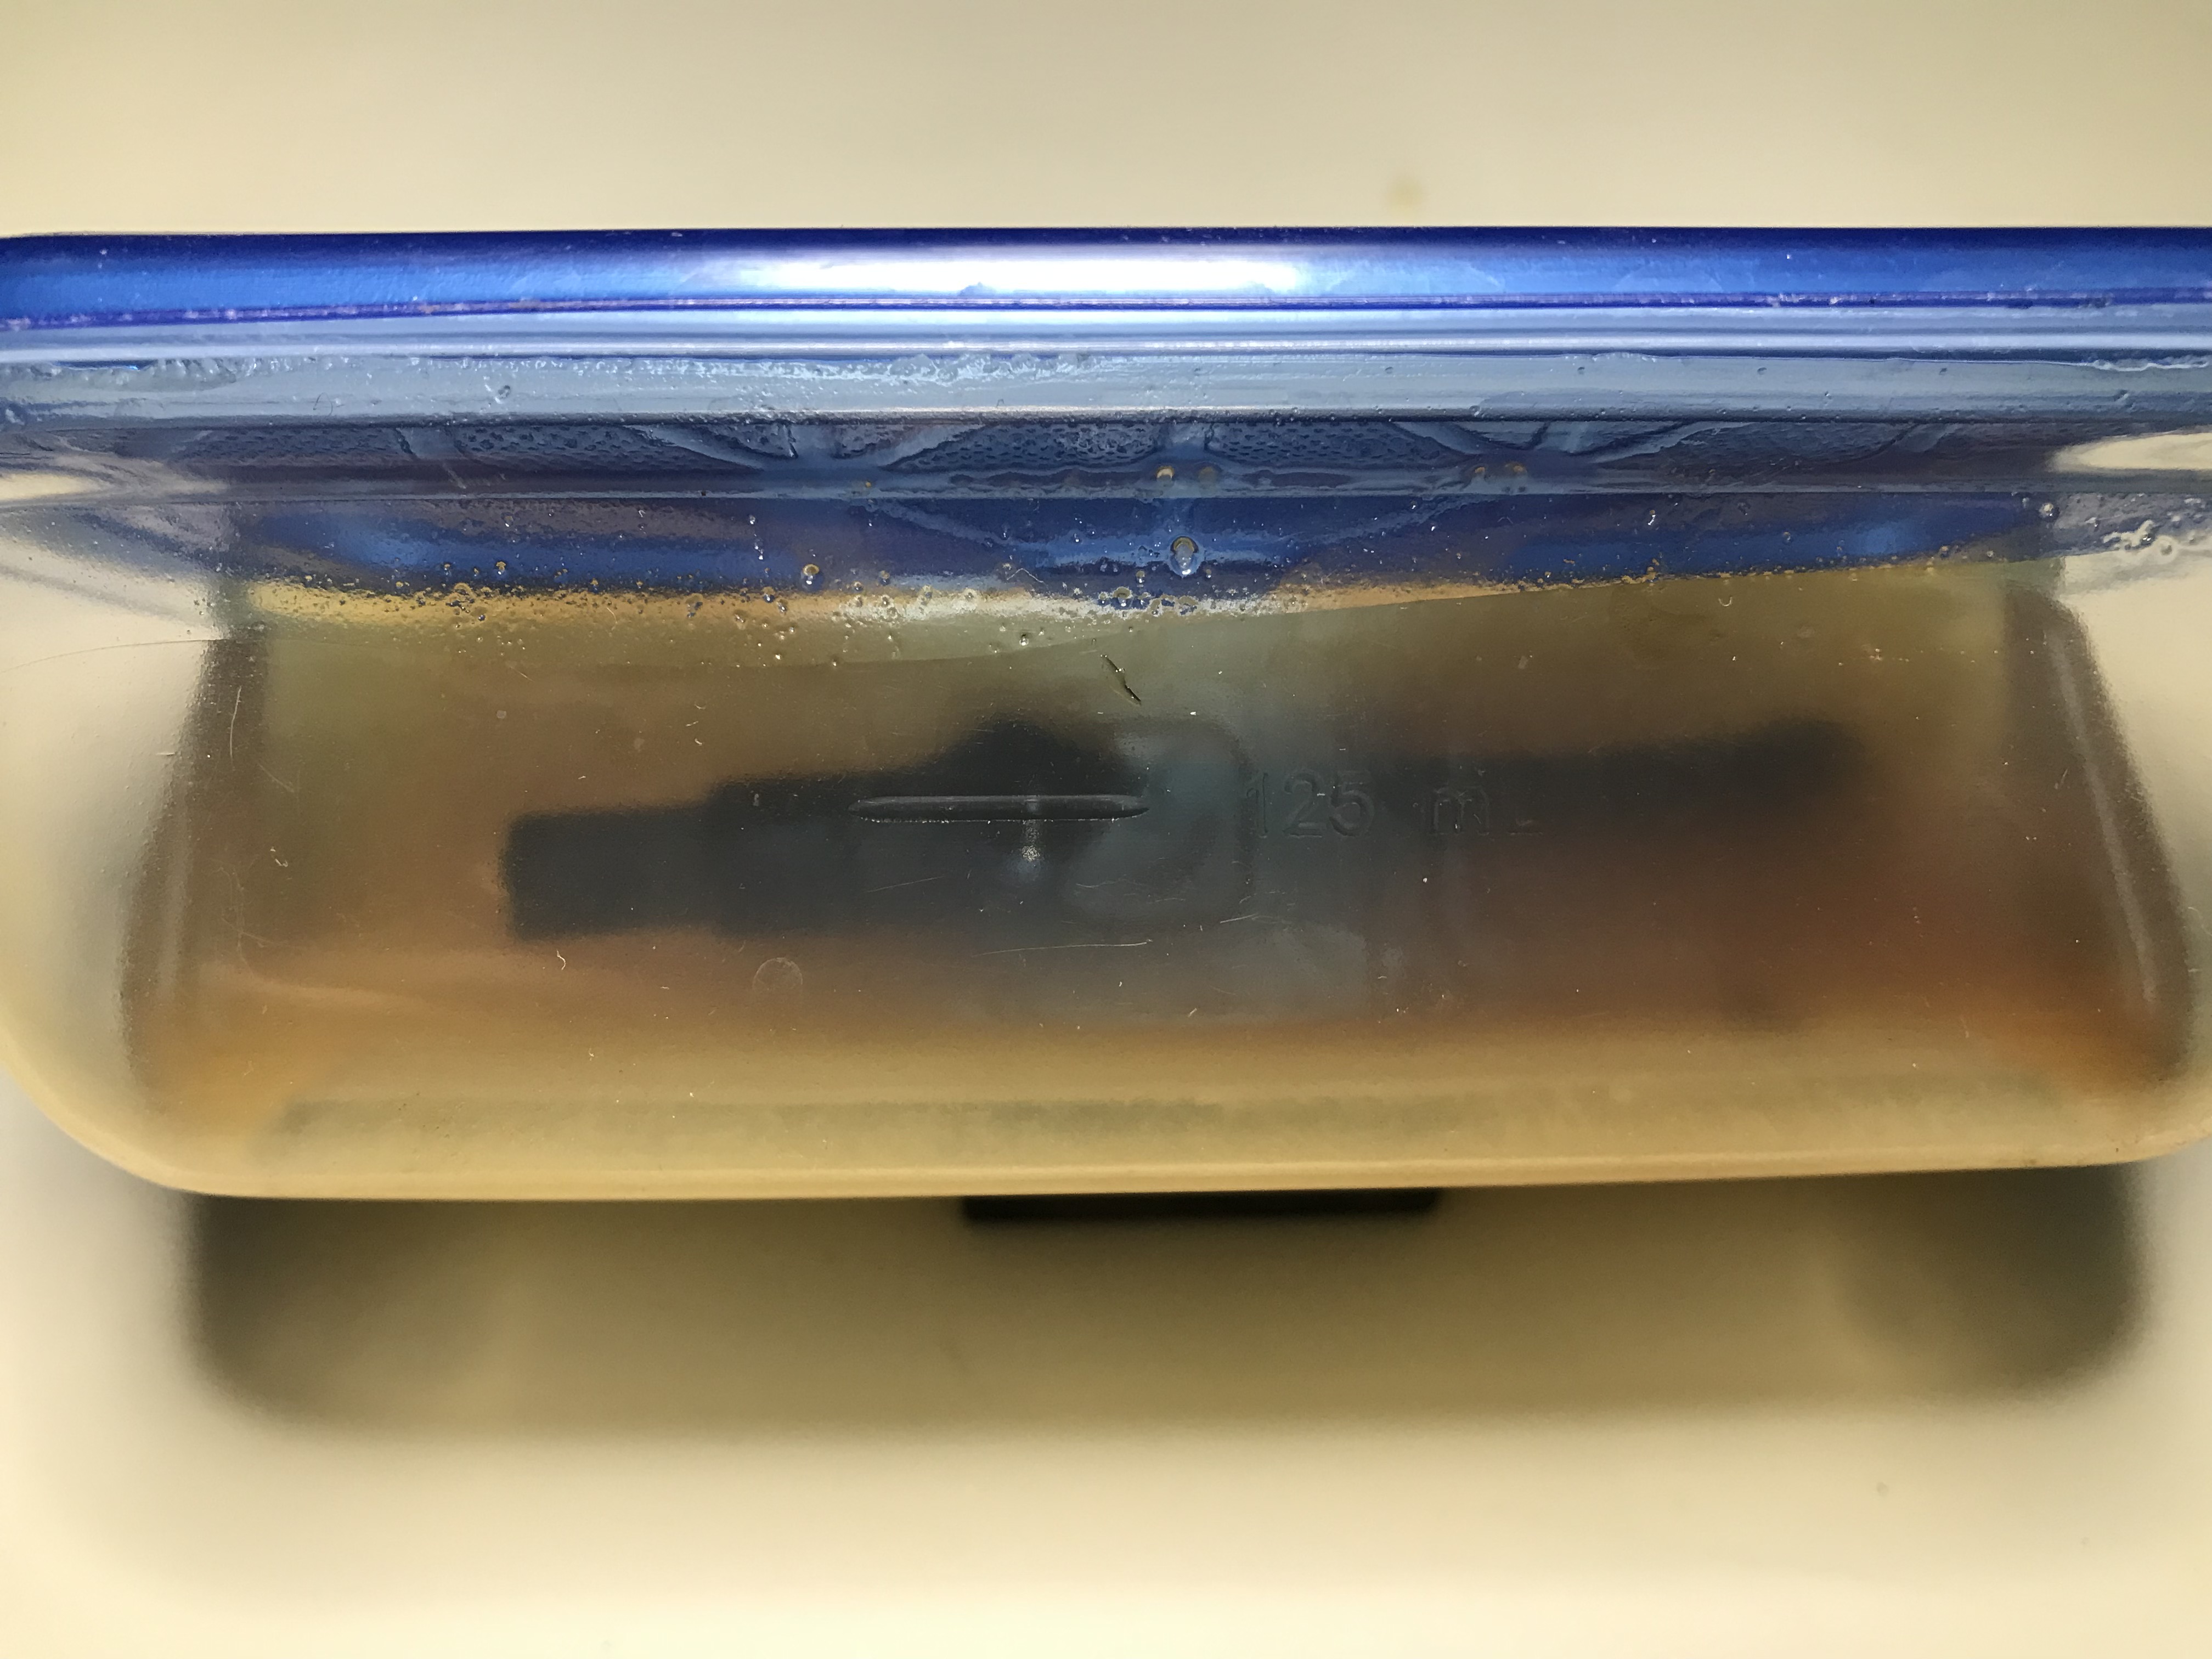
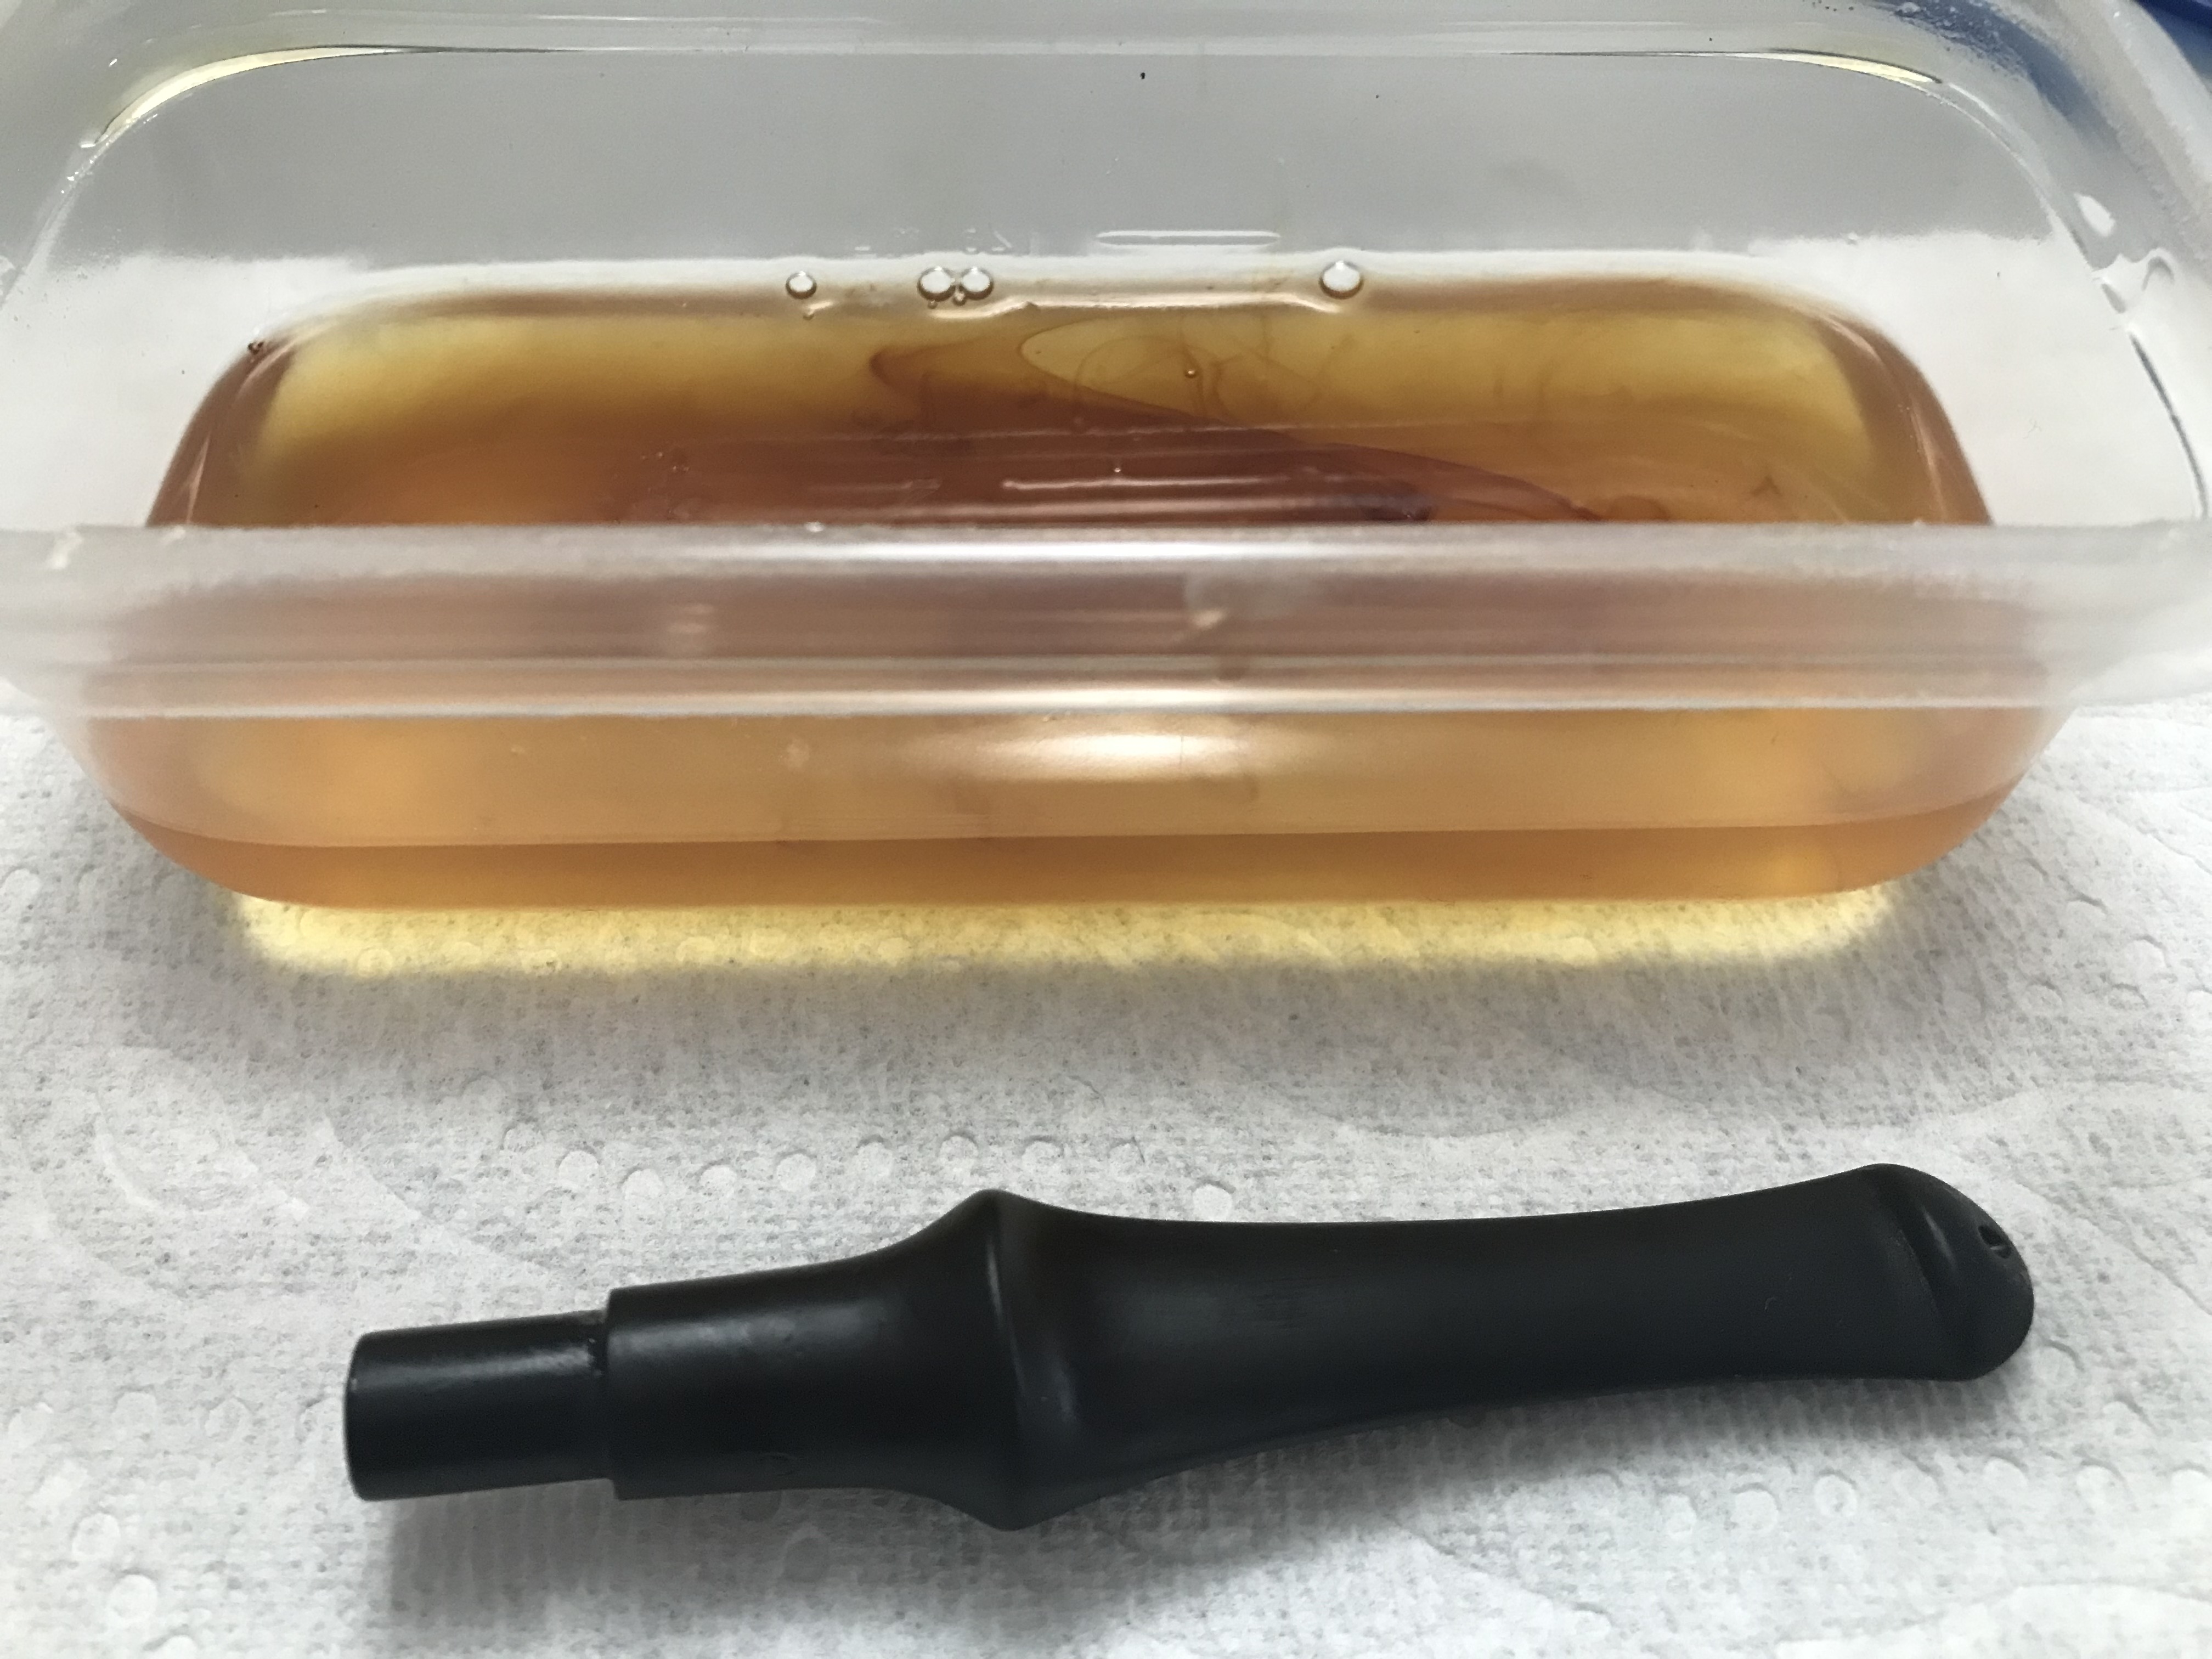

I used the Before & After Hard Rubber Deoxidizer from lbepen.com to remove the oxidation from the stem. I was pleased that I made the effort to remove the calcification before this step as the stem came out exactly as I wanted.
Step 5: Stem Repairs
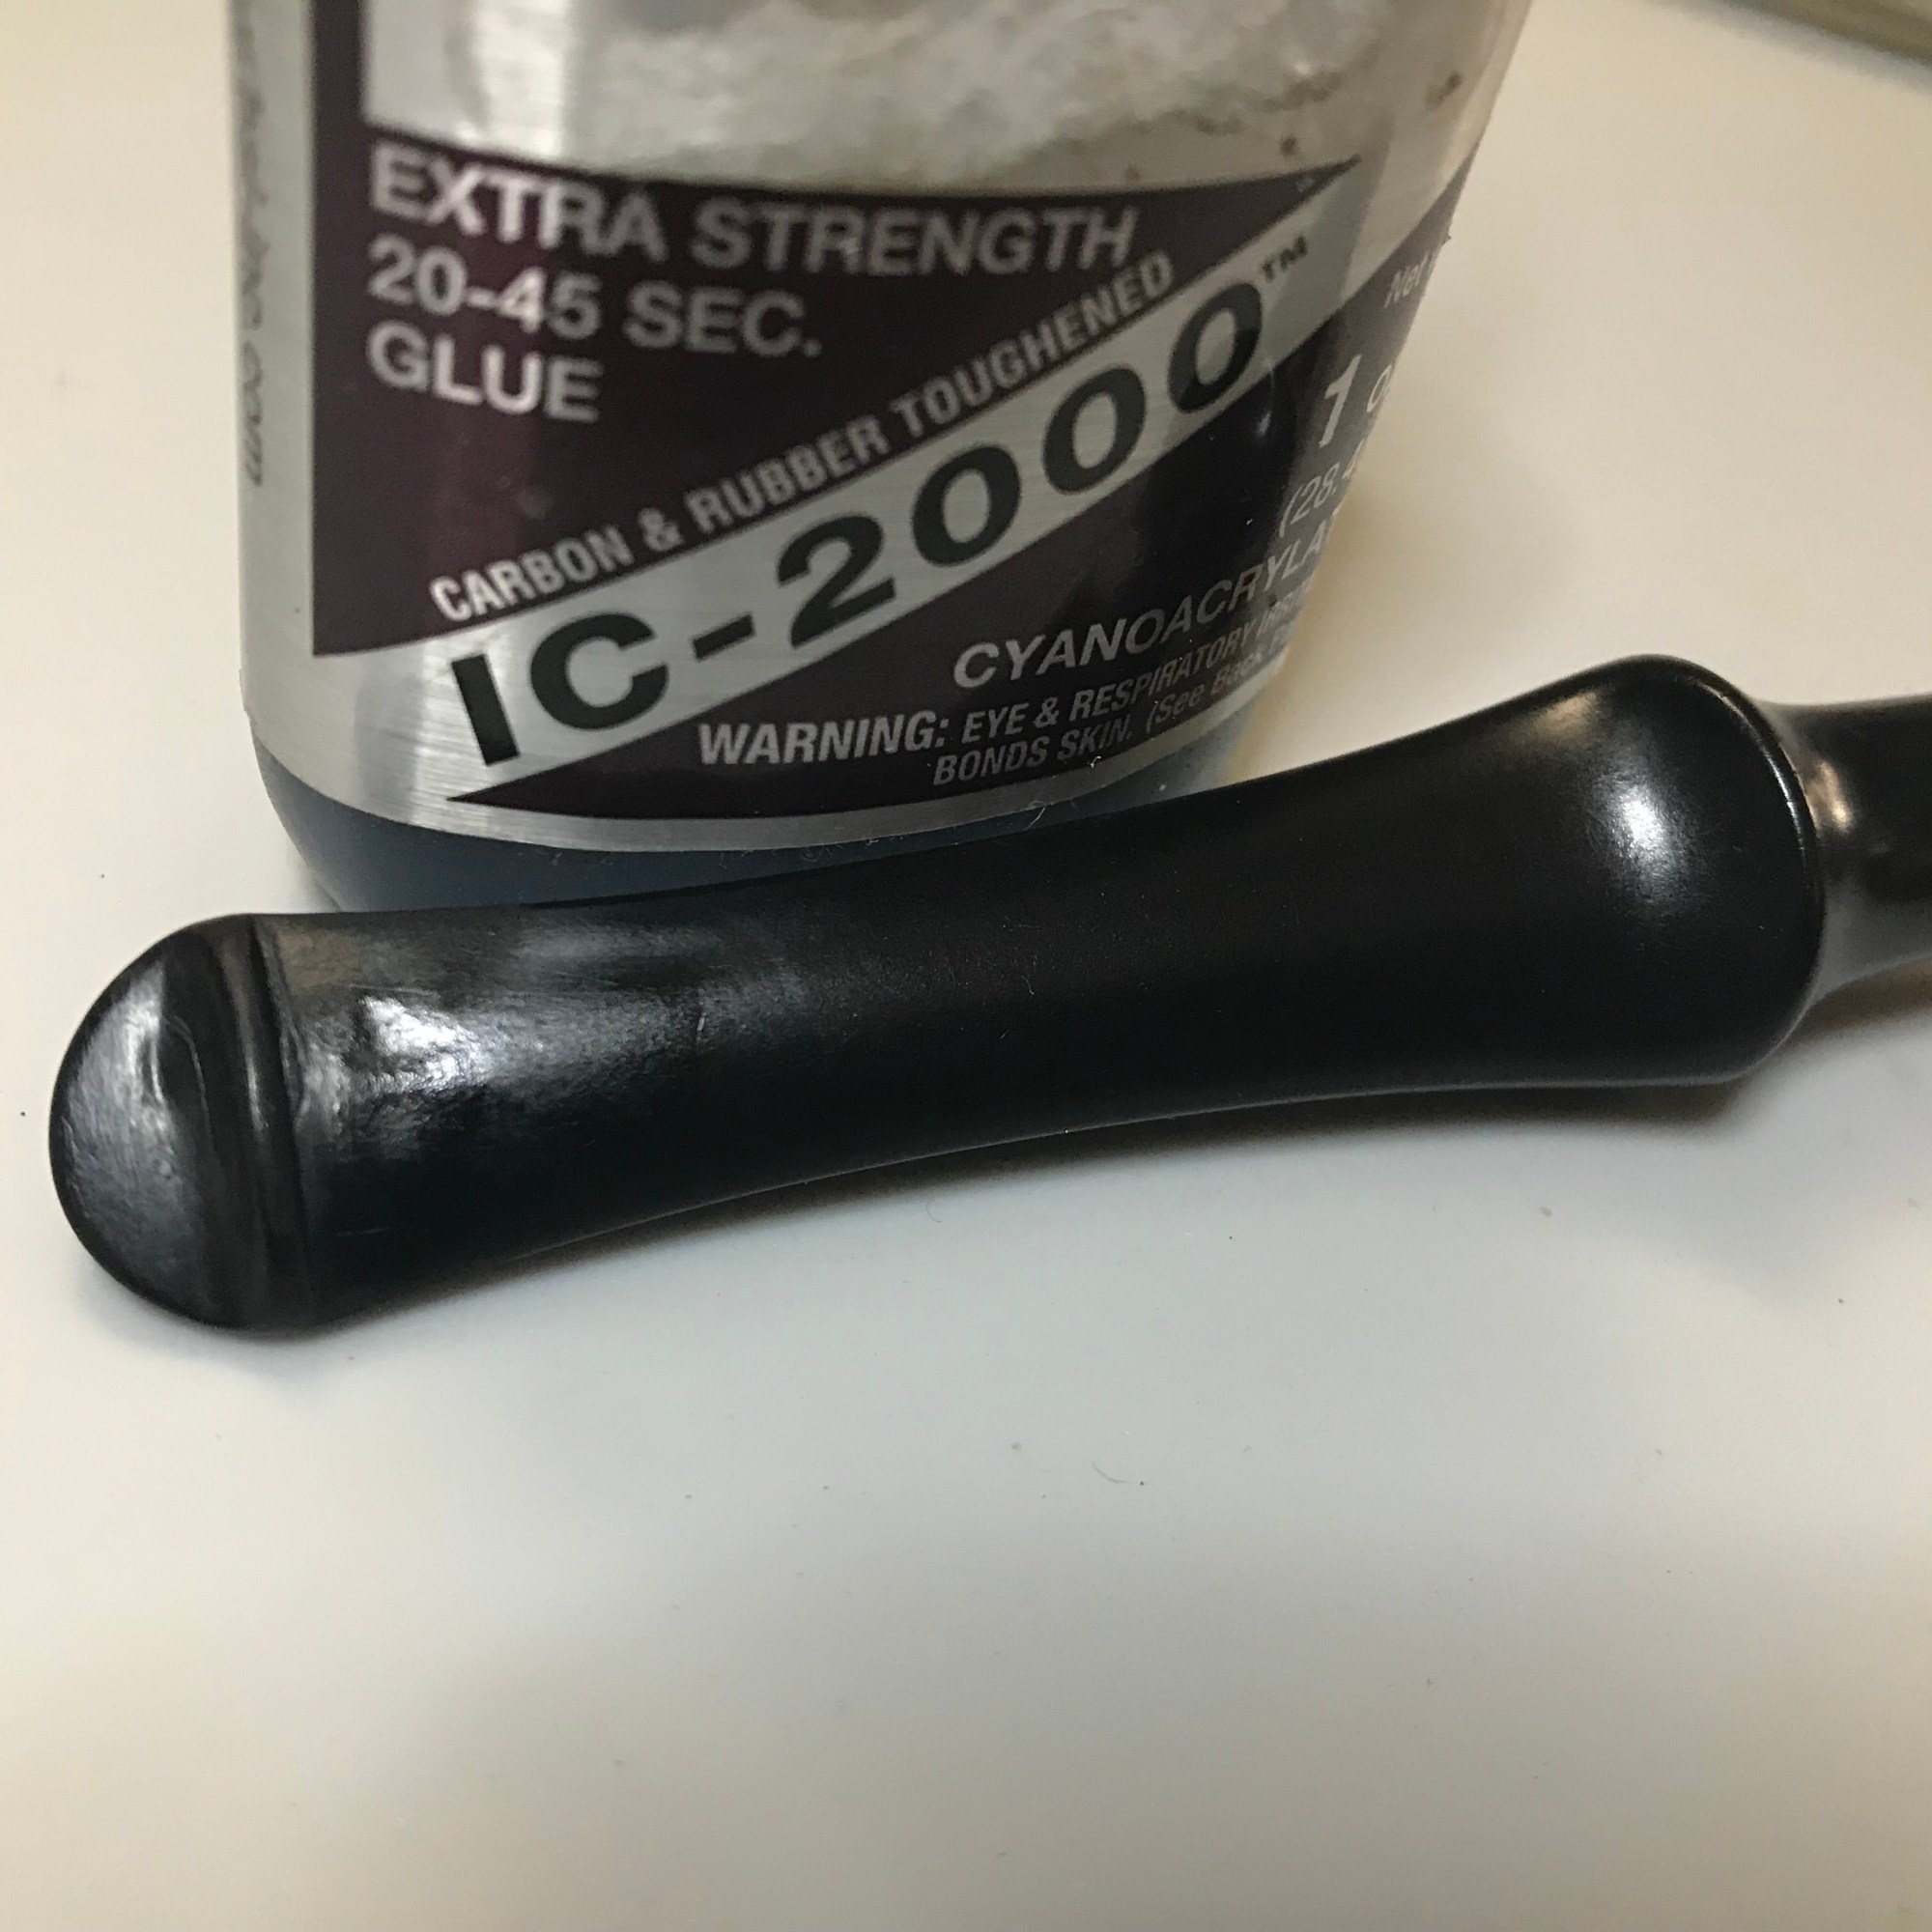
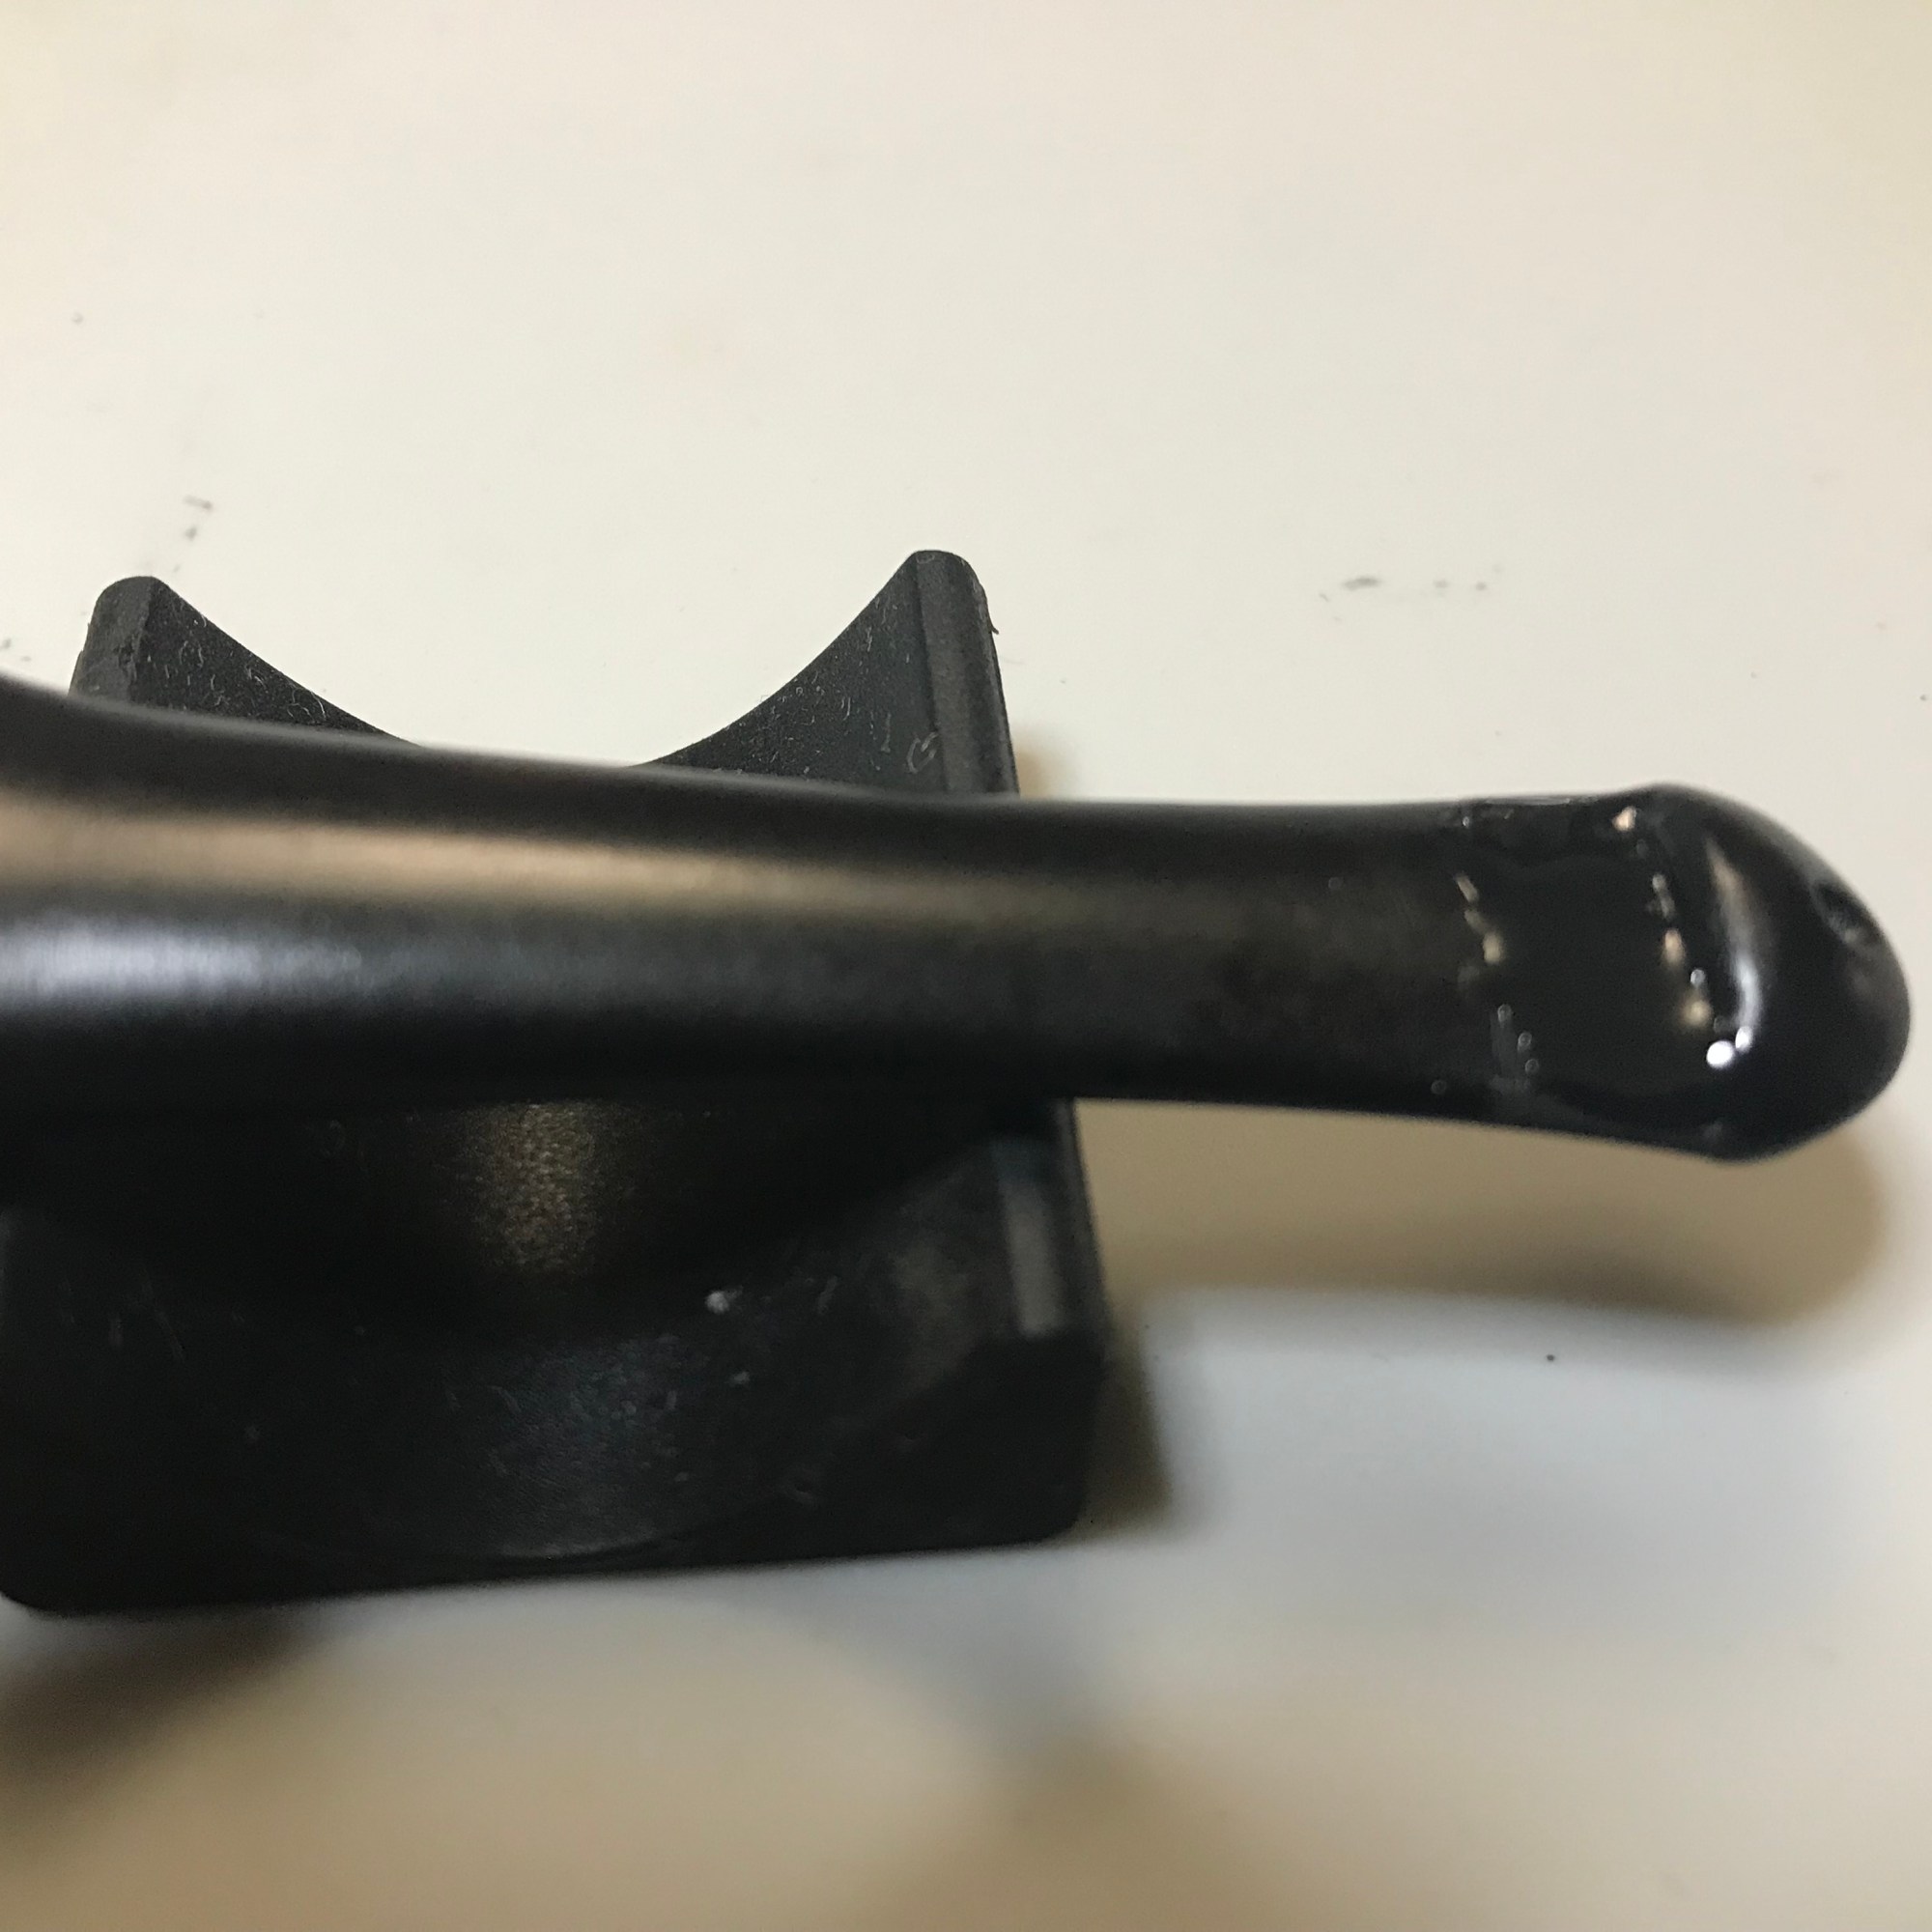
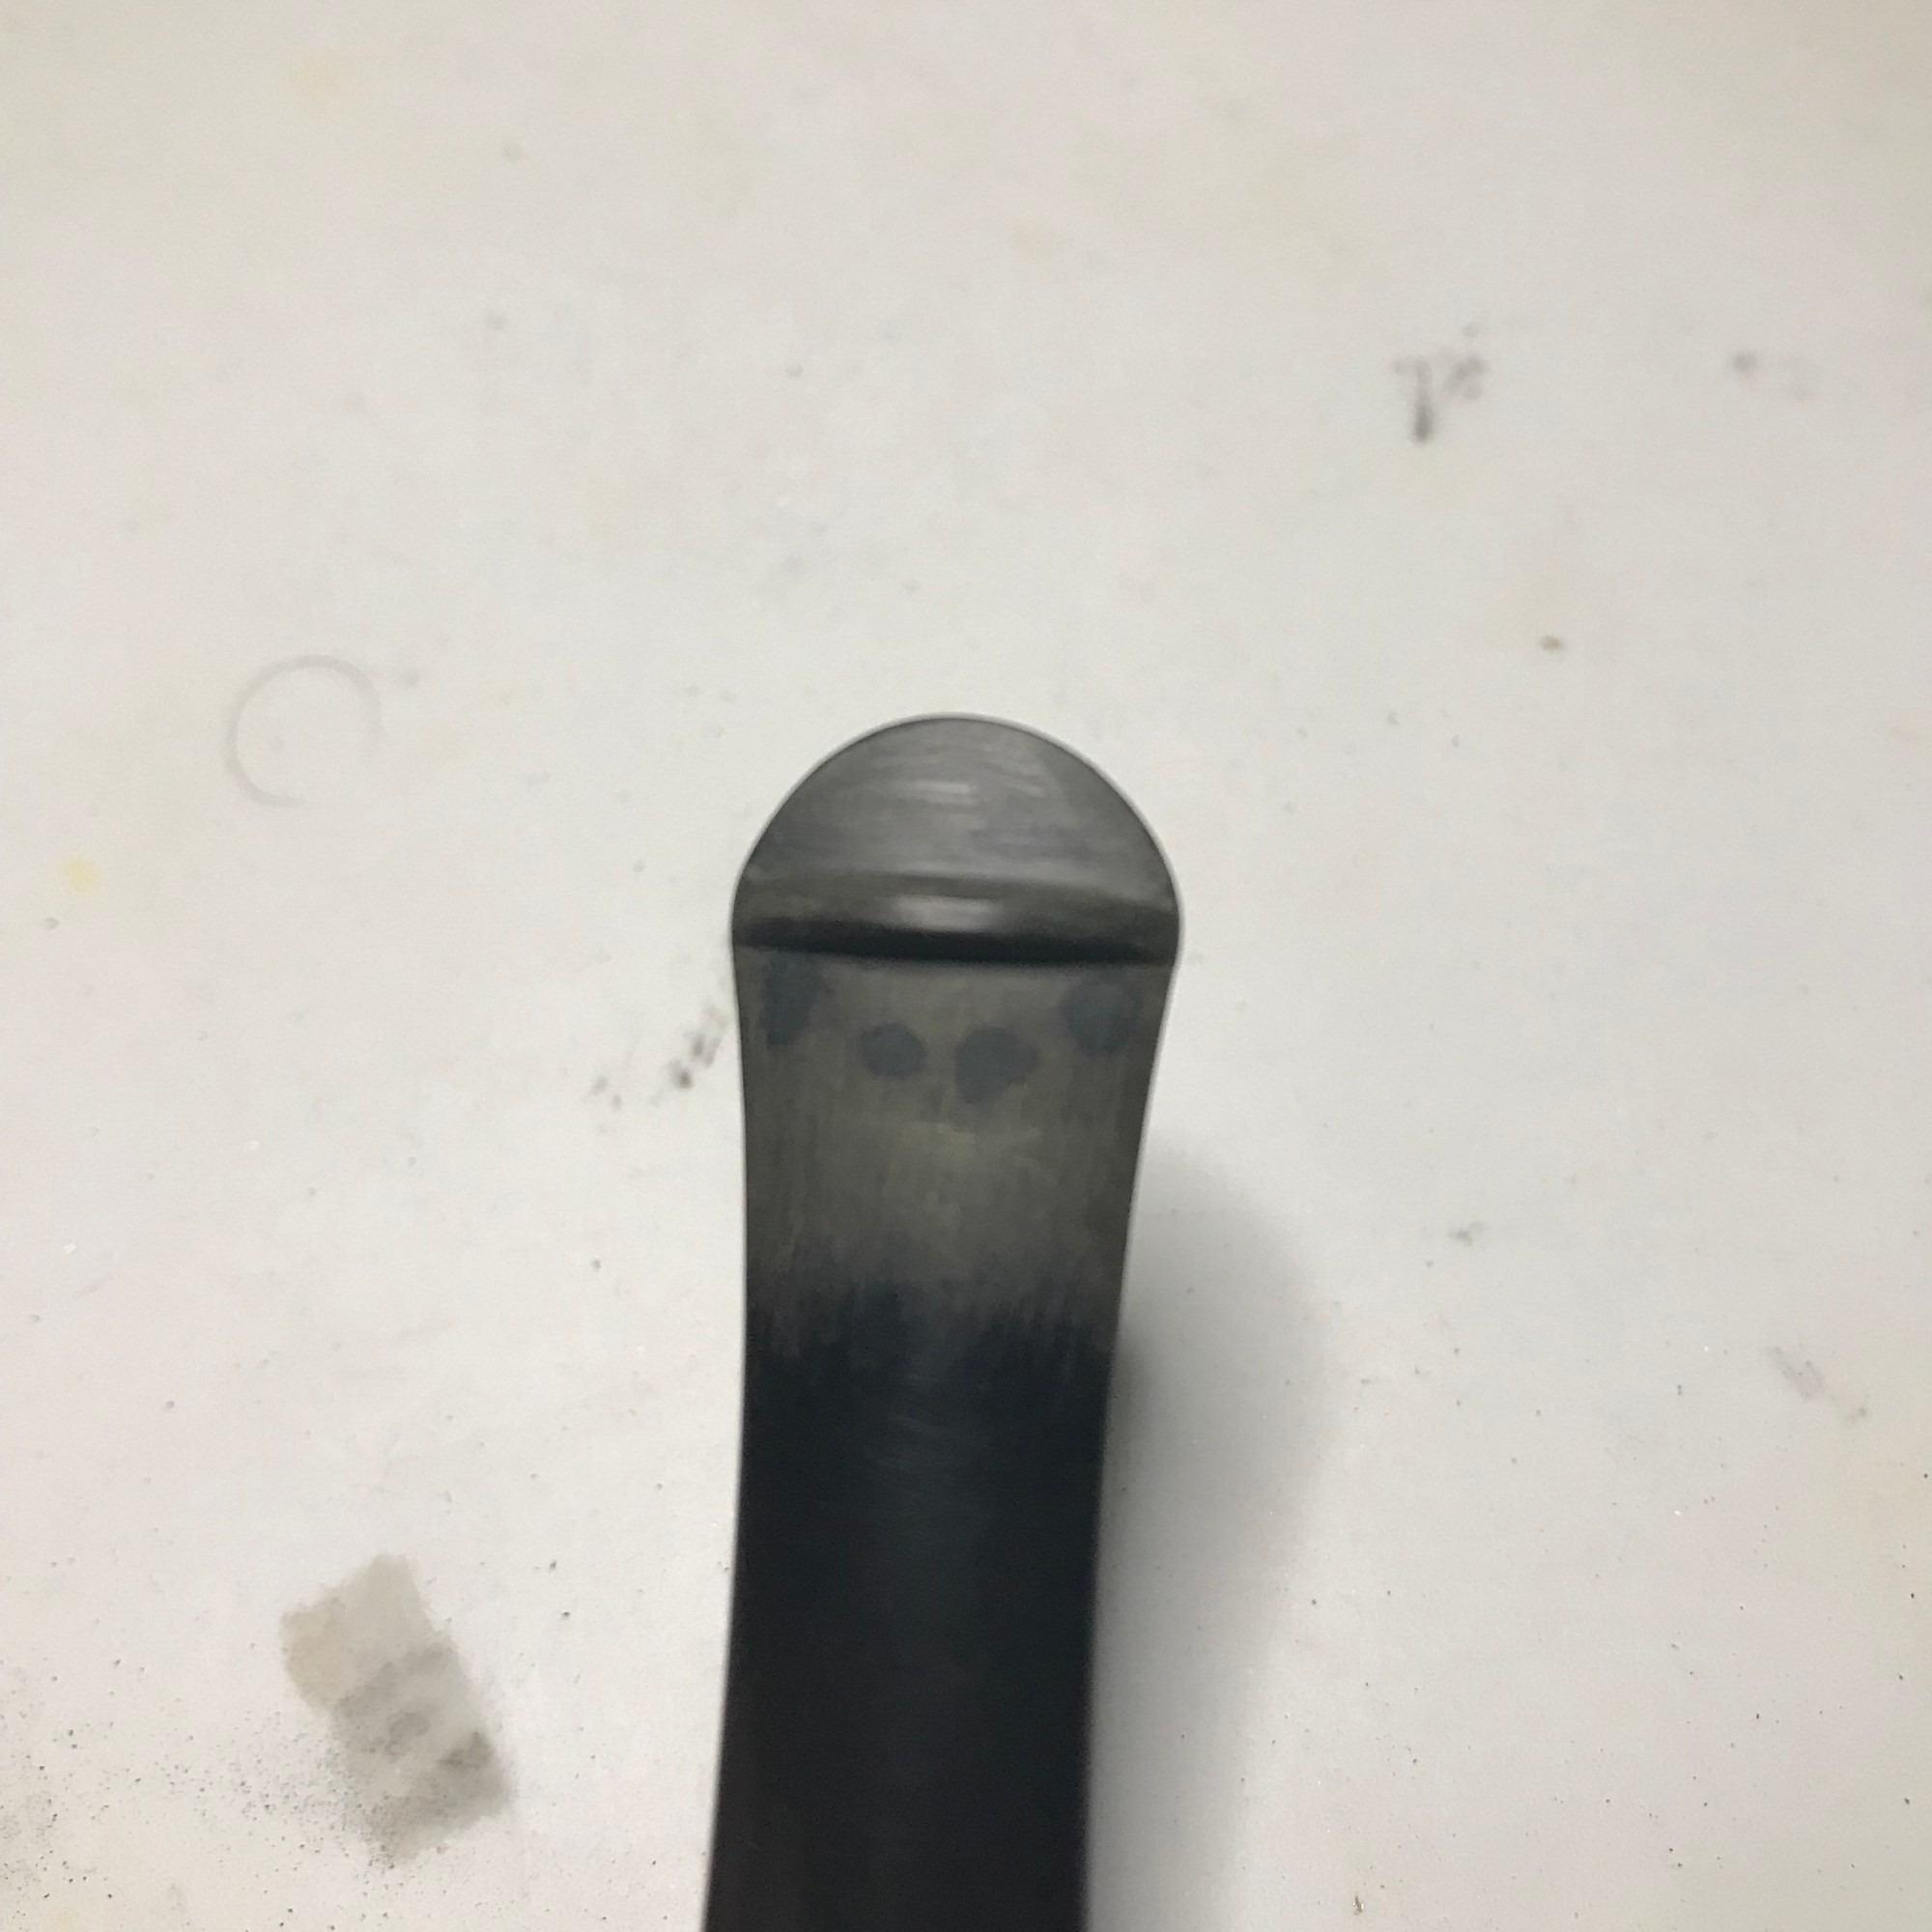

I really like to use this Carbon and Rubber toughened CA Glue by Bob Smith Industries. It blends in with the vulcanite stem quite well and becomes almost invisible once you reach the polishing stages. I’m pretty sure the tooth chatter on the underside of the bite area would qualify as dental records. You can see in the middle photo at the bottom has 4 well spaced tooth indents left behind from clenching the pipe in the smokers teeth.

Typically I use a product called Rub N Buff to restore the stamped nomenclature on the stems. Mine had dried out, so I bought this oil paint marker from Michaels. I filled in the impression on the stem then used a pad and rubbed off the excess with mineral oil.
Step 6: Refinishing


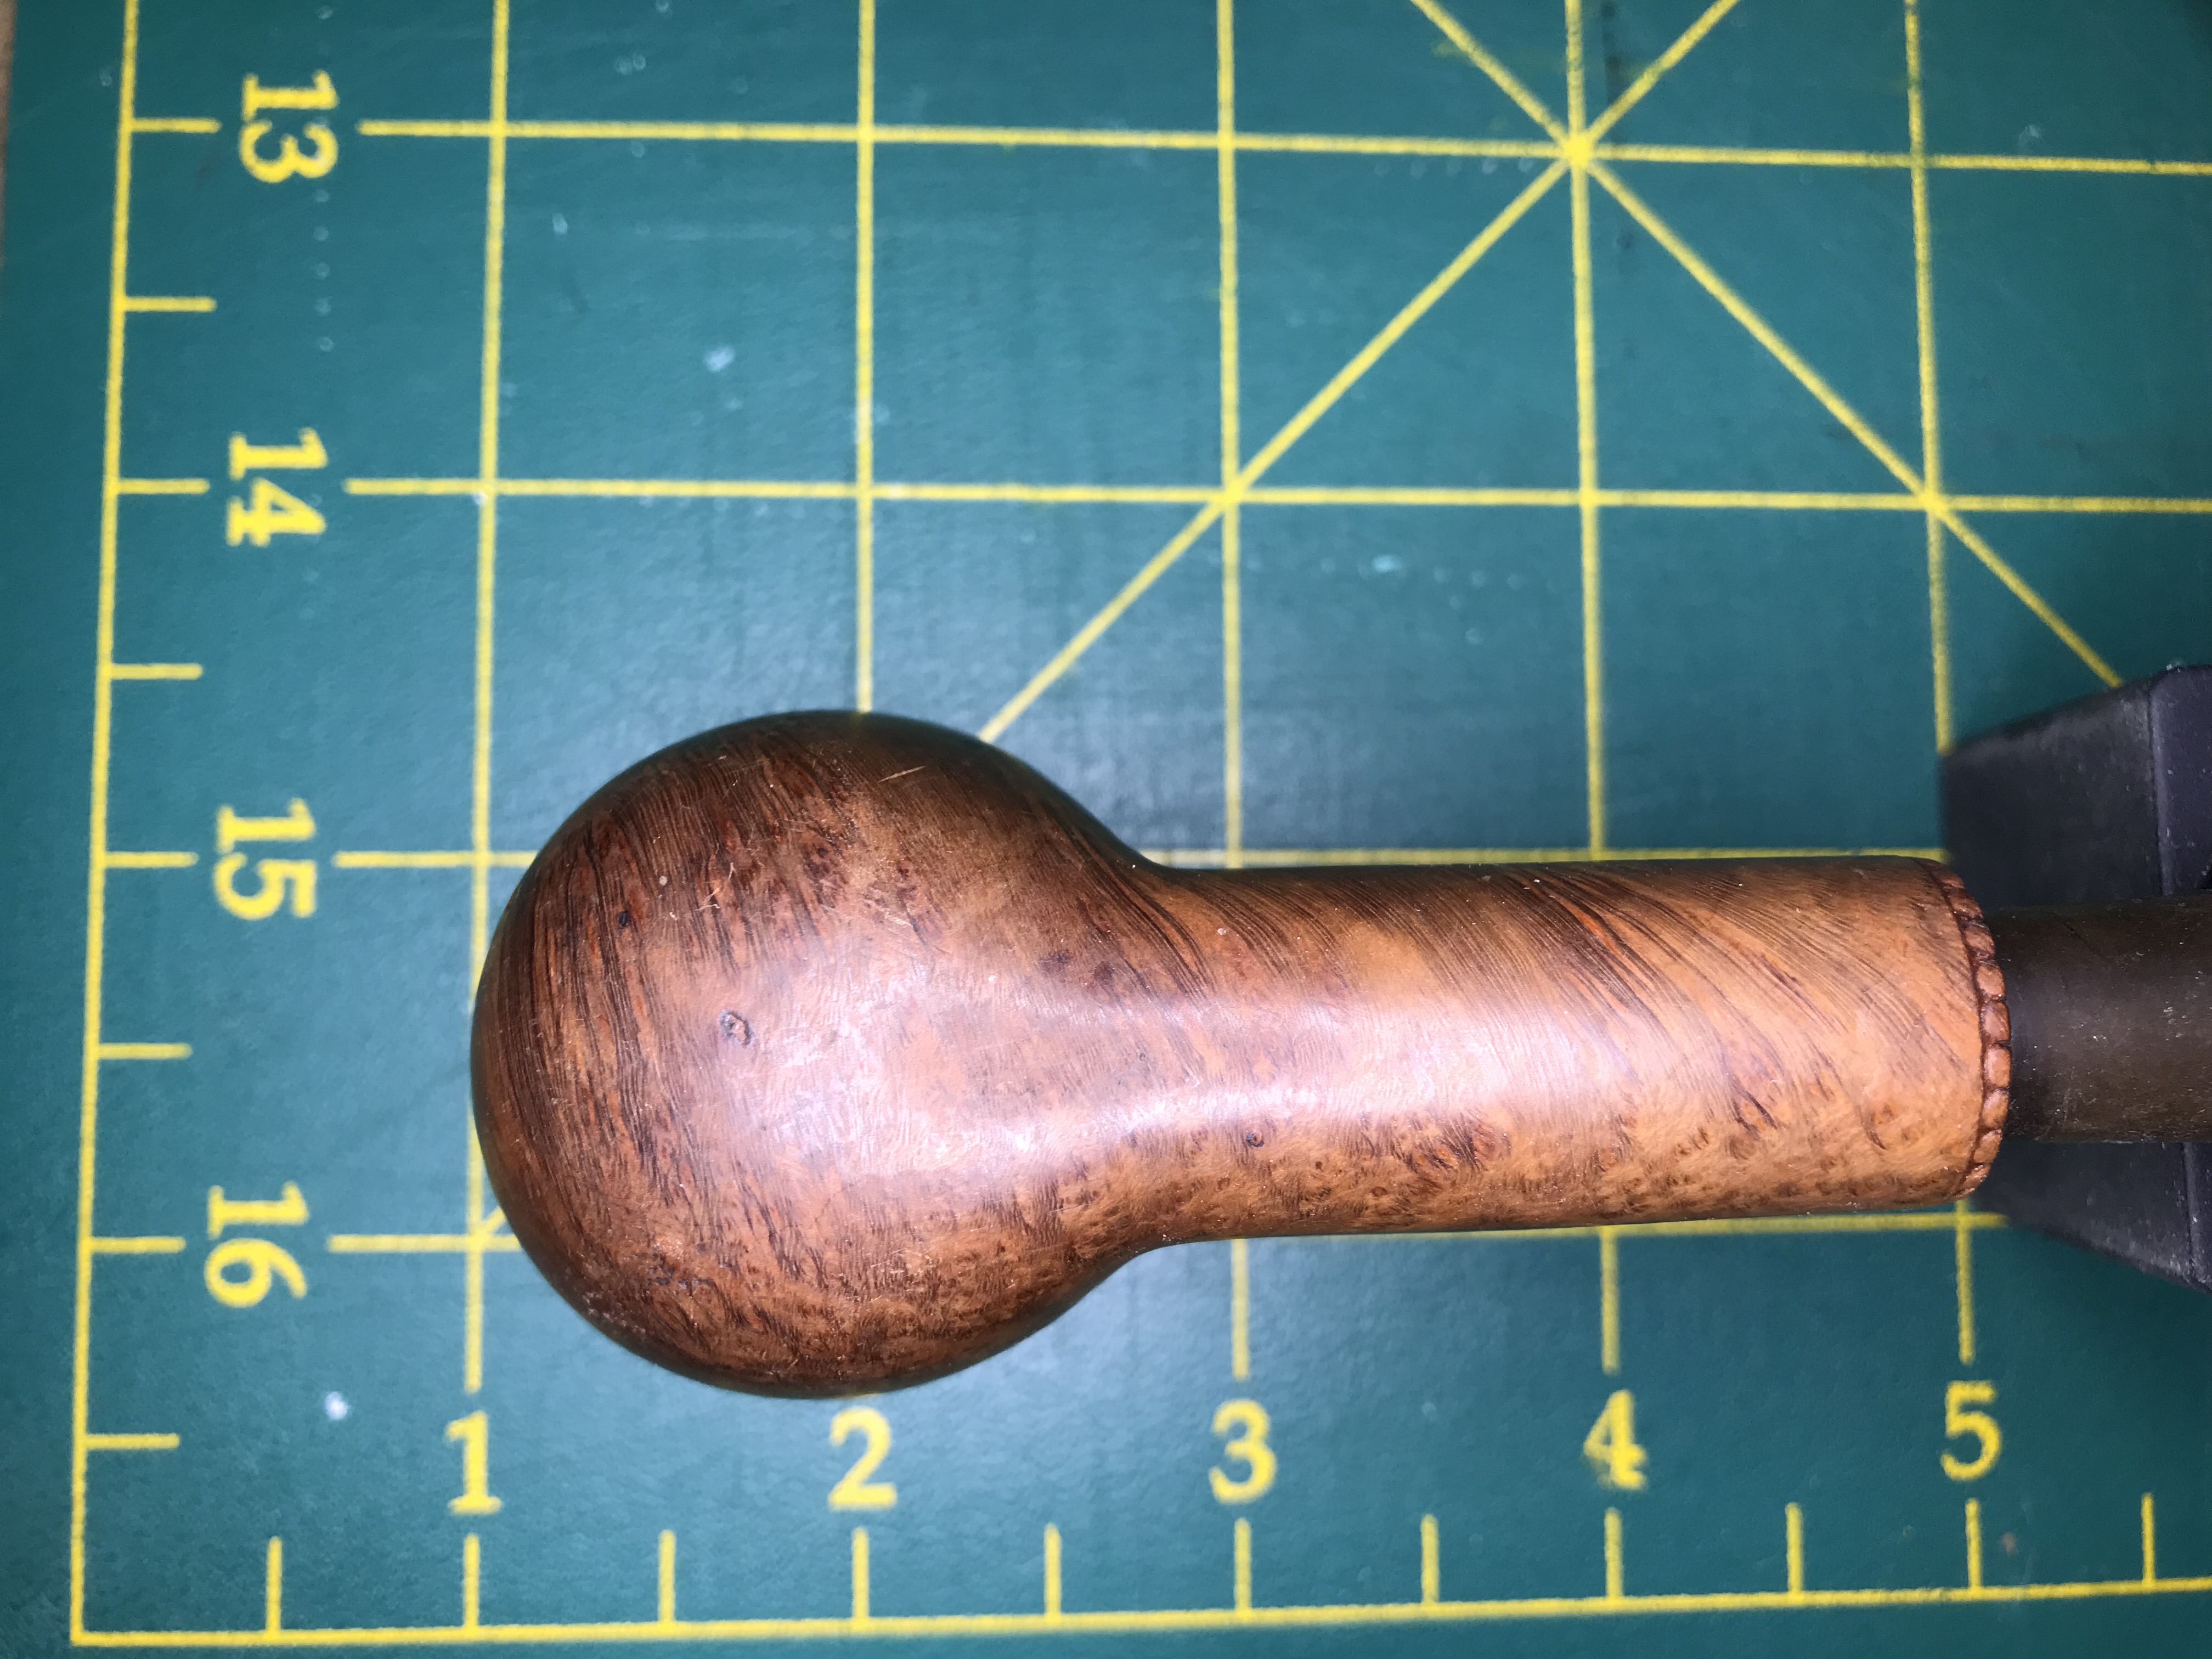
I used Fiebing’s Light Brown leather dye to refinish the stummel. Once the stain had set, I unwrapped the pipe with a buffing bit on my rotary tool using red tripoli.
Step 7: Bowl Coating
When a pipe has been smoked as heavily as this one, I felt that the pipe would need a protective barrier to preserve the briar. Not every pipe smoker prefers to have cake buildup in their bowl. This would ensure some protection from the heat produced when smoking and hopefully extend the life of this pipe for years to come.
I applied a waterglass bowl coating to the inside of the tobacco chamber using a small brush. Inserting a pipe cleaner before hand will ensure you don’t seal the airway accidentally.
The Reveal
With the pipe reconditioned, restored and freshly polished it is now ready to go to its new home. You can BUY IT NOW exclusively for a limited time at the Lunting Bear Store. Don’t forget to follow us on Instagram by clicking the links at the bottom of the page. Thanks for stopping by!


1 Comment