
Whether you’re a literary fan or a just a pipe smoker, most of you know J.R.R. Tolkein and this famous quote from The Fellowship of the Ring.
All that is gold does not glitter, not all those who wander are lost;
J.R.R. Tolkein, The Fellowship of the Ring
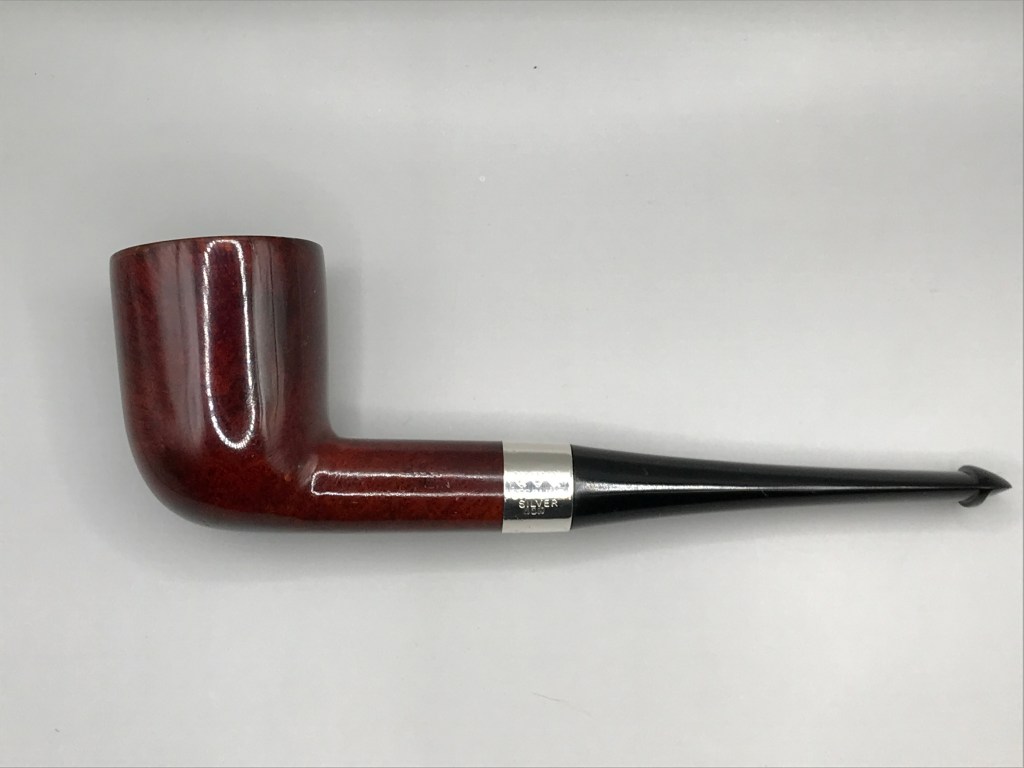
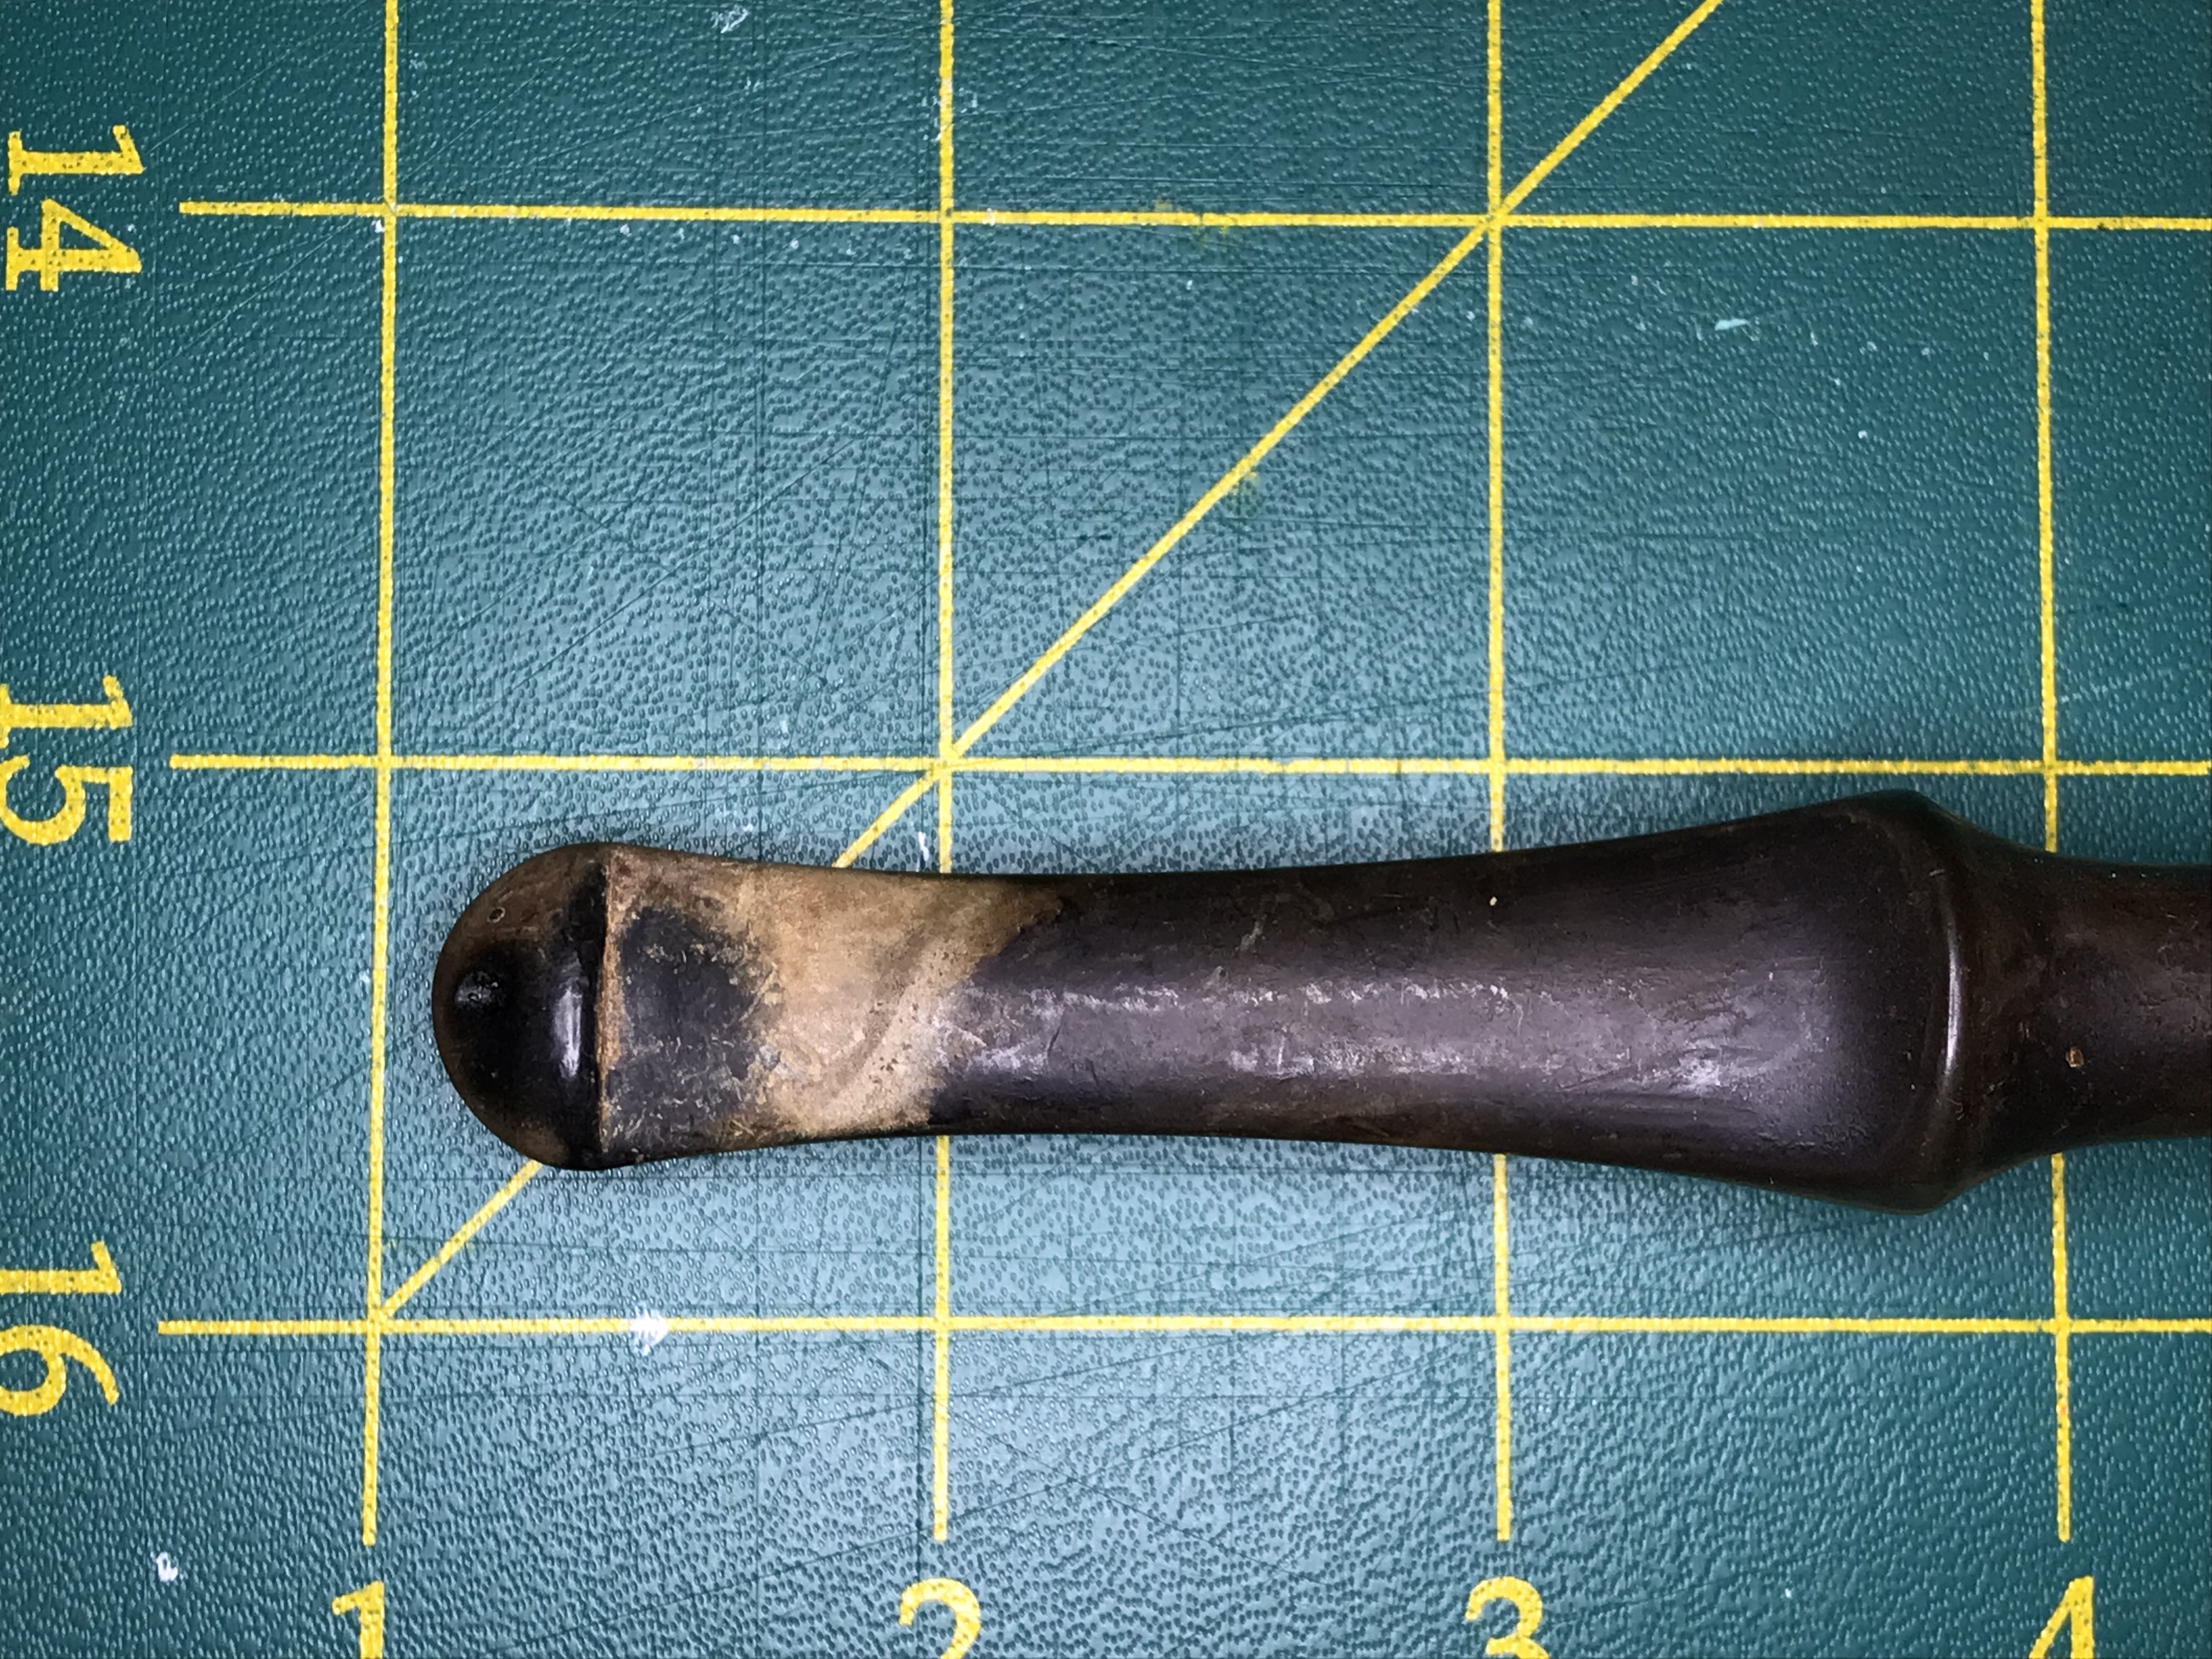
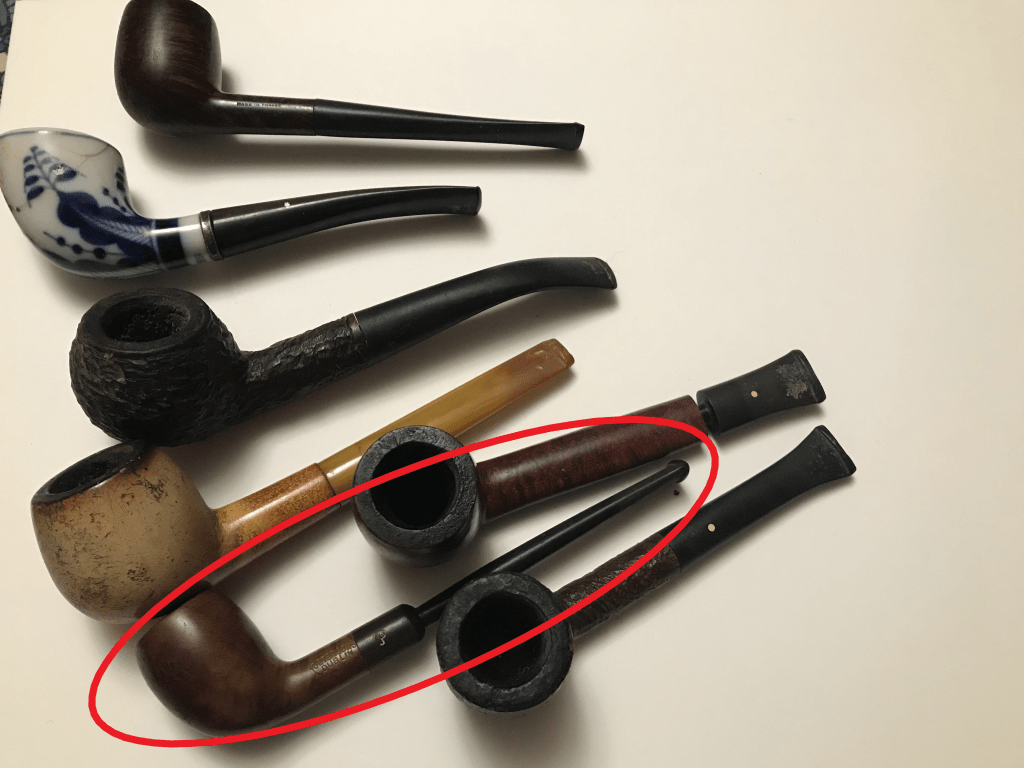
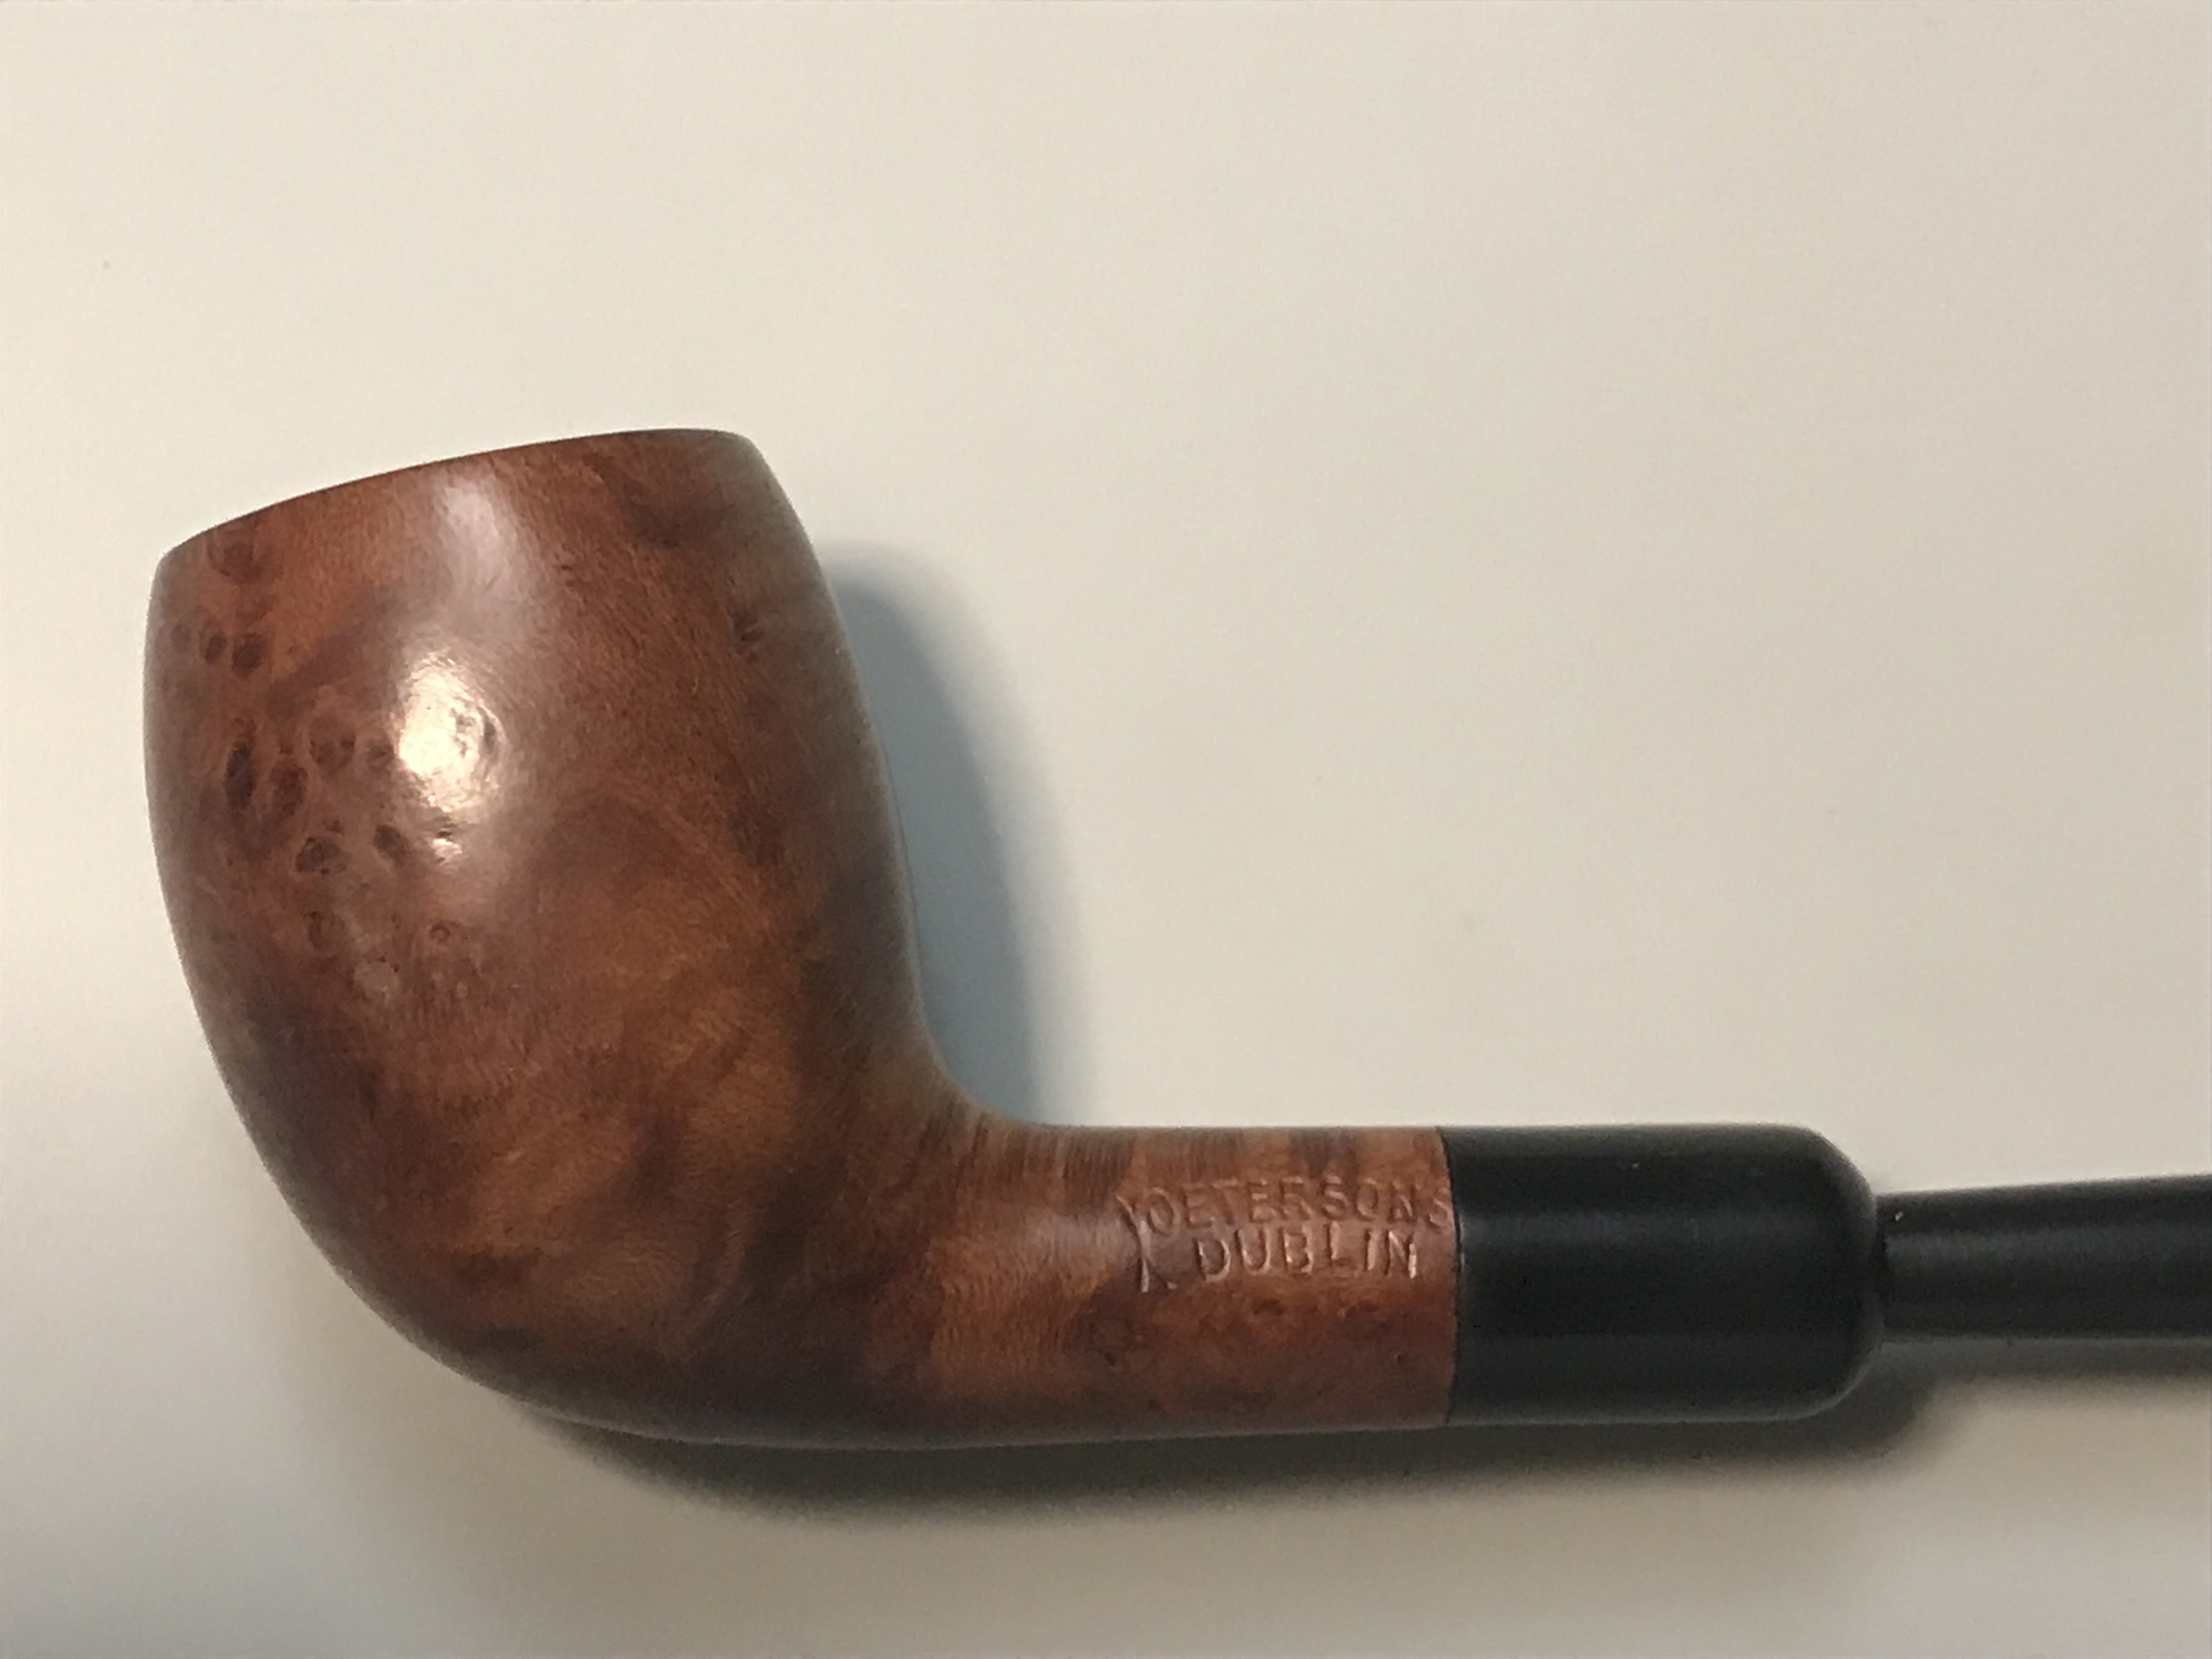
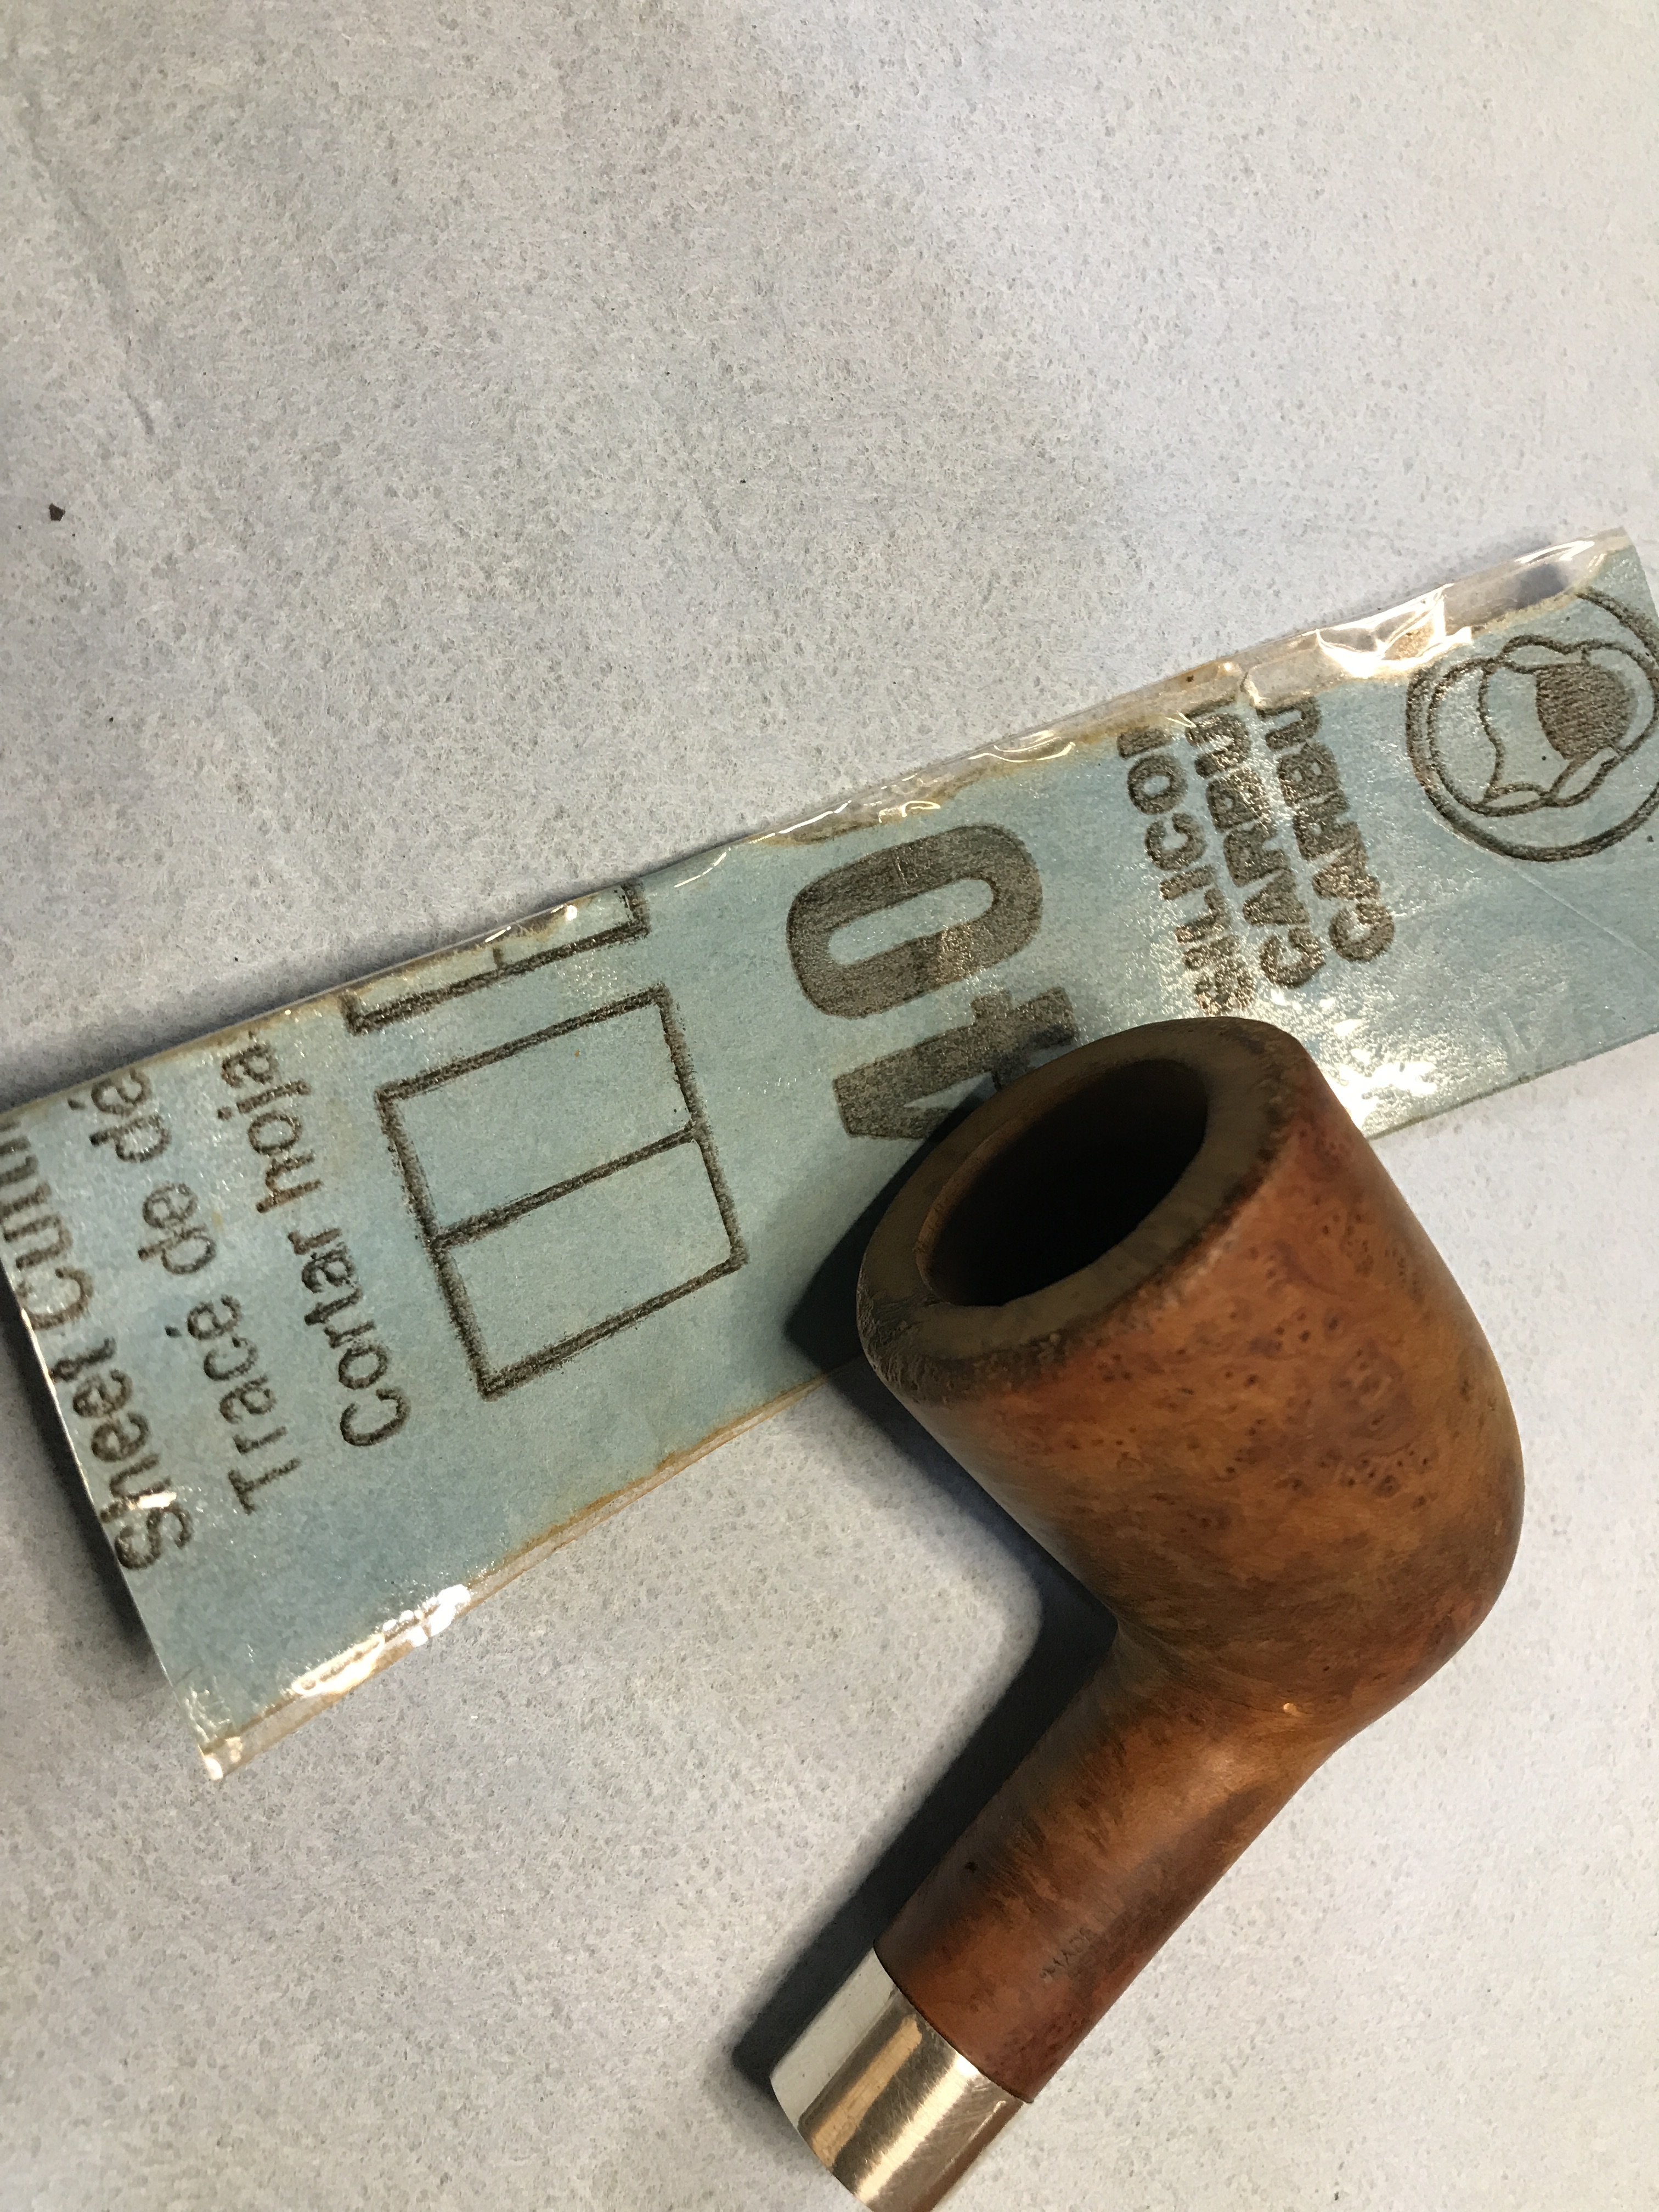
Often times when I come across a pipe to restore I like to imagine the provenance from which it came. In some instances I know, in others, such as this Peterson Dublin, I can only create the fantasy in my head.
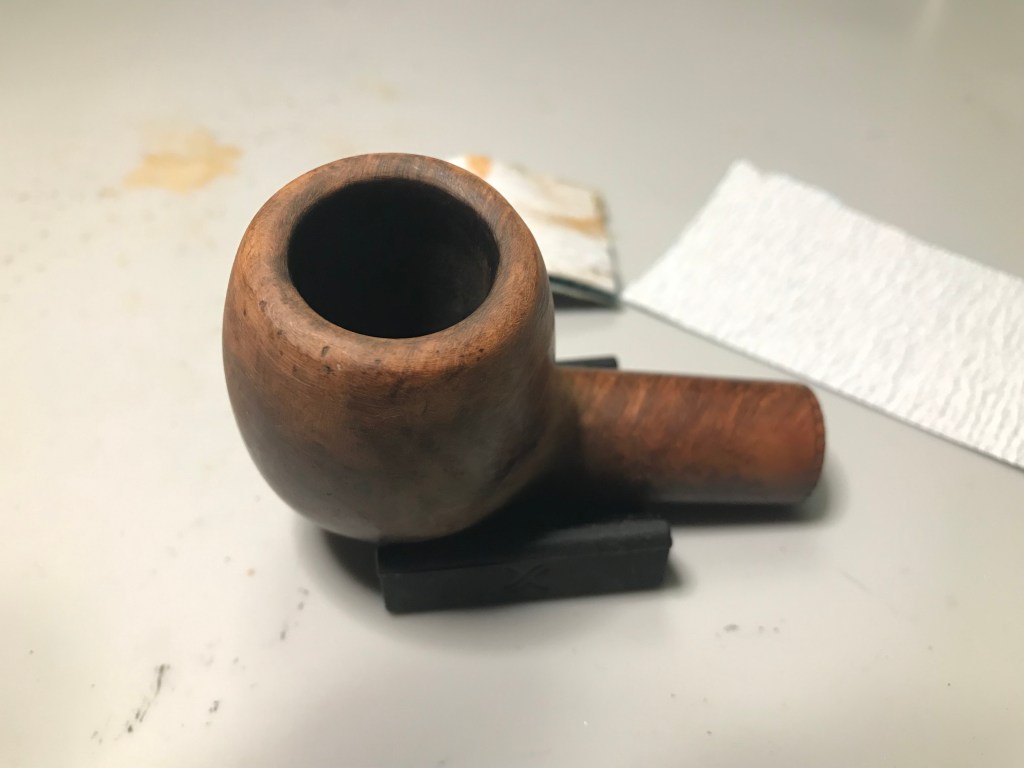
As I held the pipe in my hand I noticed how well loved it was, with heavy cake in the tobacco chamber from years of the smokers favourite tobacco smouldering sweetly in the chamber, a battered rim that had been thumped on the smokers ashtray as he emptied his favourite pipe. At some point the pipe lost its companion stem and its purpose, wandering away from its true purpose, relegated to be forgotten by time. Unless…..an unlikely fellow came upon it and saw past the bumps and bruises. Perhaps, just perhaps “renewed shall be blade that was broken” .
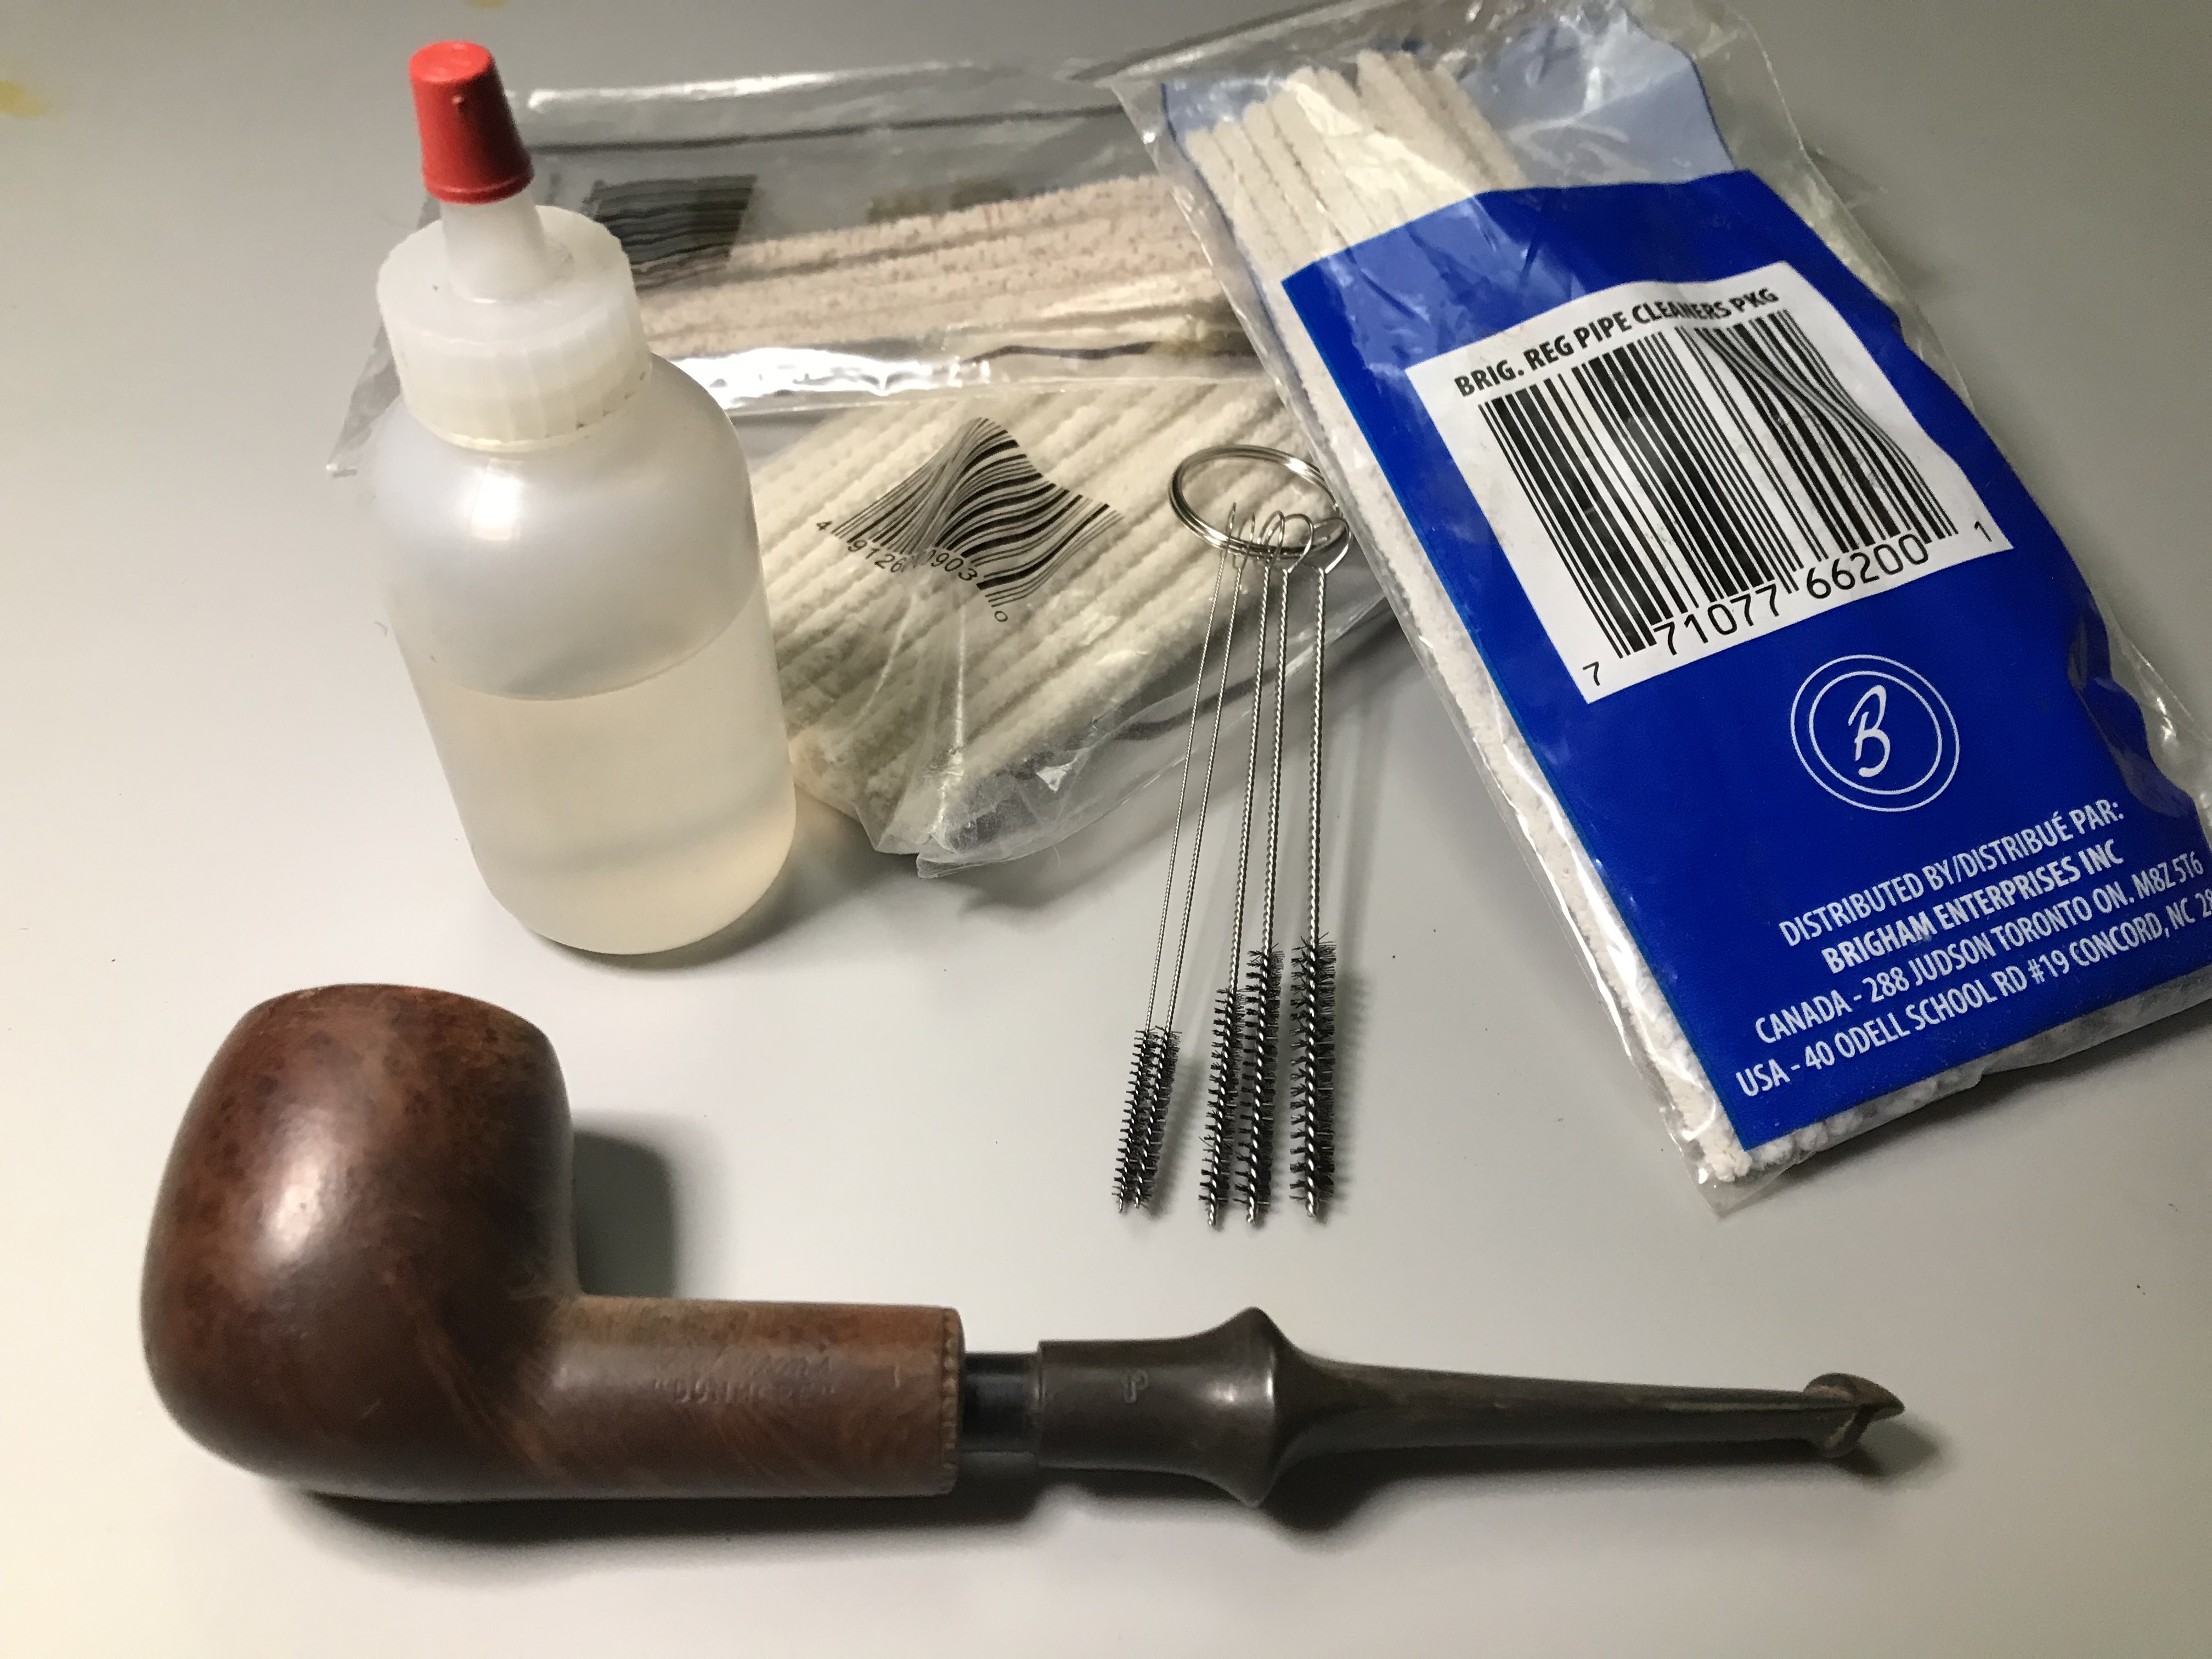
First Impressions:


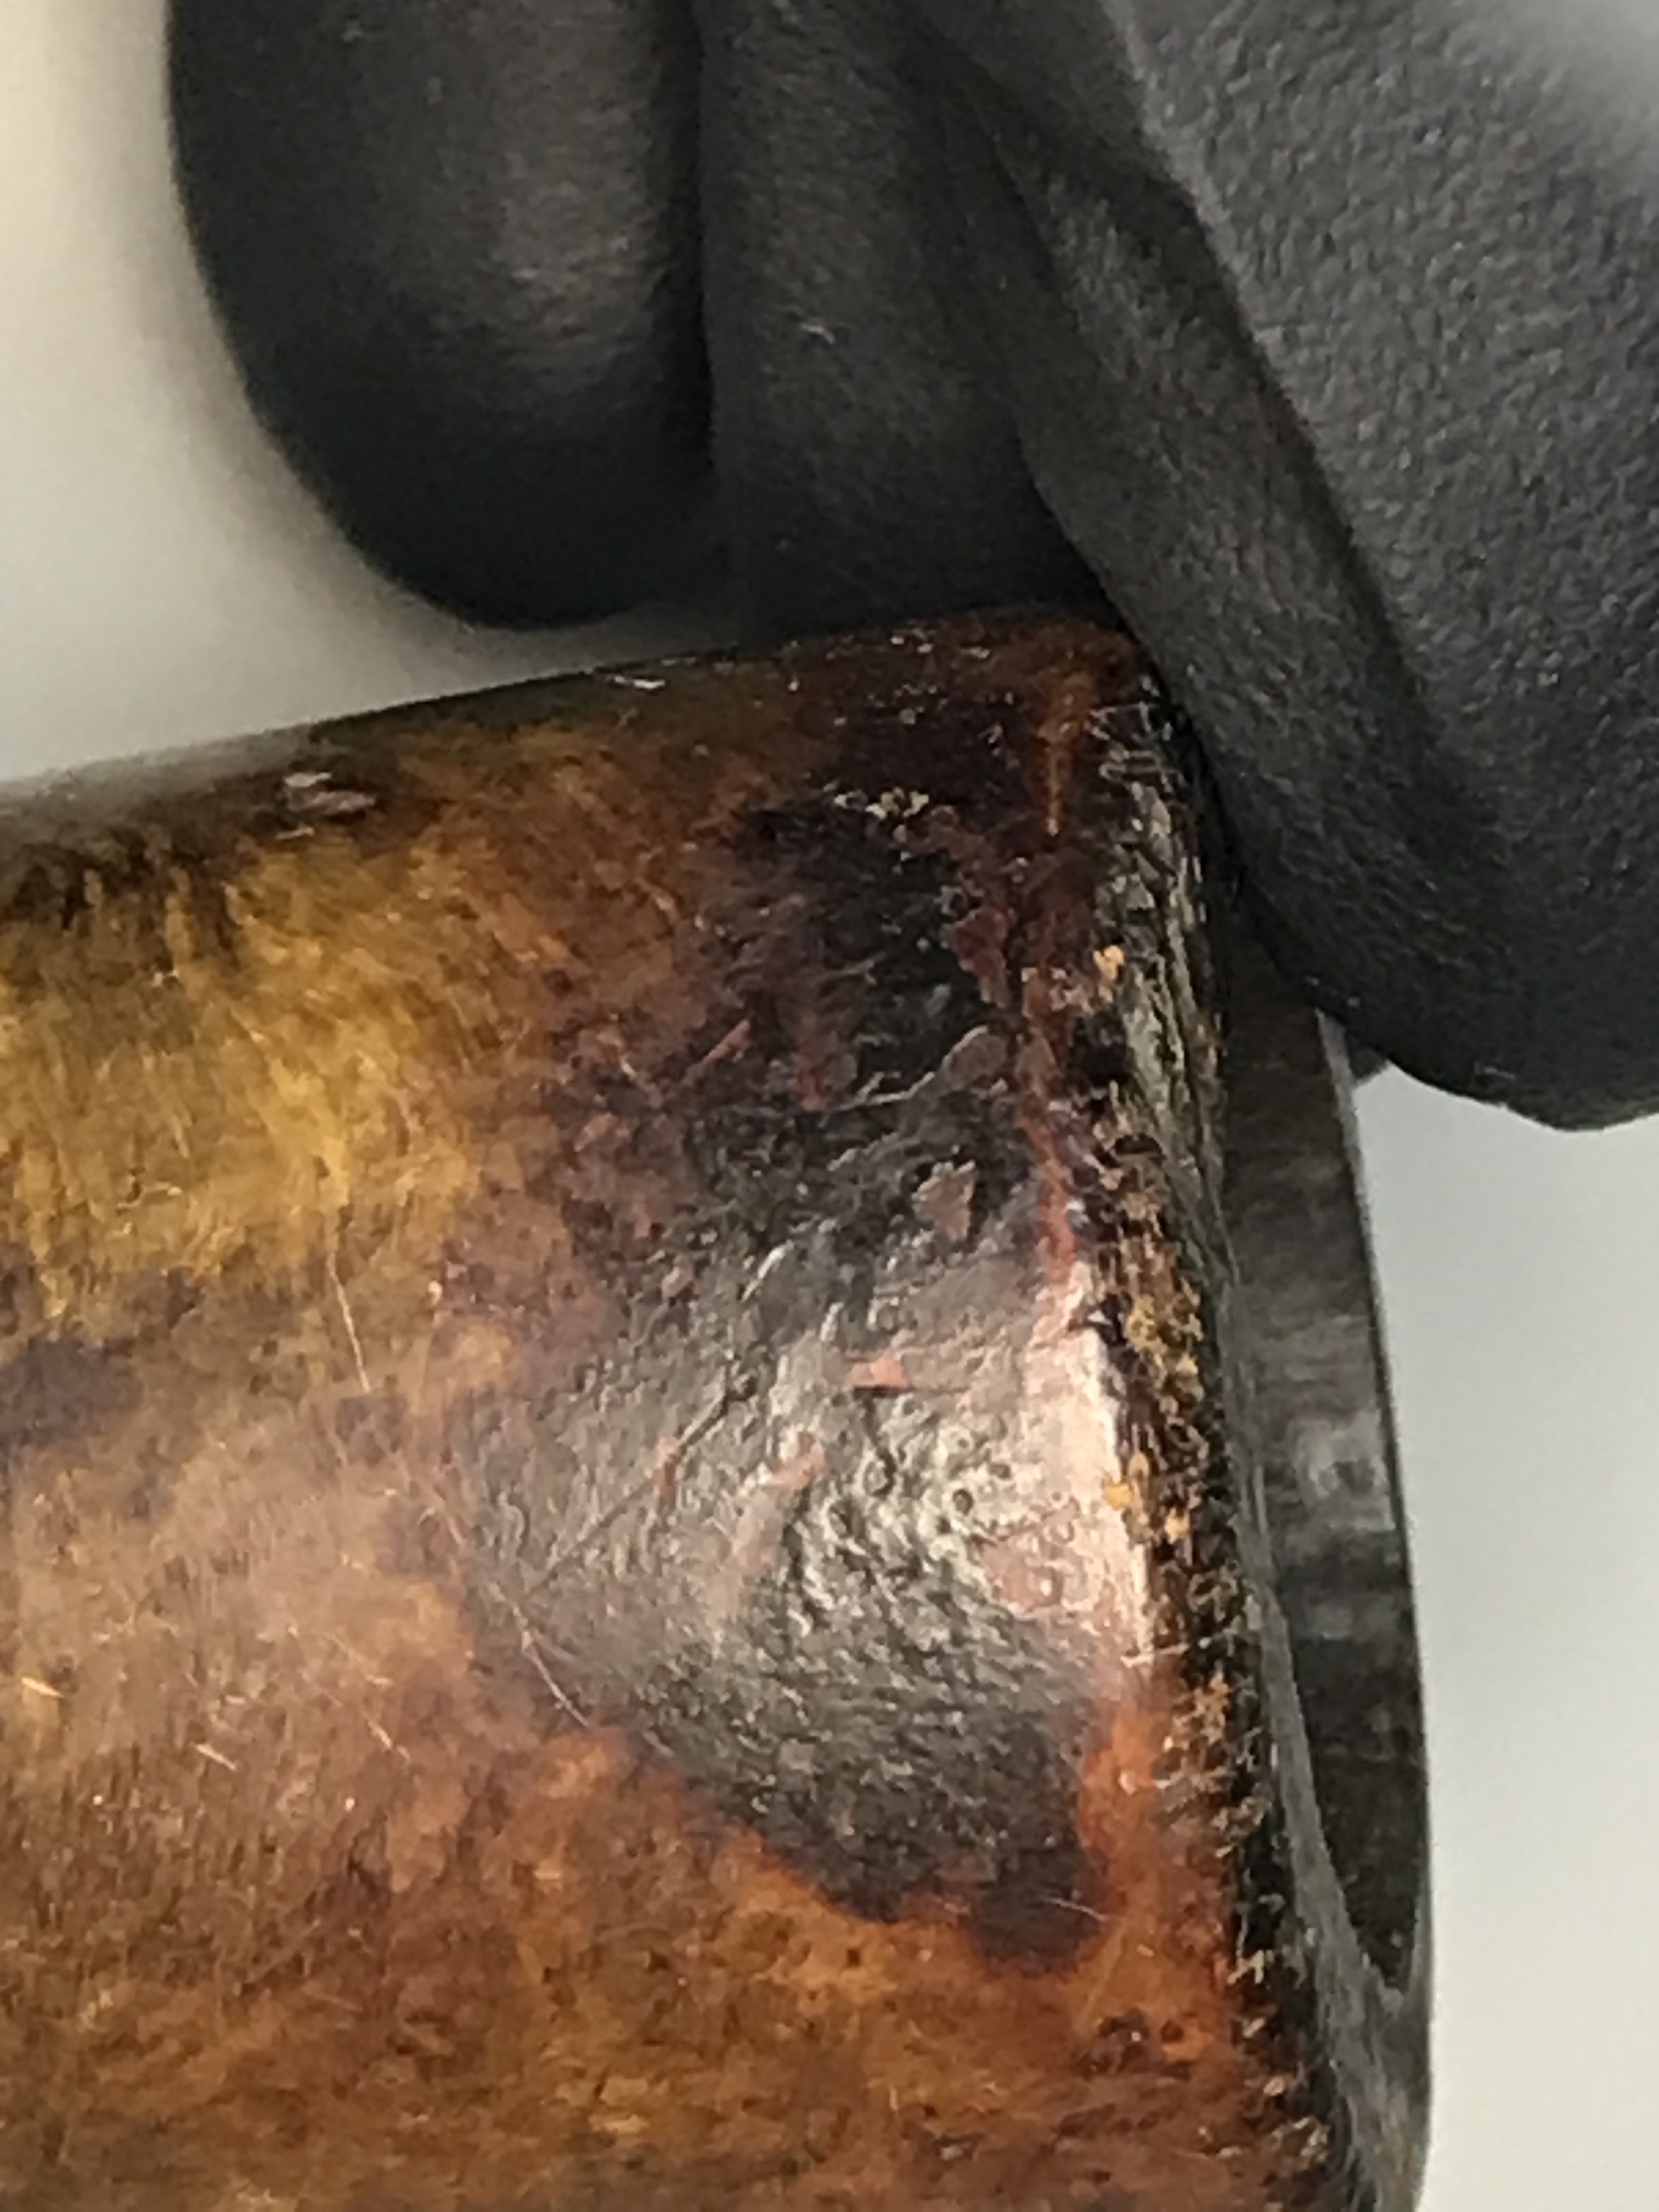


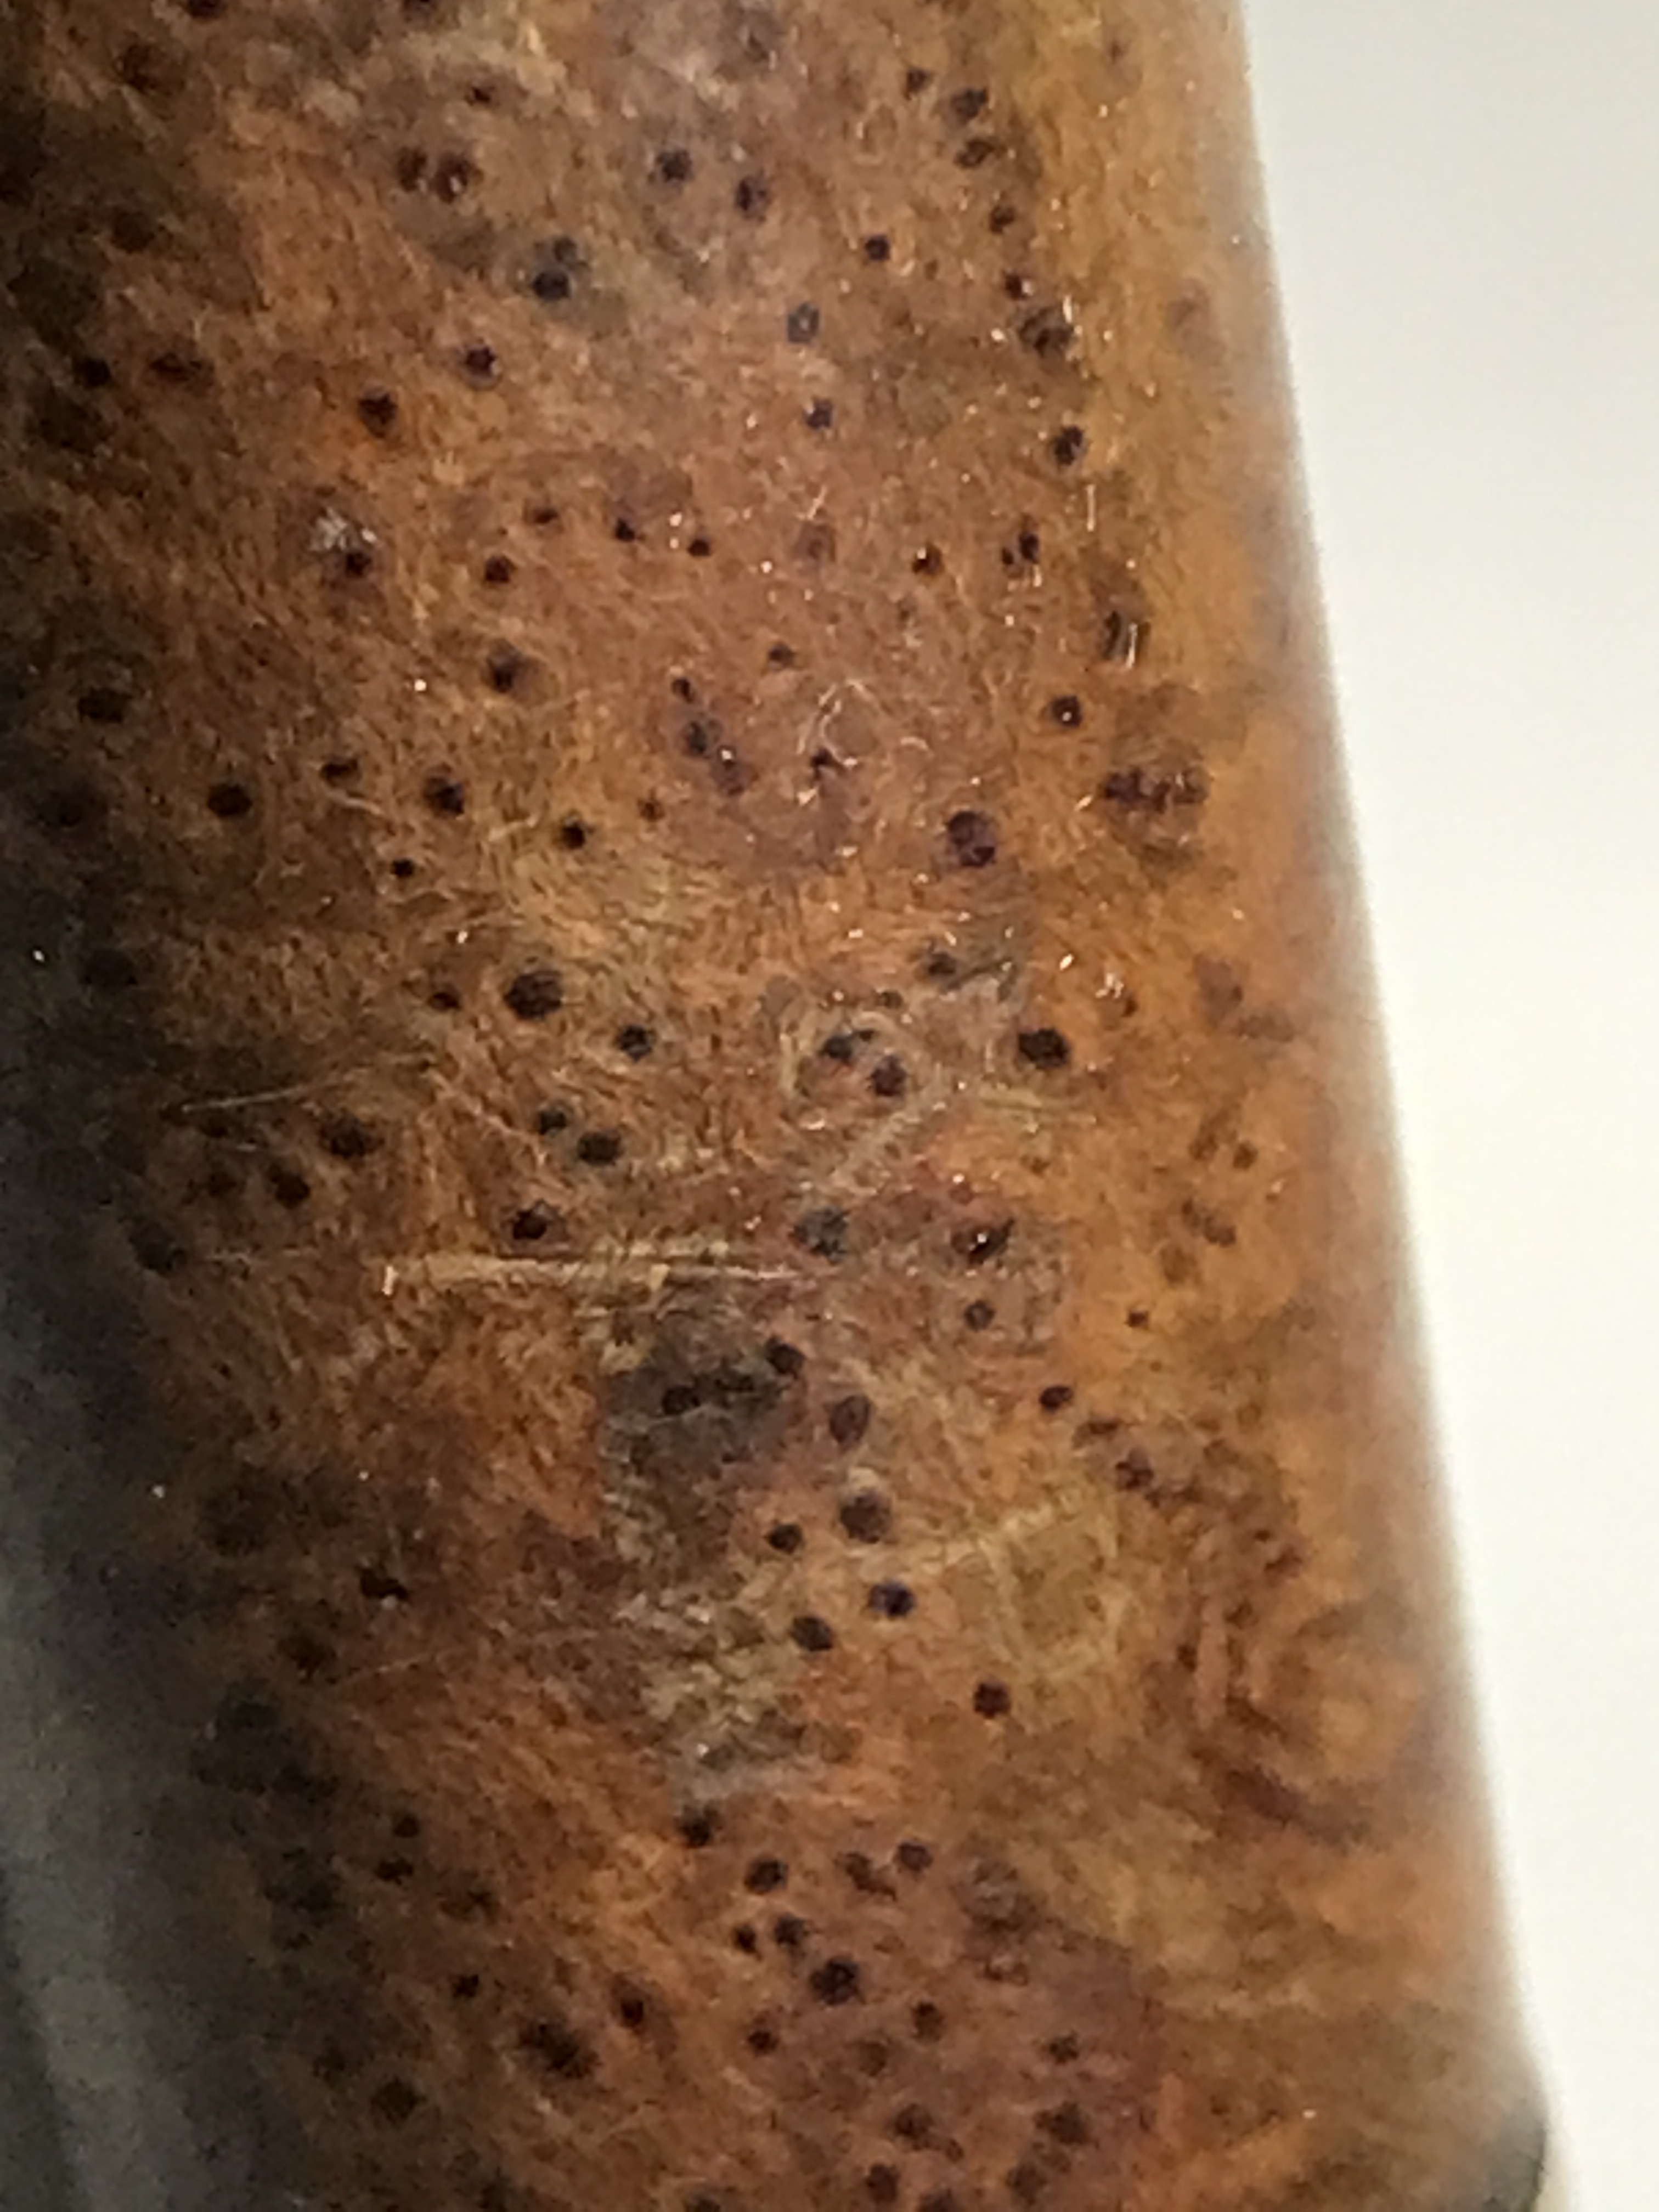

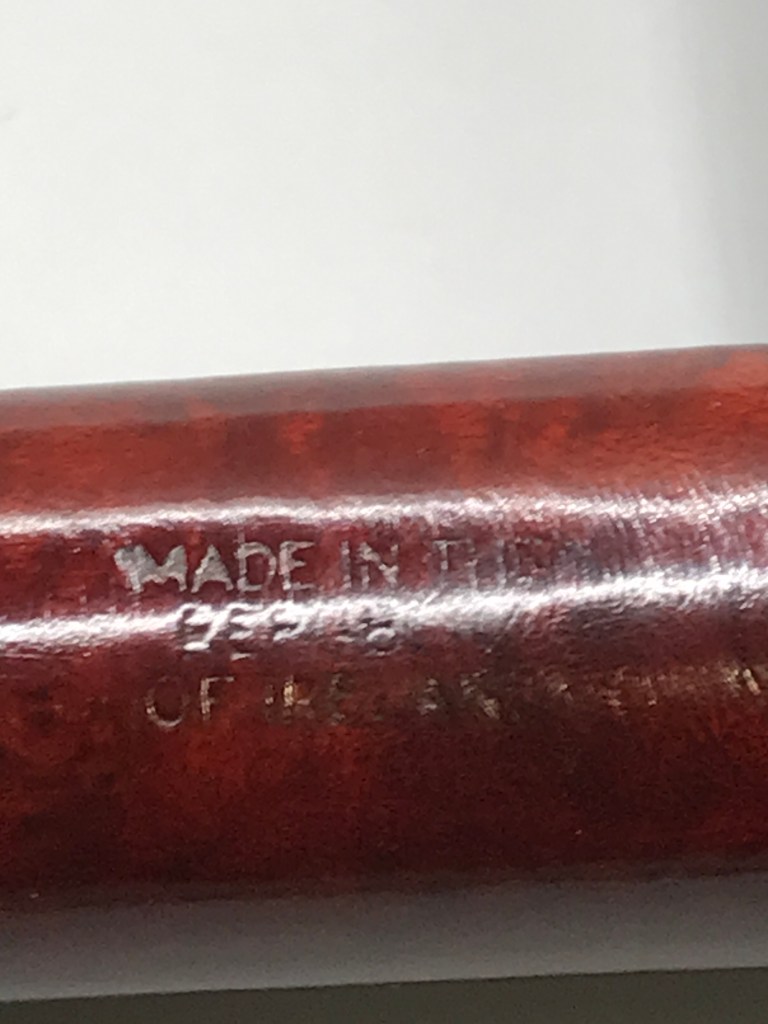
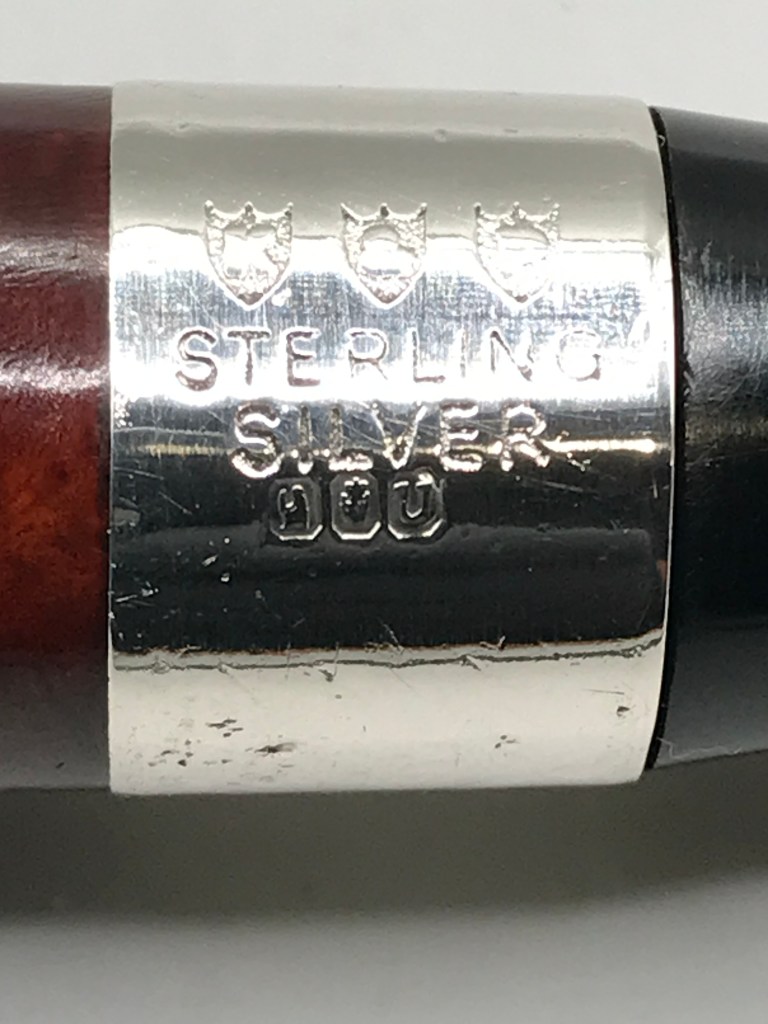
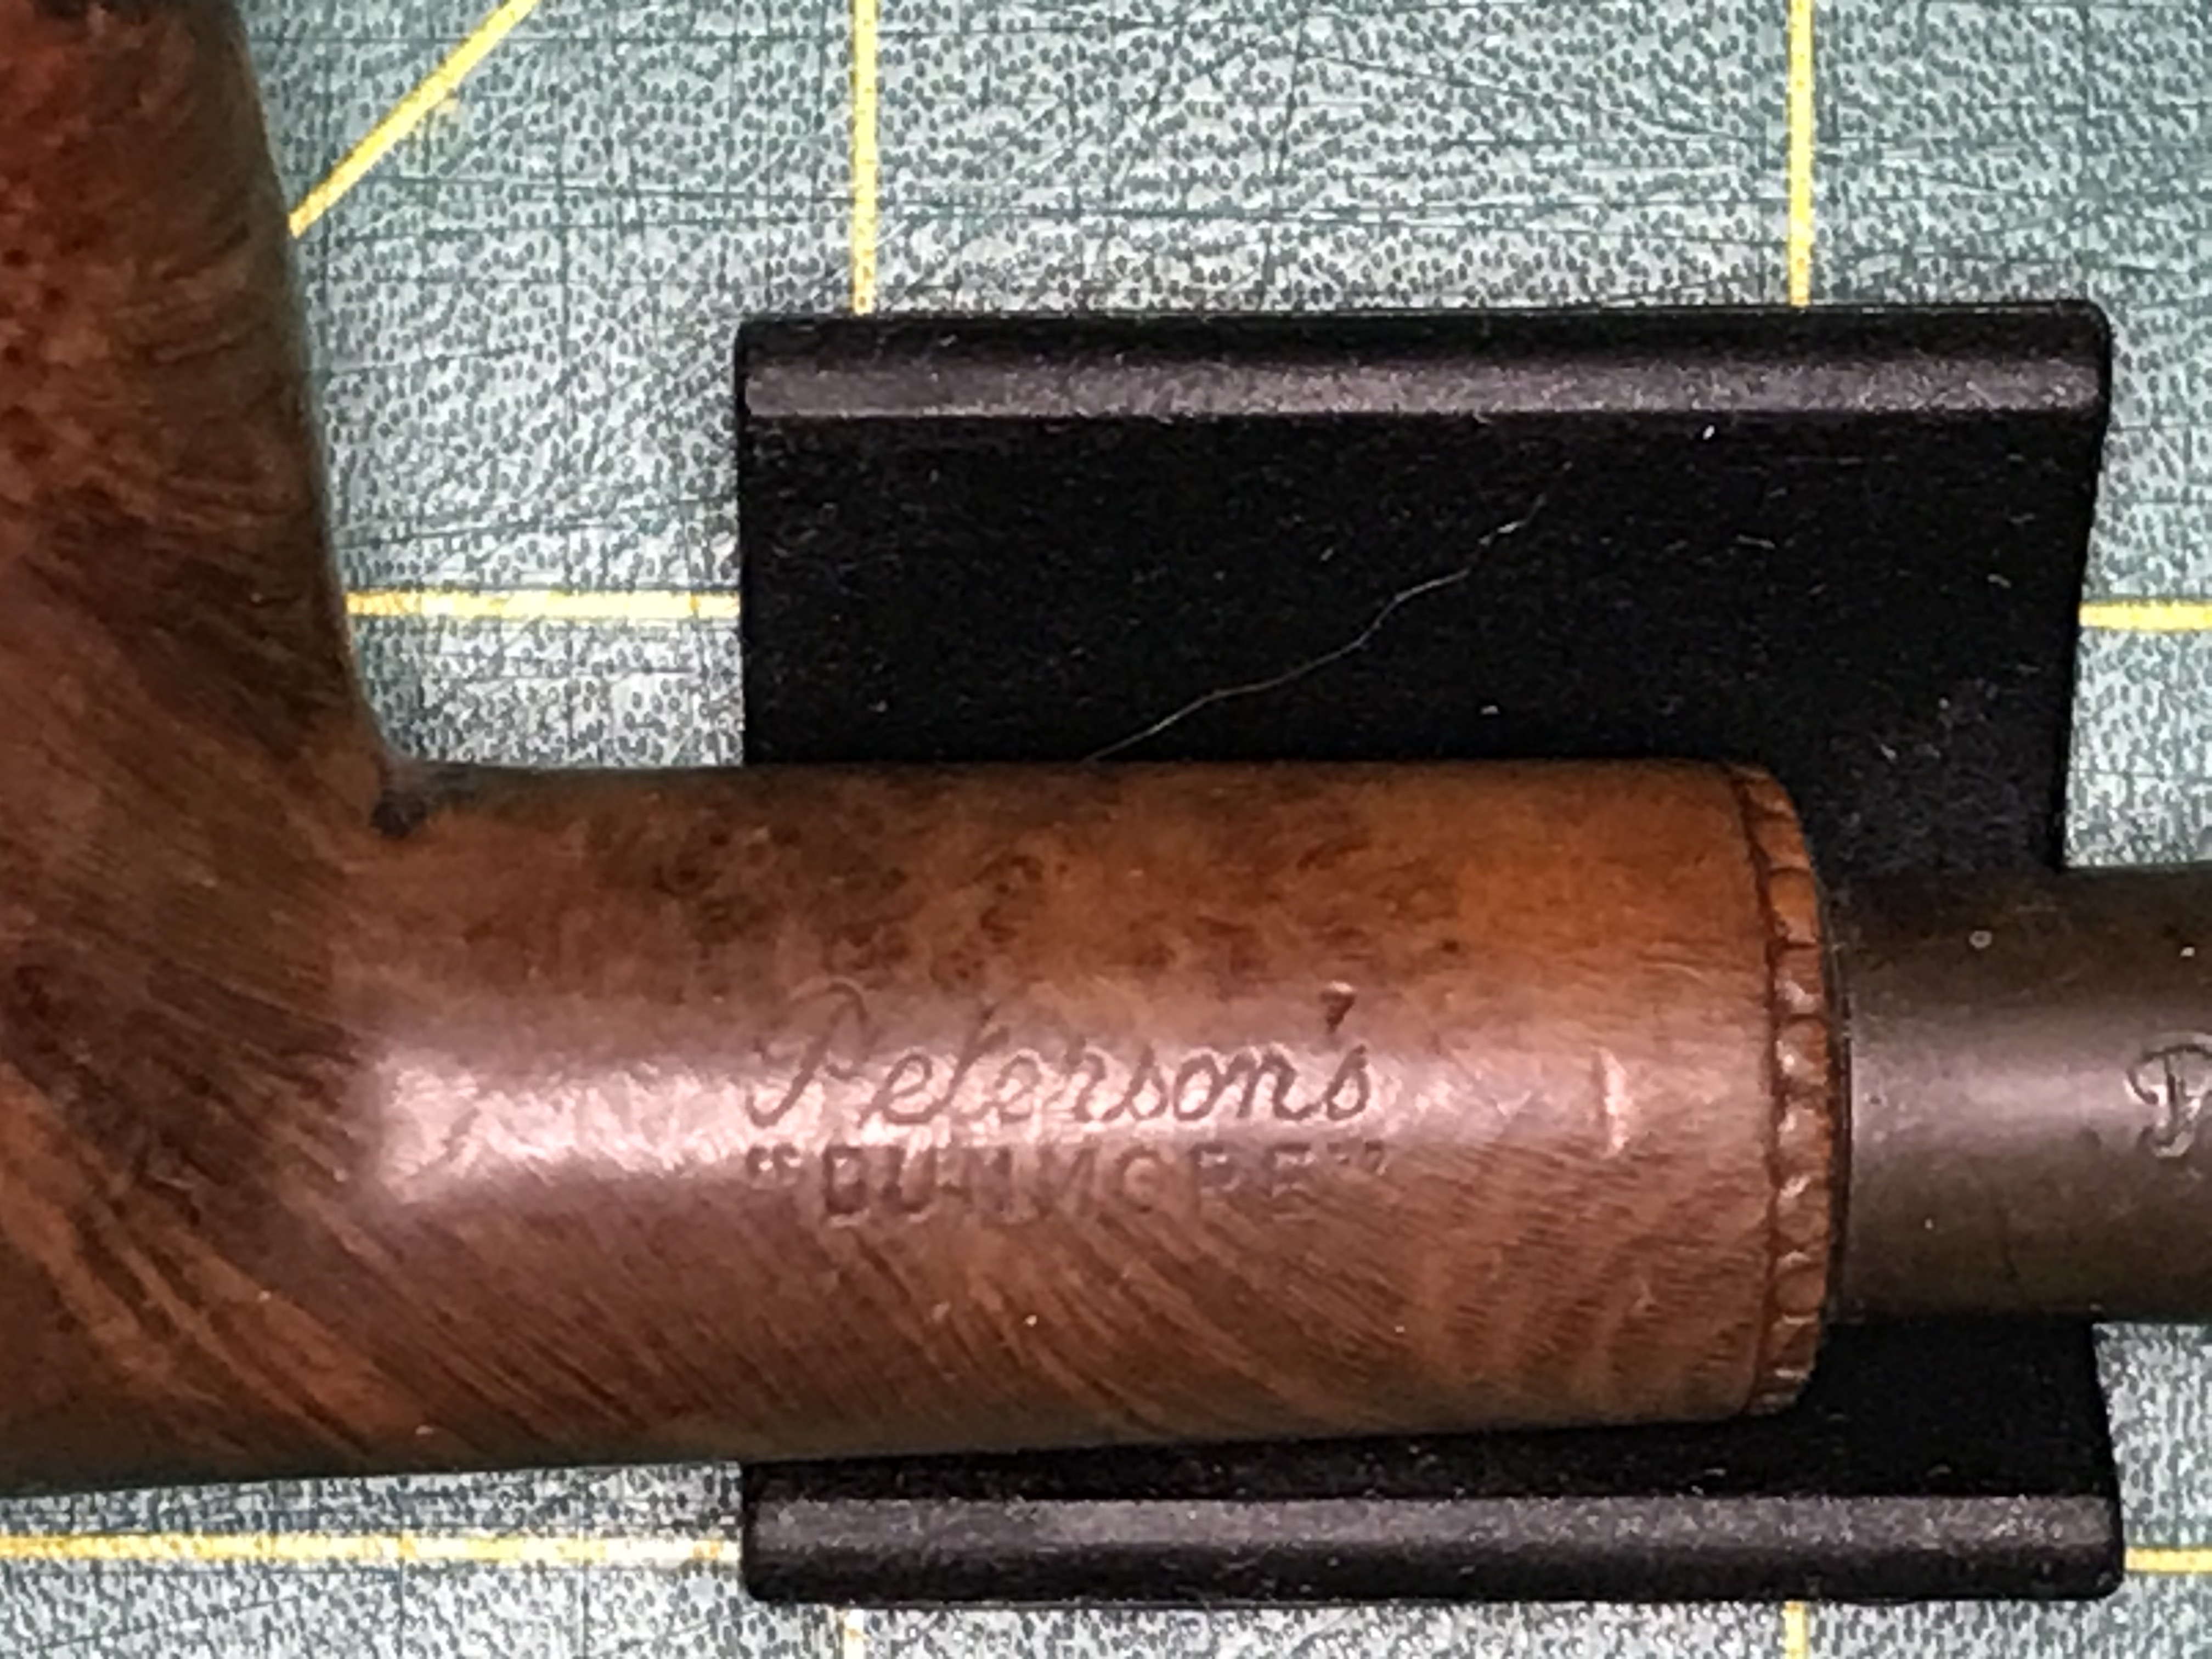
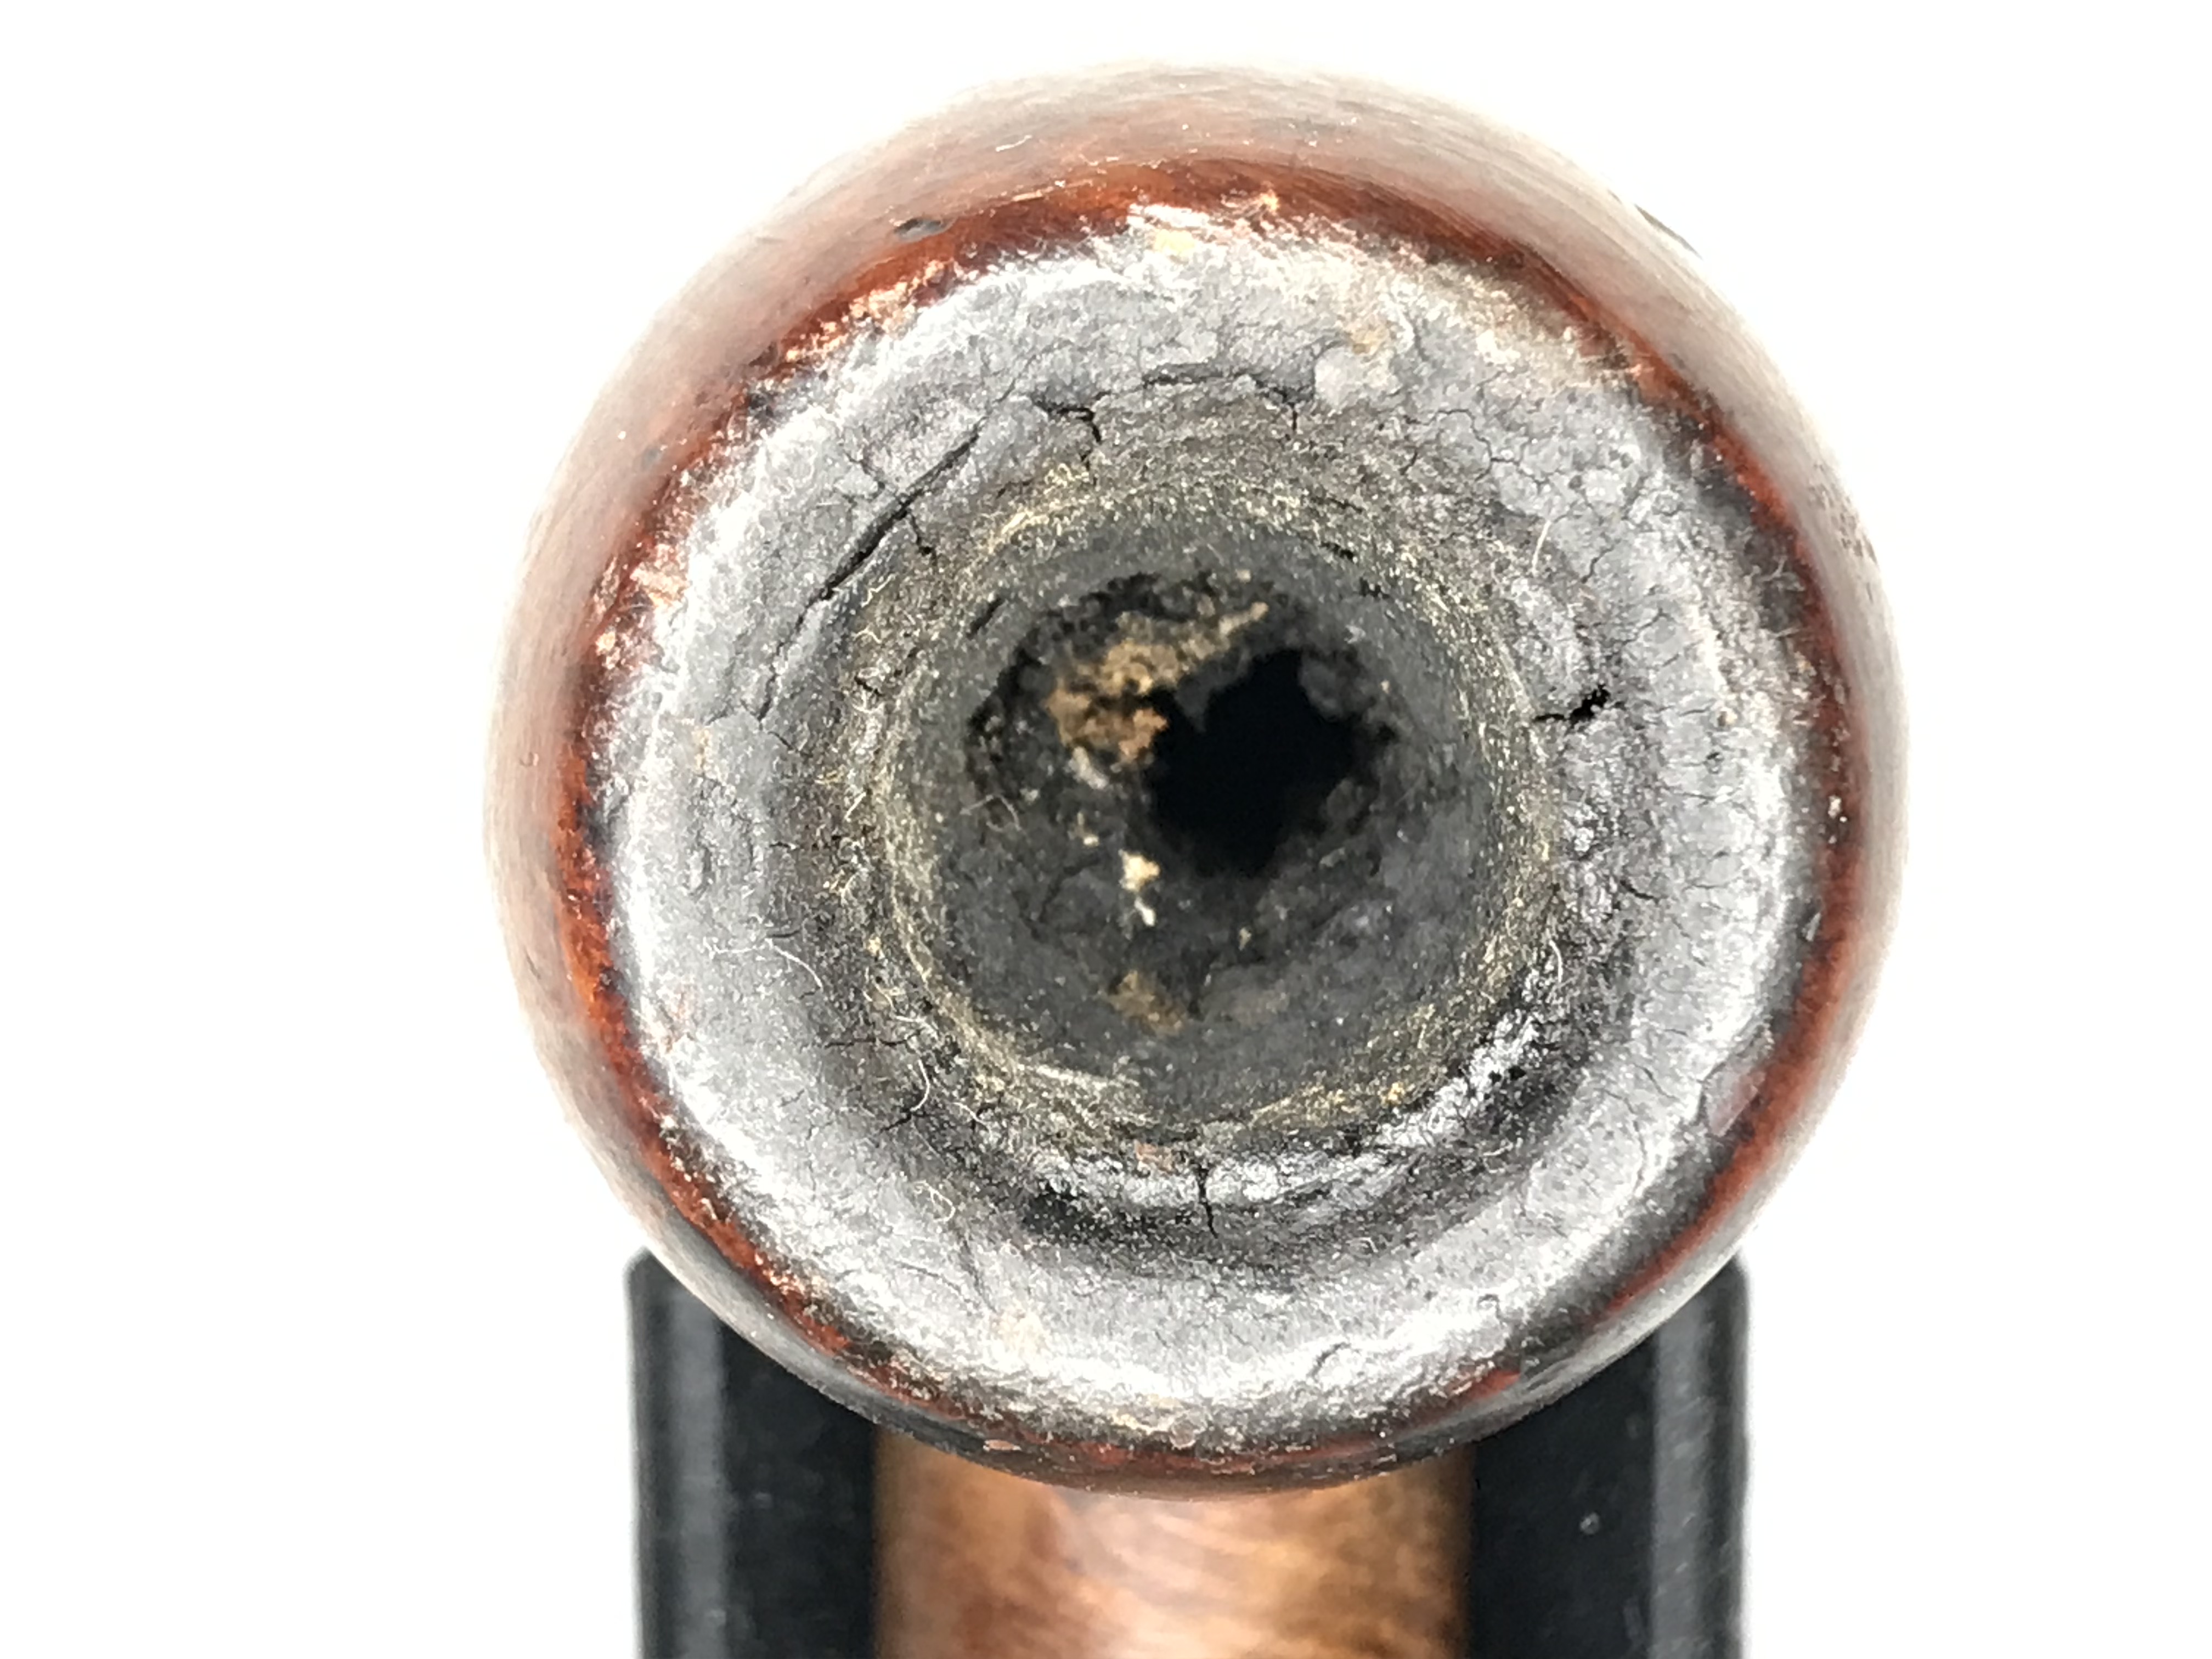
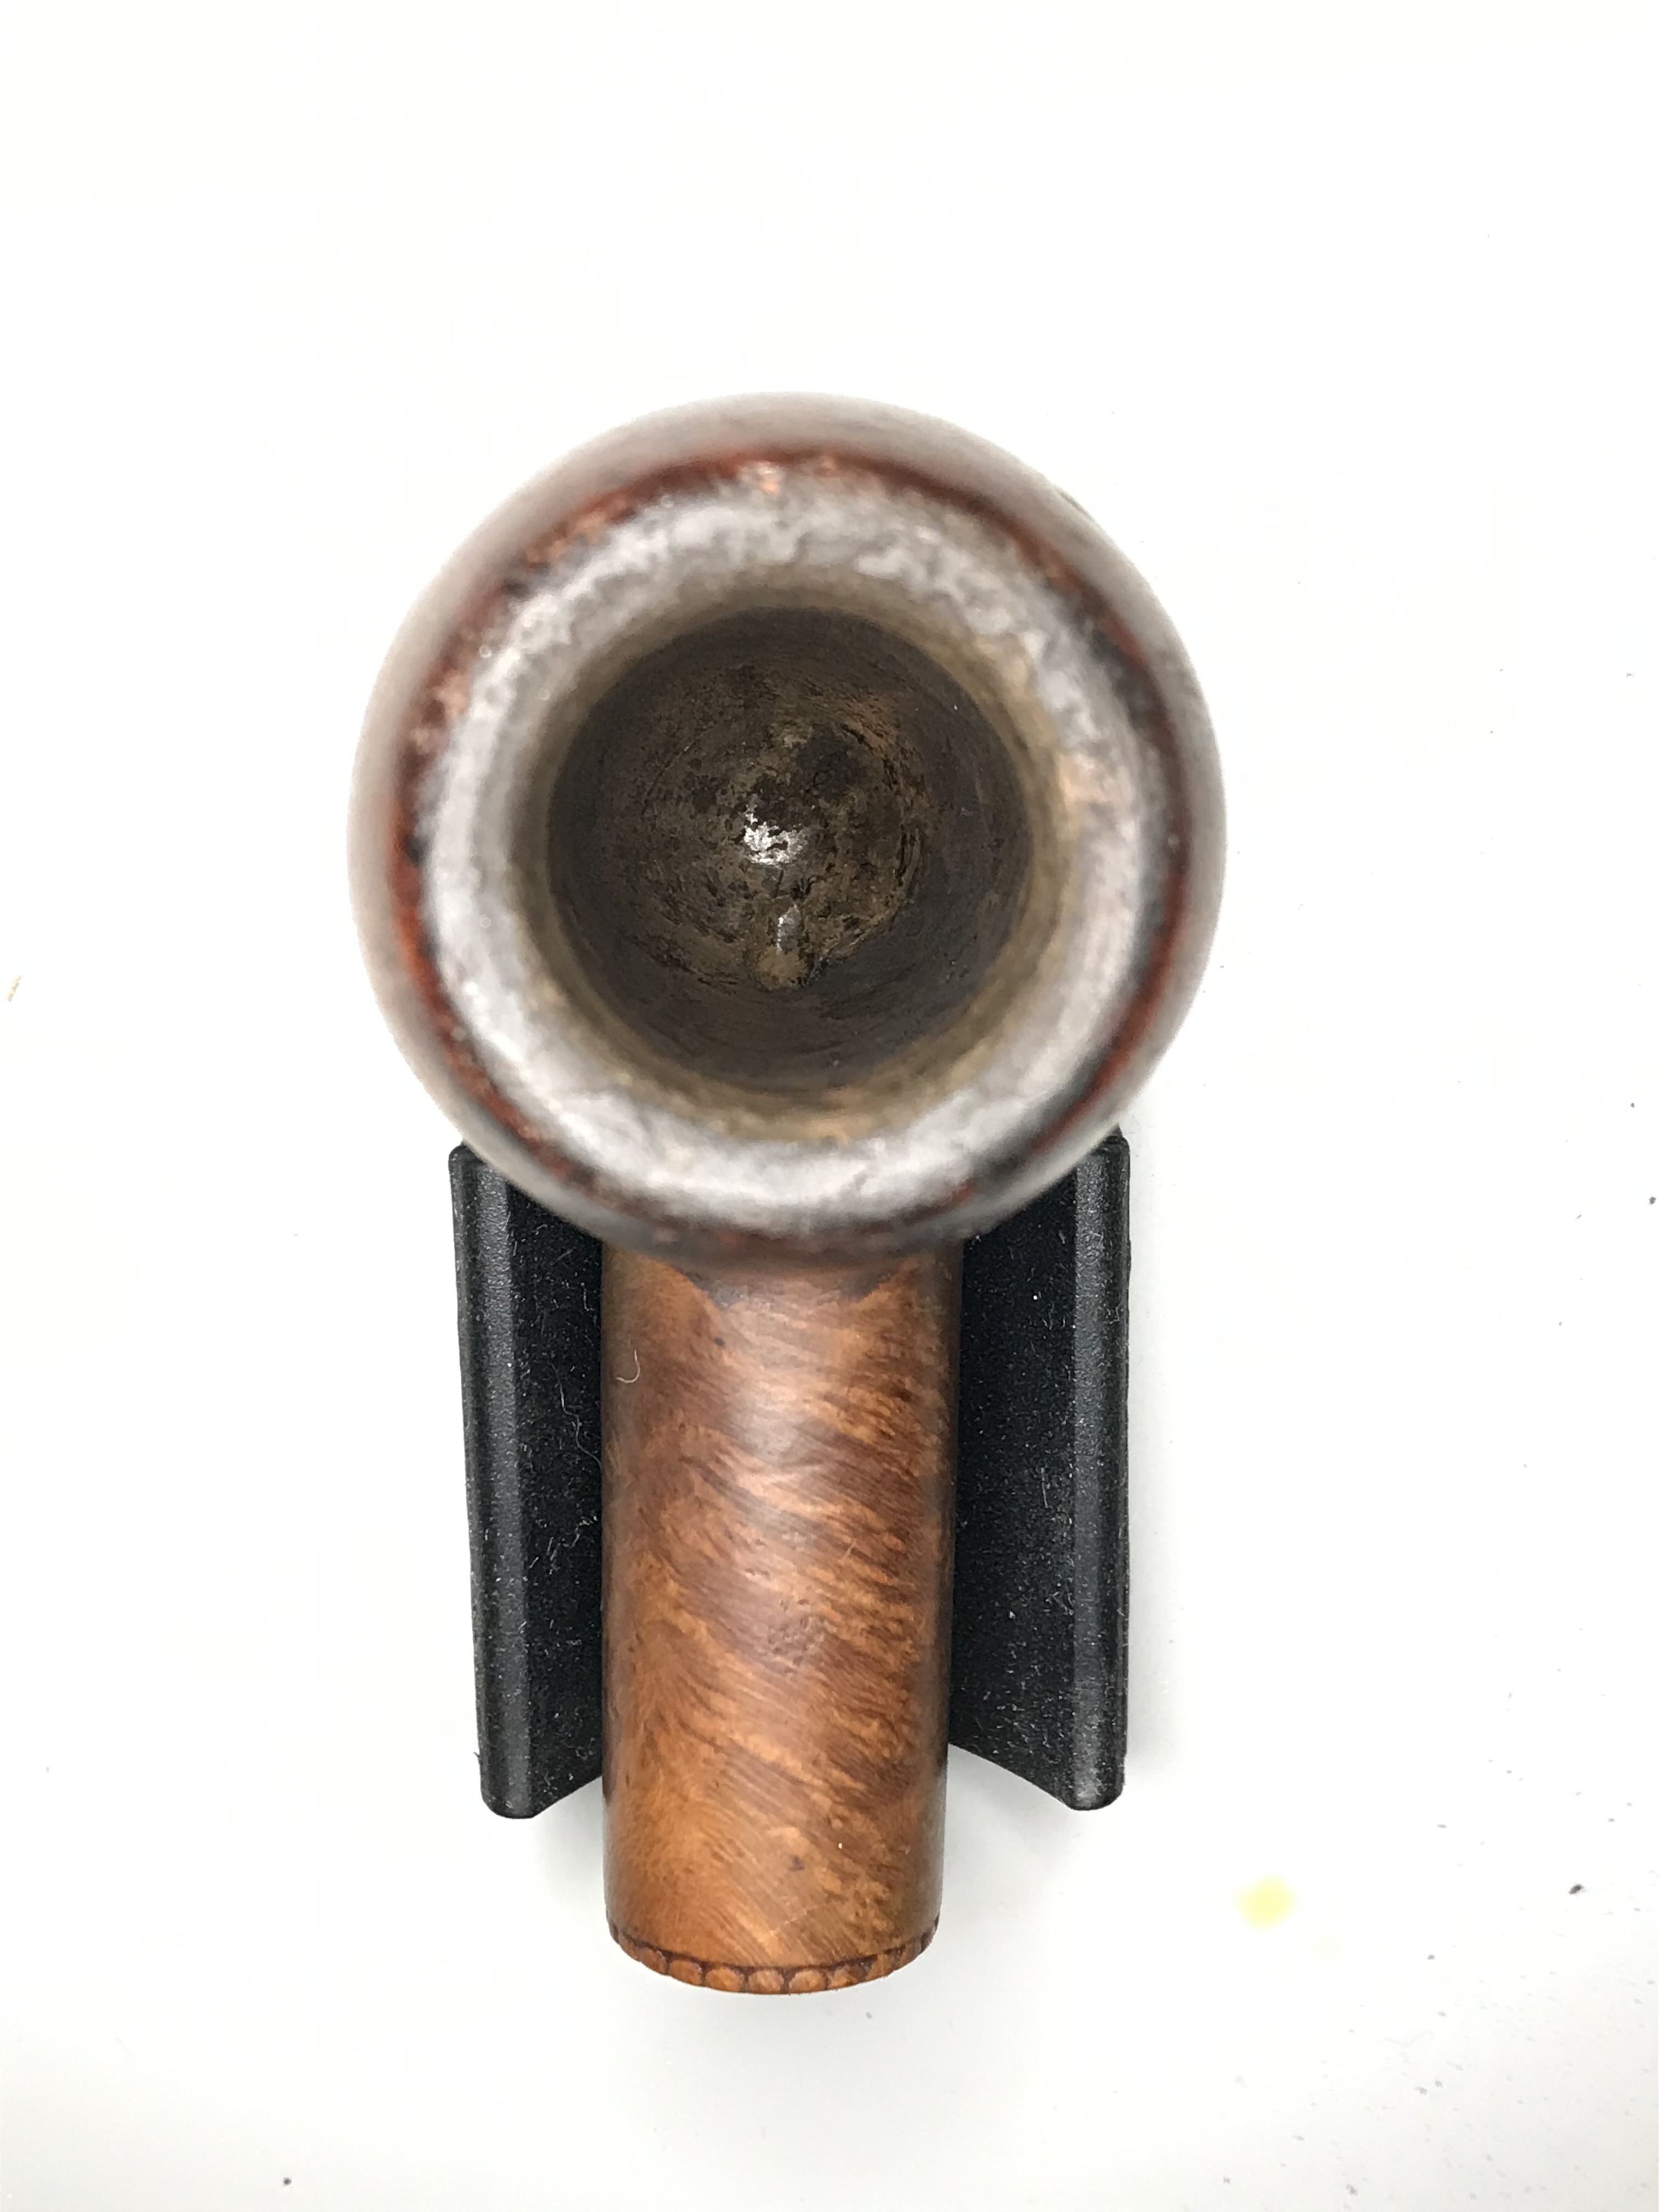
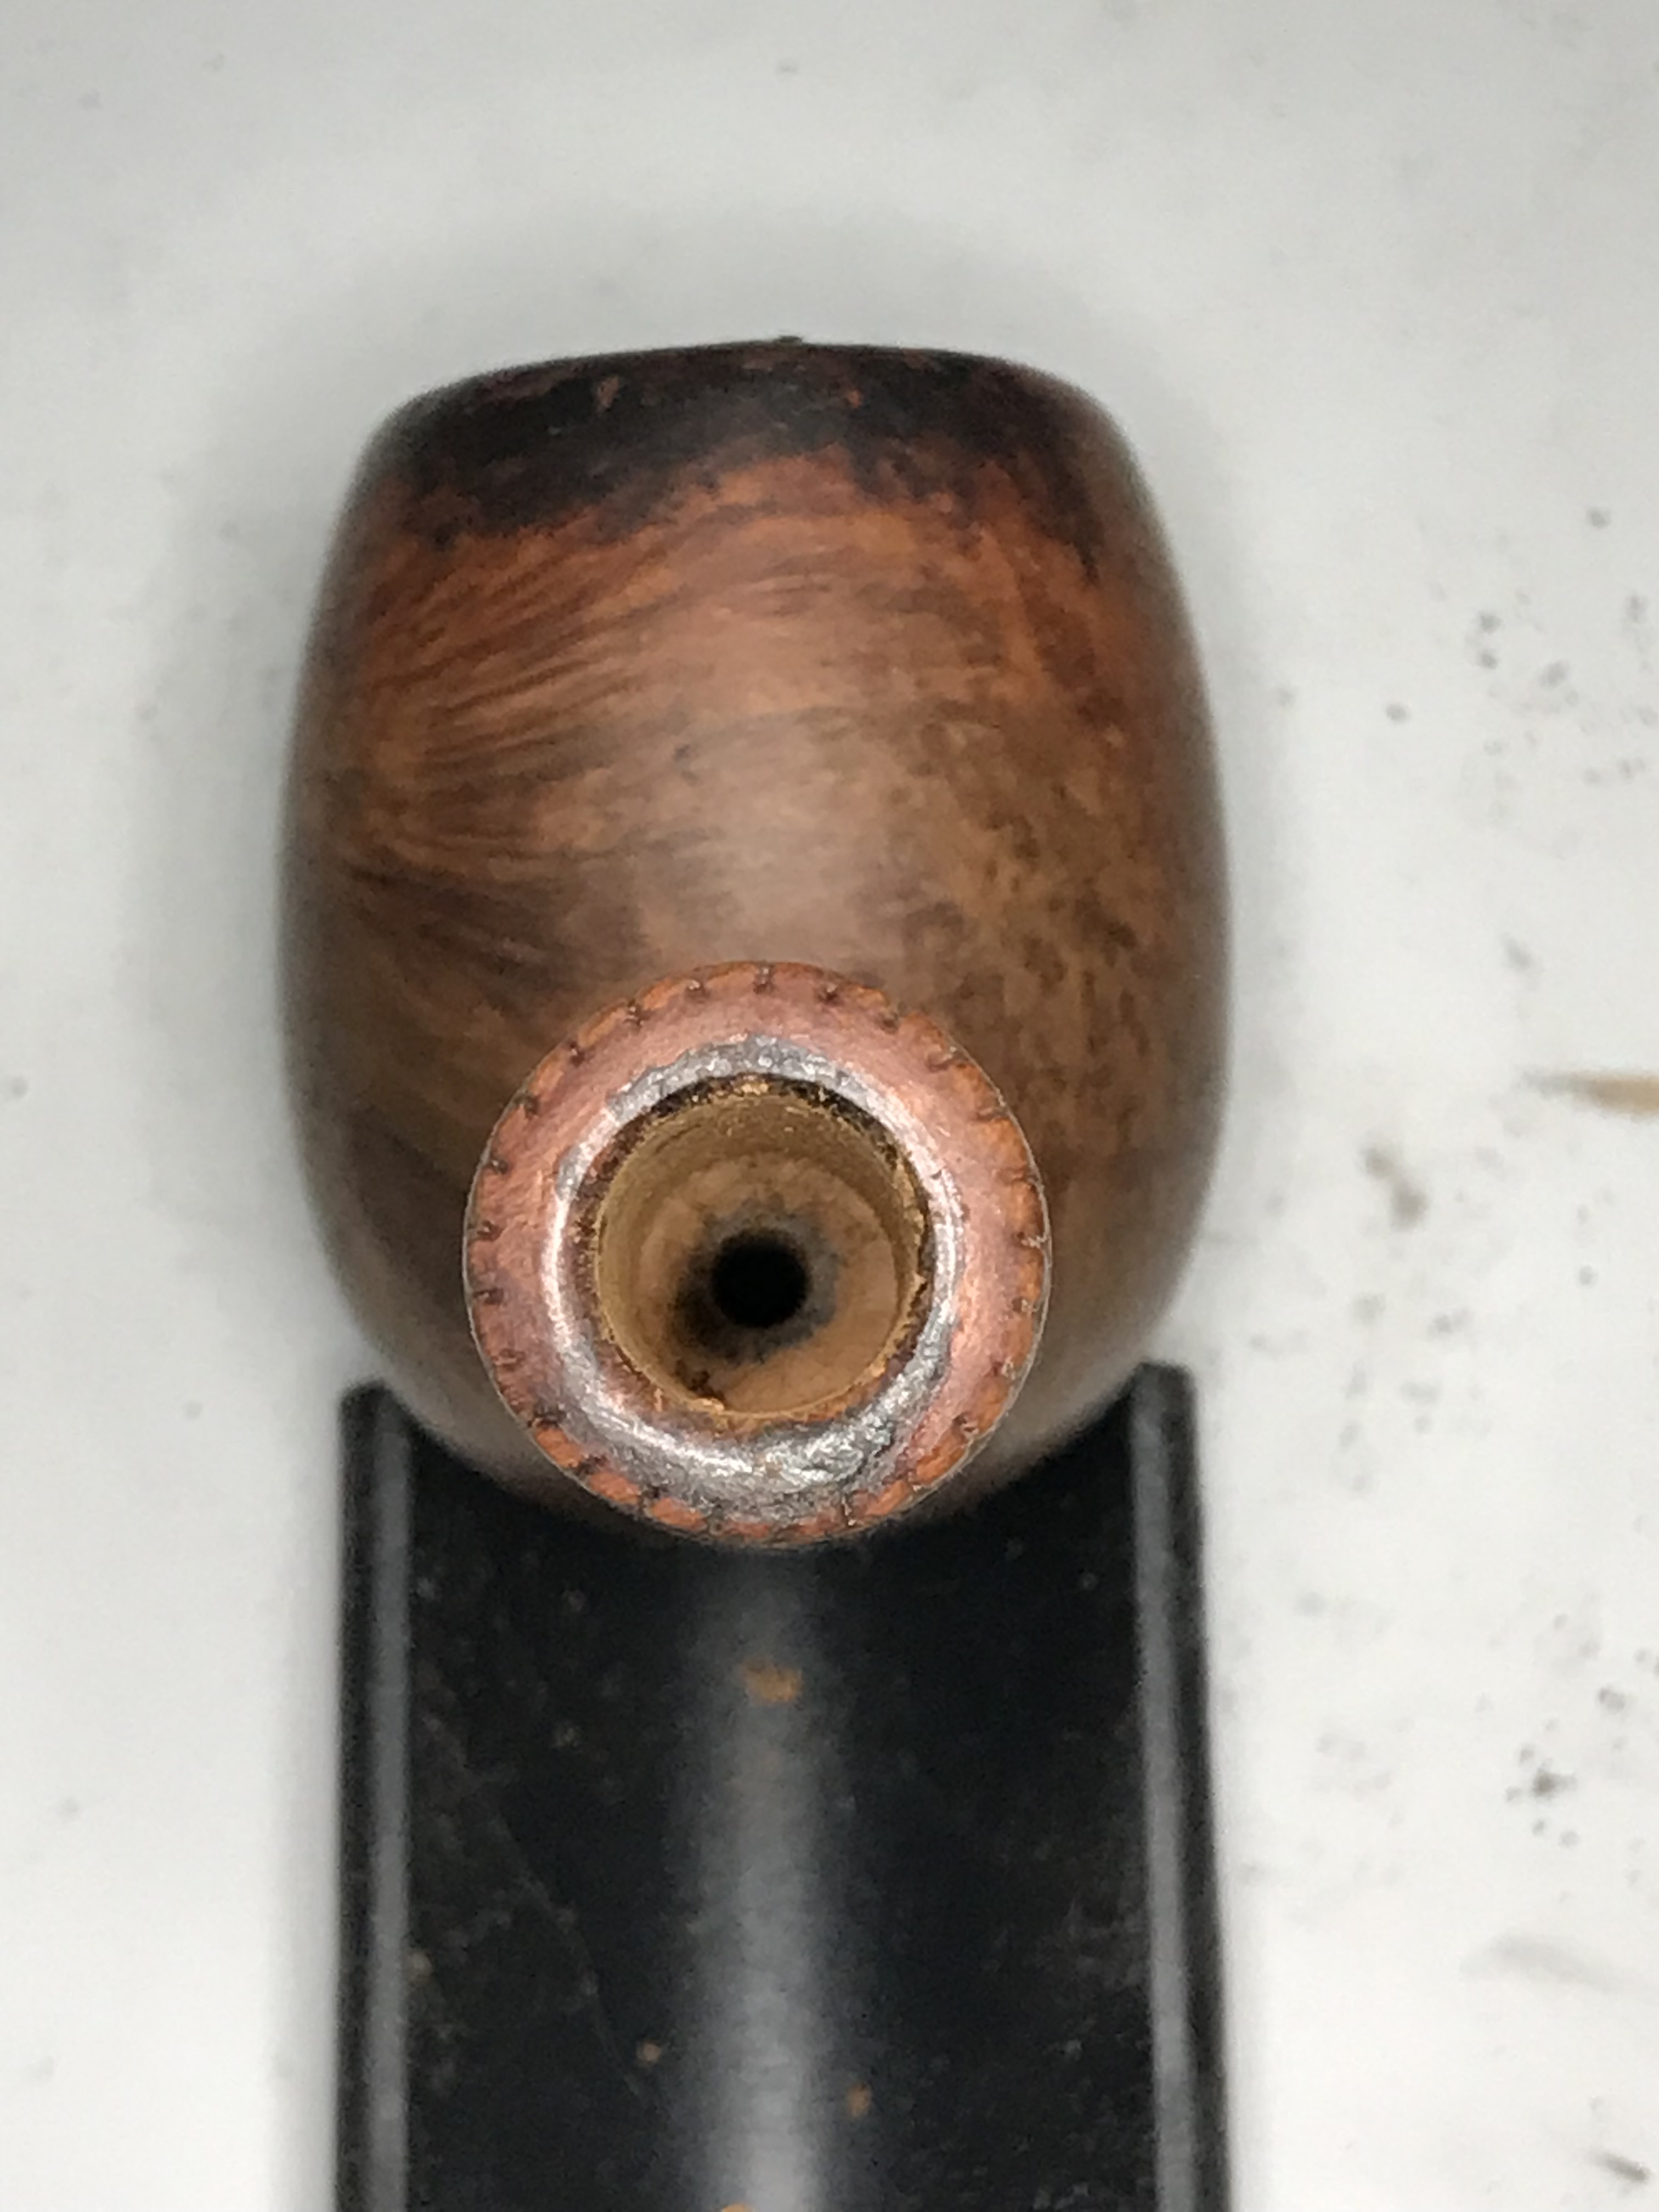
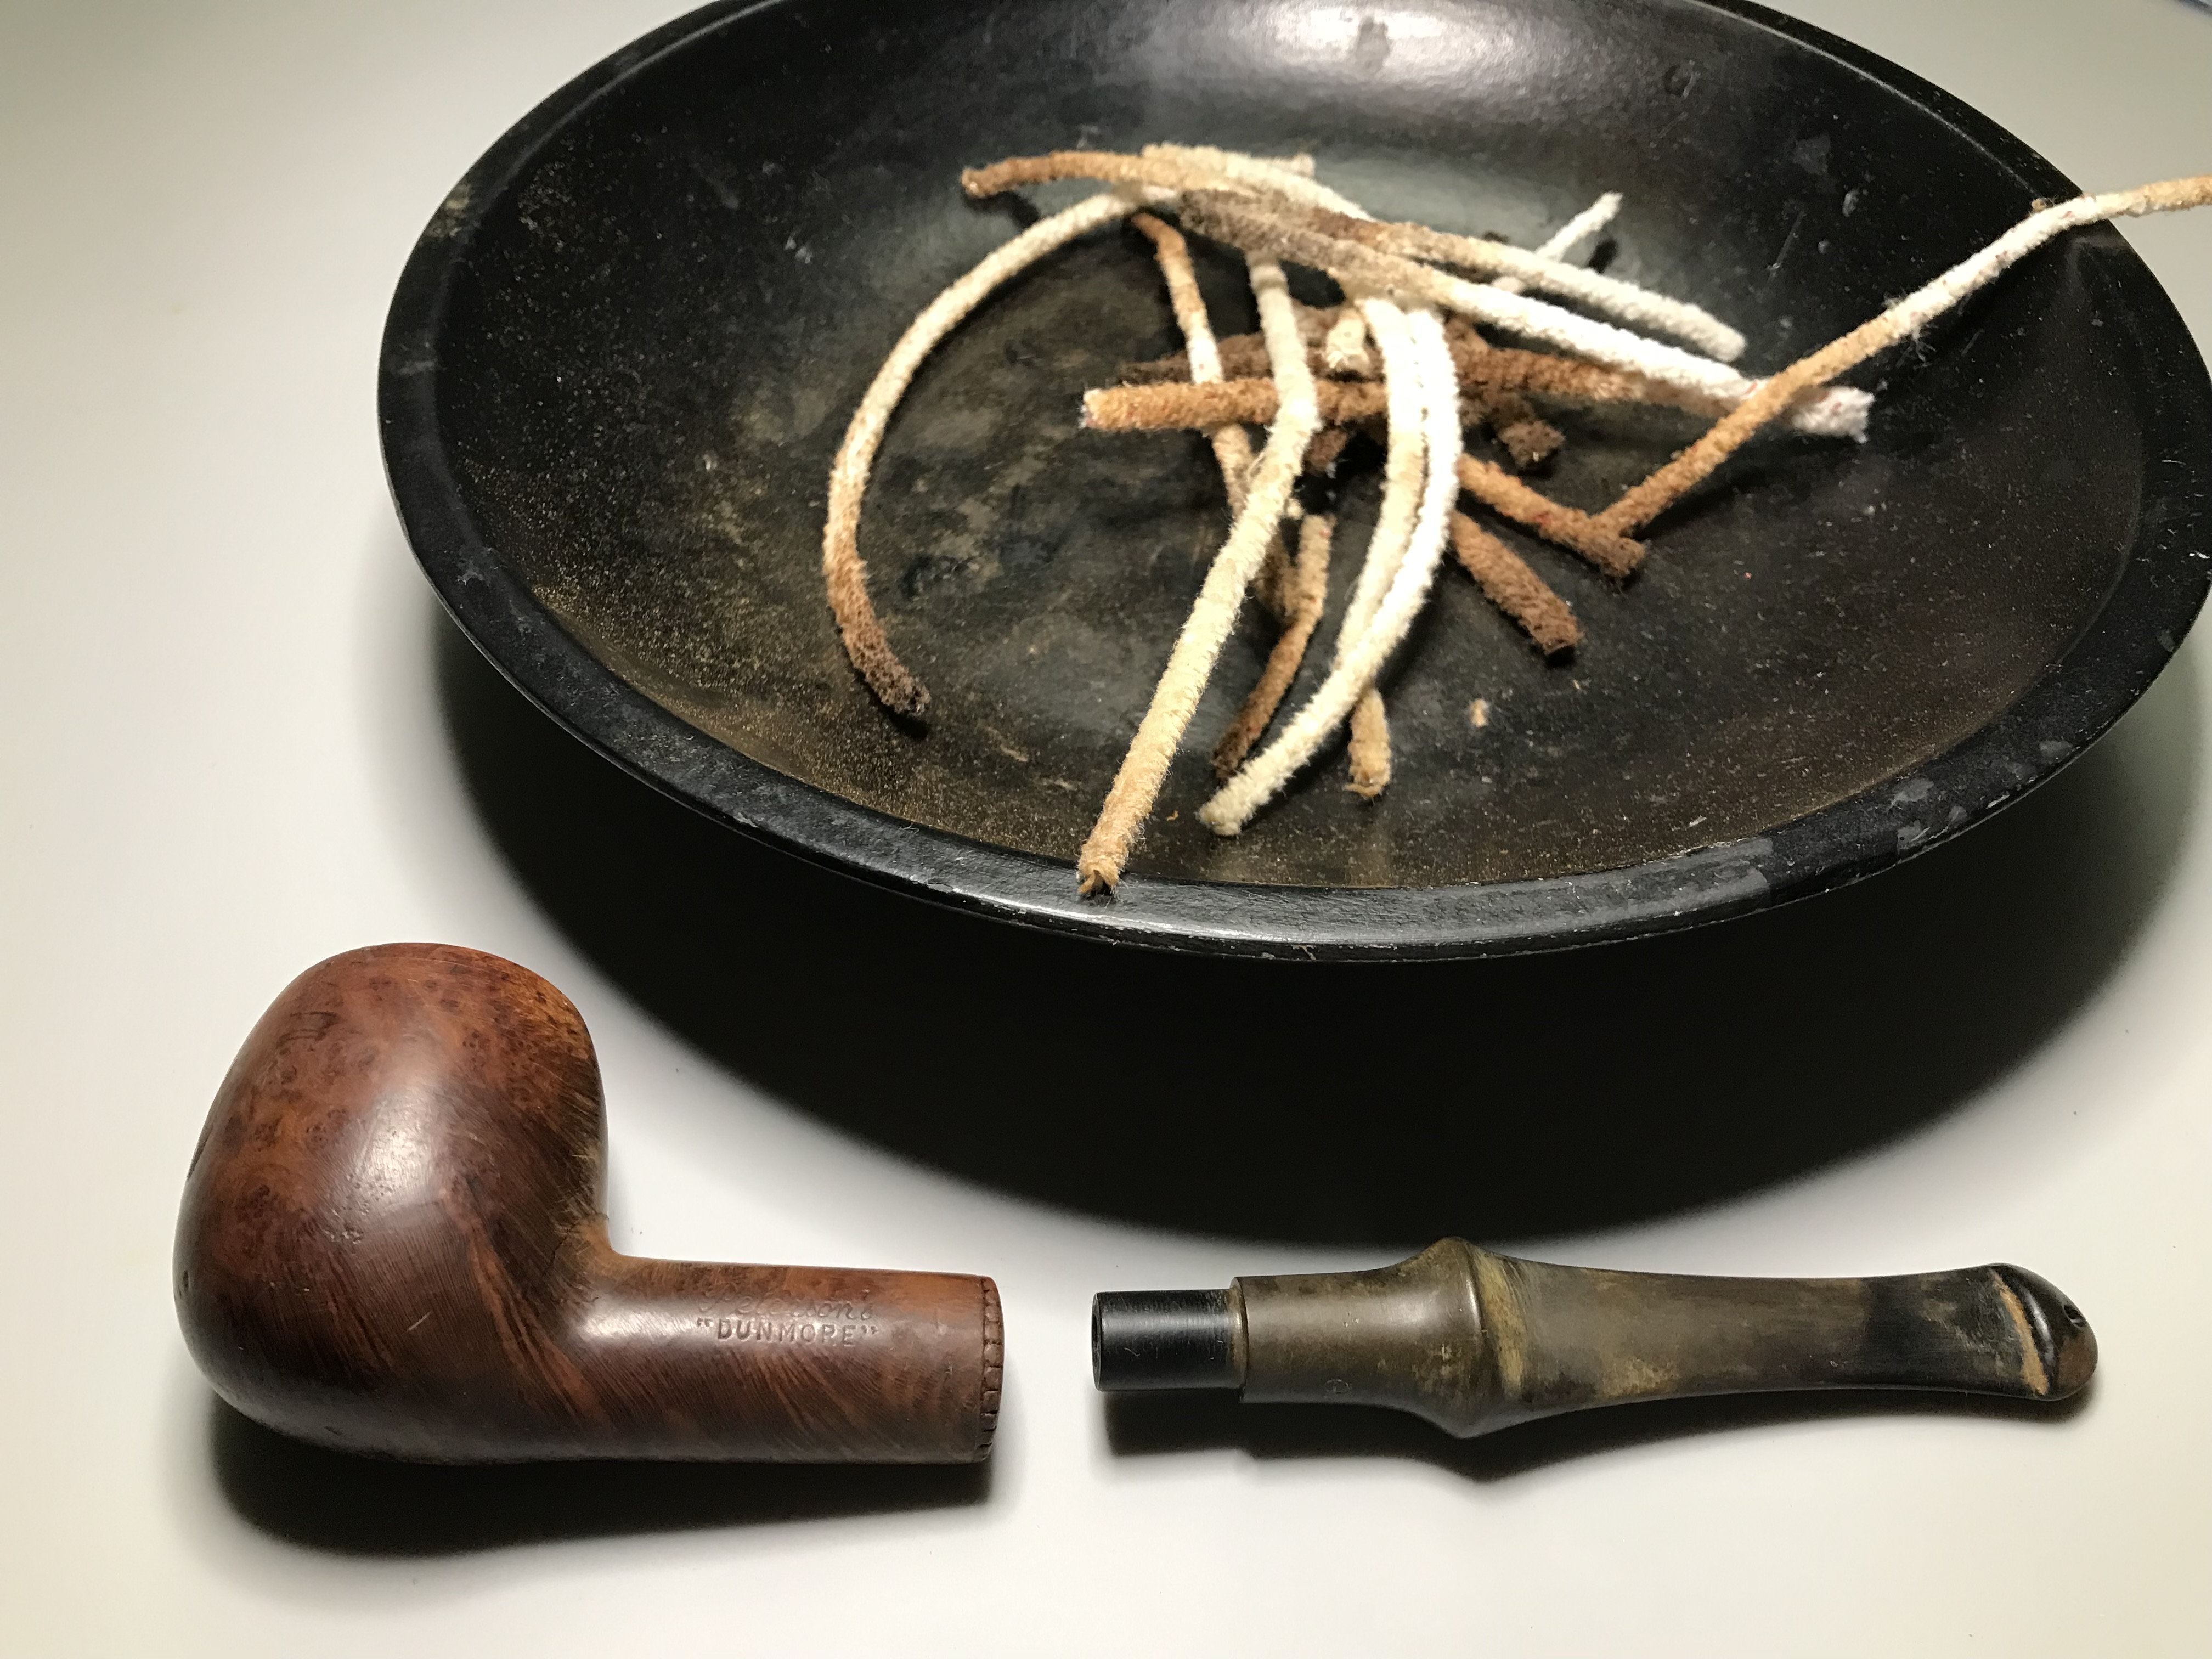
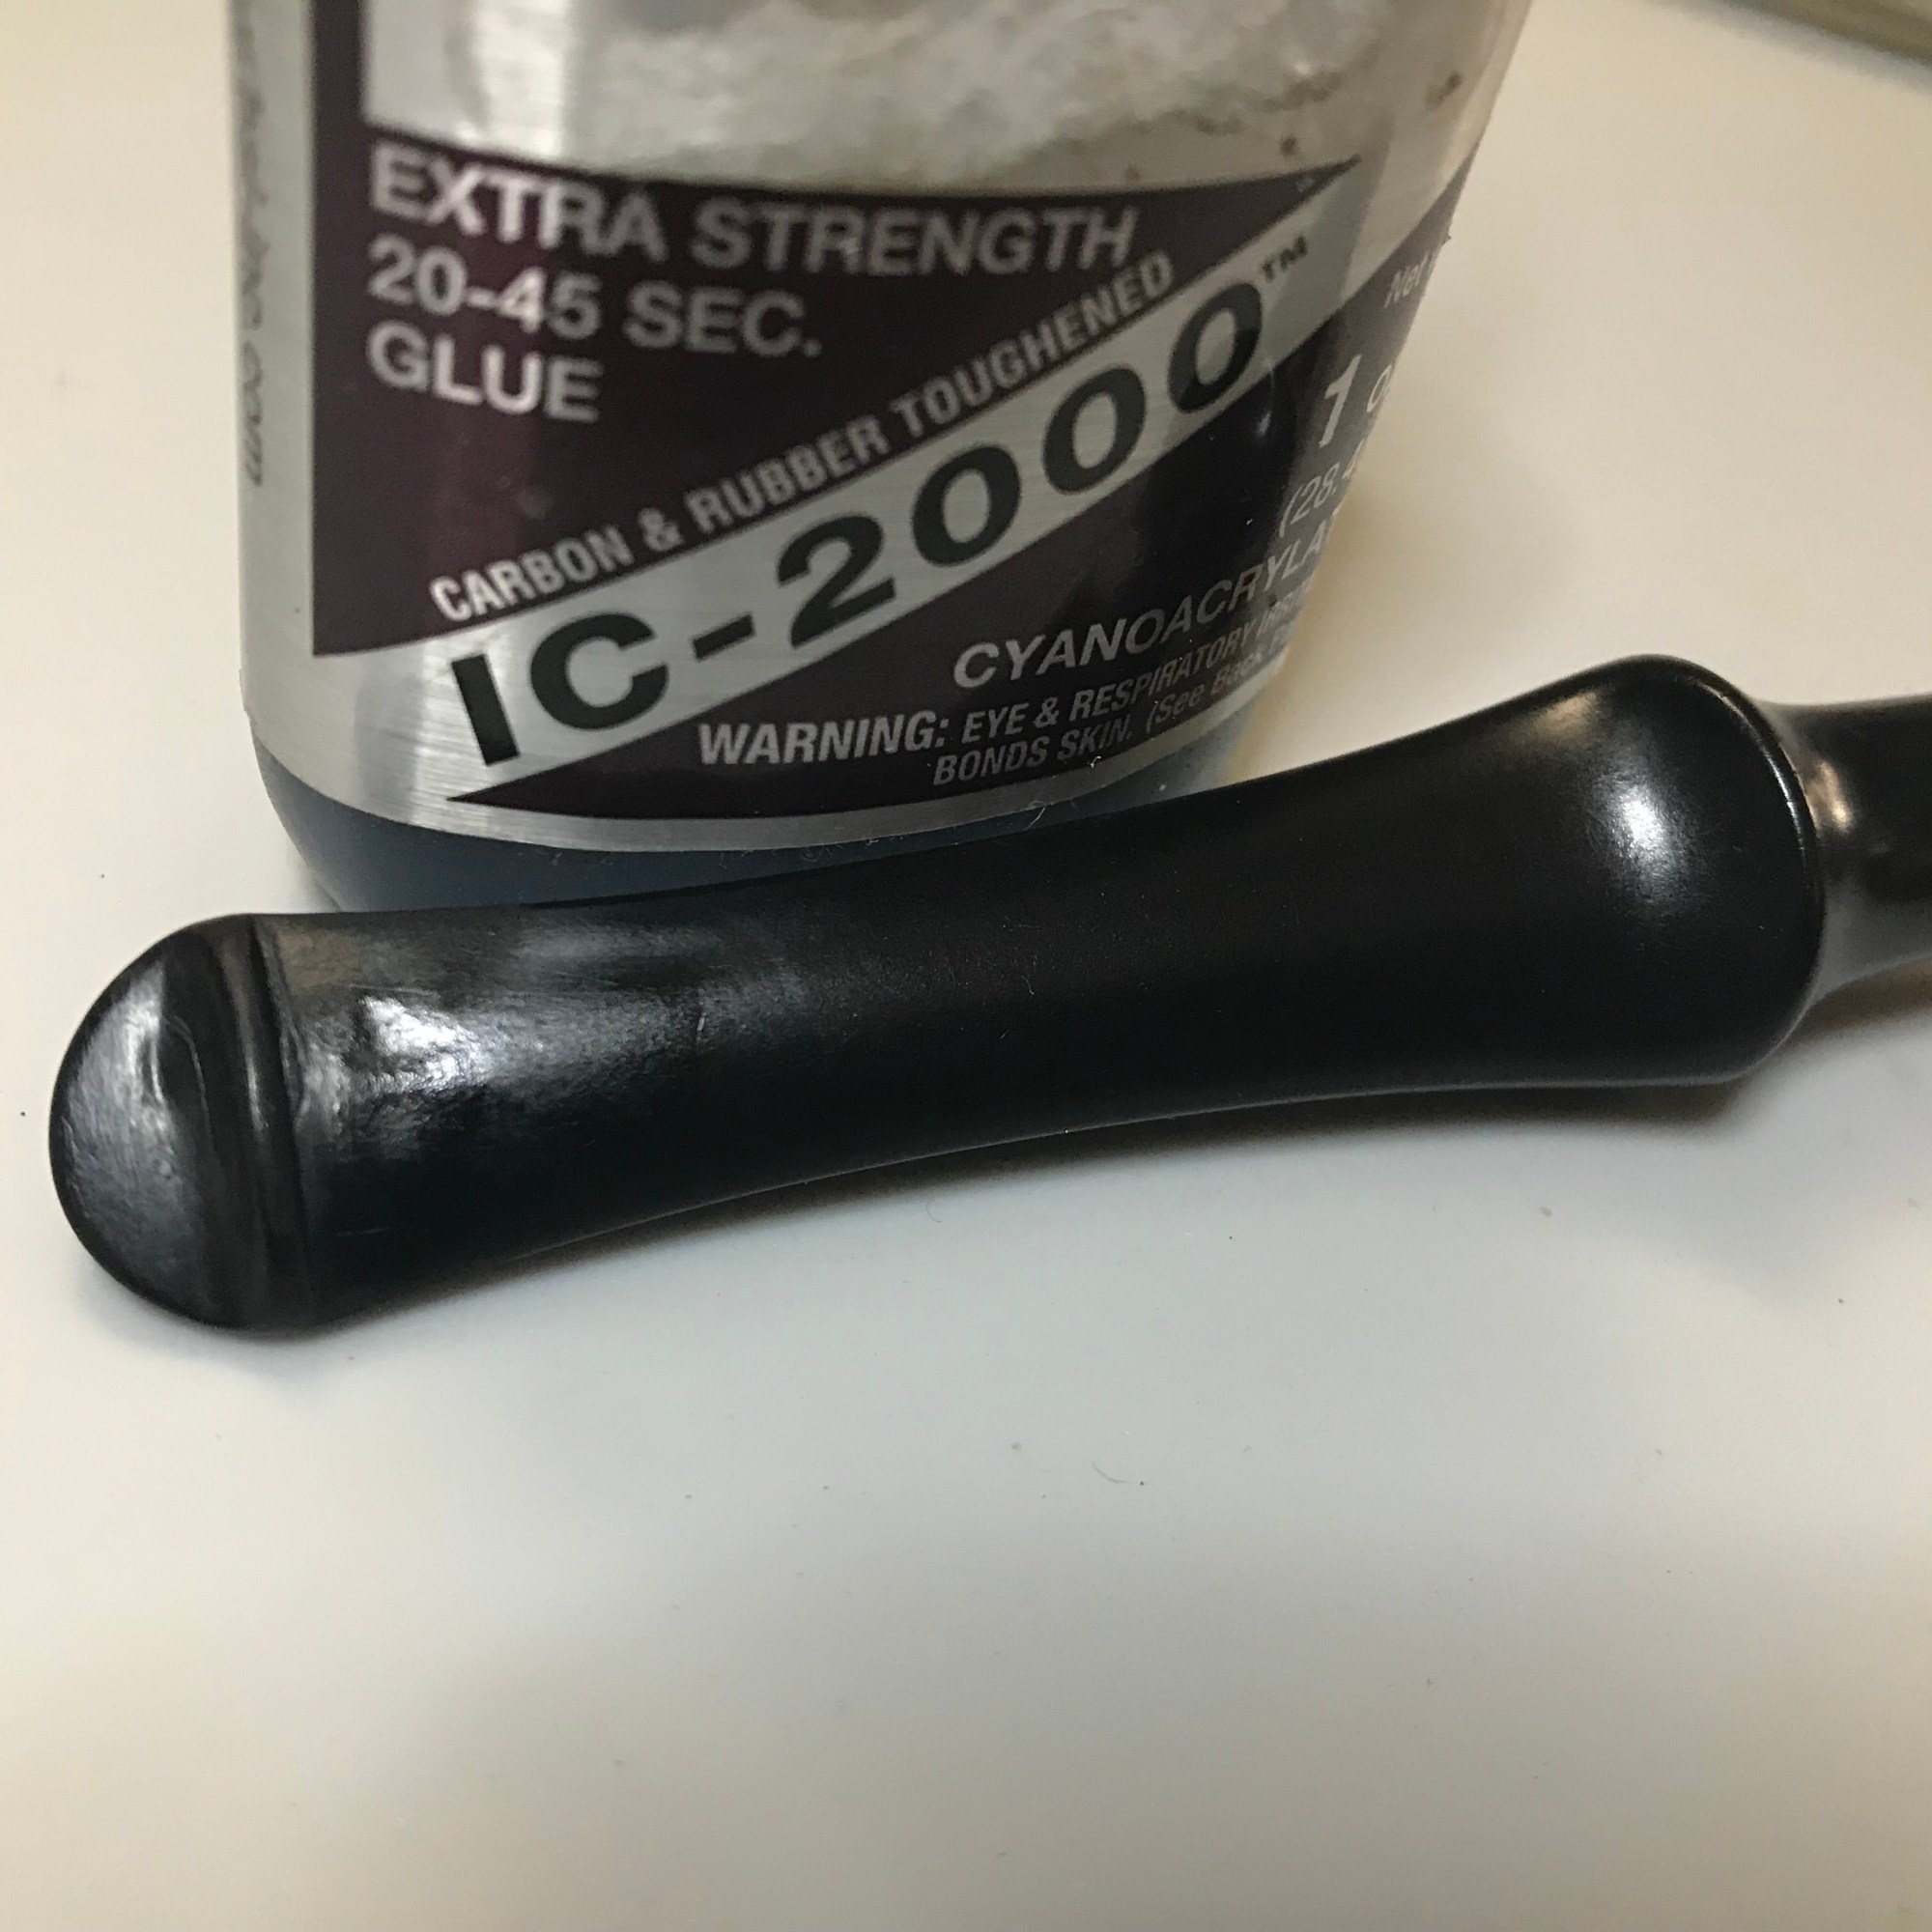
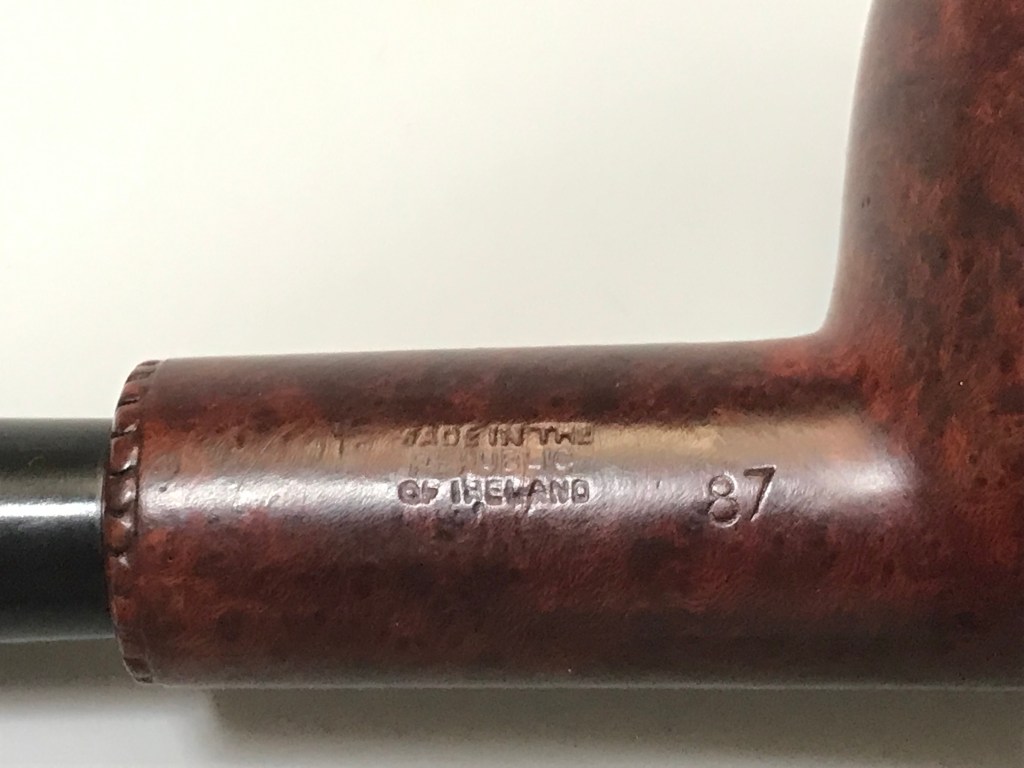
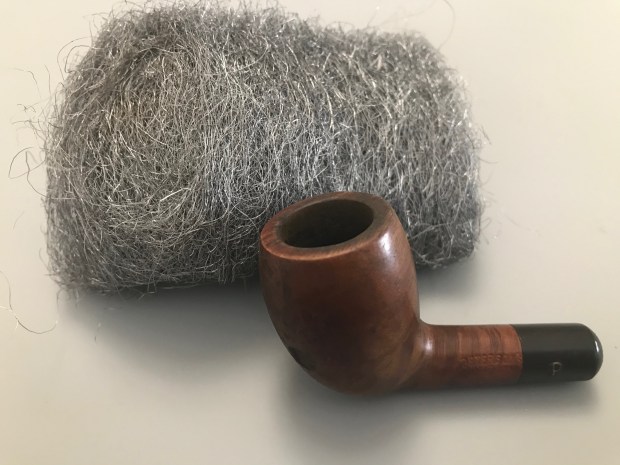
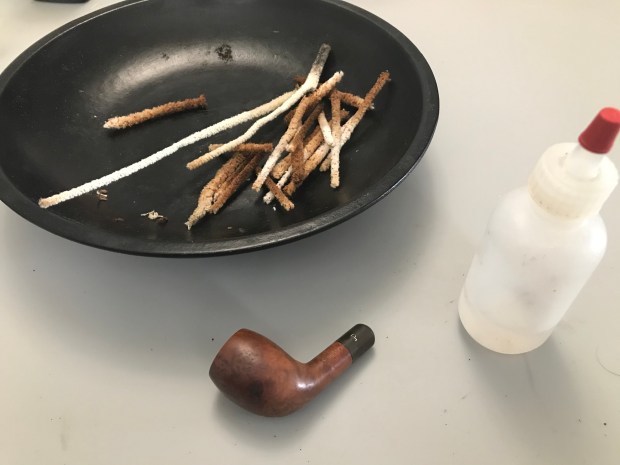
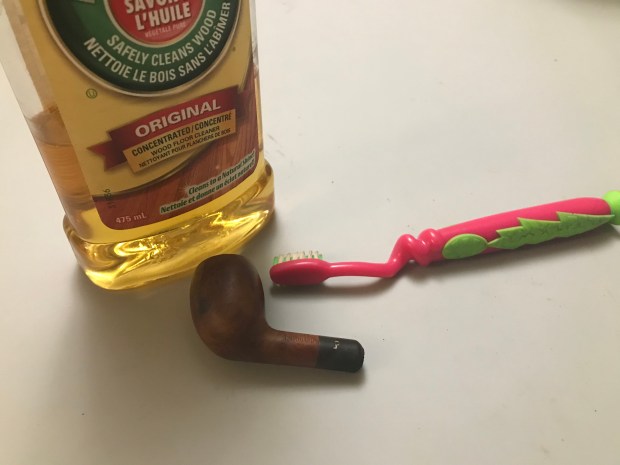
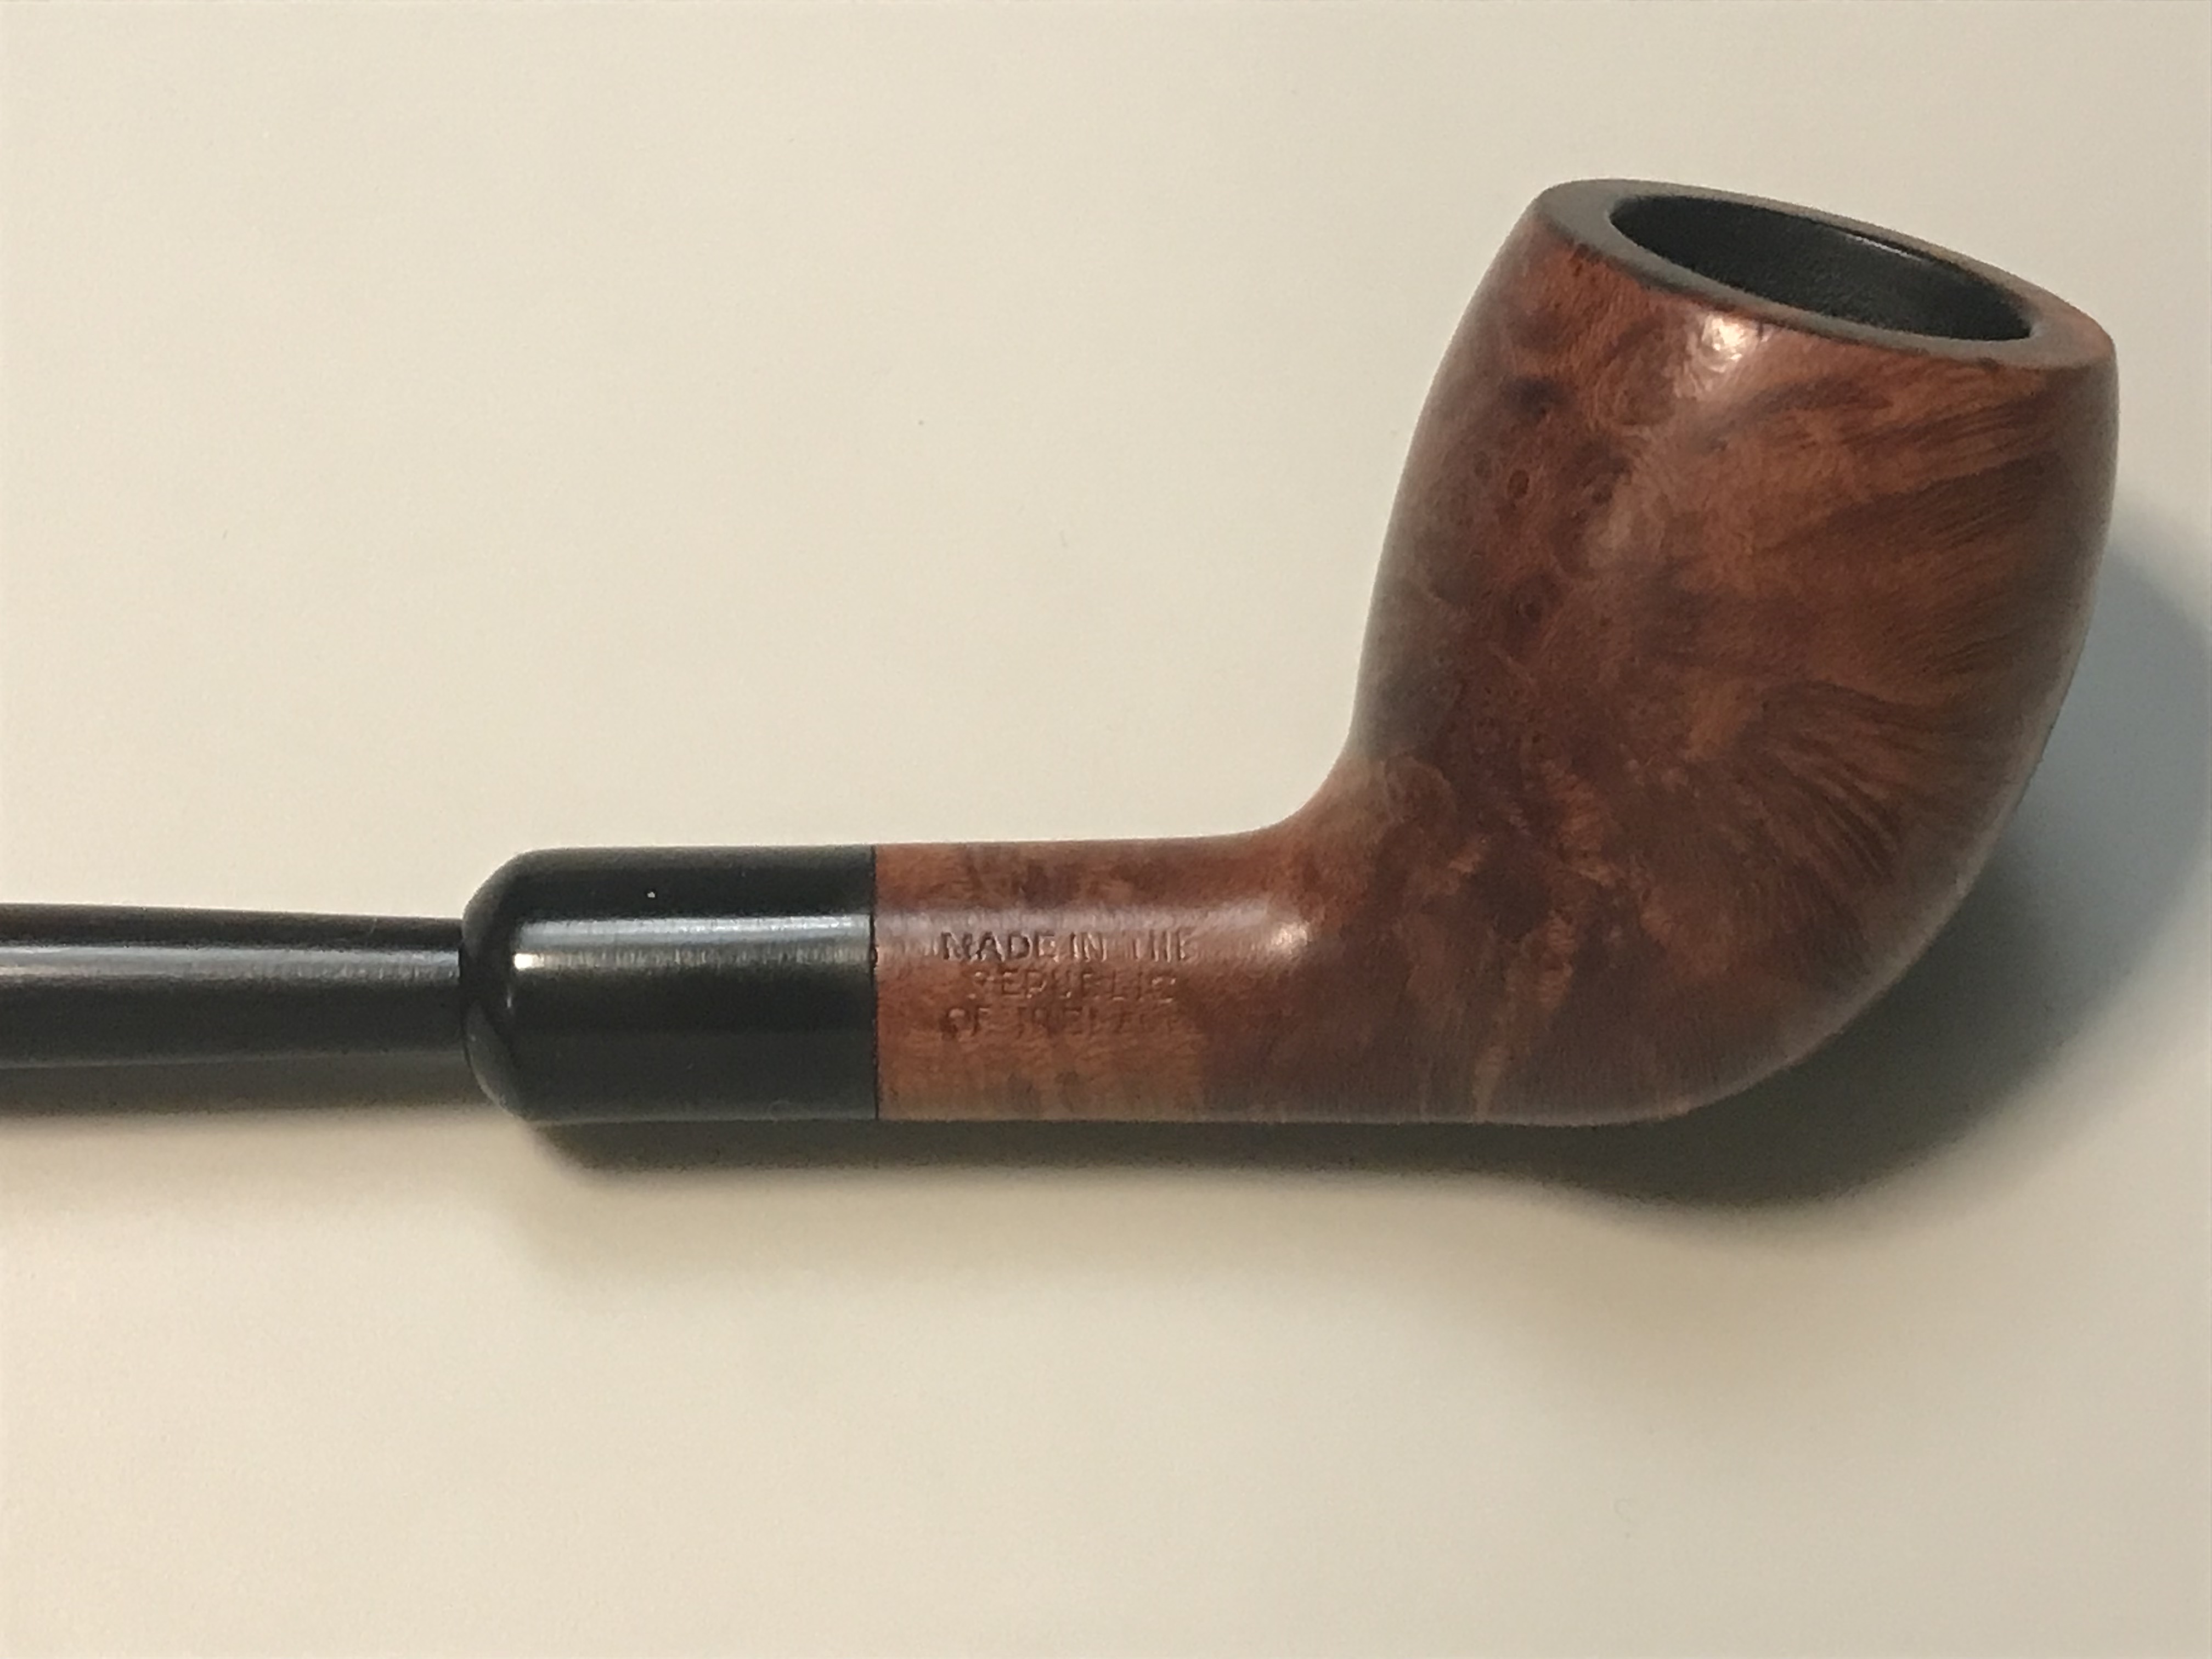
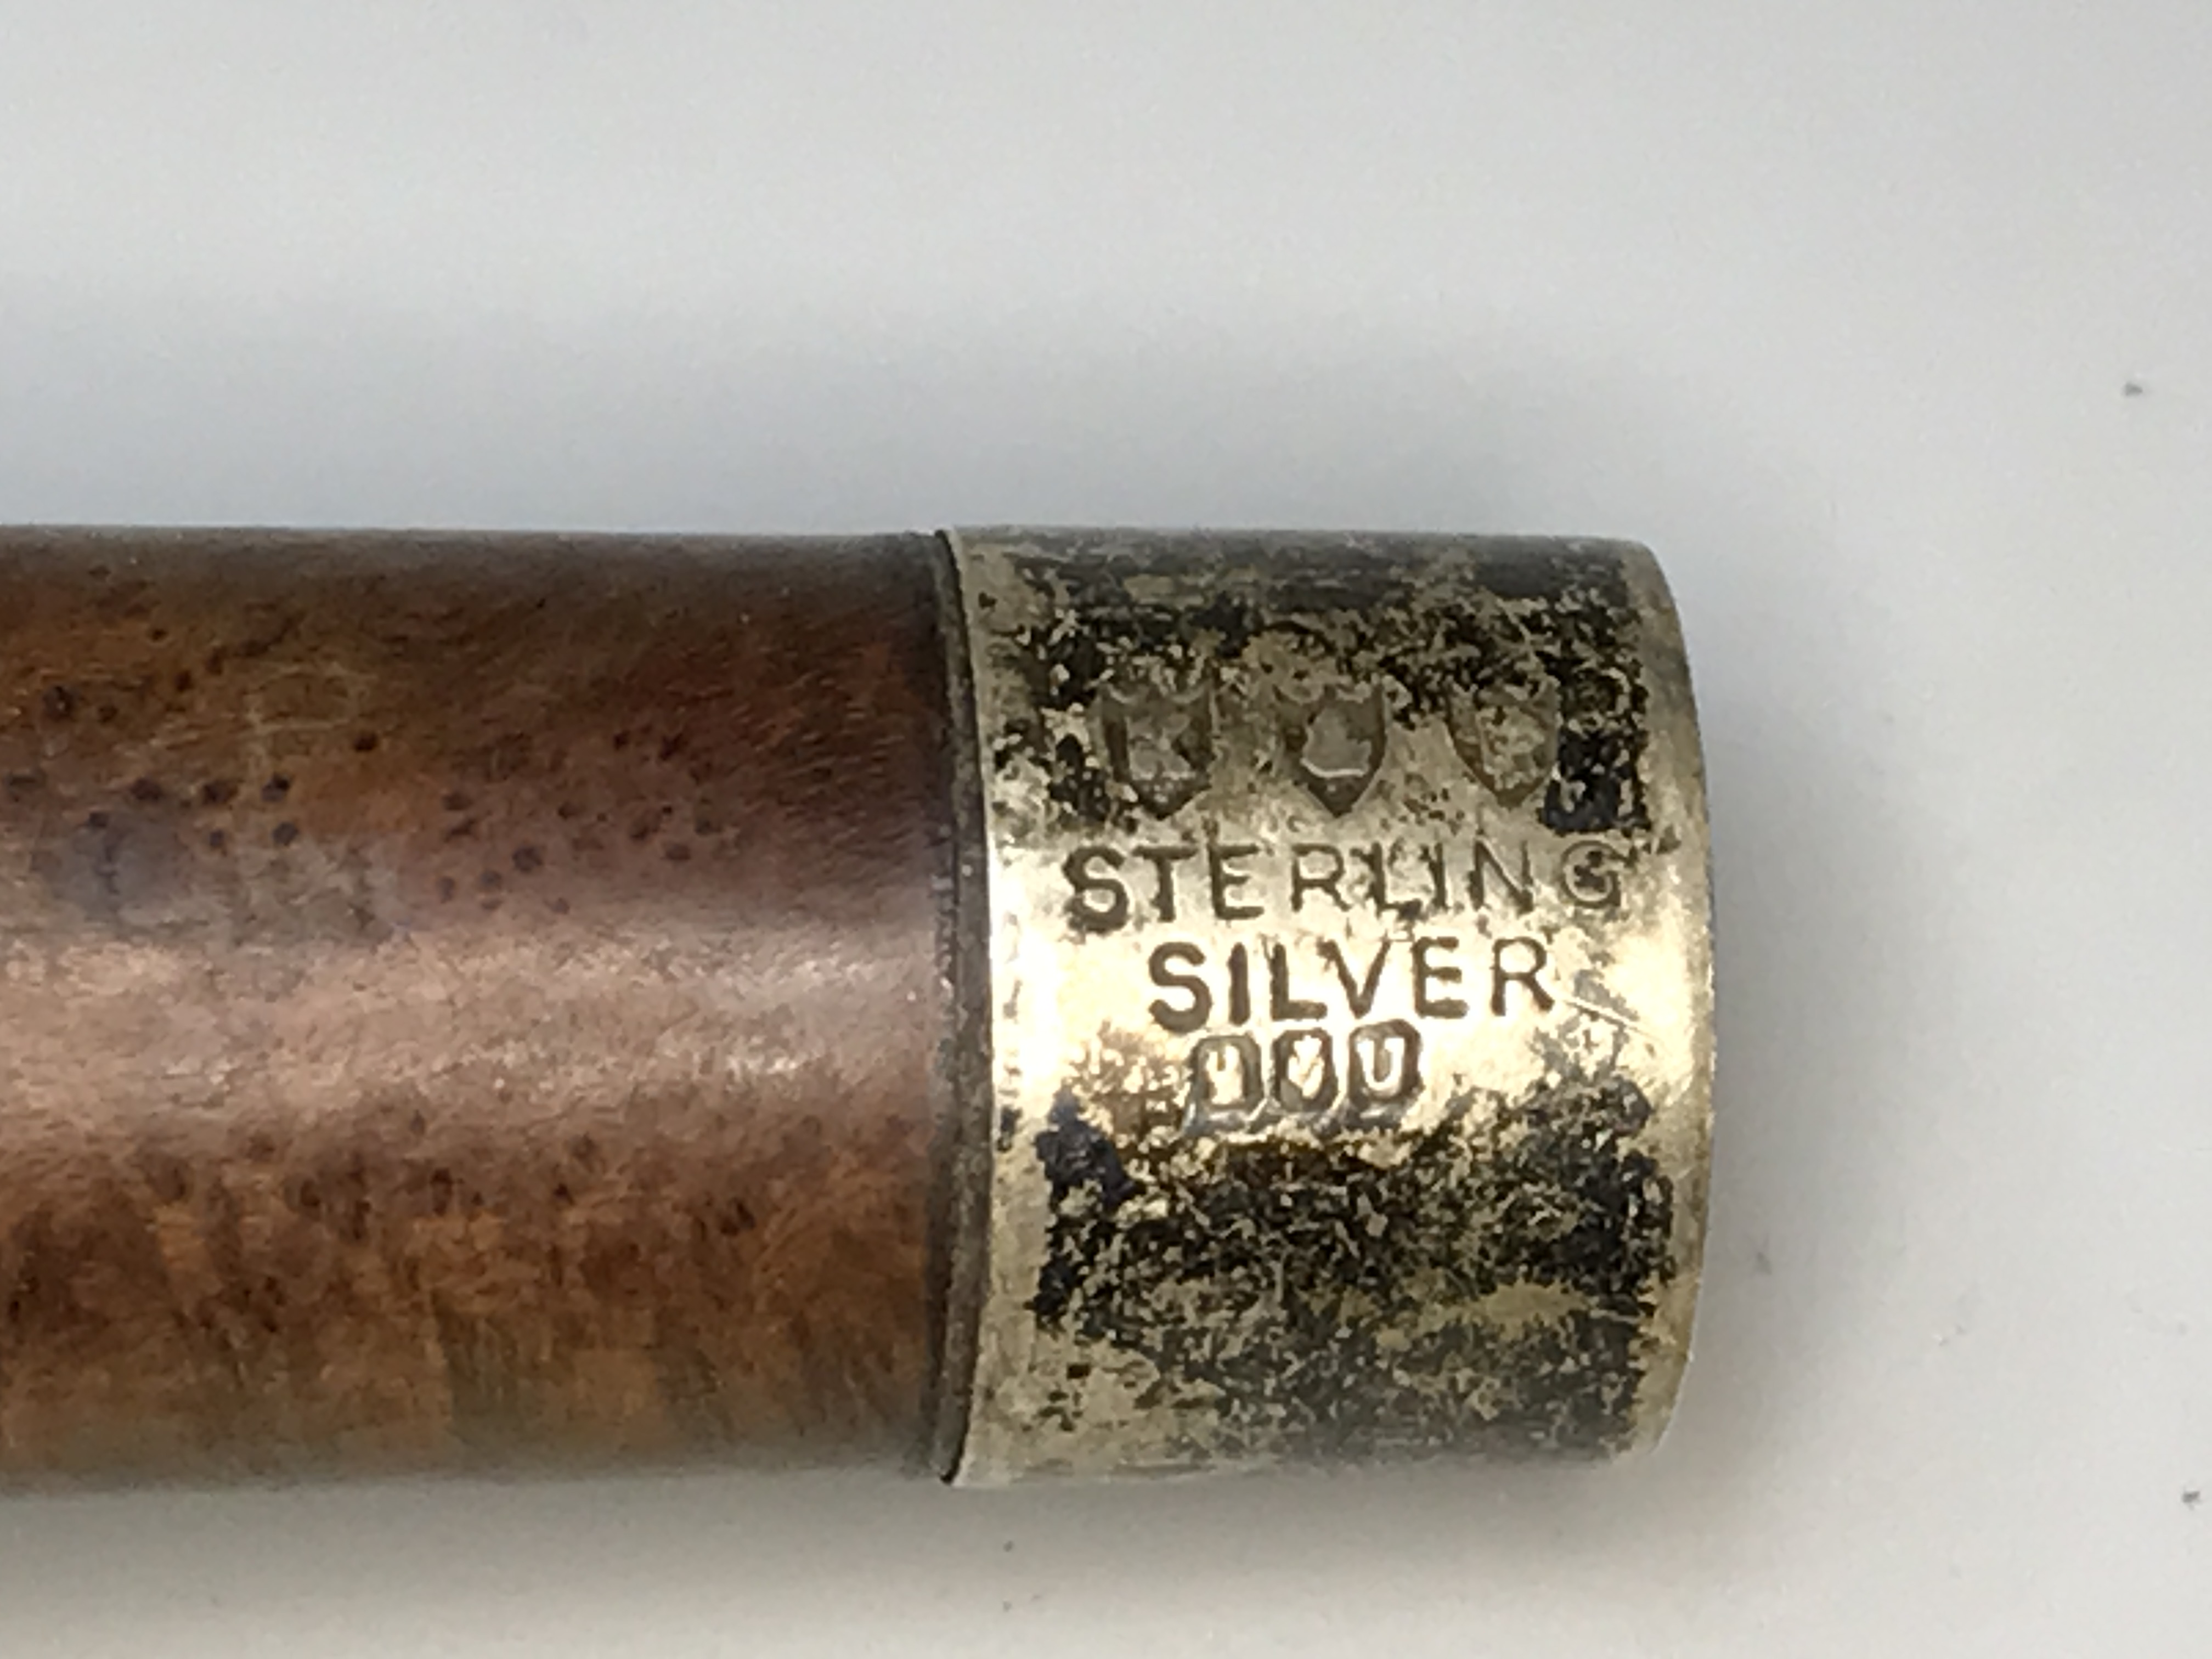
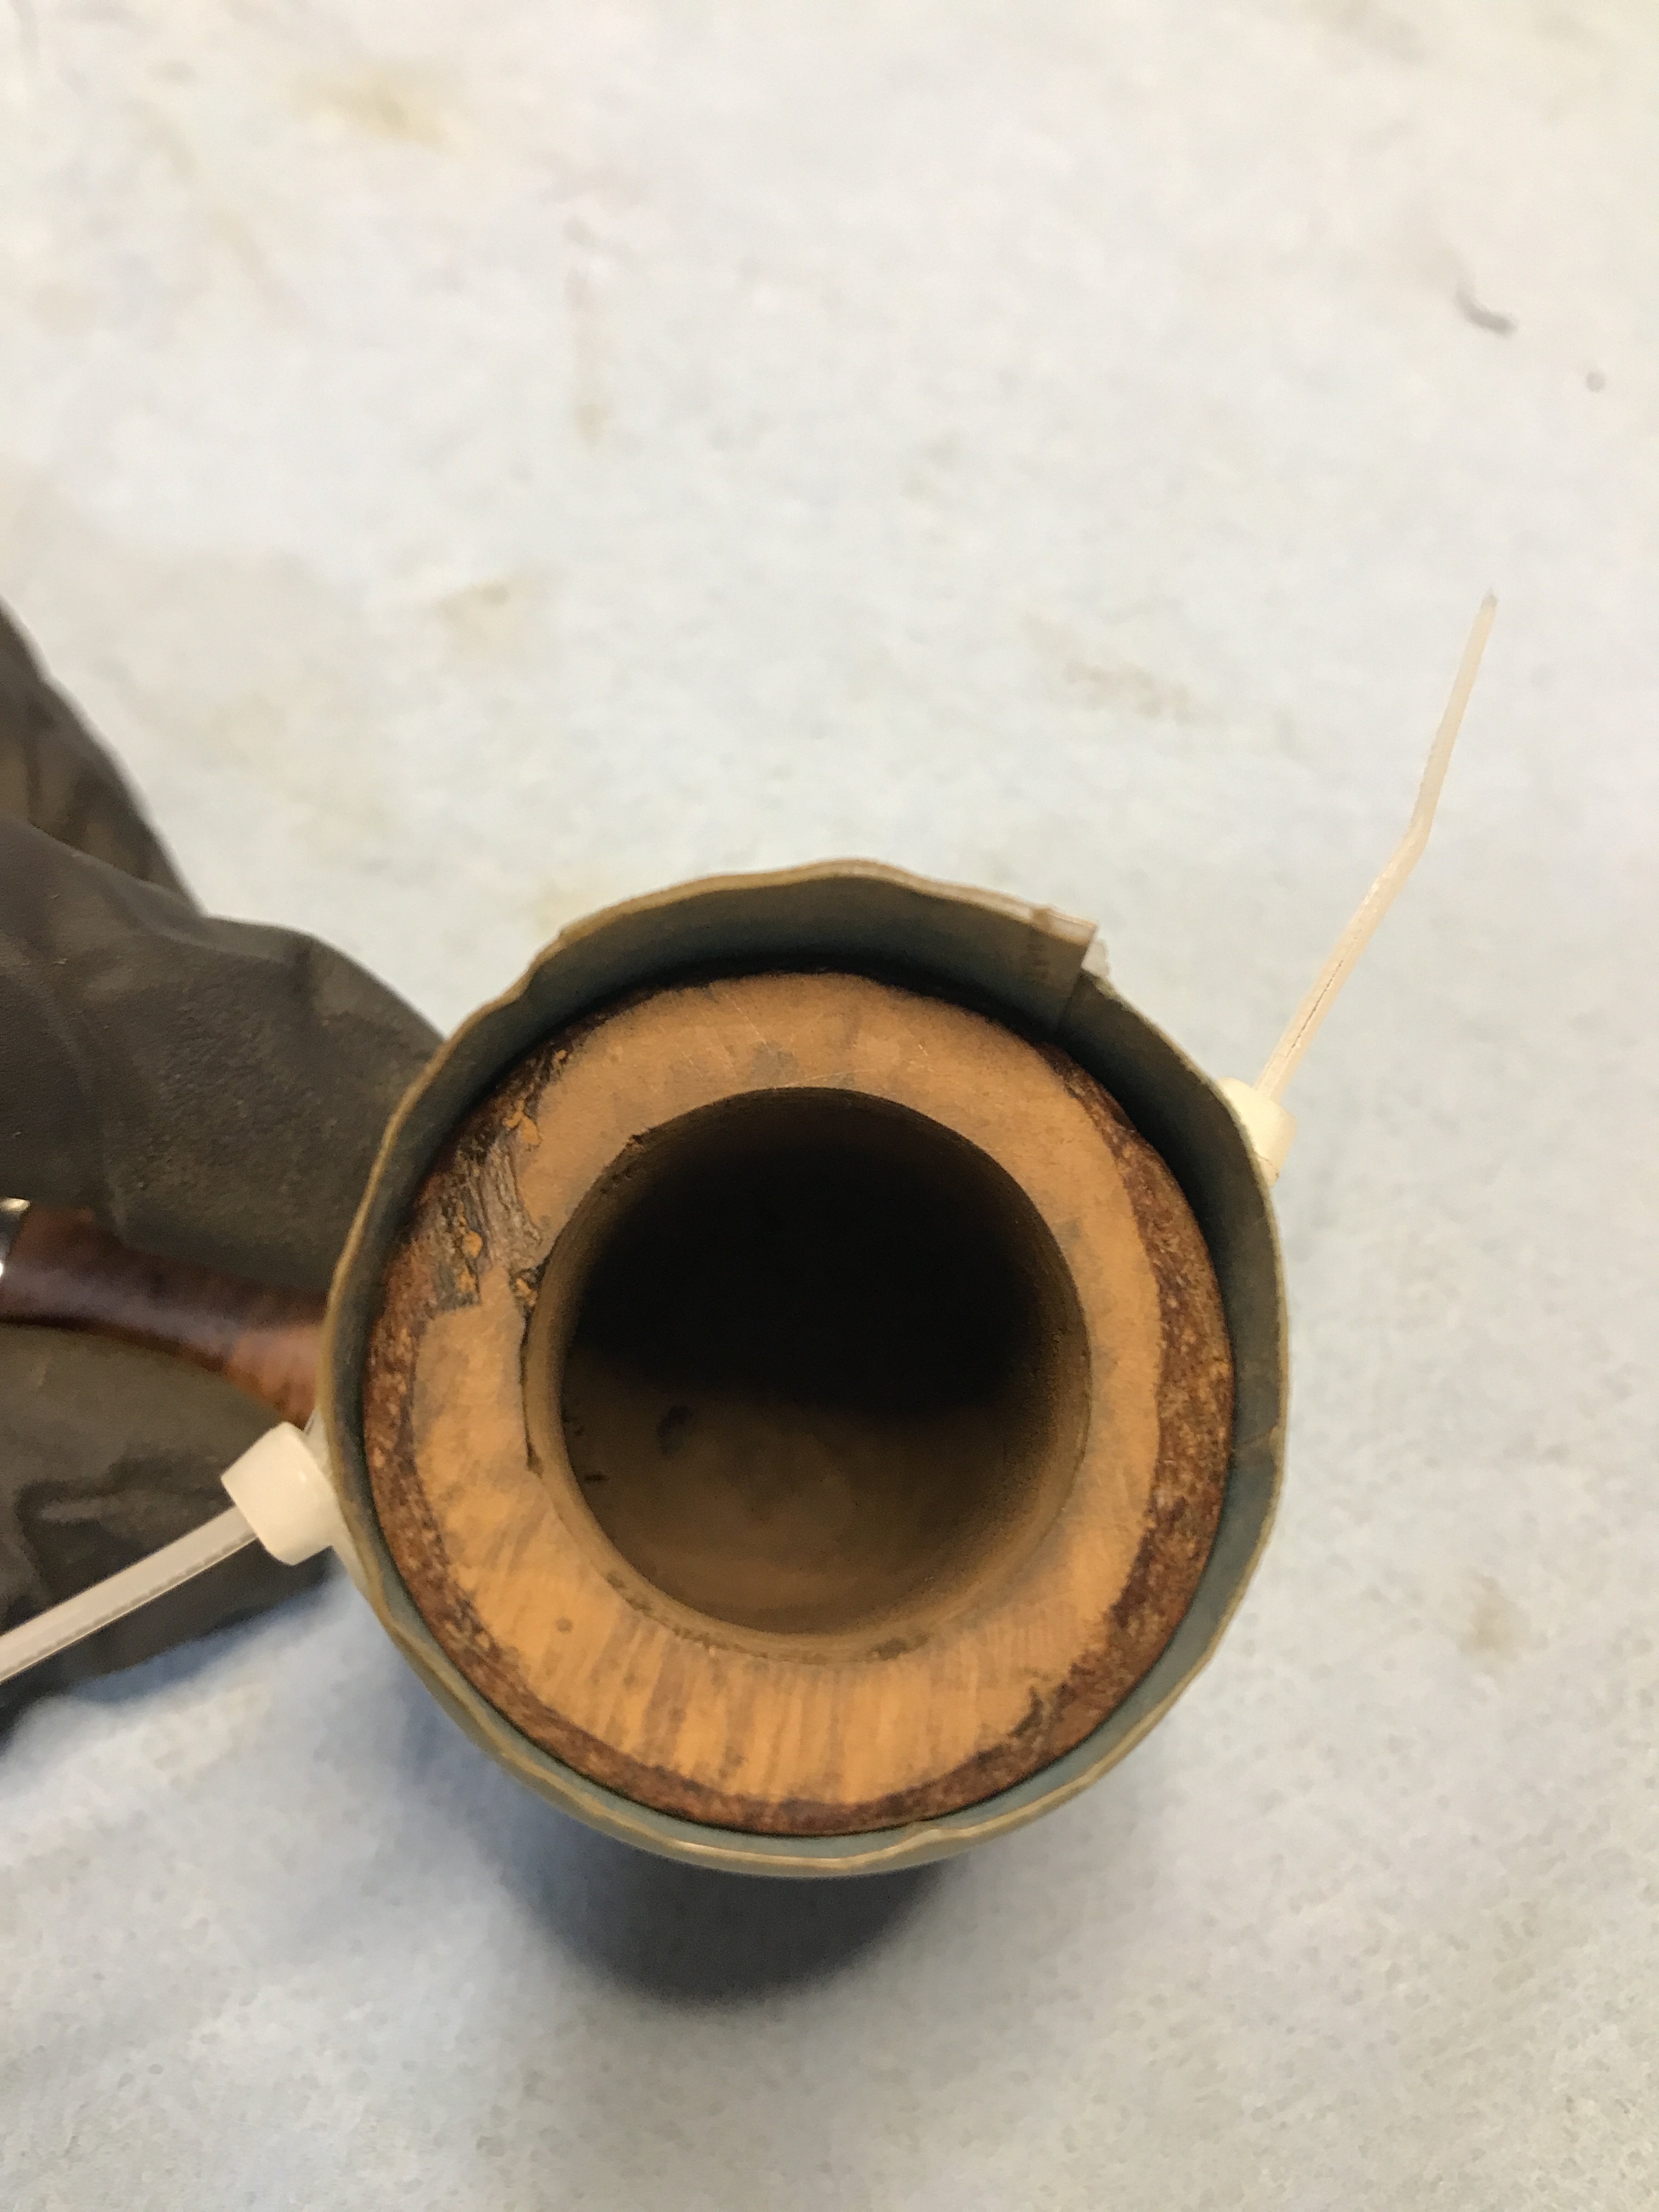
This pipe came to me with a myriad of issues to correct. Some of the obvious ones were the rim that had been damaged and rounded off. The nomenclature cannot be corrected but it can be enhanced after a good cleaning and should be visible after buffing. The sterling silver band was very tarnished but completely salvageable. The internals had some very thick tar buildup in the cooling chamber of the mortise, very common I have found with well loved Petersons. I will ream the mortise as well as the draught hole and tobacco chamber before sanitizing.
The old that is strong does not wither, Deep roots are not reach by the frost.
J.R.R. Tolkien, The Fellowship of the Ring
Dating
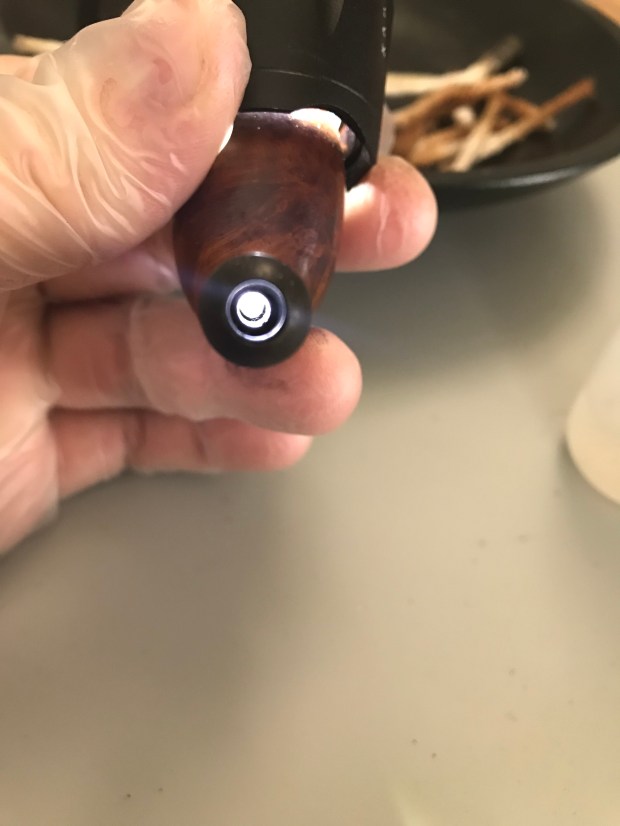
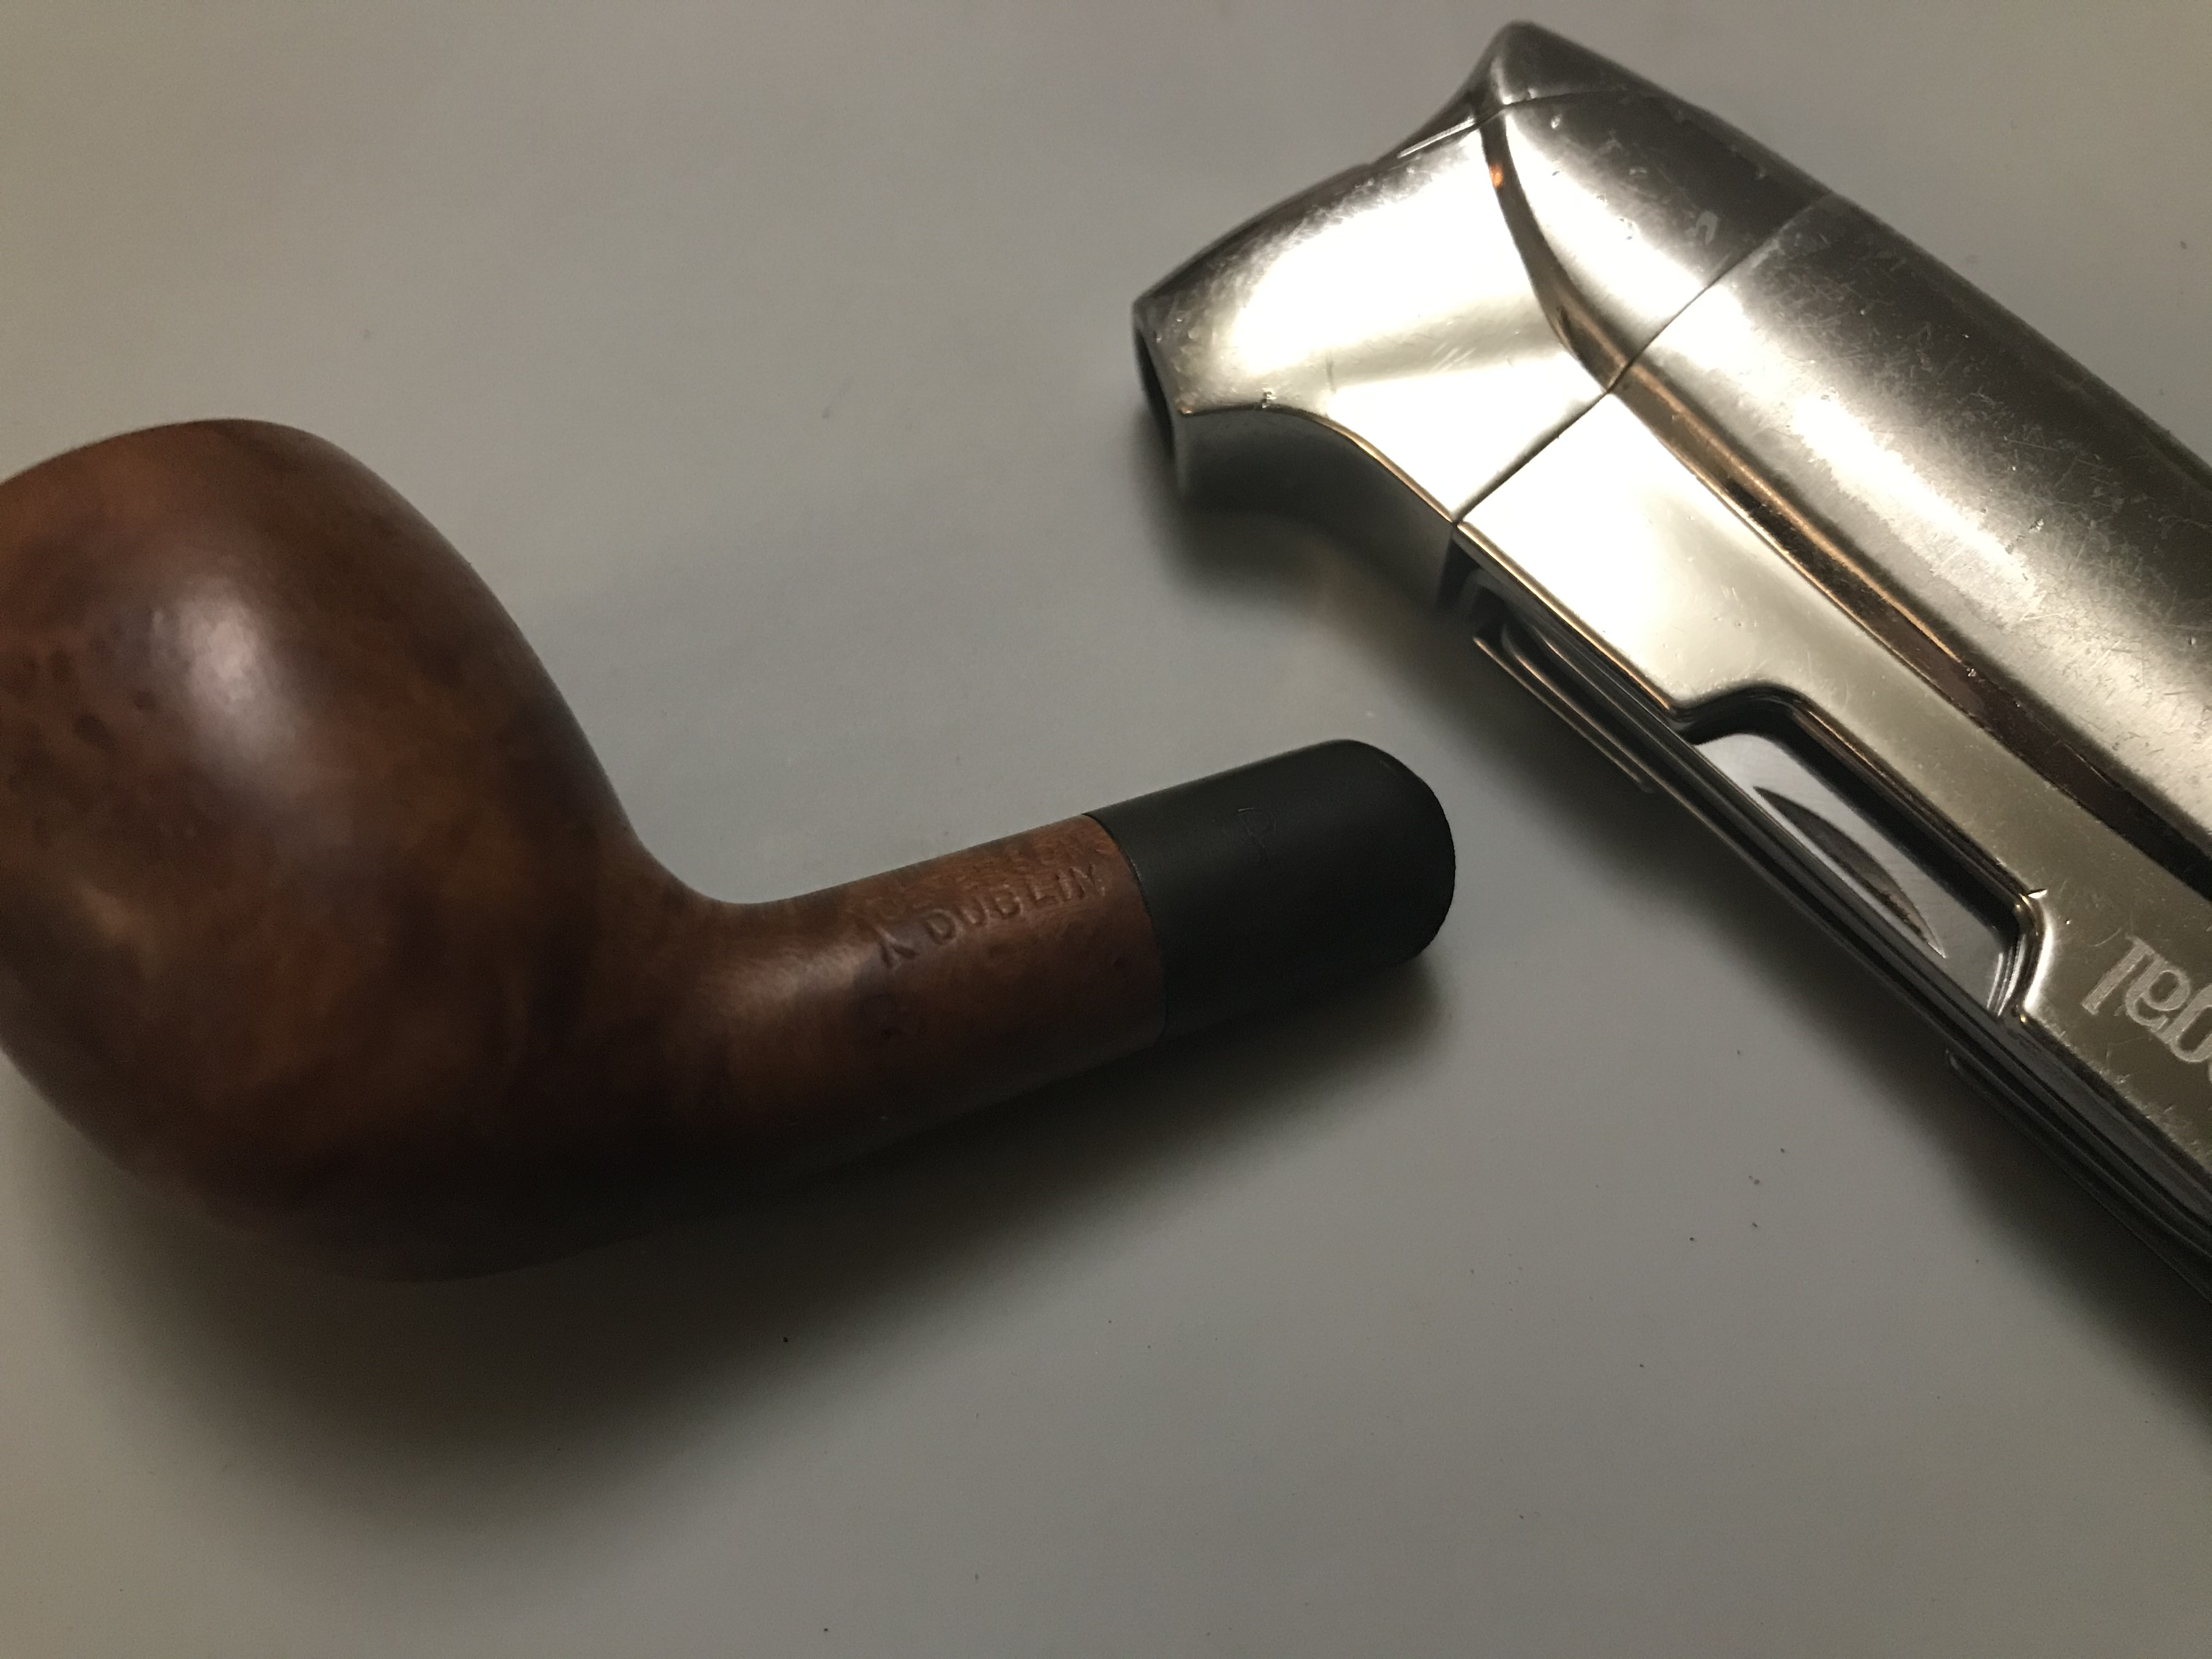
Visible on the sterling silver band are the hallmarks to determine when the silver band was made and therefore you can assume the pipe was made within that same year. Based on the lower case “u” and the shape of the shield, this pipe was manufactured in 1985.

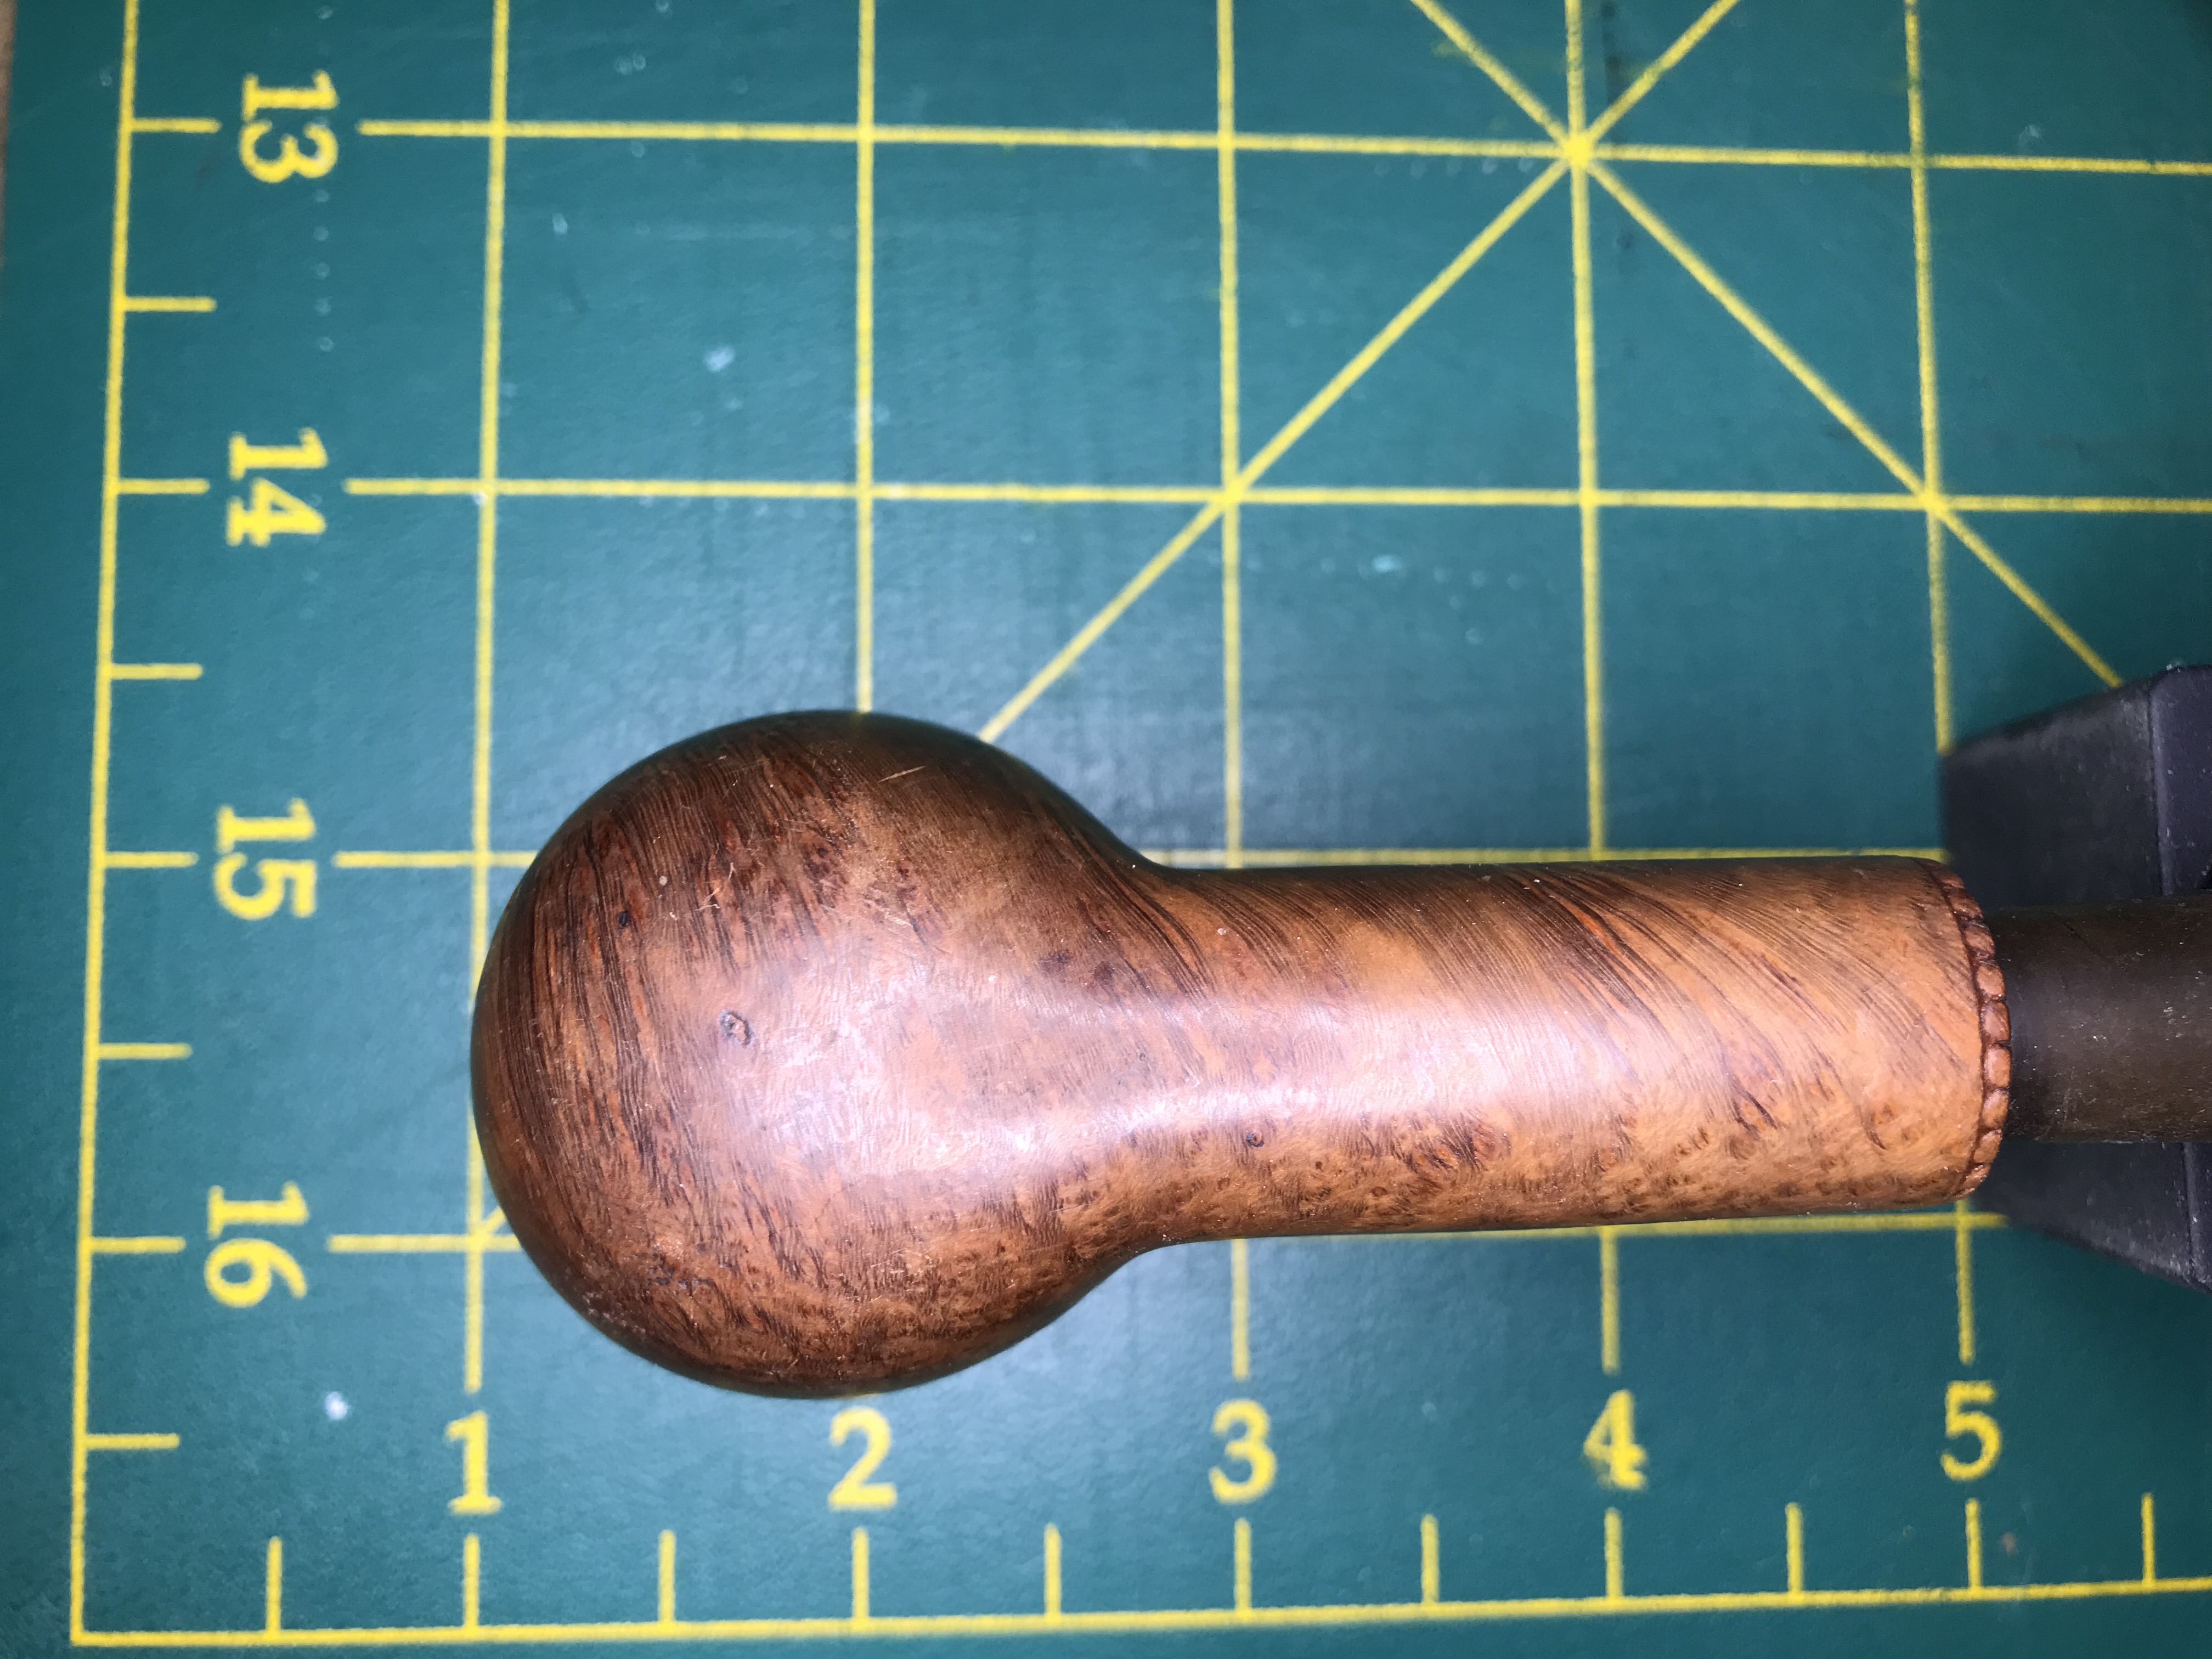
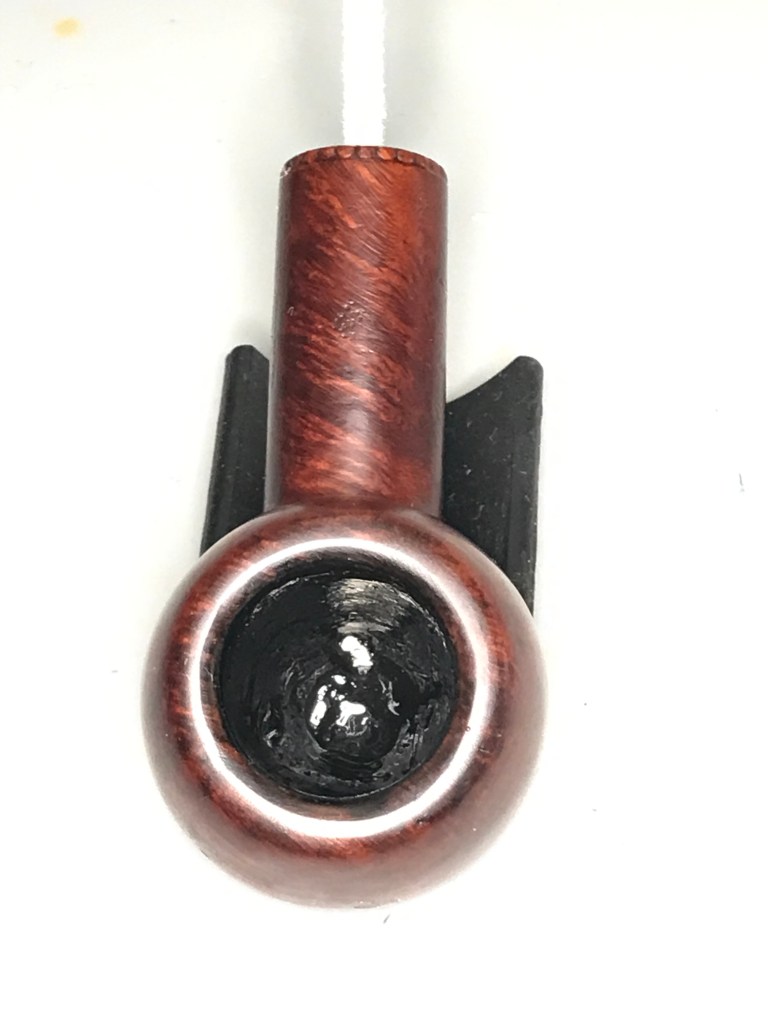
Rim Repair
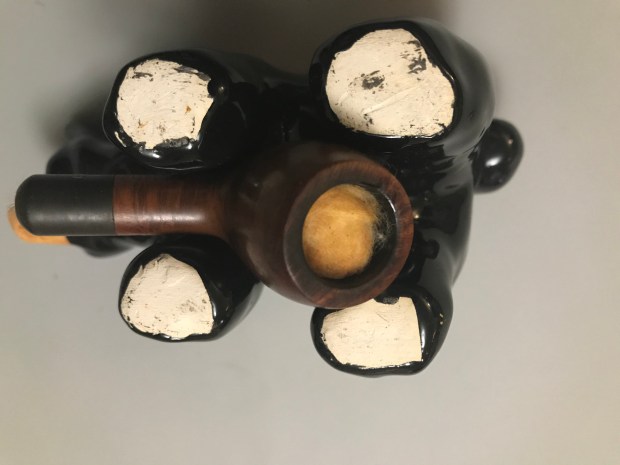
In this restoration, I wanted to focus on my method for restoring the rim of a pipe that has been damaged.

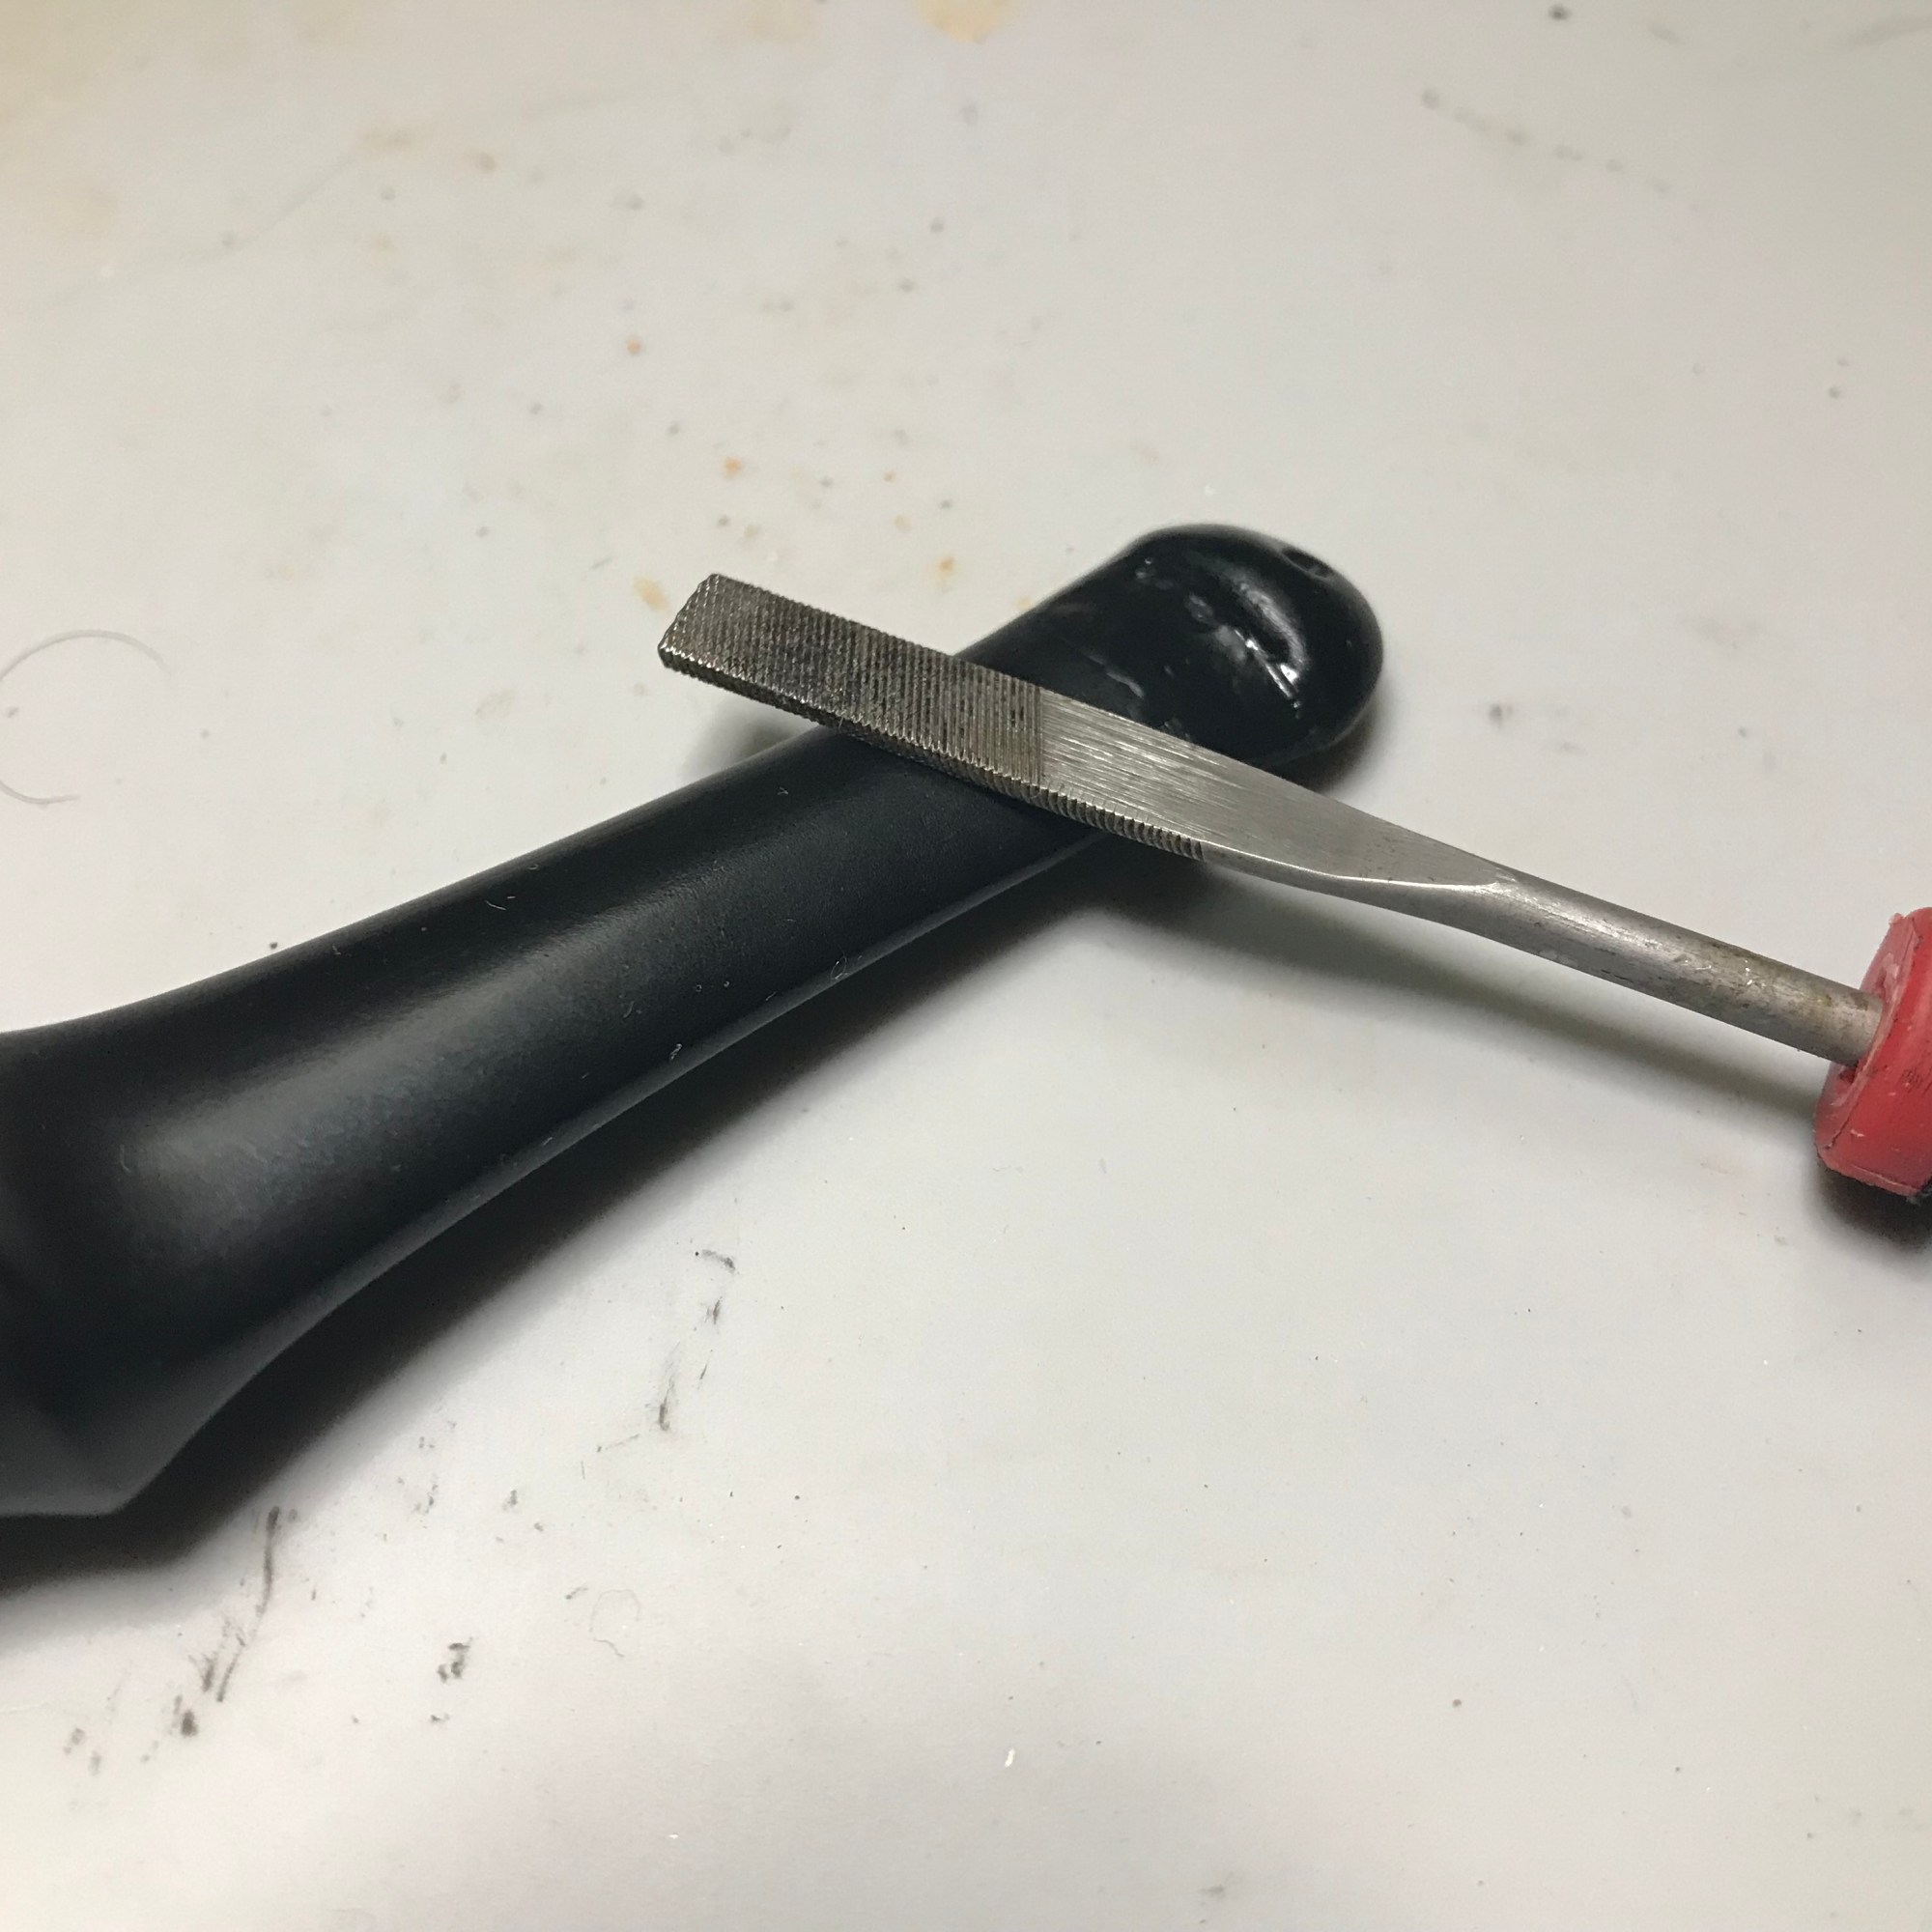
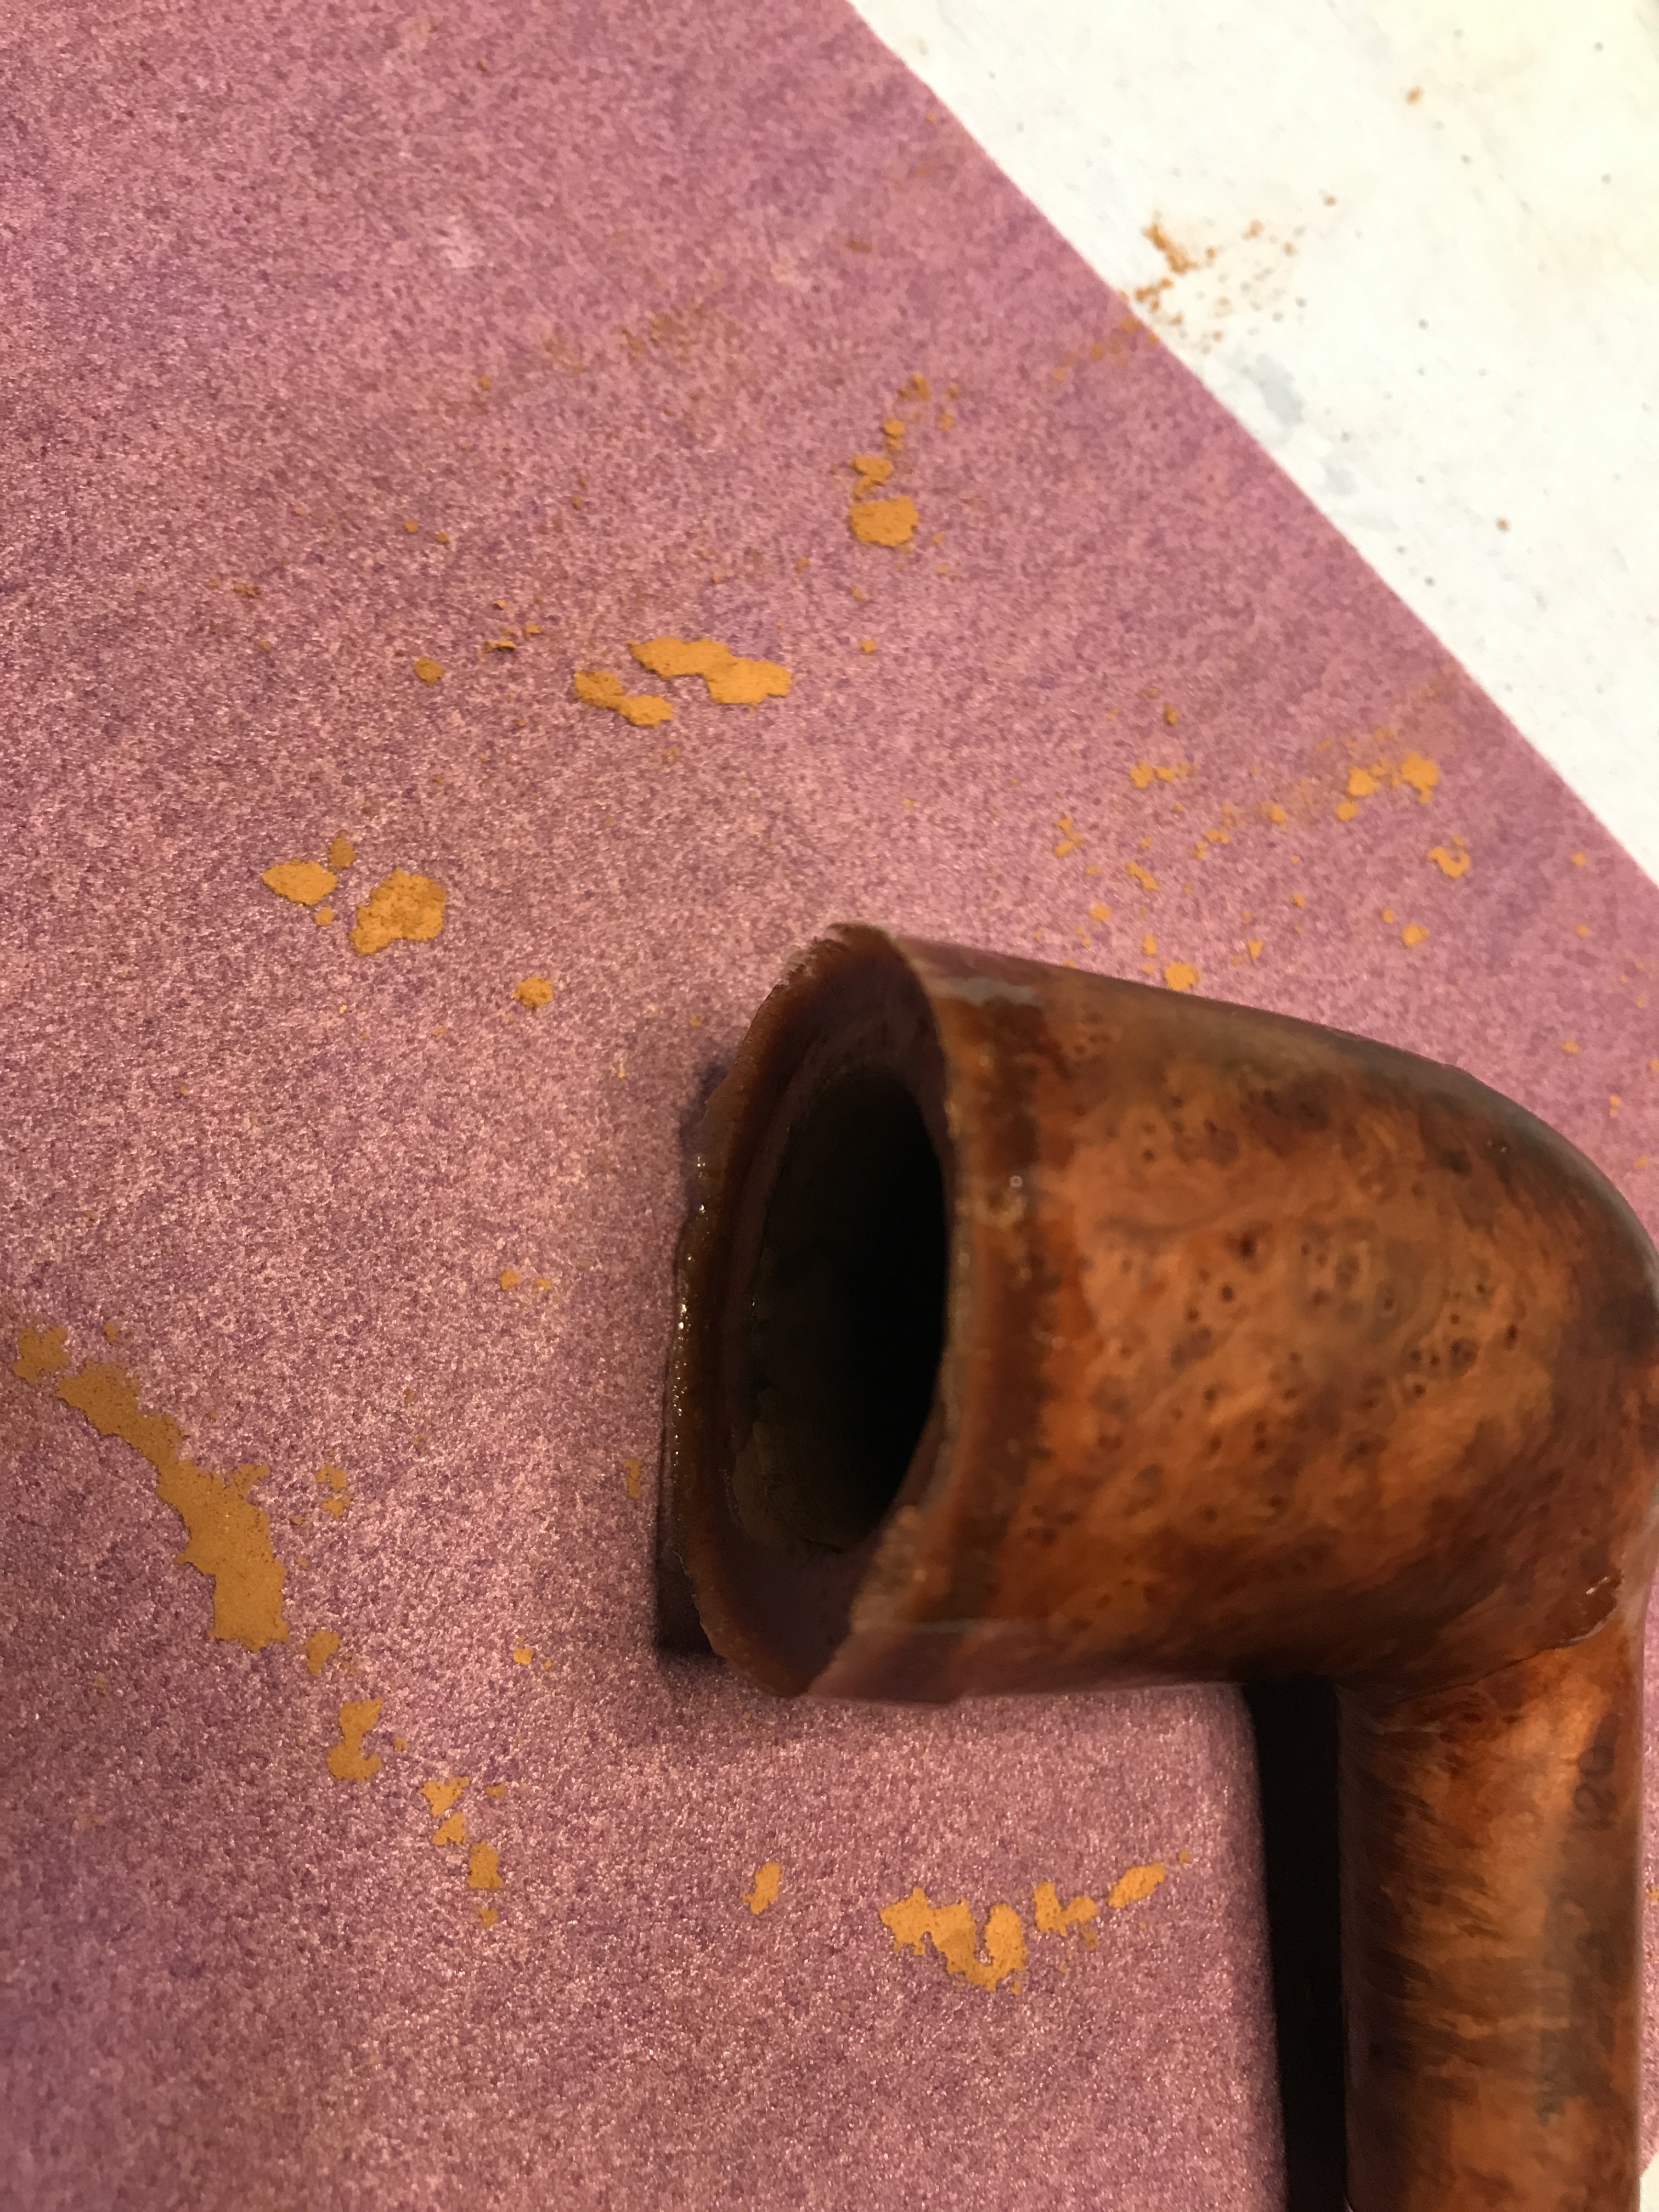
First I place the bowl rim down on some sandpaper and sand the rim of the bowl removing any charring so I can see where the primary repair areas are.
Next I laminate some scrap sandpaper with packing tape to create a non stick surface for the wood filler I’m going to make. I’m using the laminated sandpaper to act as a form to follow the lines of the bowl to get the correct profile. Once I have the form in place I use zip ties to ensure the form is tight to side of the pipe.
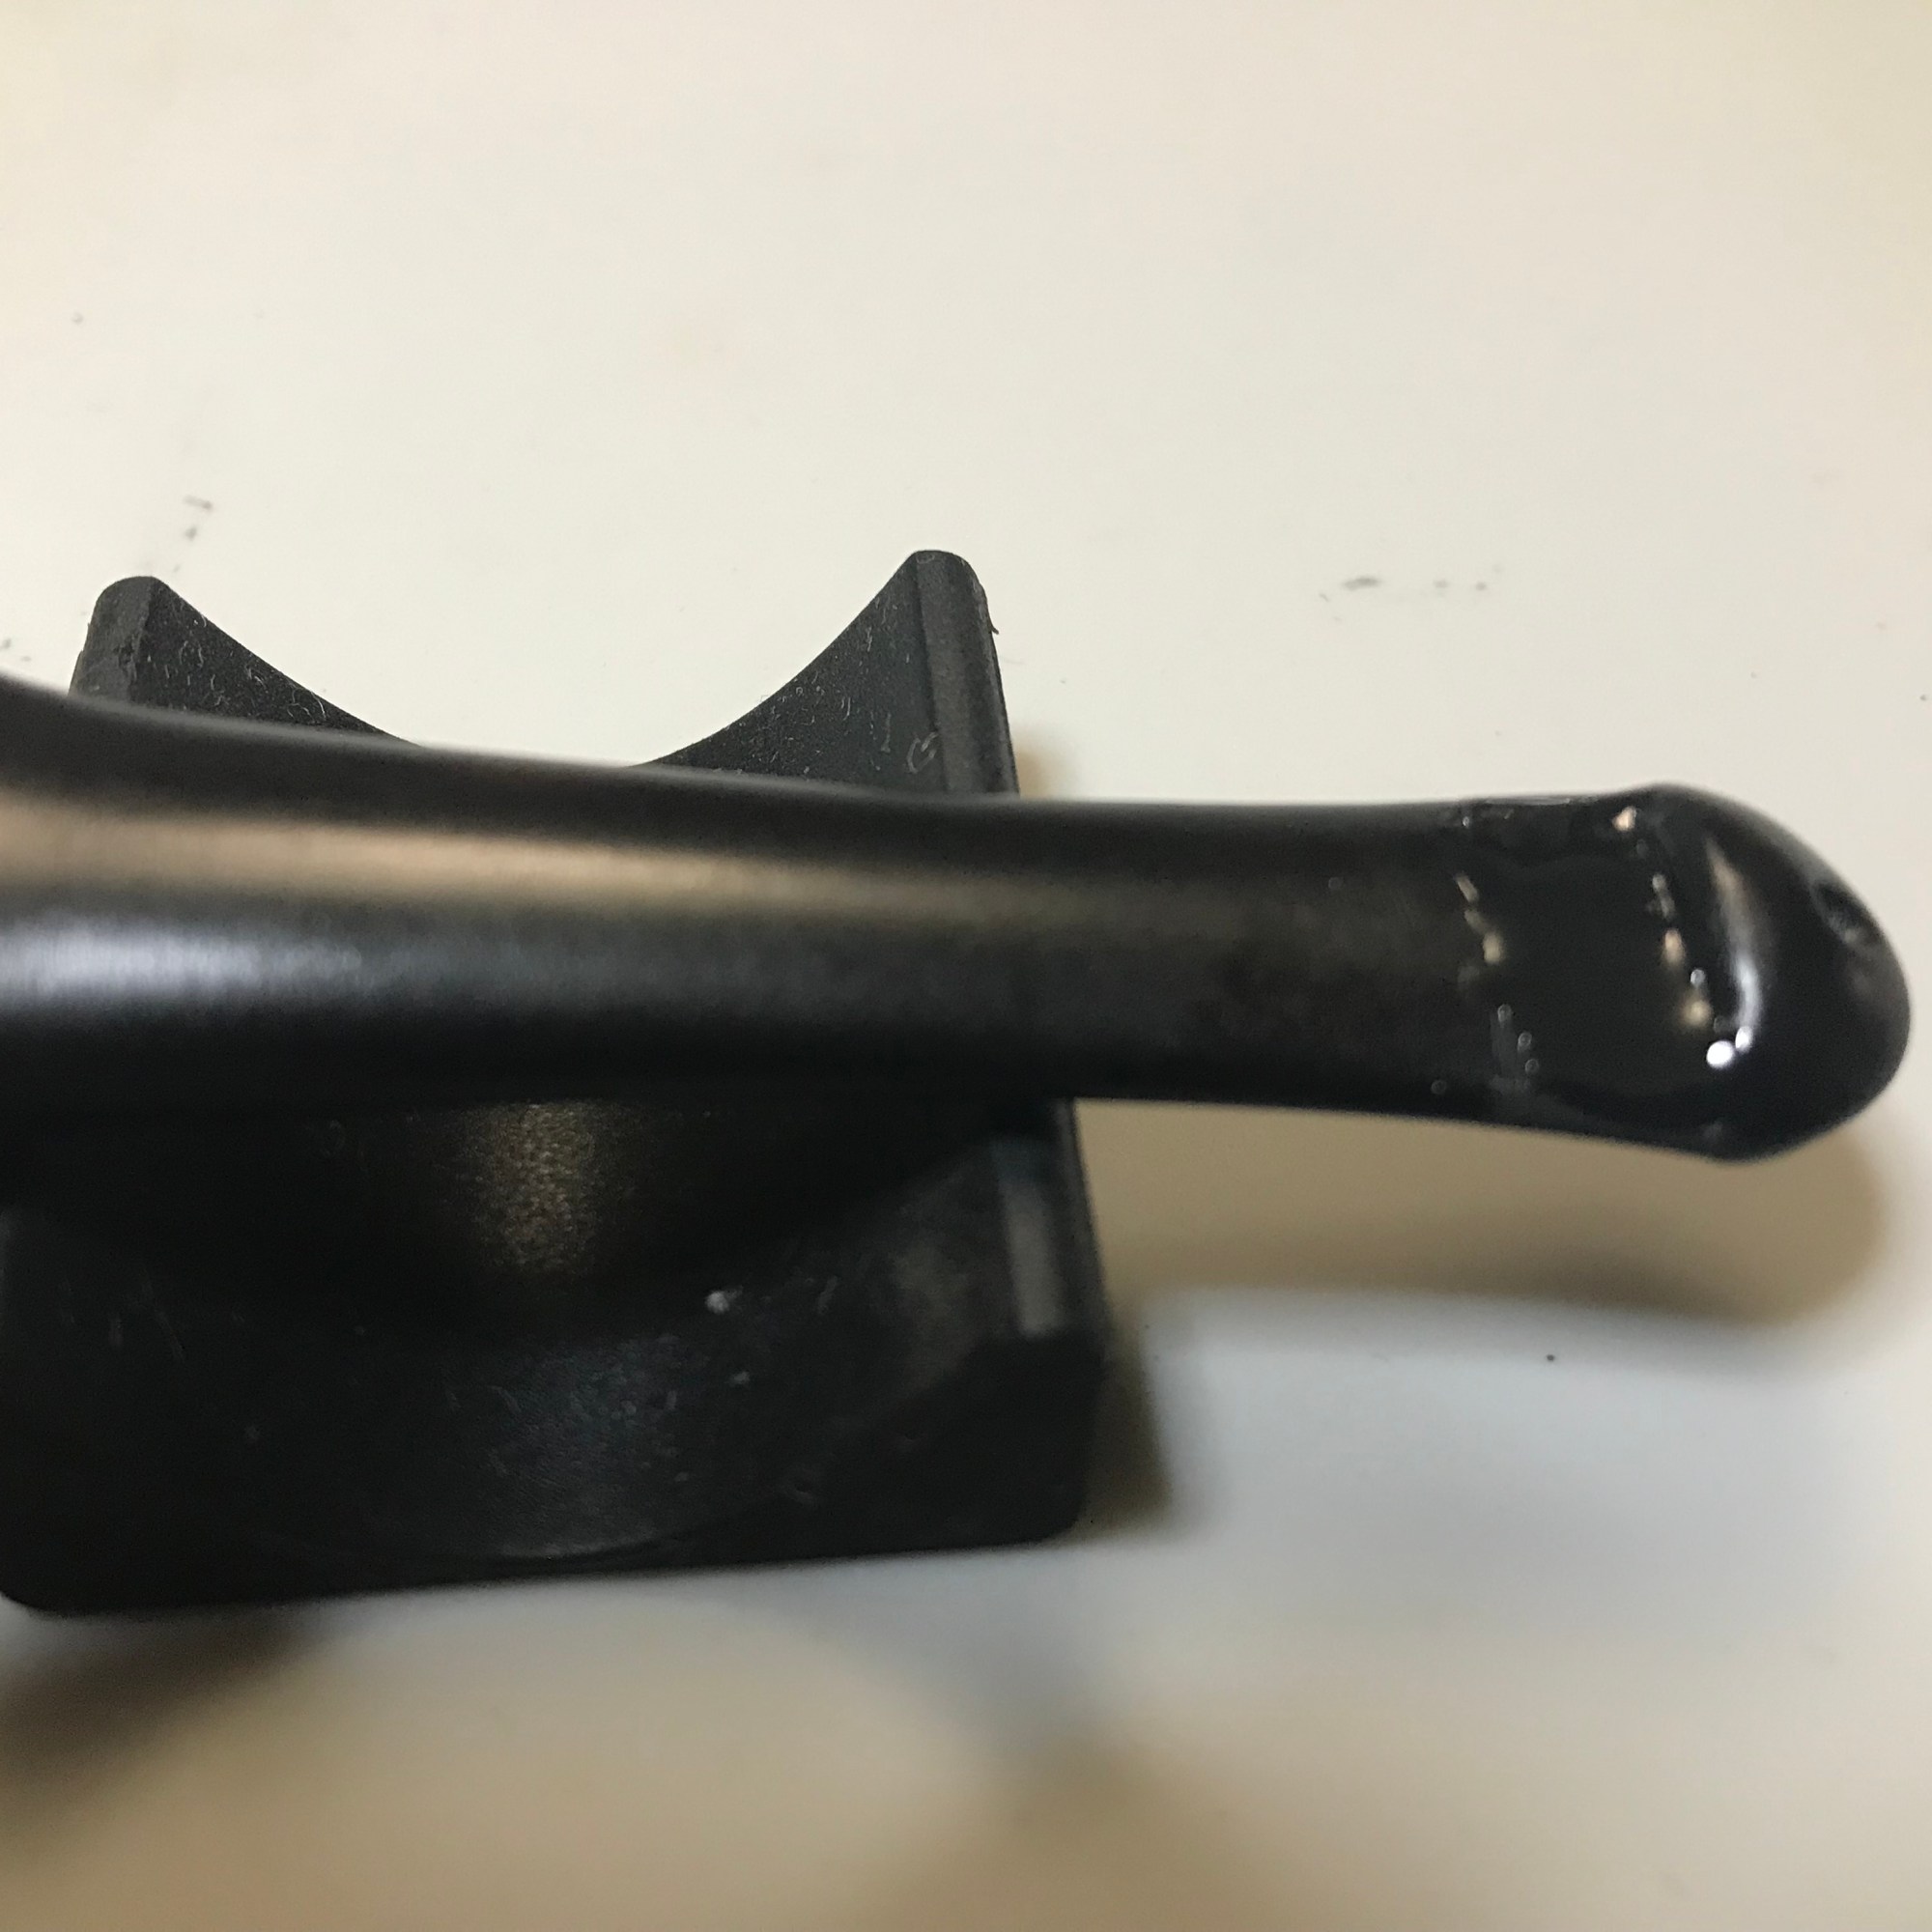
I use a mixture of thin CA Glue and briar dust to create a high viscosity wood filler and apply it to the damaged area. Once completed I apply vibration to the stummel to encourage the wood filler to settle into the form.
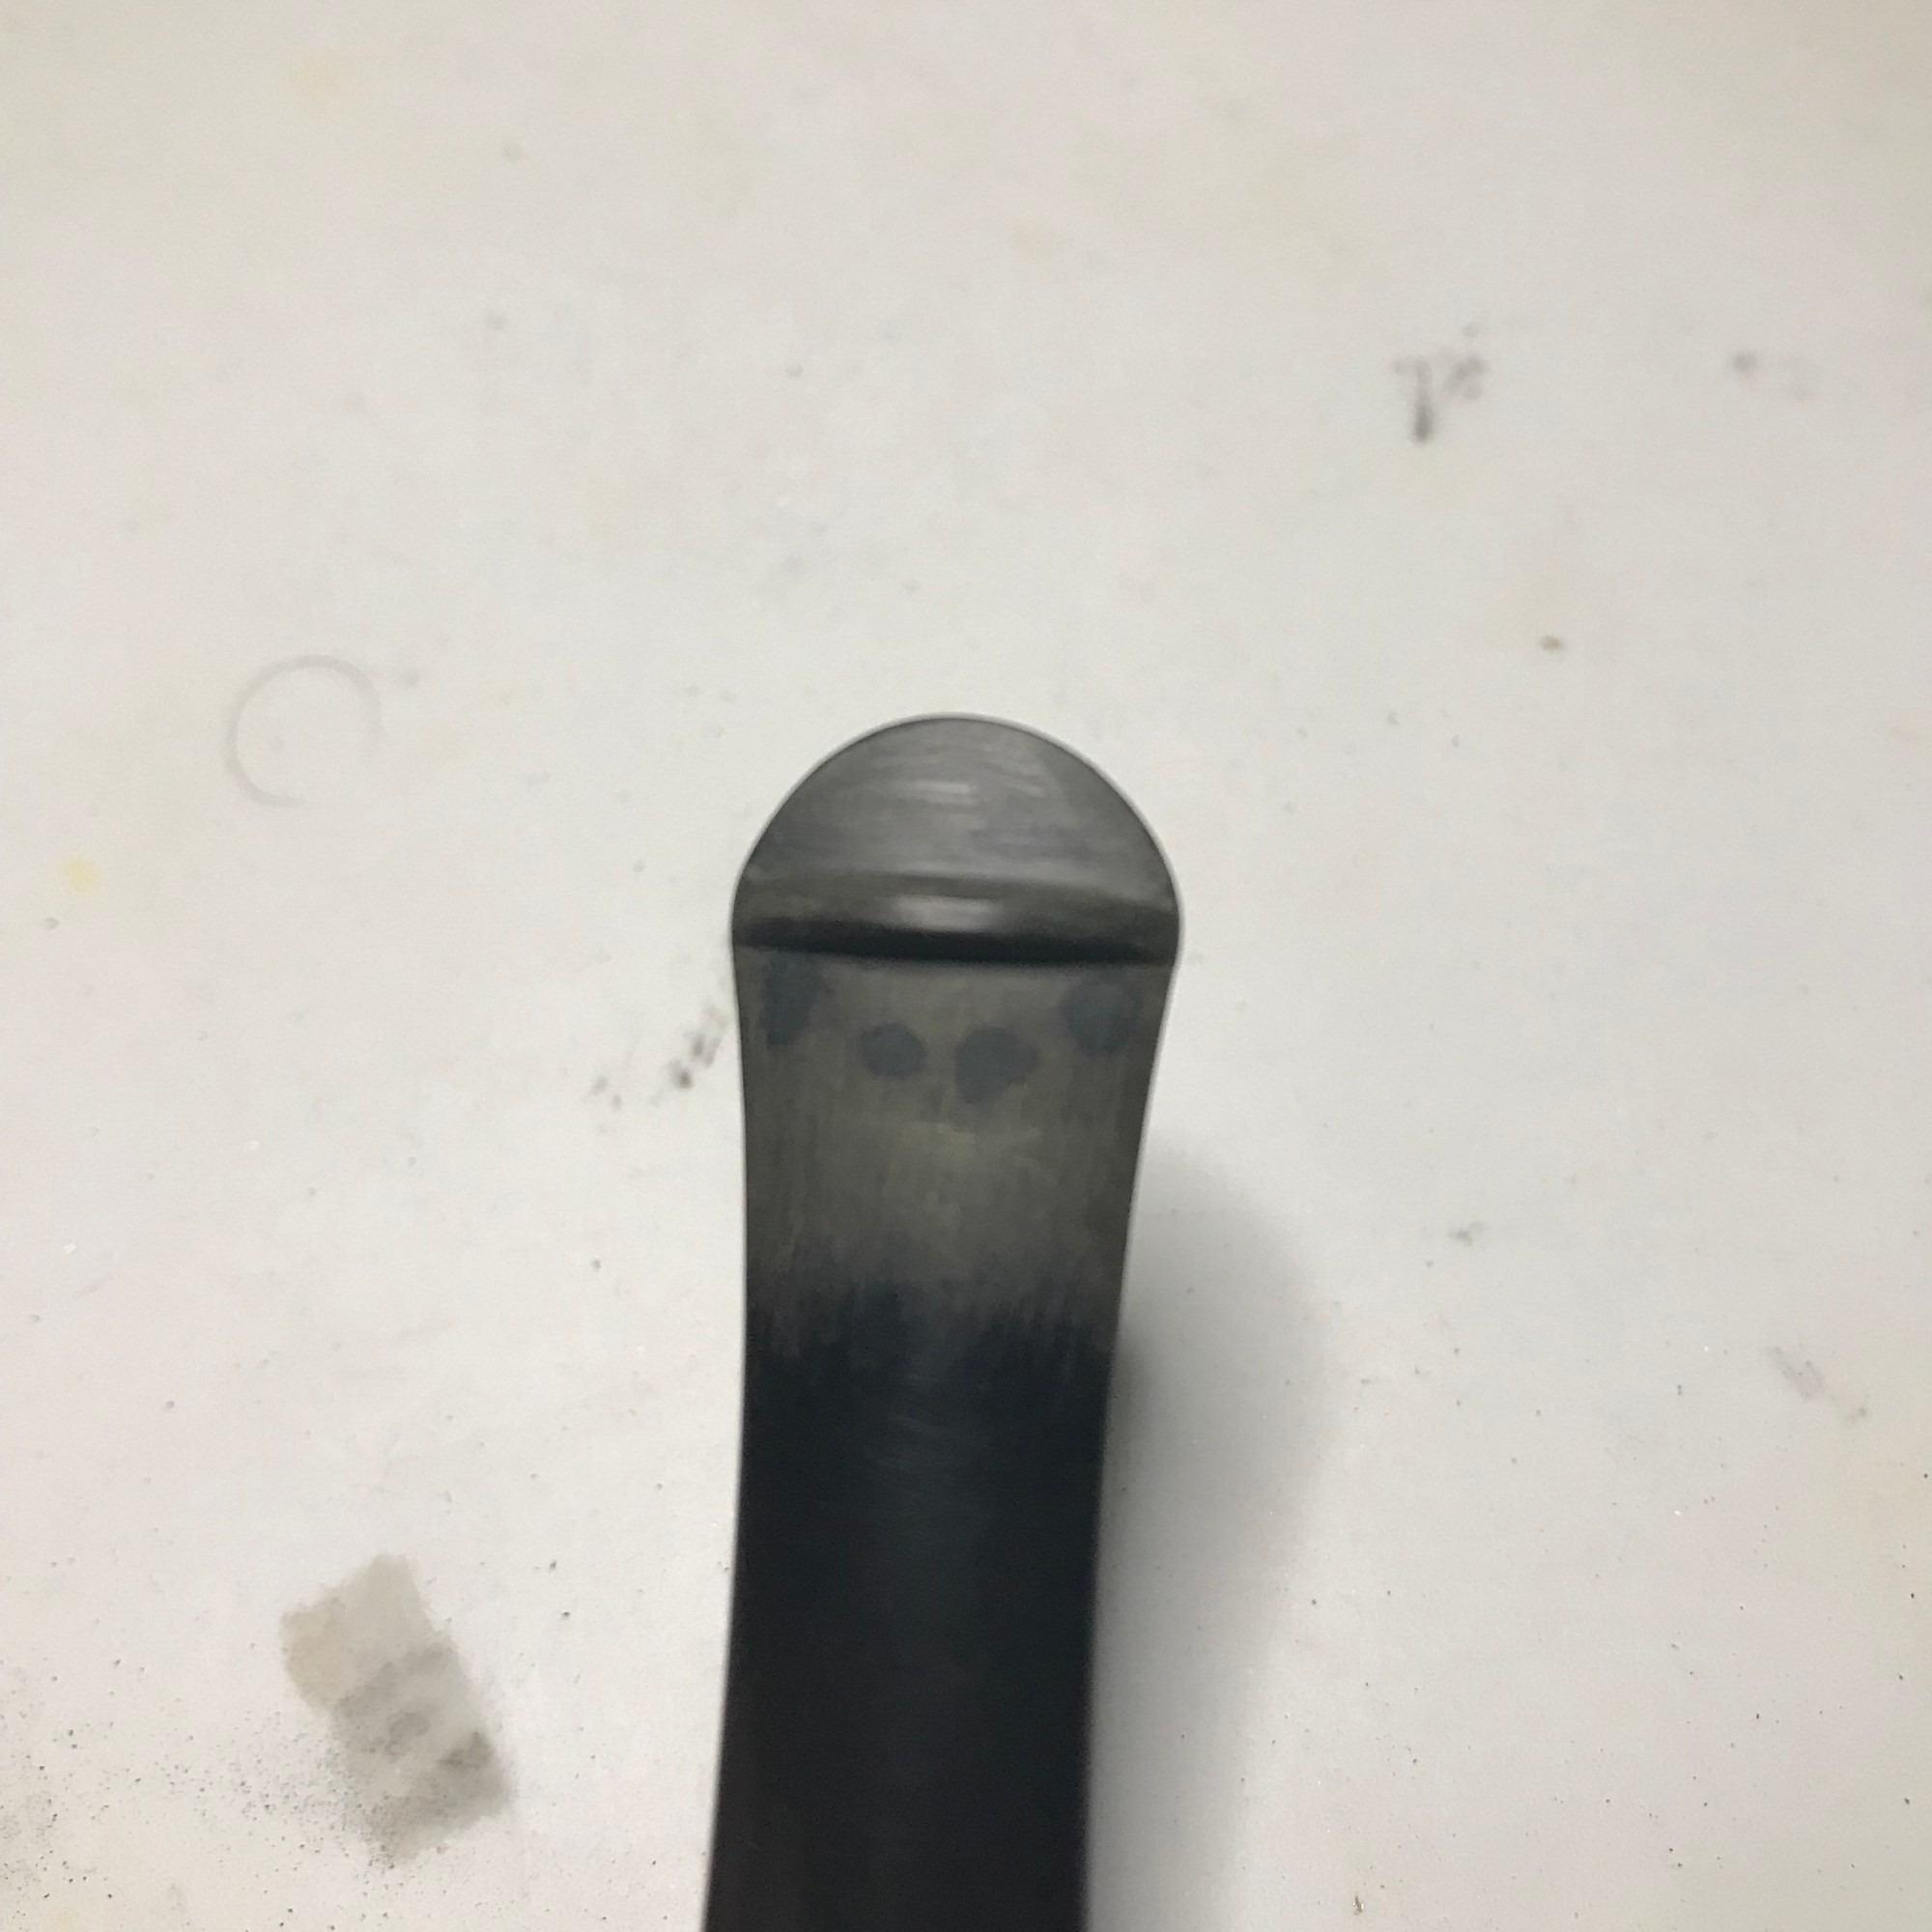
Once the CA Glue has cured, its very simple to peel the form away as the glue doesn’t stick to the tape I laminated the paper with. Afterwards I’m left with a repair that follows the profile of the pipe exactly. The only remaining task is to sand away the excess repair
From the ashes a fire shall be woken, A light from the shadows shall spring;
J.R.R. Tolkien, The Fellowship of the Ring

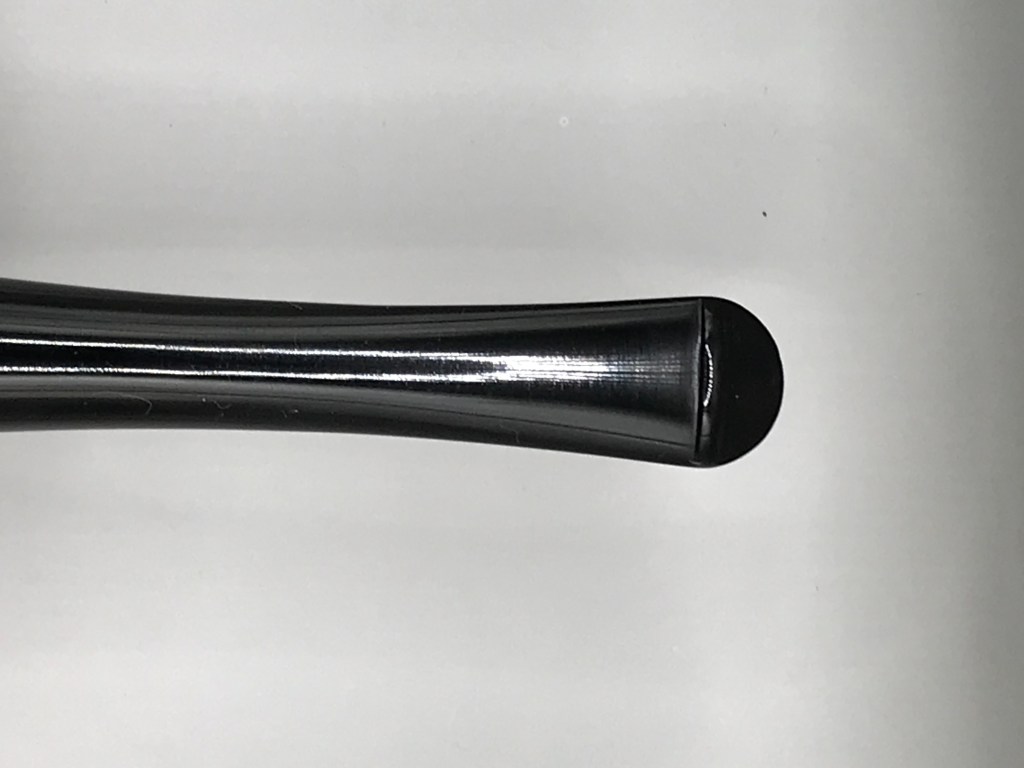
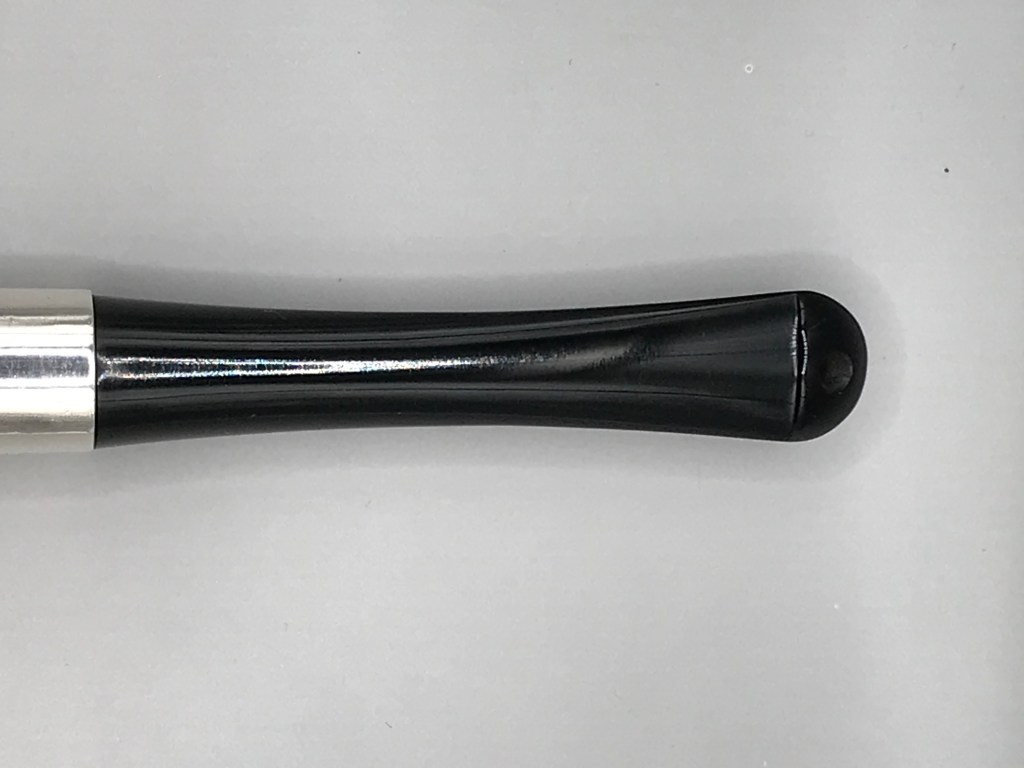
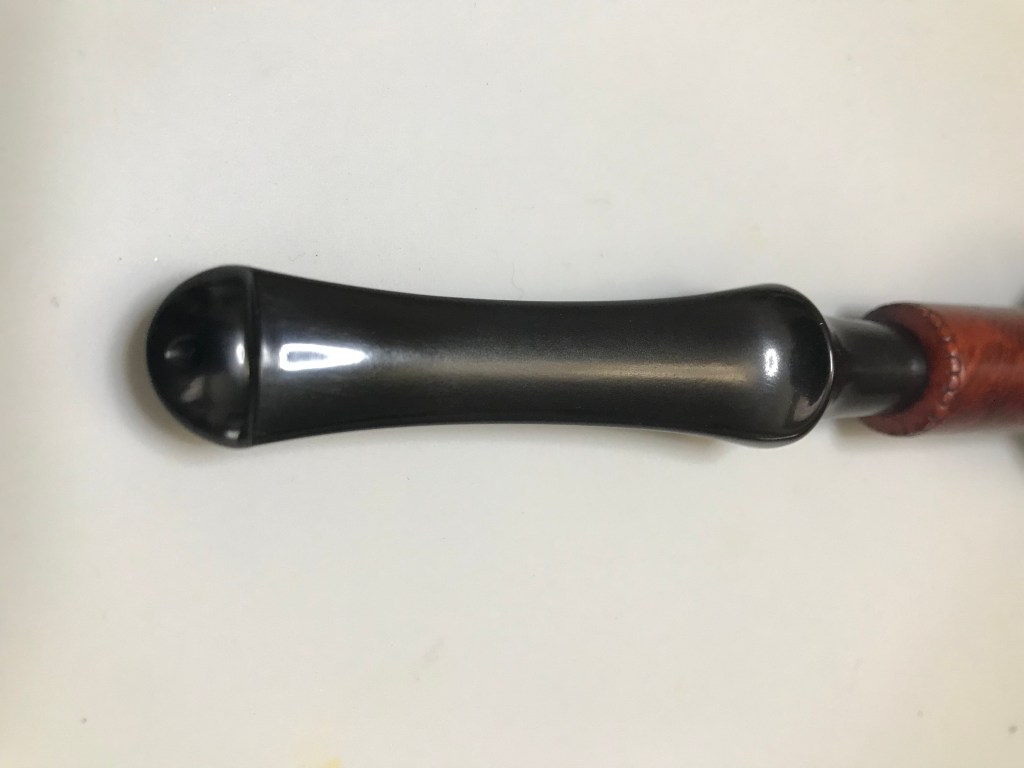
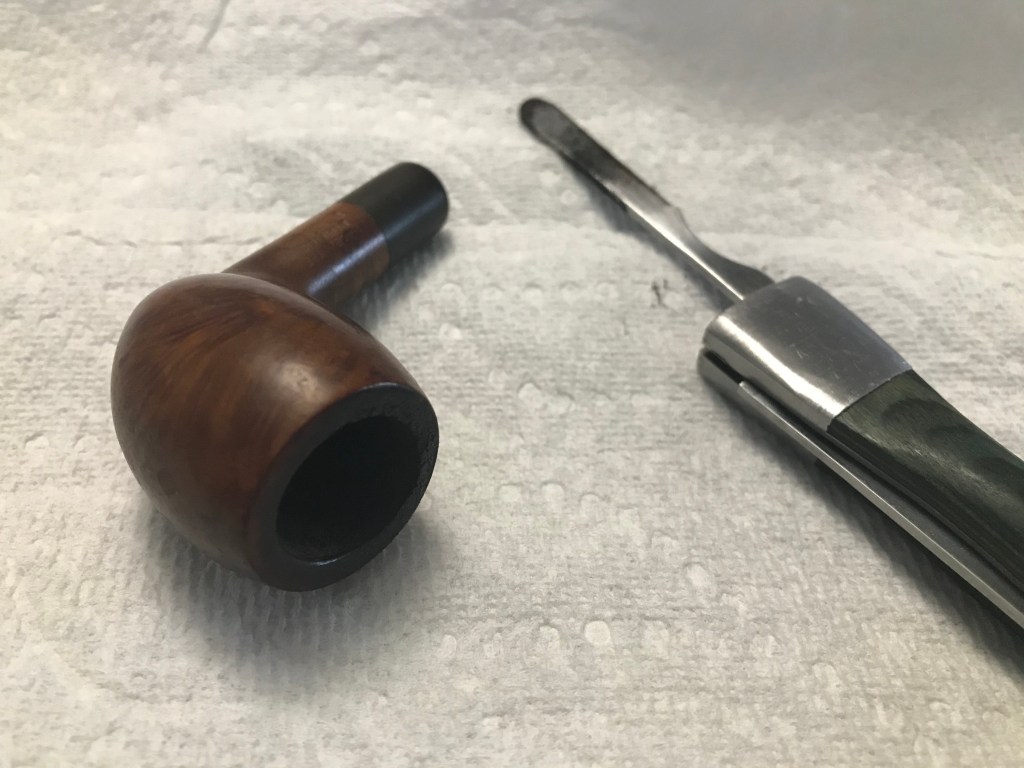
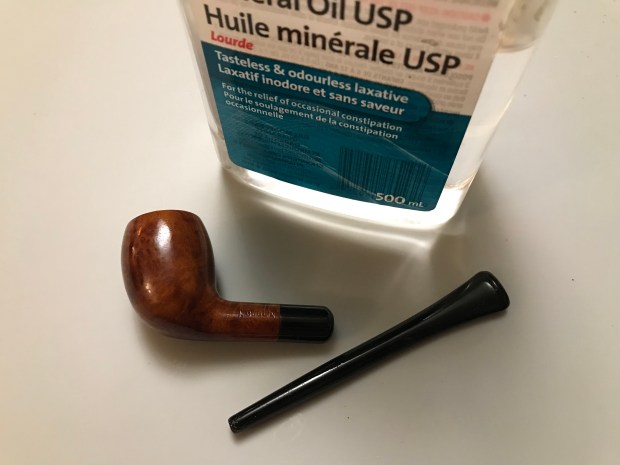
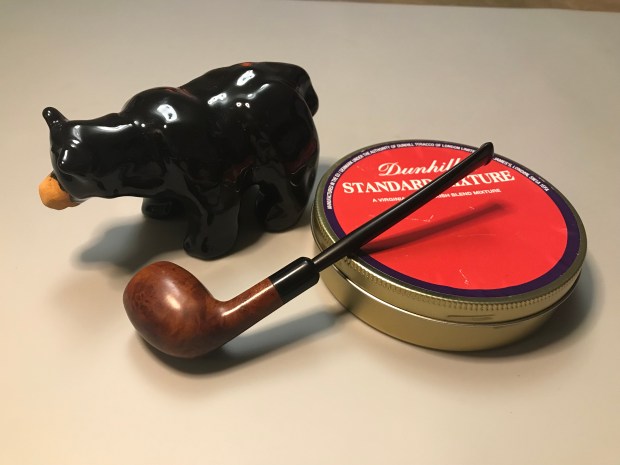
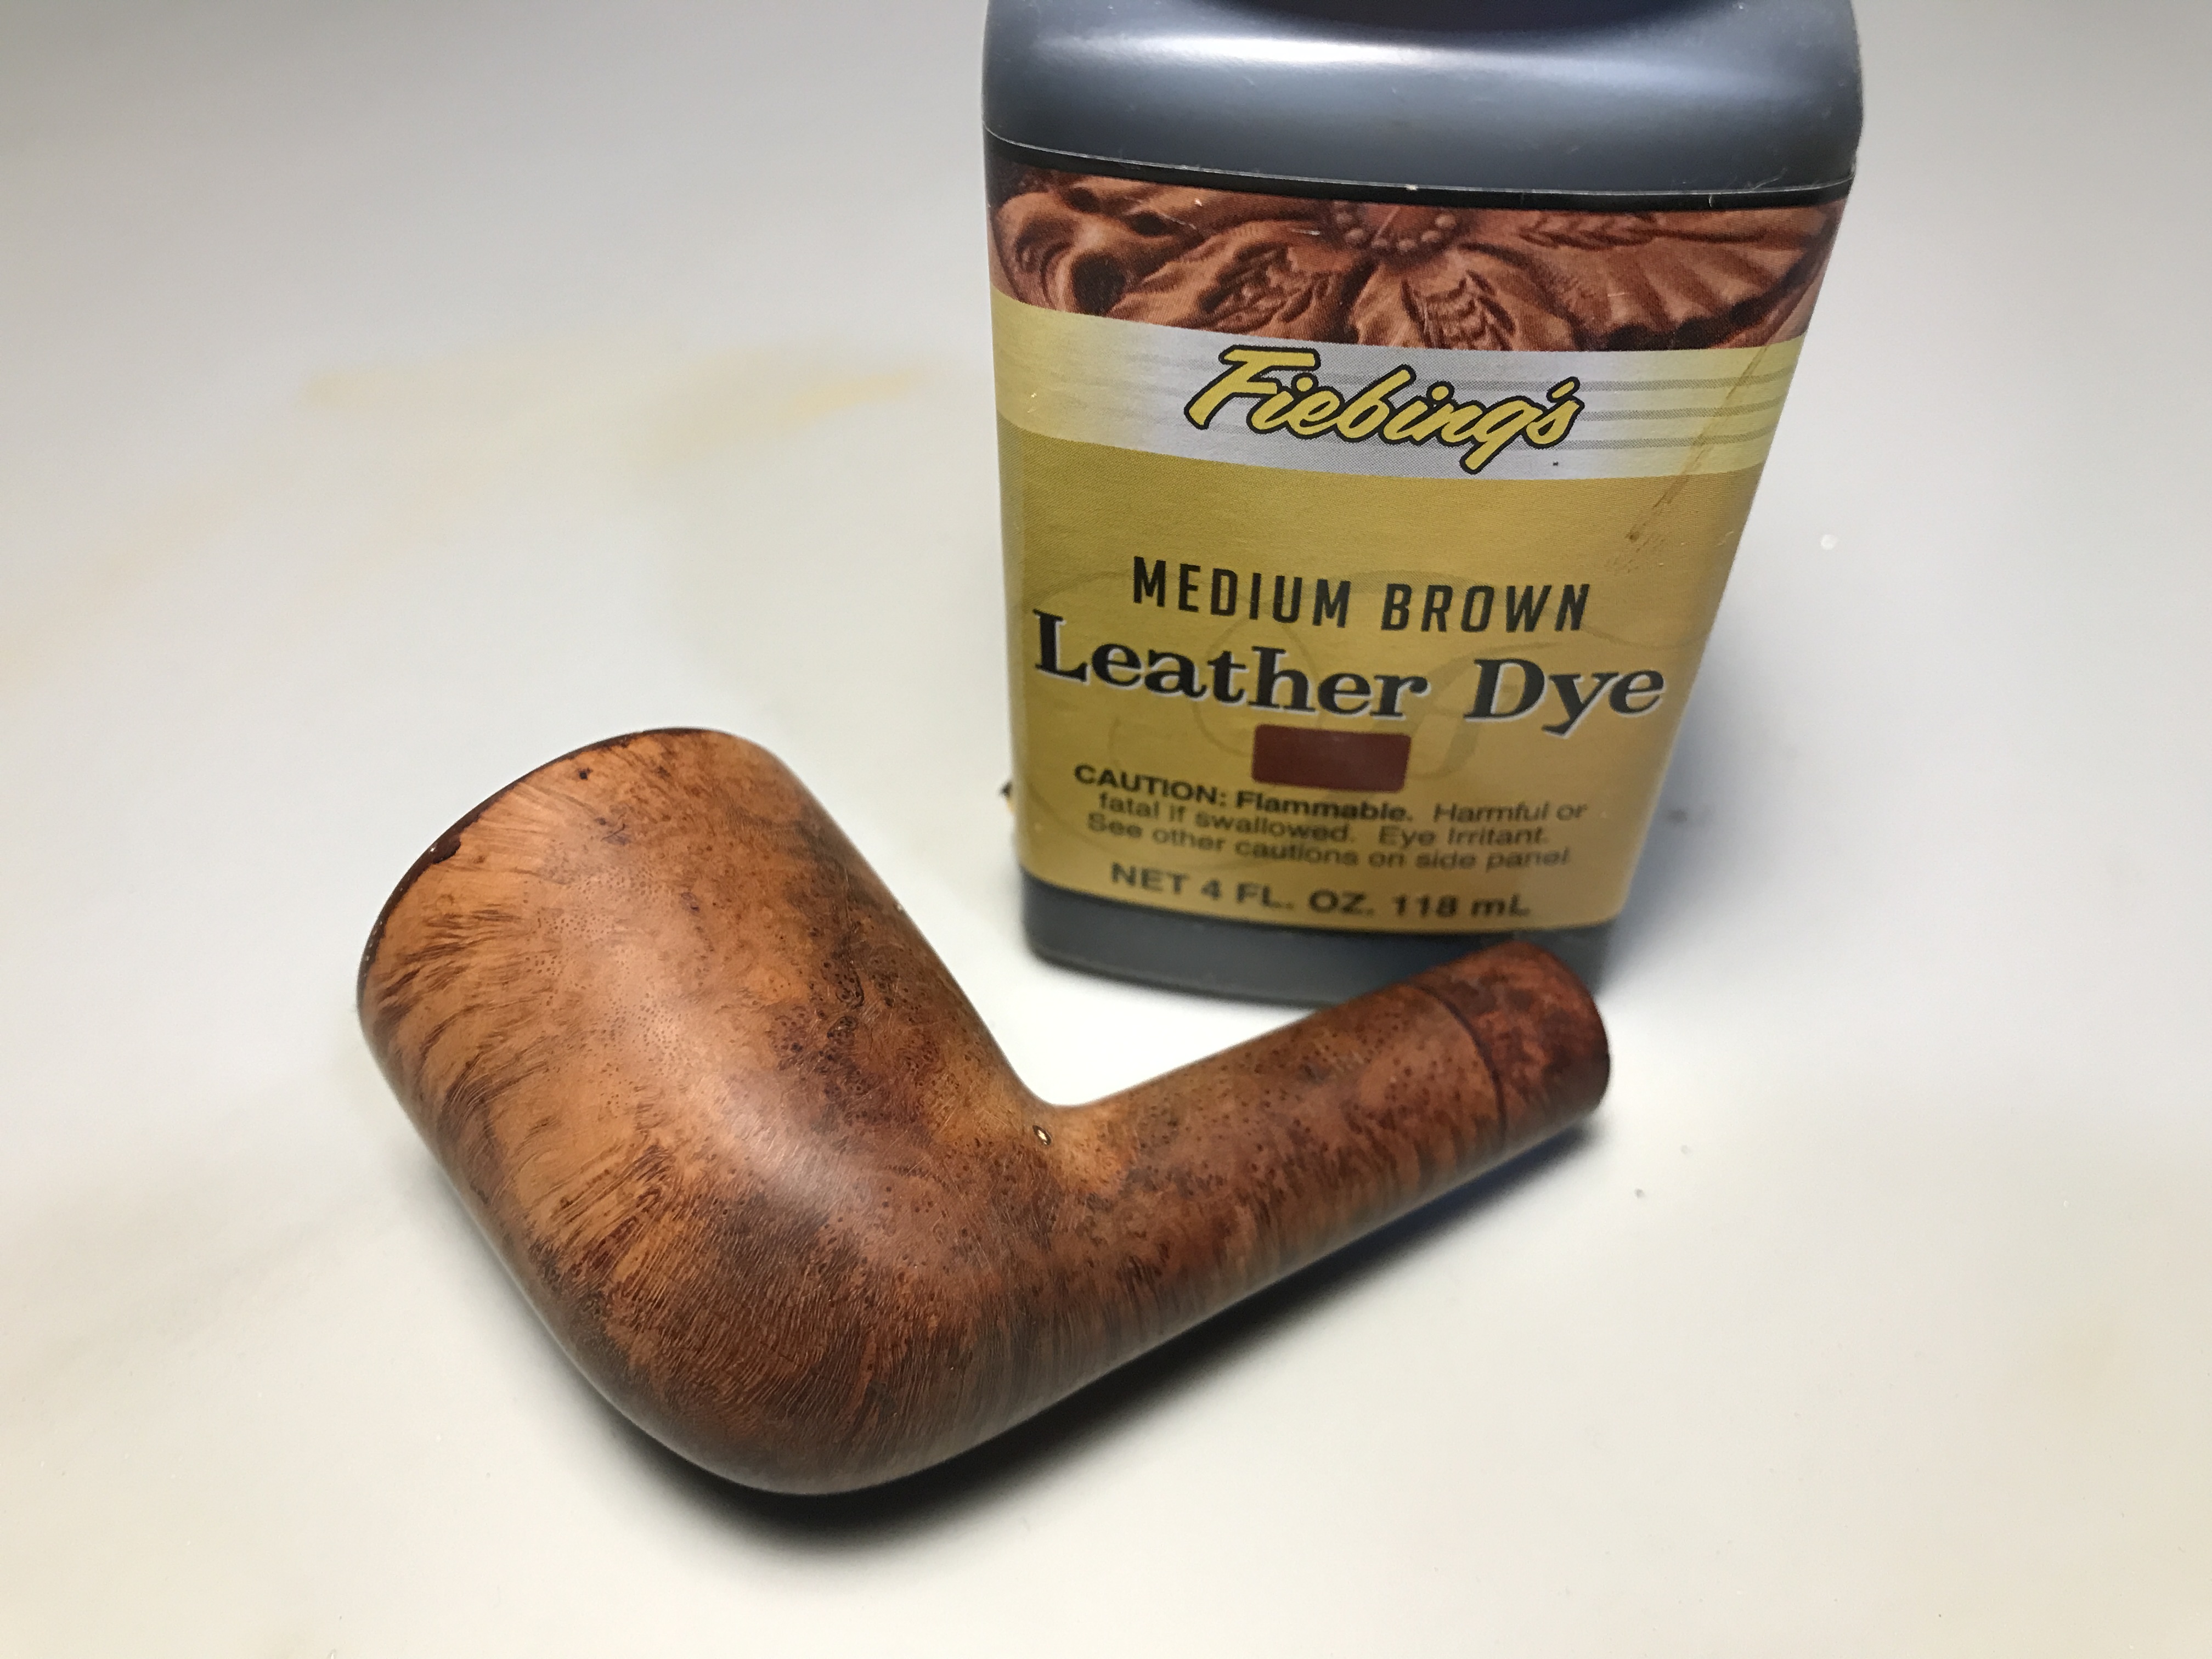
Replacement Stem
A new flush mount p-lip stem was fitted to the repaired stummel and fresh stain applied to match the original stain (visible under the silver band).
Renewed shall be blade that was broken…..
J.R.R. Tolkein, The Fellowship of the Ring


The Crownless again shall be king.
J.R.R Tolkein, The Fellowship of the Ring