
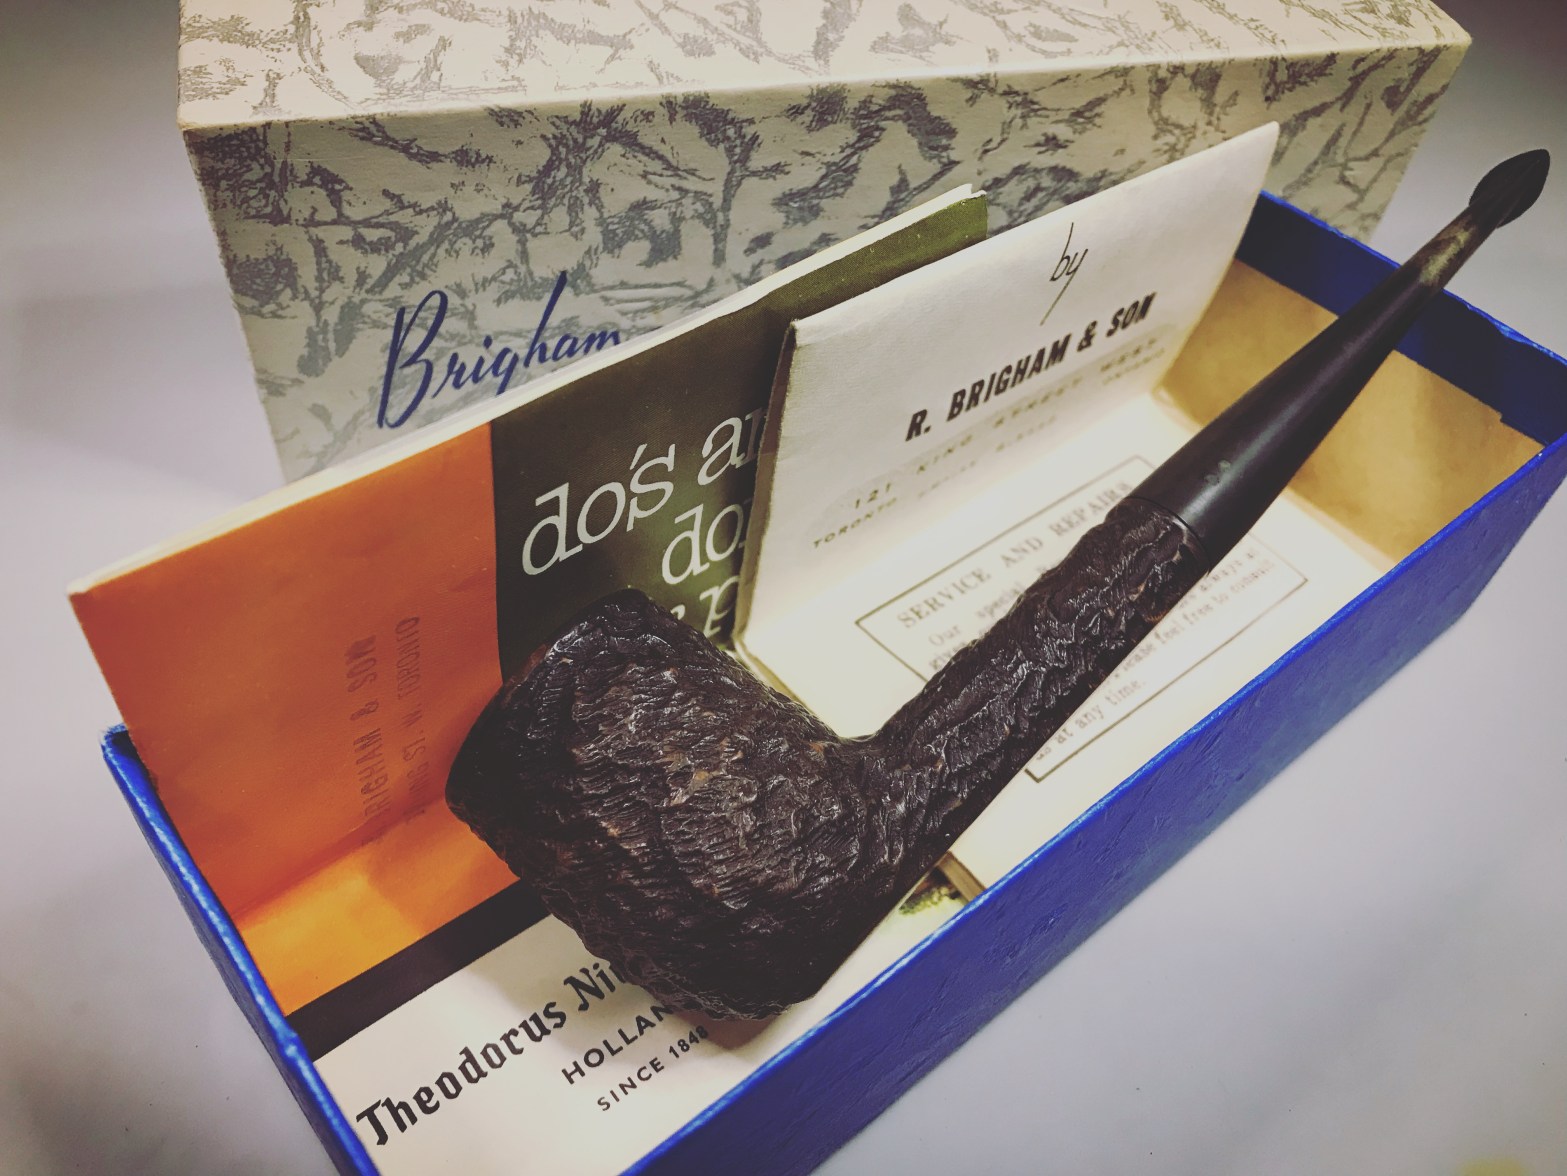

This is a wonderfully preserved Patent Era Brigham. This pipe was acquired with another patent era pipe, also preserved in the original box (Part II).
It is always a “fist pump” moment for me when I can find a pipe in the original box but this was a special treat for me as this one (and its companion) both came with the original brochures from their respective eras.

The R.Brigham & Son Brochure pinpoints the age of this pipe to the latter end of the patent era, 1954-1955.
What is particularly striking to me is the production of the brochure. As I gleaned over the brochure, taking in the age of the paper and chuckling at the retail prices, I shared the find with my lovely lady who has a soft spot for nostalgia and a true appreciation for talent and things that were made well. She stated quite quickly “Darling, that is all hand illustrated”. It gave me pause, and I turned my attention back to the brochure again. She was correct! The pipes were all hand illustrated!


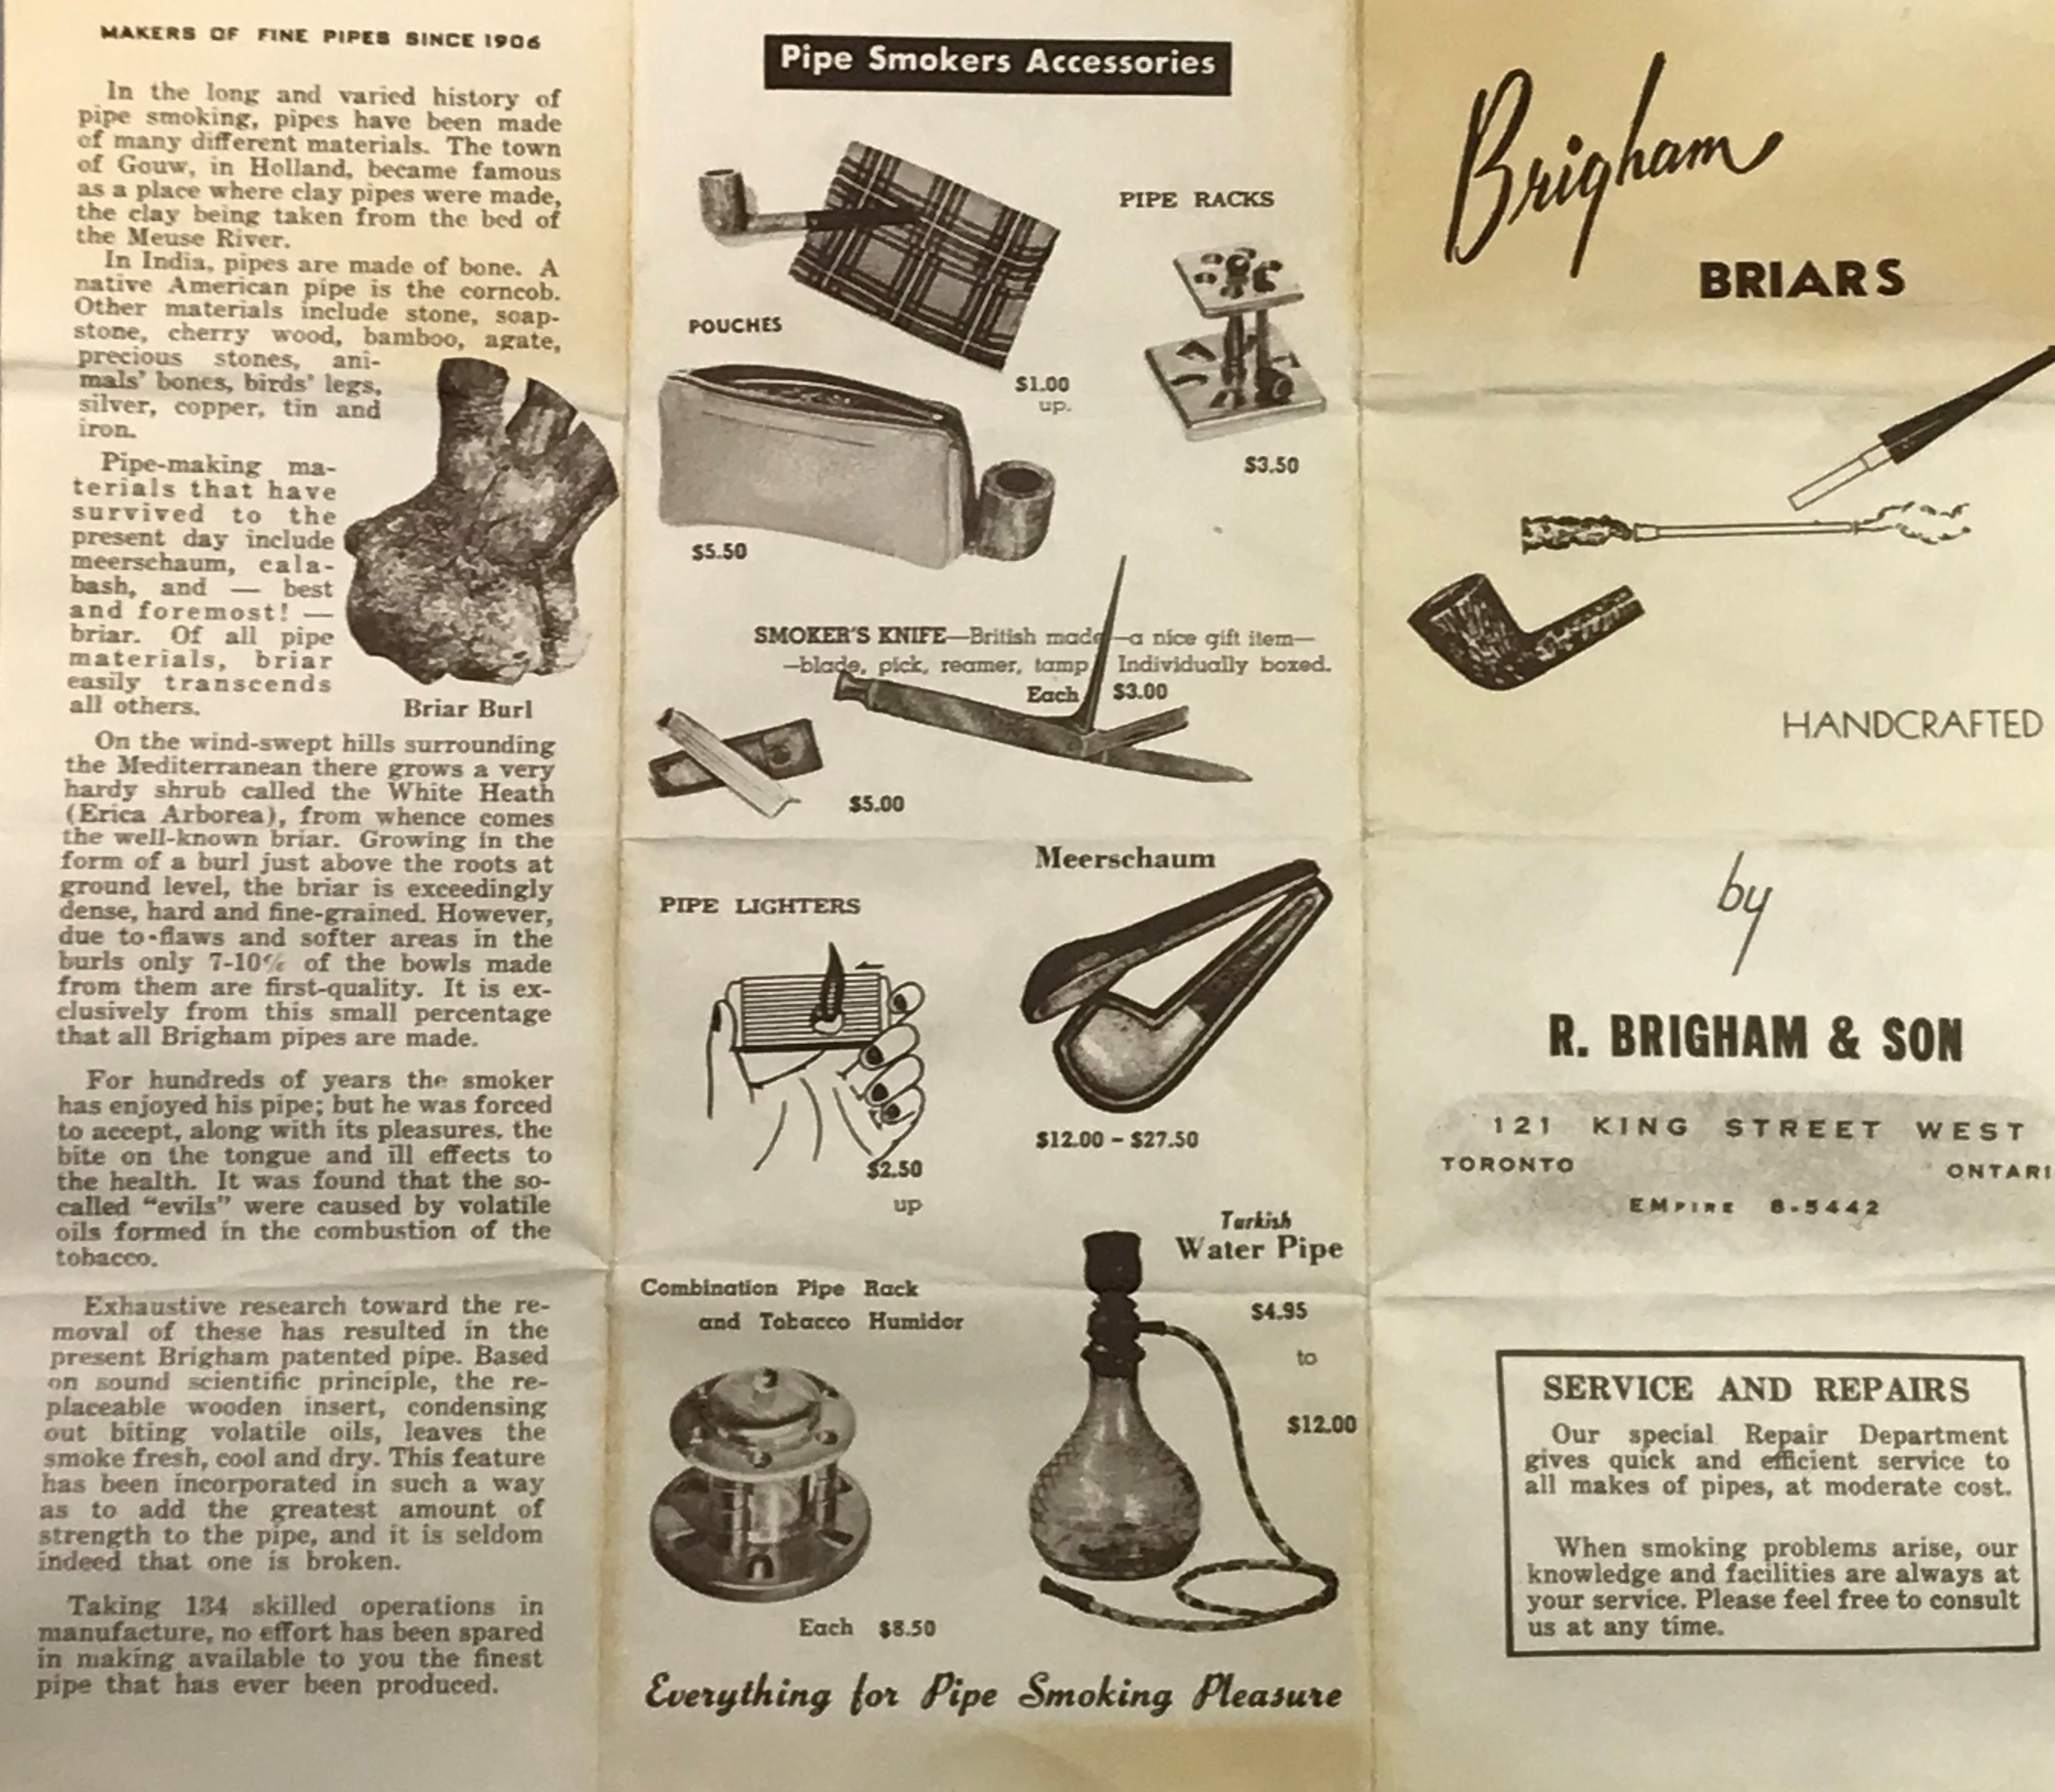
It is quite amazing to consider that a Brochure Company or a “Graphic Design Company”, as we’d refer to them today, would have illustrators whose job it would be to provide sketches and drawings of products and even fonts. Just pause and reflect on that as we compare that to lightning speed at which we would produce a similar brochure today. I did some searching online to explore the evolution of brochure making and found some interesting information.
So how did brochures look a long time ago? Here’s a brief glimpse:
- In the 1940s, digital photography wasn’t born yet so there was heavy reliance on hand-drawn illustrations. If one or two photographs are included in a brochure, it’s black and white and the resolution is not that great. Also, coloured printing was expensive during this decade so most printed materials are black and white.
- In the 1950s, photography techniques and capabilities had improved, making it easier to include photos. These brochure designs still rely heavily upon hand-drawn elements and fonts. You can see a transition to photography in other designs (not shown), making the 1950s one of the transitional periods for brochures.
- In the 1960s, it was pretty common to see coloured brochures although old school hand-drawn illustrations and fonts were still used.
- A decade later, brochure print has gone full-colour because of the improvement in photography techniques. It has also become easier to layout printed materials and the costs of printing coloured brochures have significantly gone down.
Provenance comes in many forms and it was fun to explore the provenance of this pipe through the merchandising and brochure advertising of its day. But, I almost forgot, we were here to recondition the pipe itself, so lets go!
First Impressions


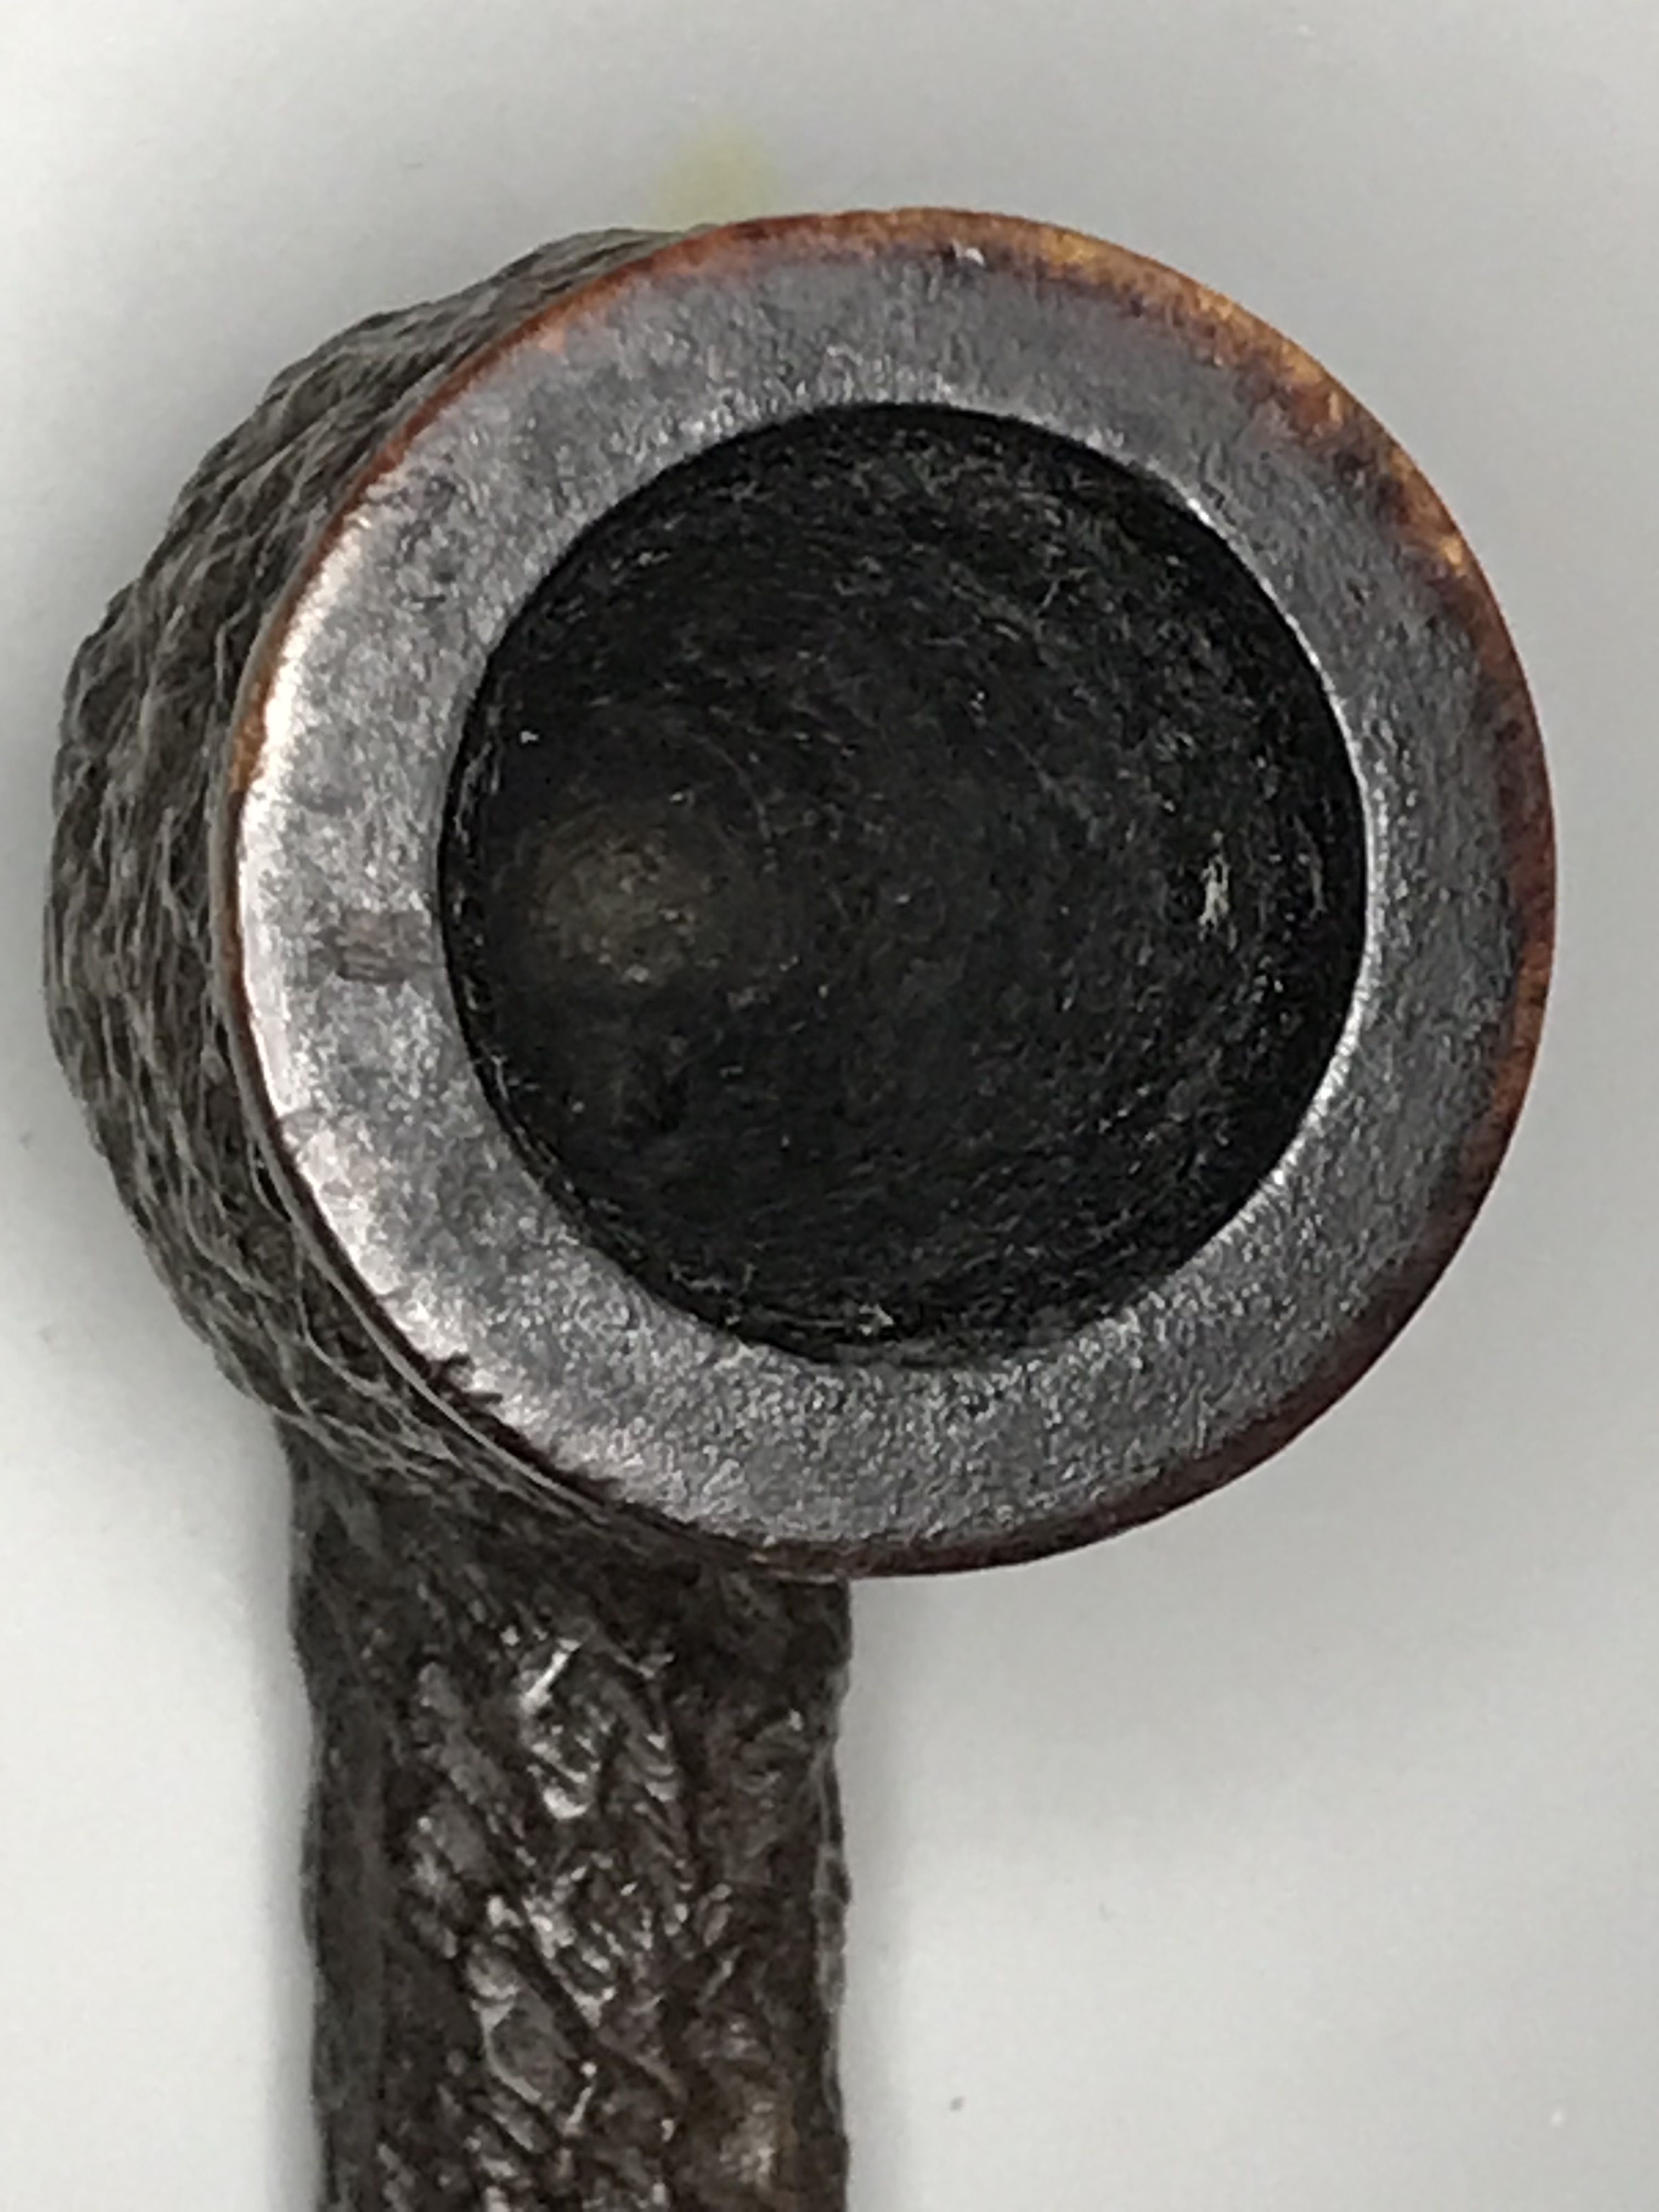


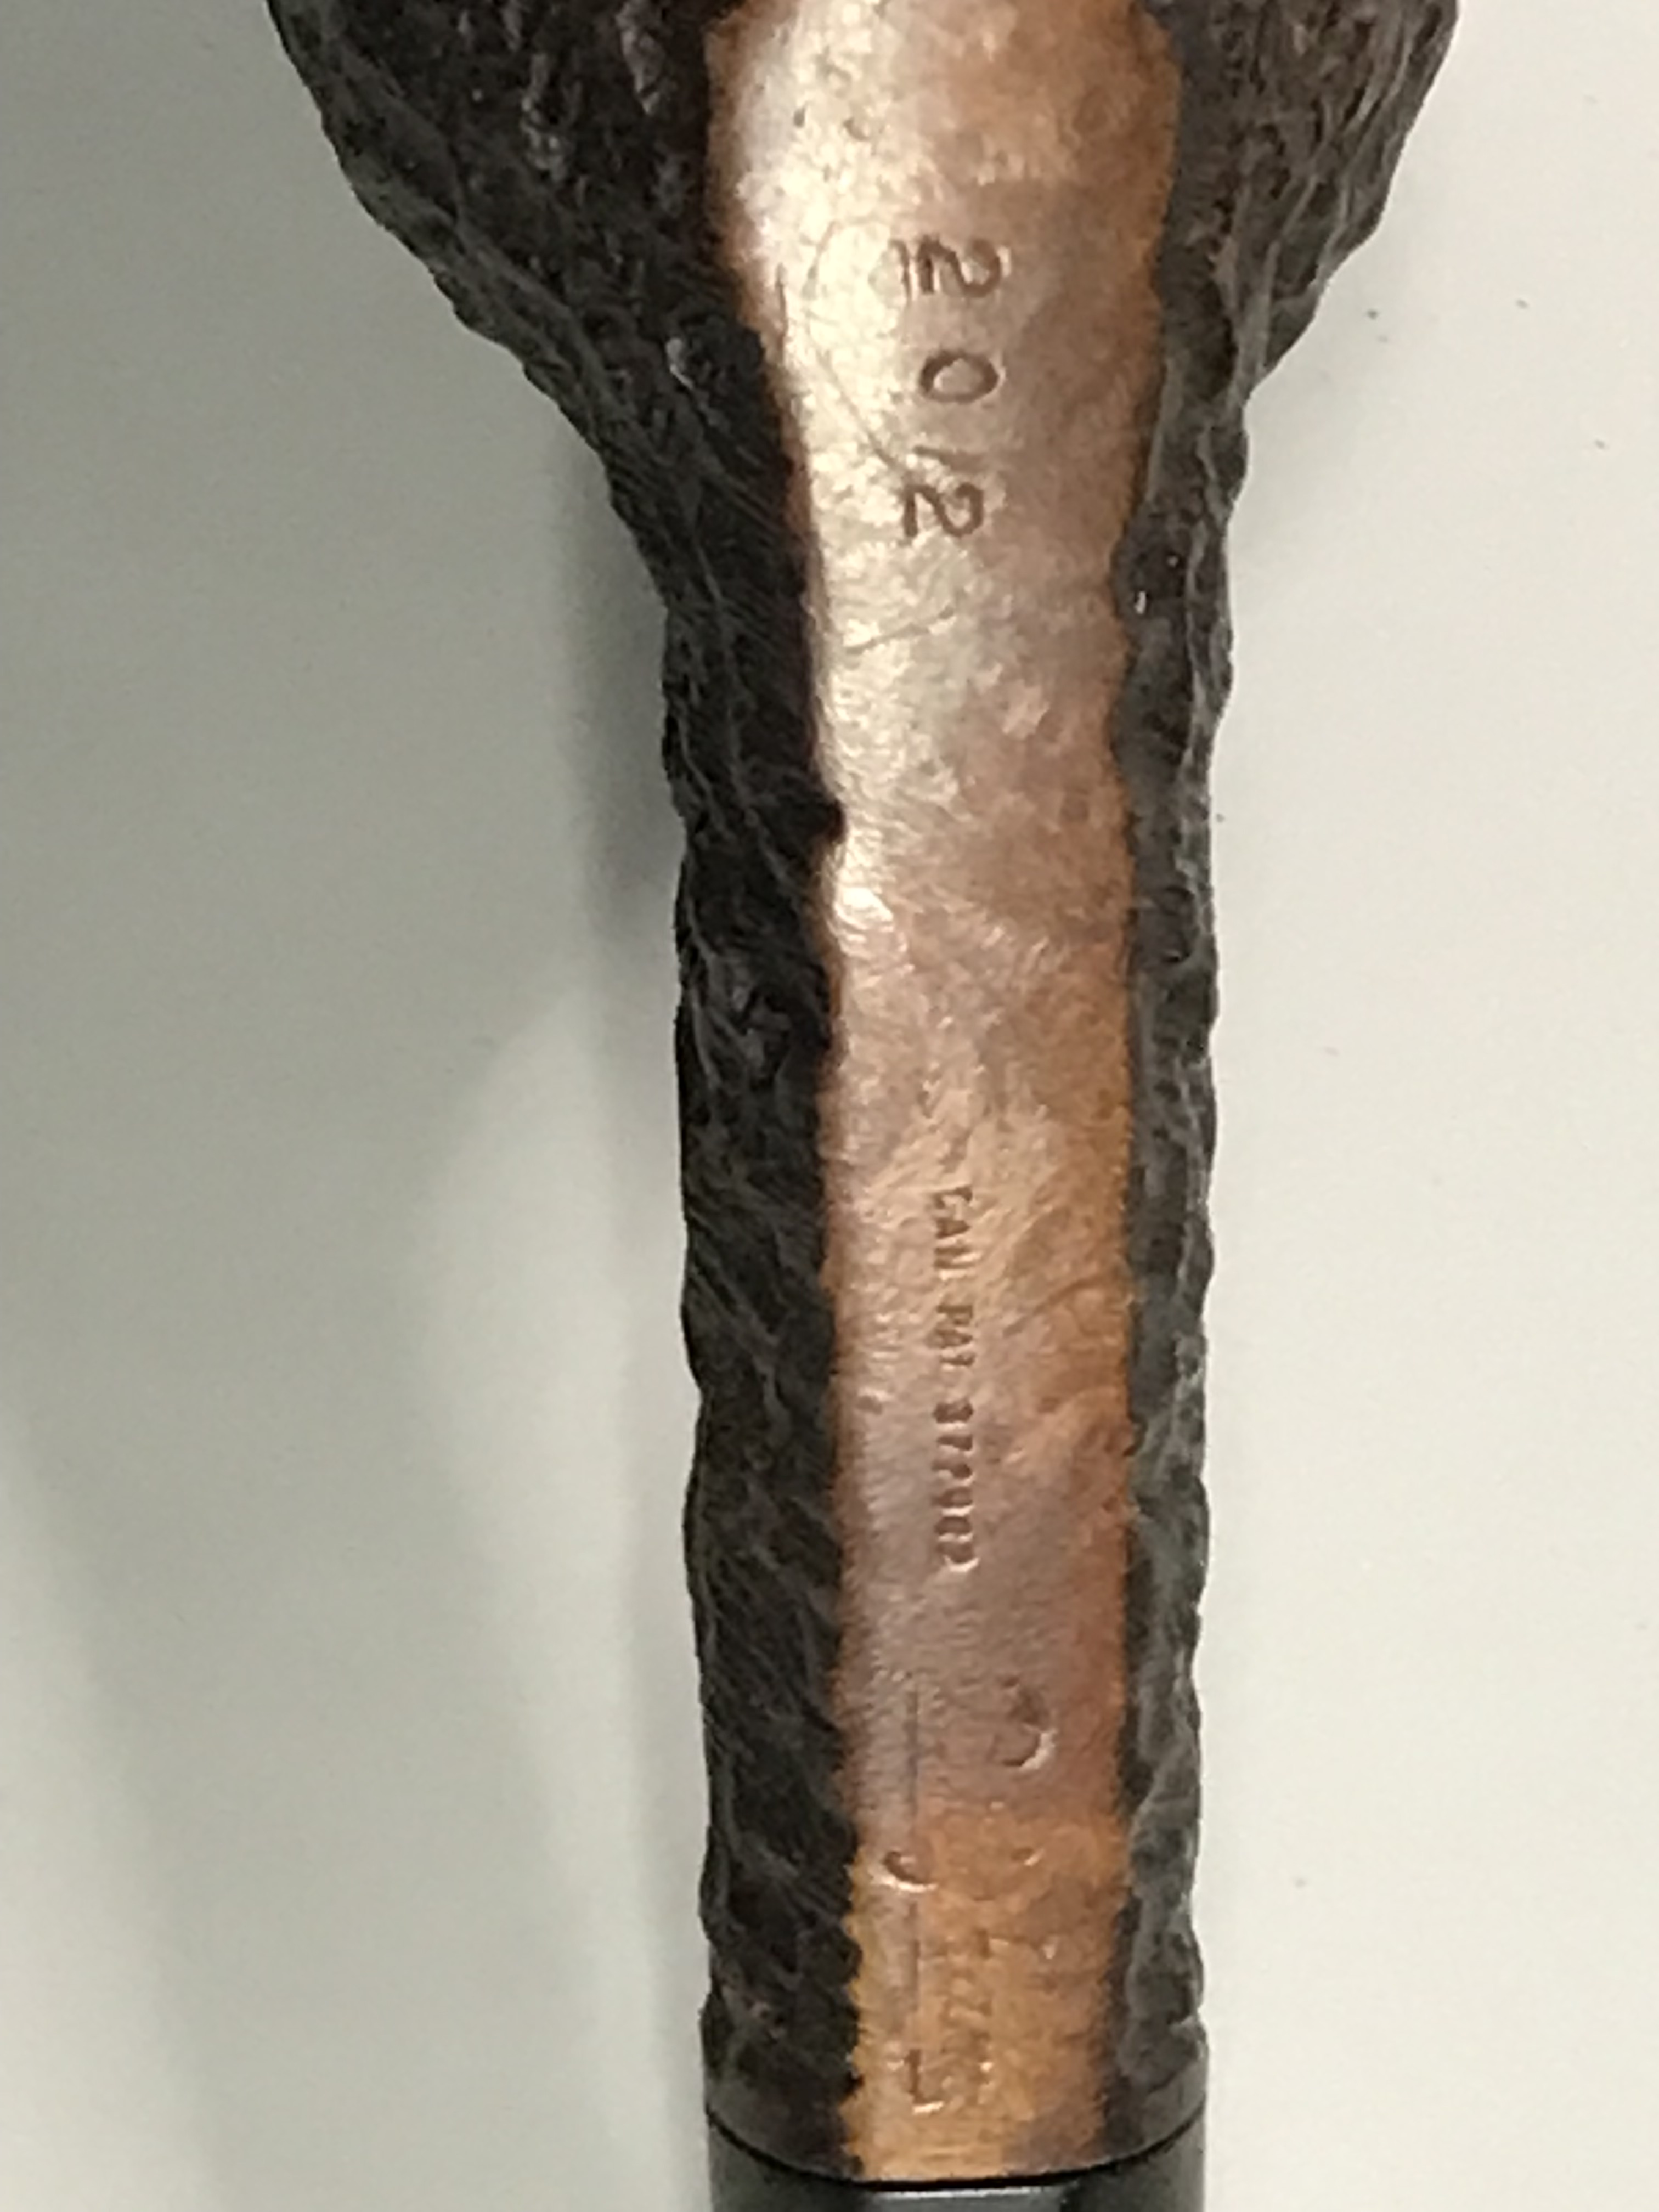
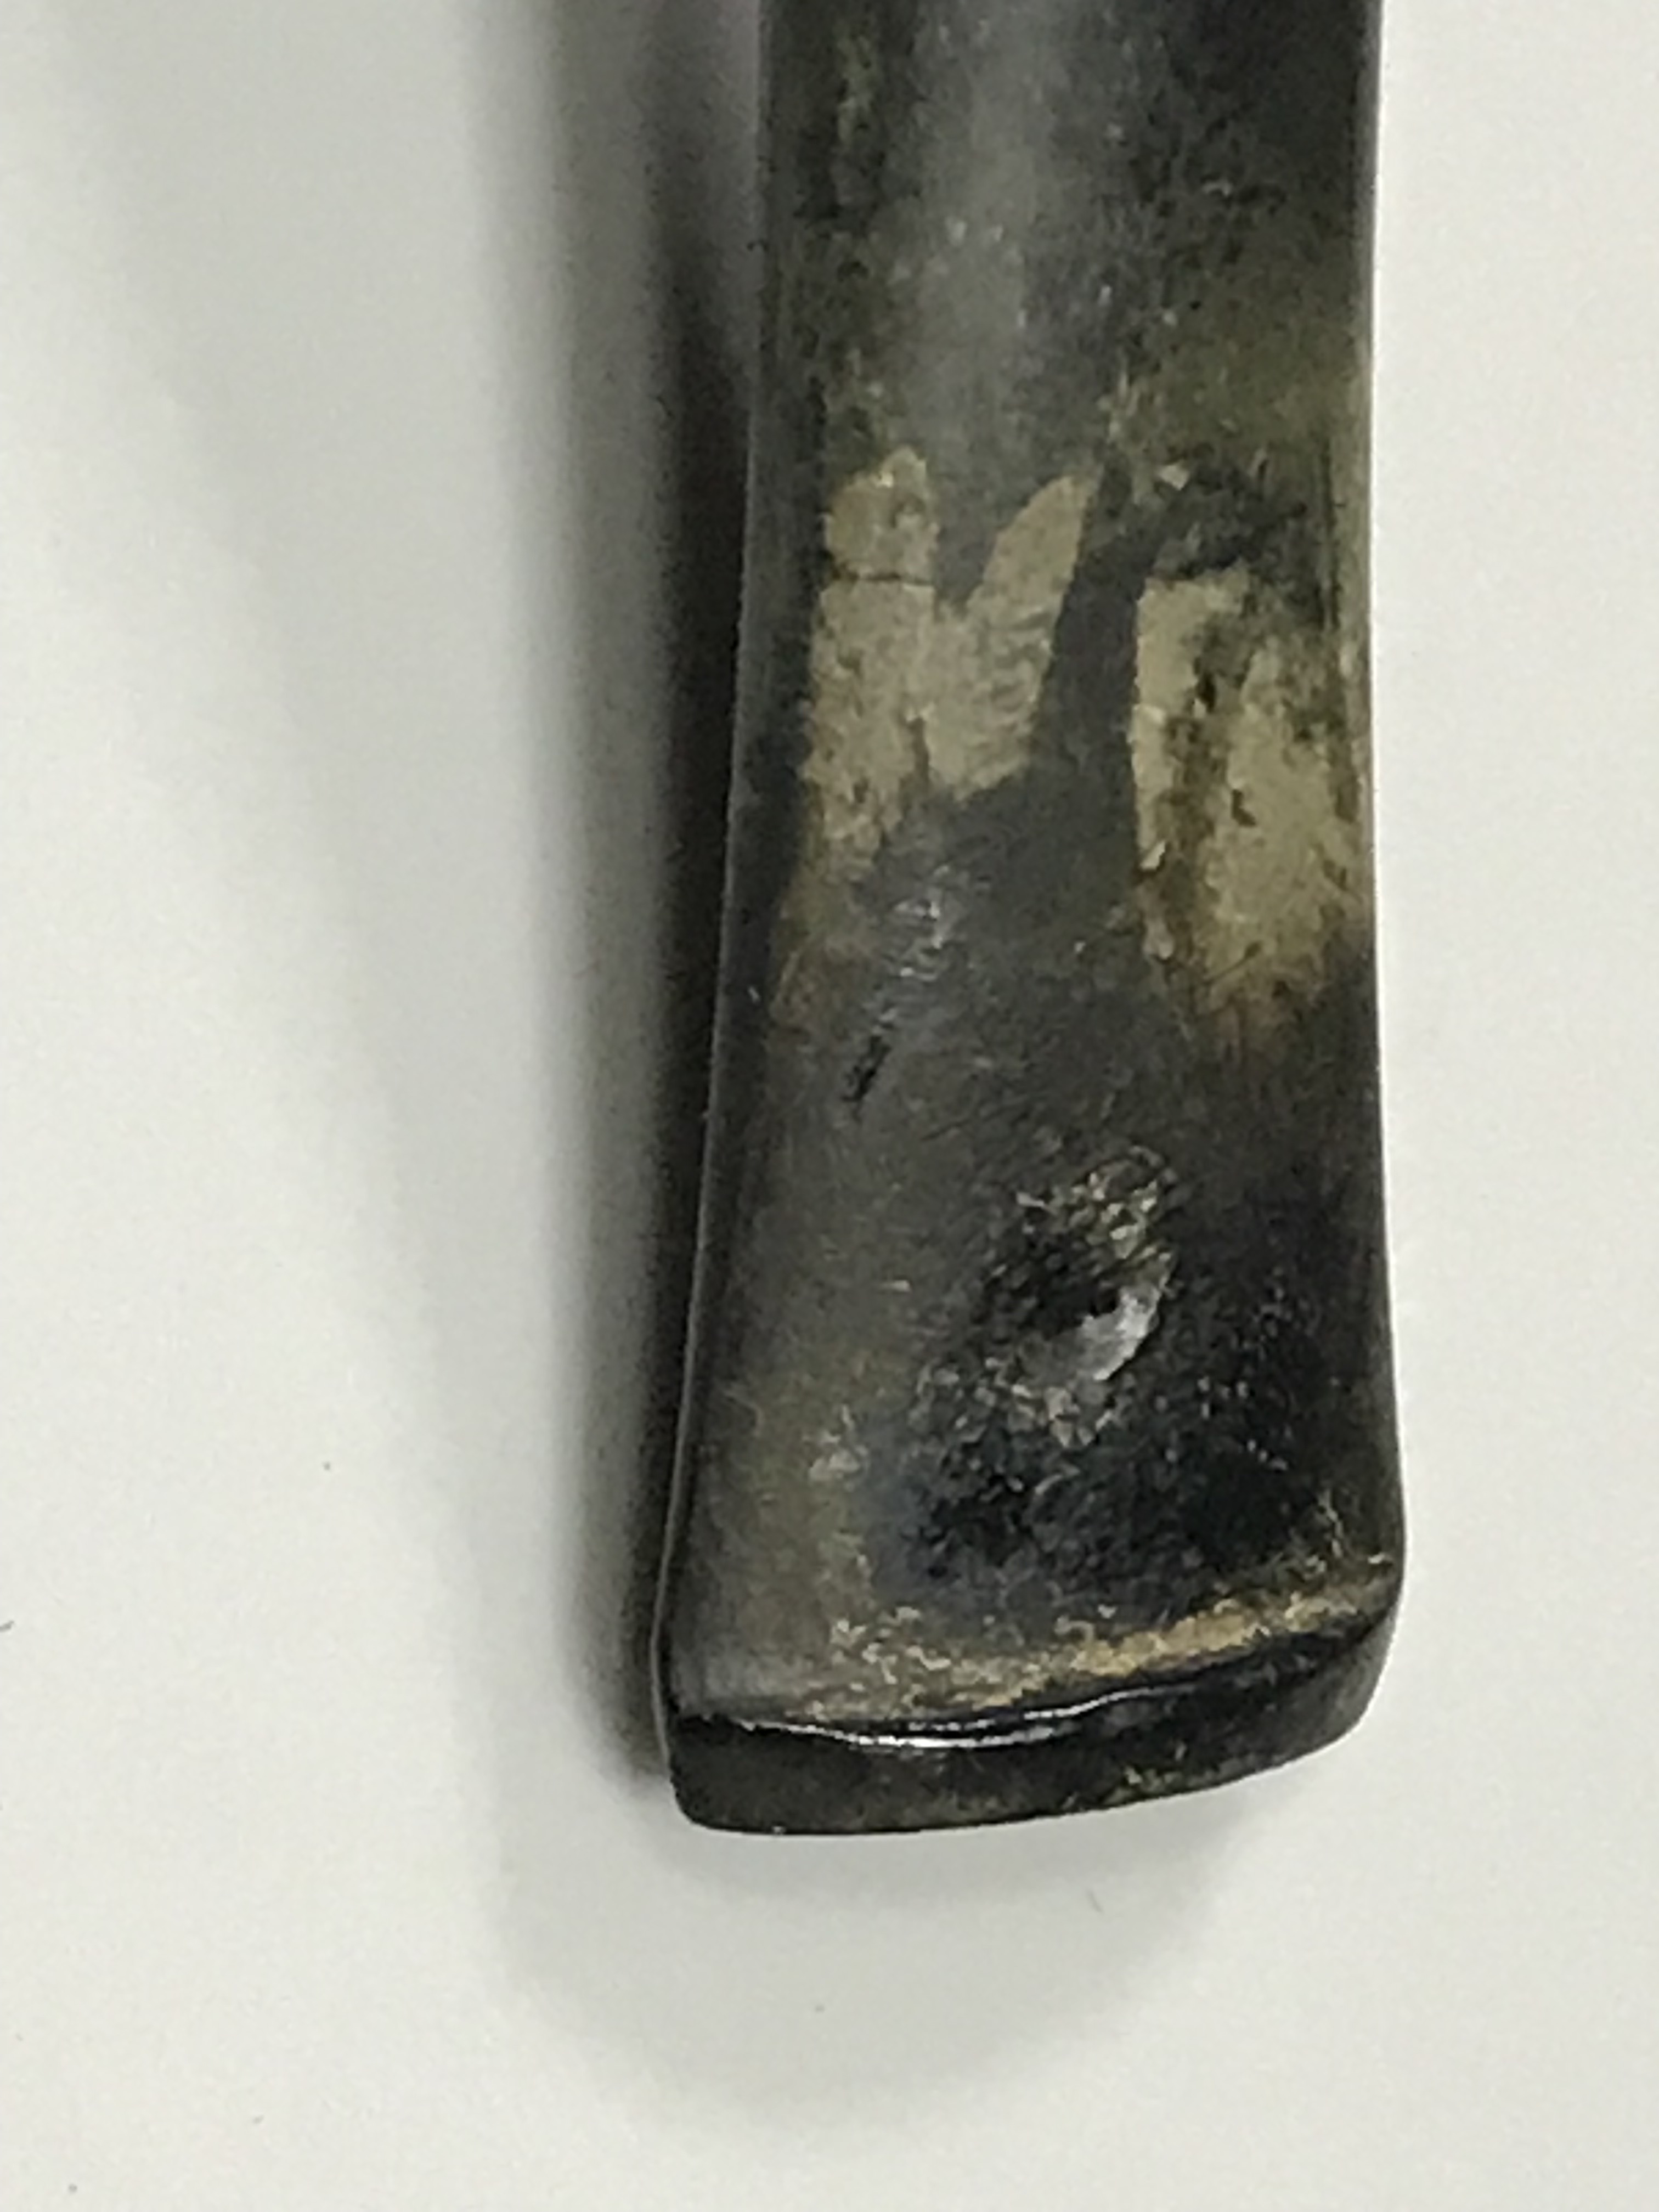

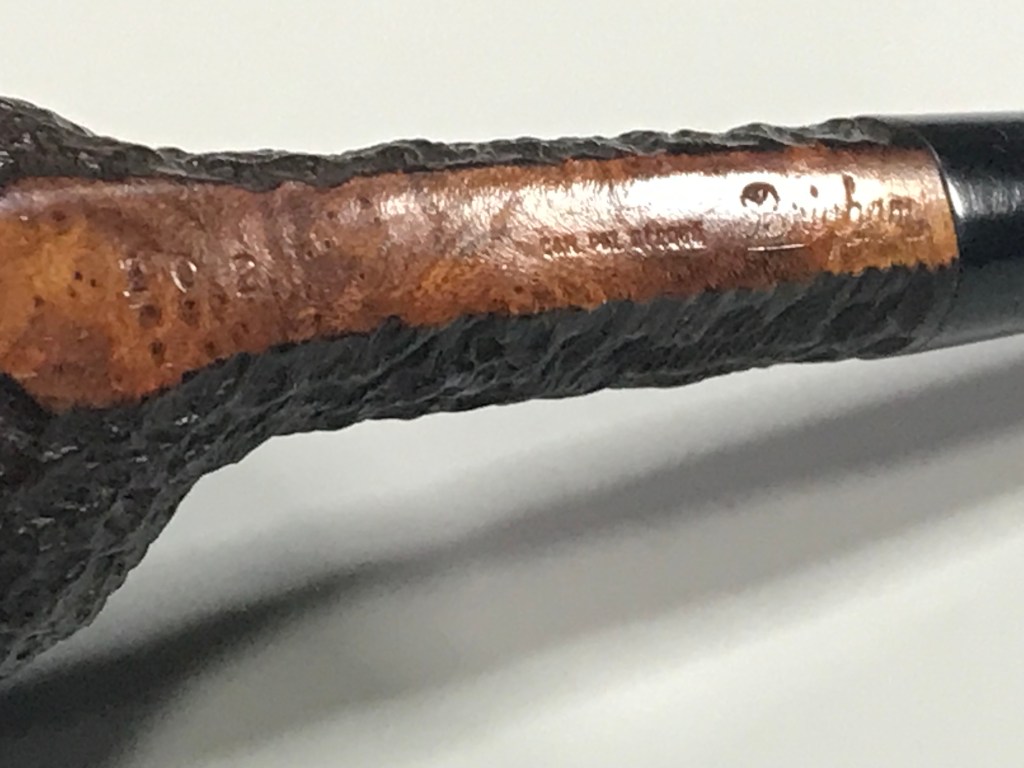
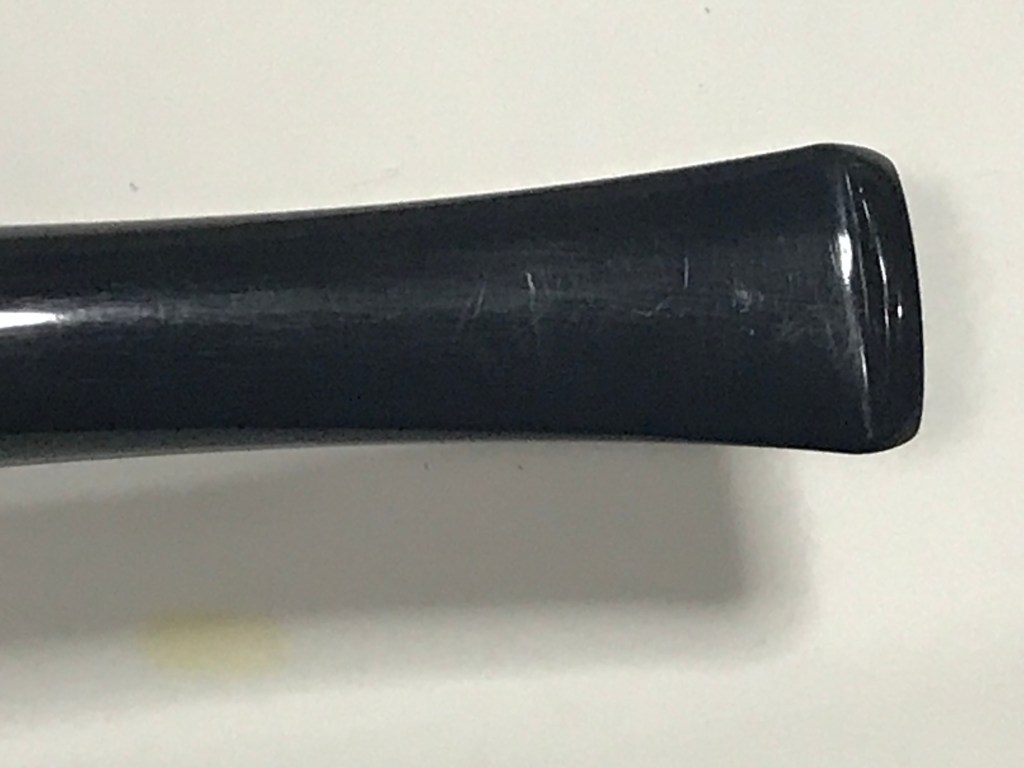
The pipe is a billiard shape, stamped 202 with the Patent stamp ( Can. Pat. 372982) and Brigham. Stamping is quite clear and crisp. The stummel is in great shape with some expected carbon buildup and rim darkening from a well loved pipe. The stem had some deep tooth chatter and some hardened sulphur oxidation at the mouth piece. I think some that crusty stuff is a bi-product of saliva from the previous smokers mouth. Based on the indents in the stem, I’d conclude they were a clencher. Overall, the stem is in good condition, no issues that cannot be remedied.
Step 1: Carbon Removal
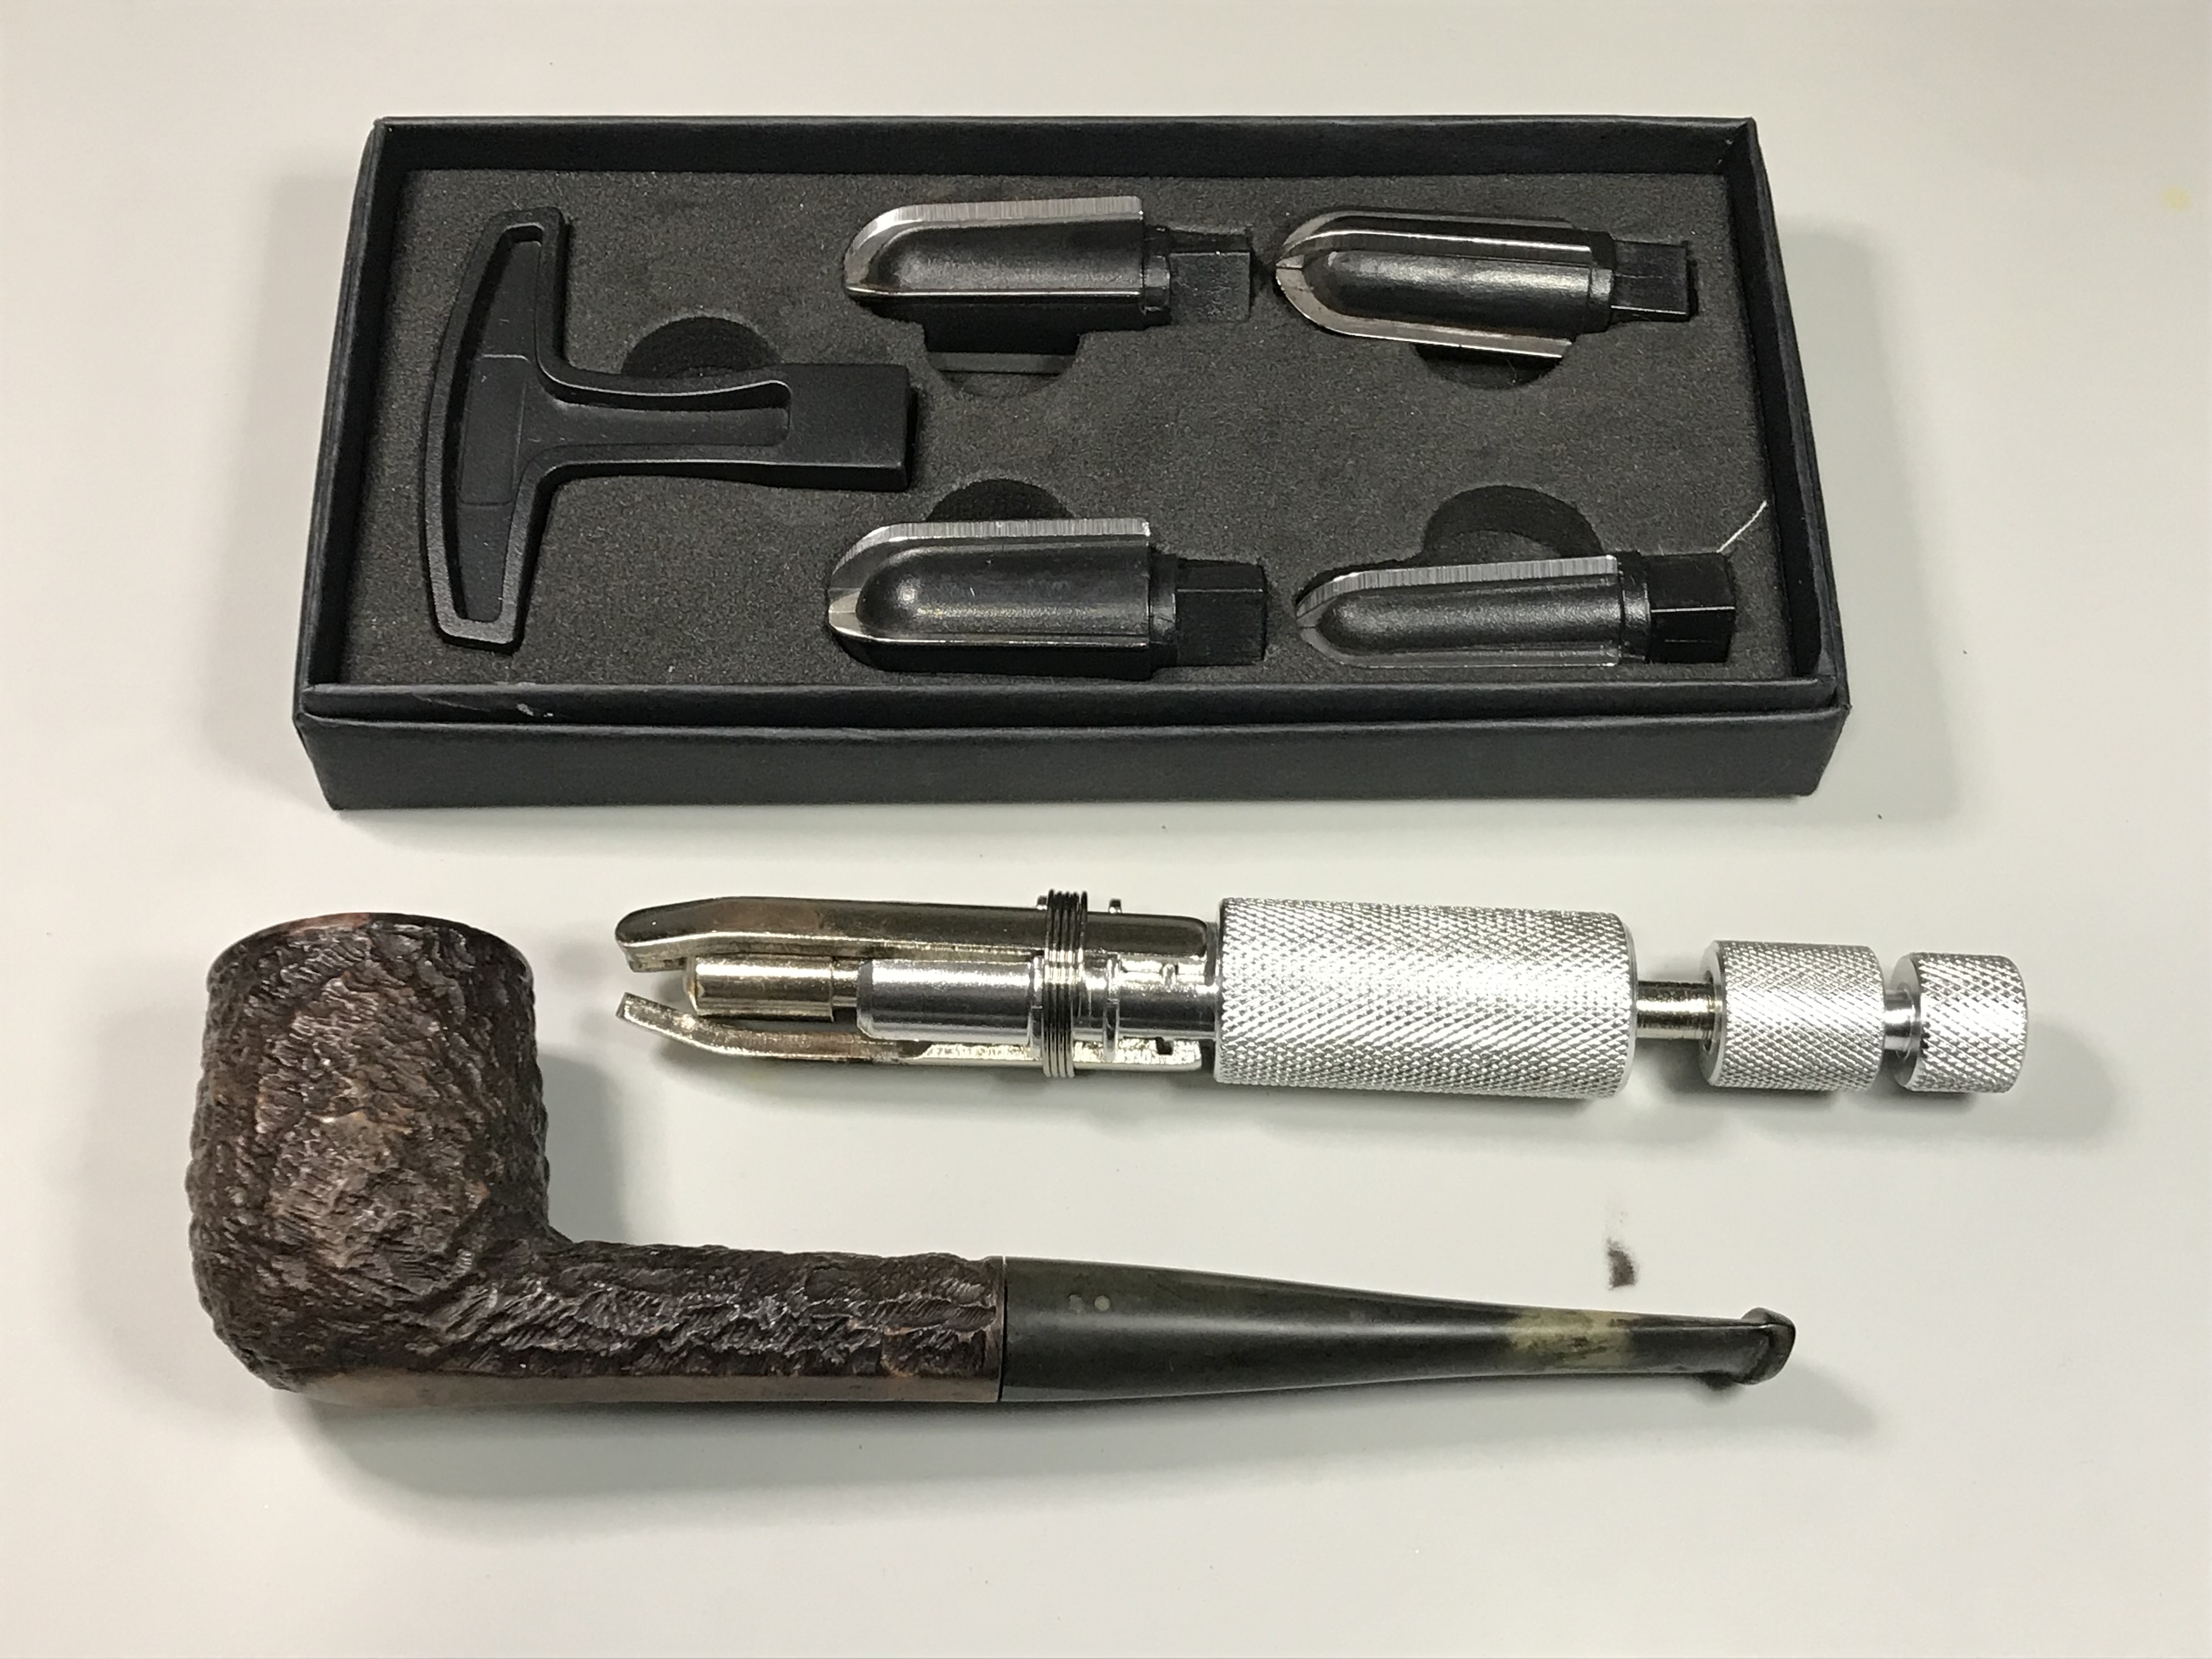
For reaming the tobacco chamber I typically use a few tools, a pipe reaming set with the four bits, a mechanical reaming tool and 220 grit sand paper. The mechanical reaming tool I tend to find rather useless for this task.
Step: Clean and Recondition


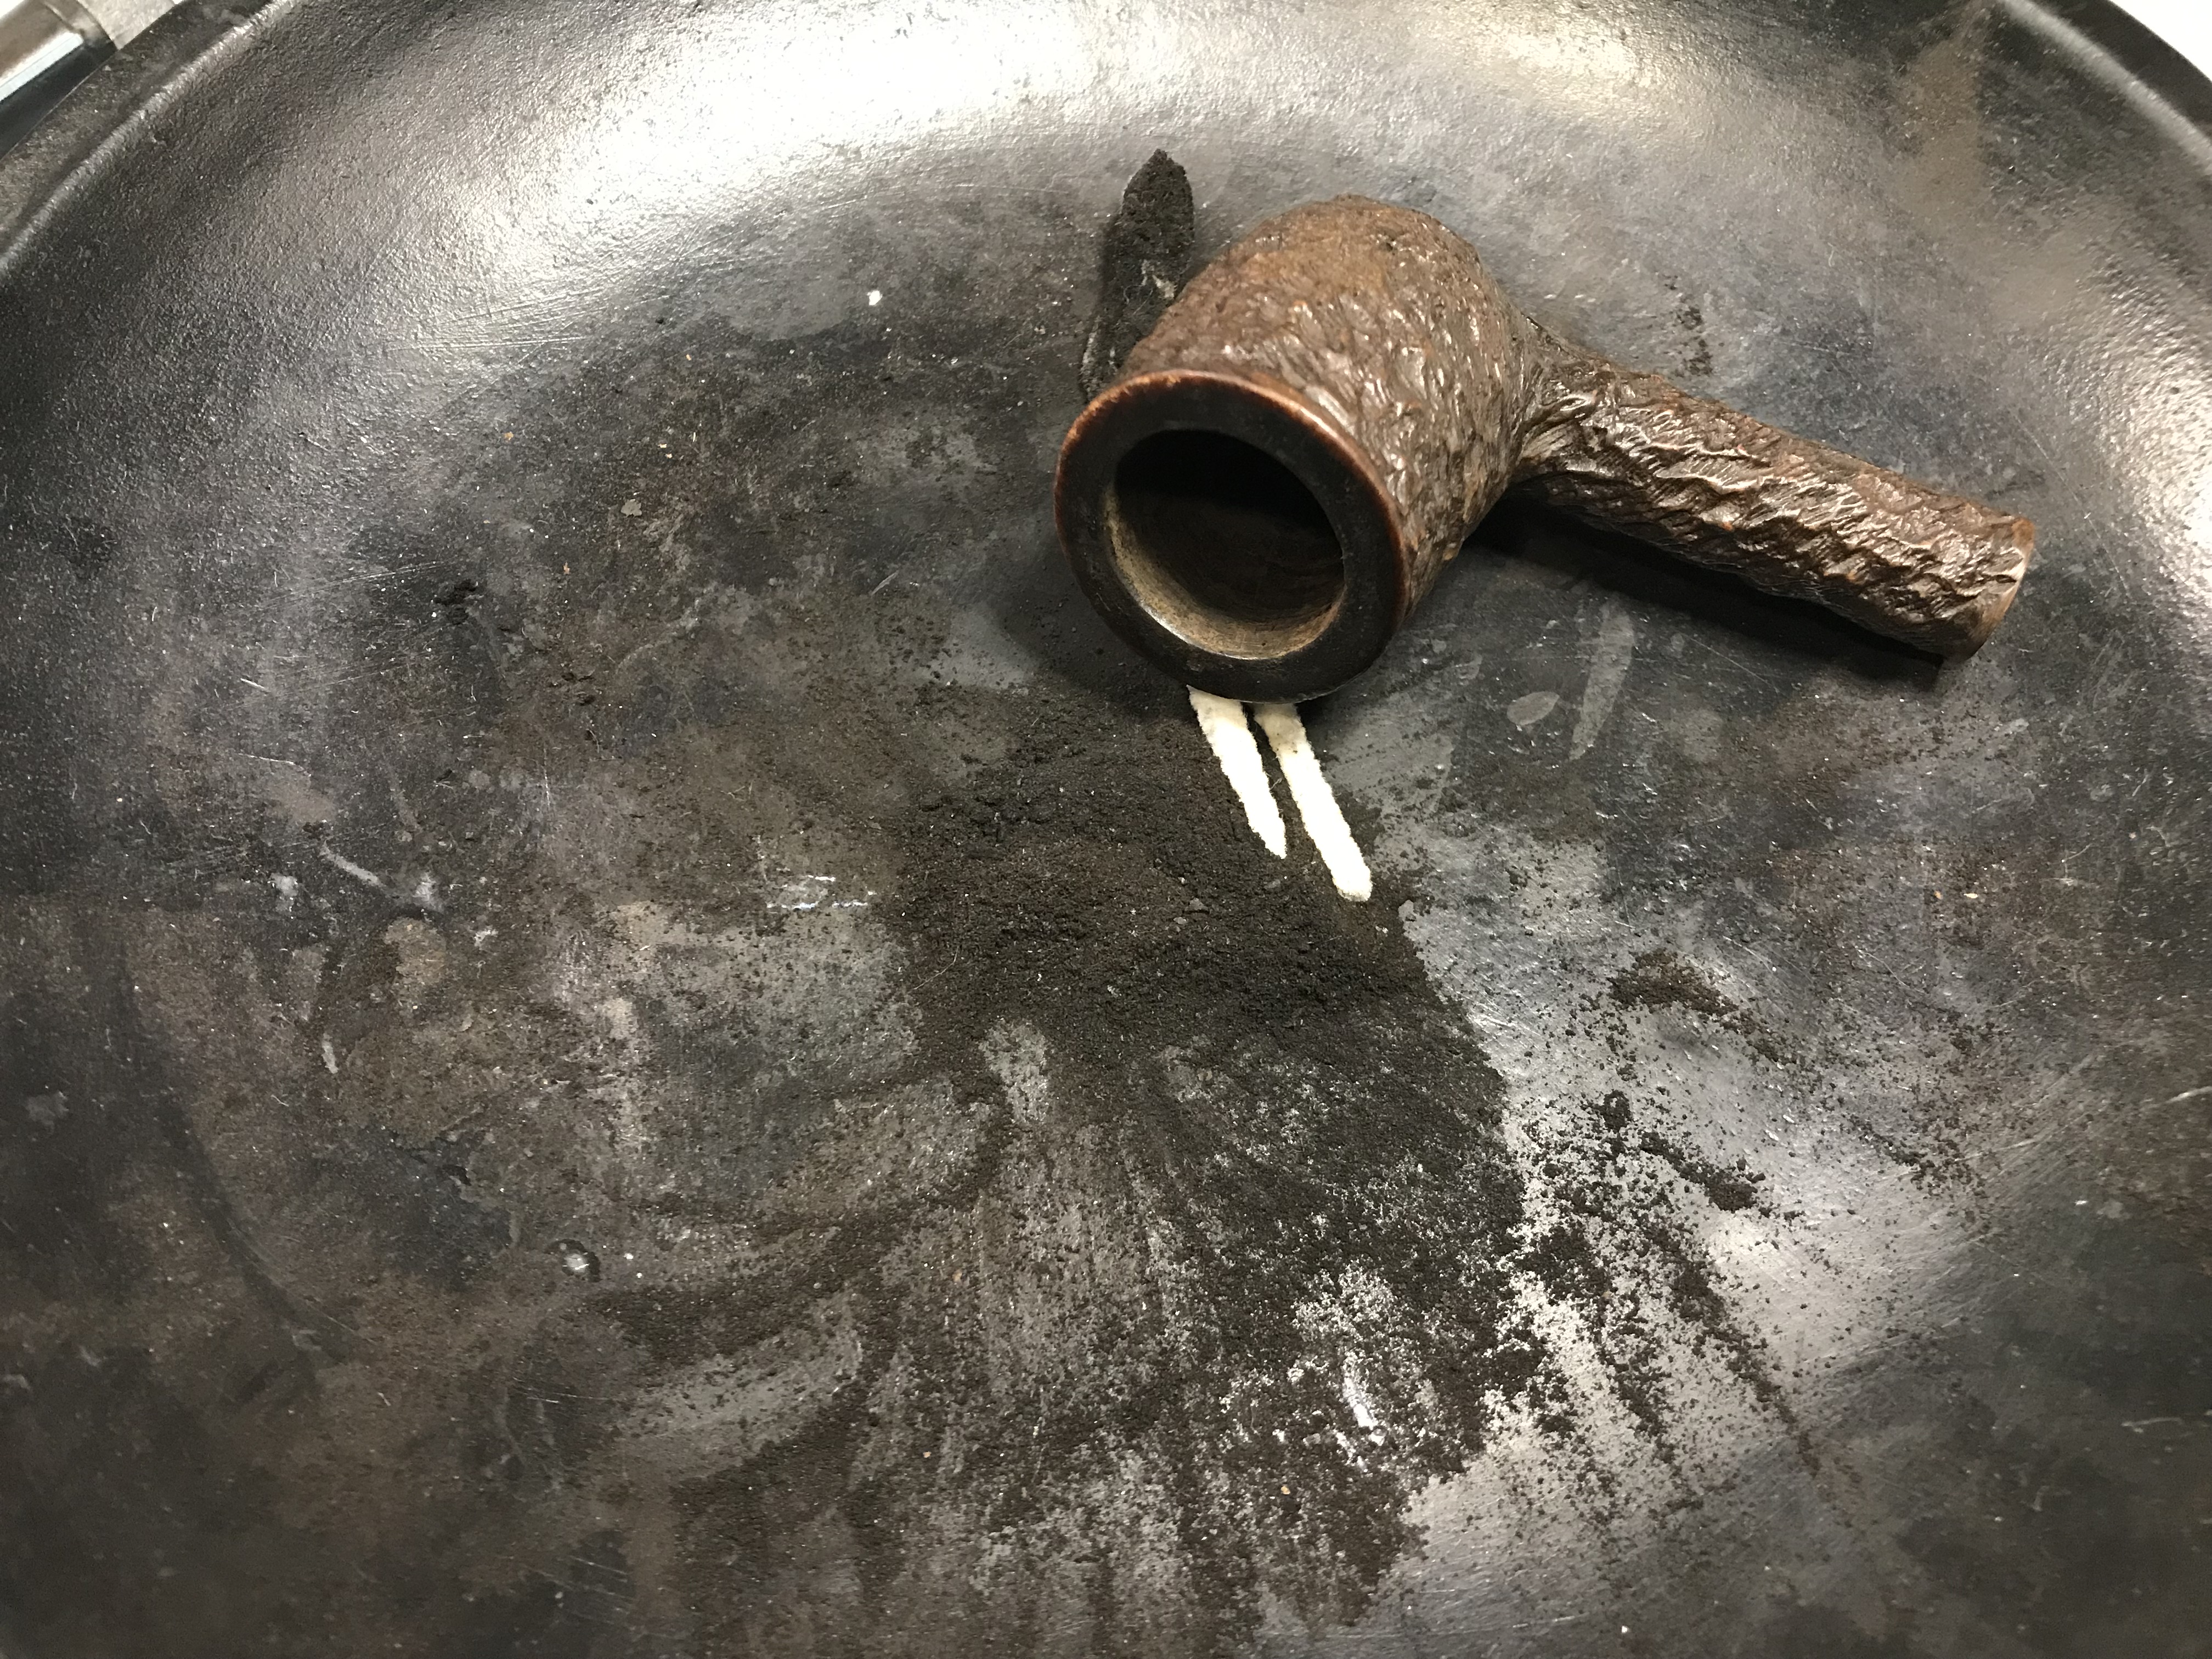
I used Isopropyl Alcohol soaked cotton balls to recondition the tobacco chamber overnight. As the alcohol evaporates the cotton ball absorbs matter from the tobacco chamber, evident by the brown cotton ball.
Afterwards I scrubbed the internals with pipe cleaners. Other than the carbon buildup on the rim, the pipe was kept quite clean inside. It didn’t take long to have it clean. Lastly I scrubbed the whole stummel with Murphy’s Oil soap to scrub away any build up dirt or grime.
Step 3: Stem repairs & reconditioning.

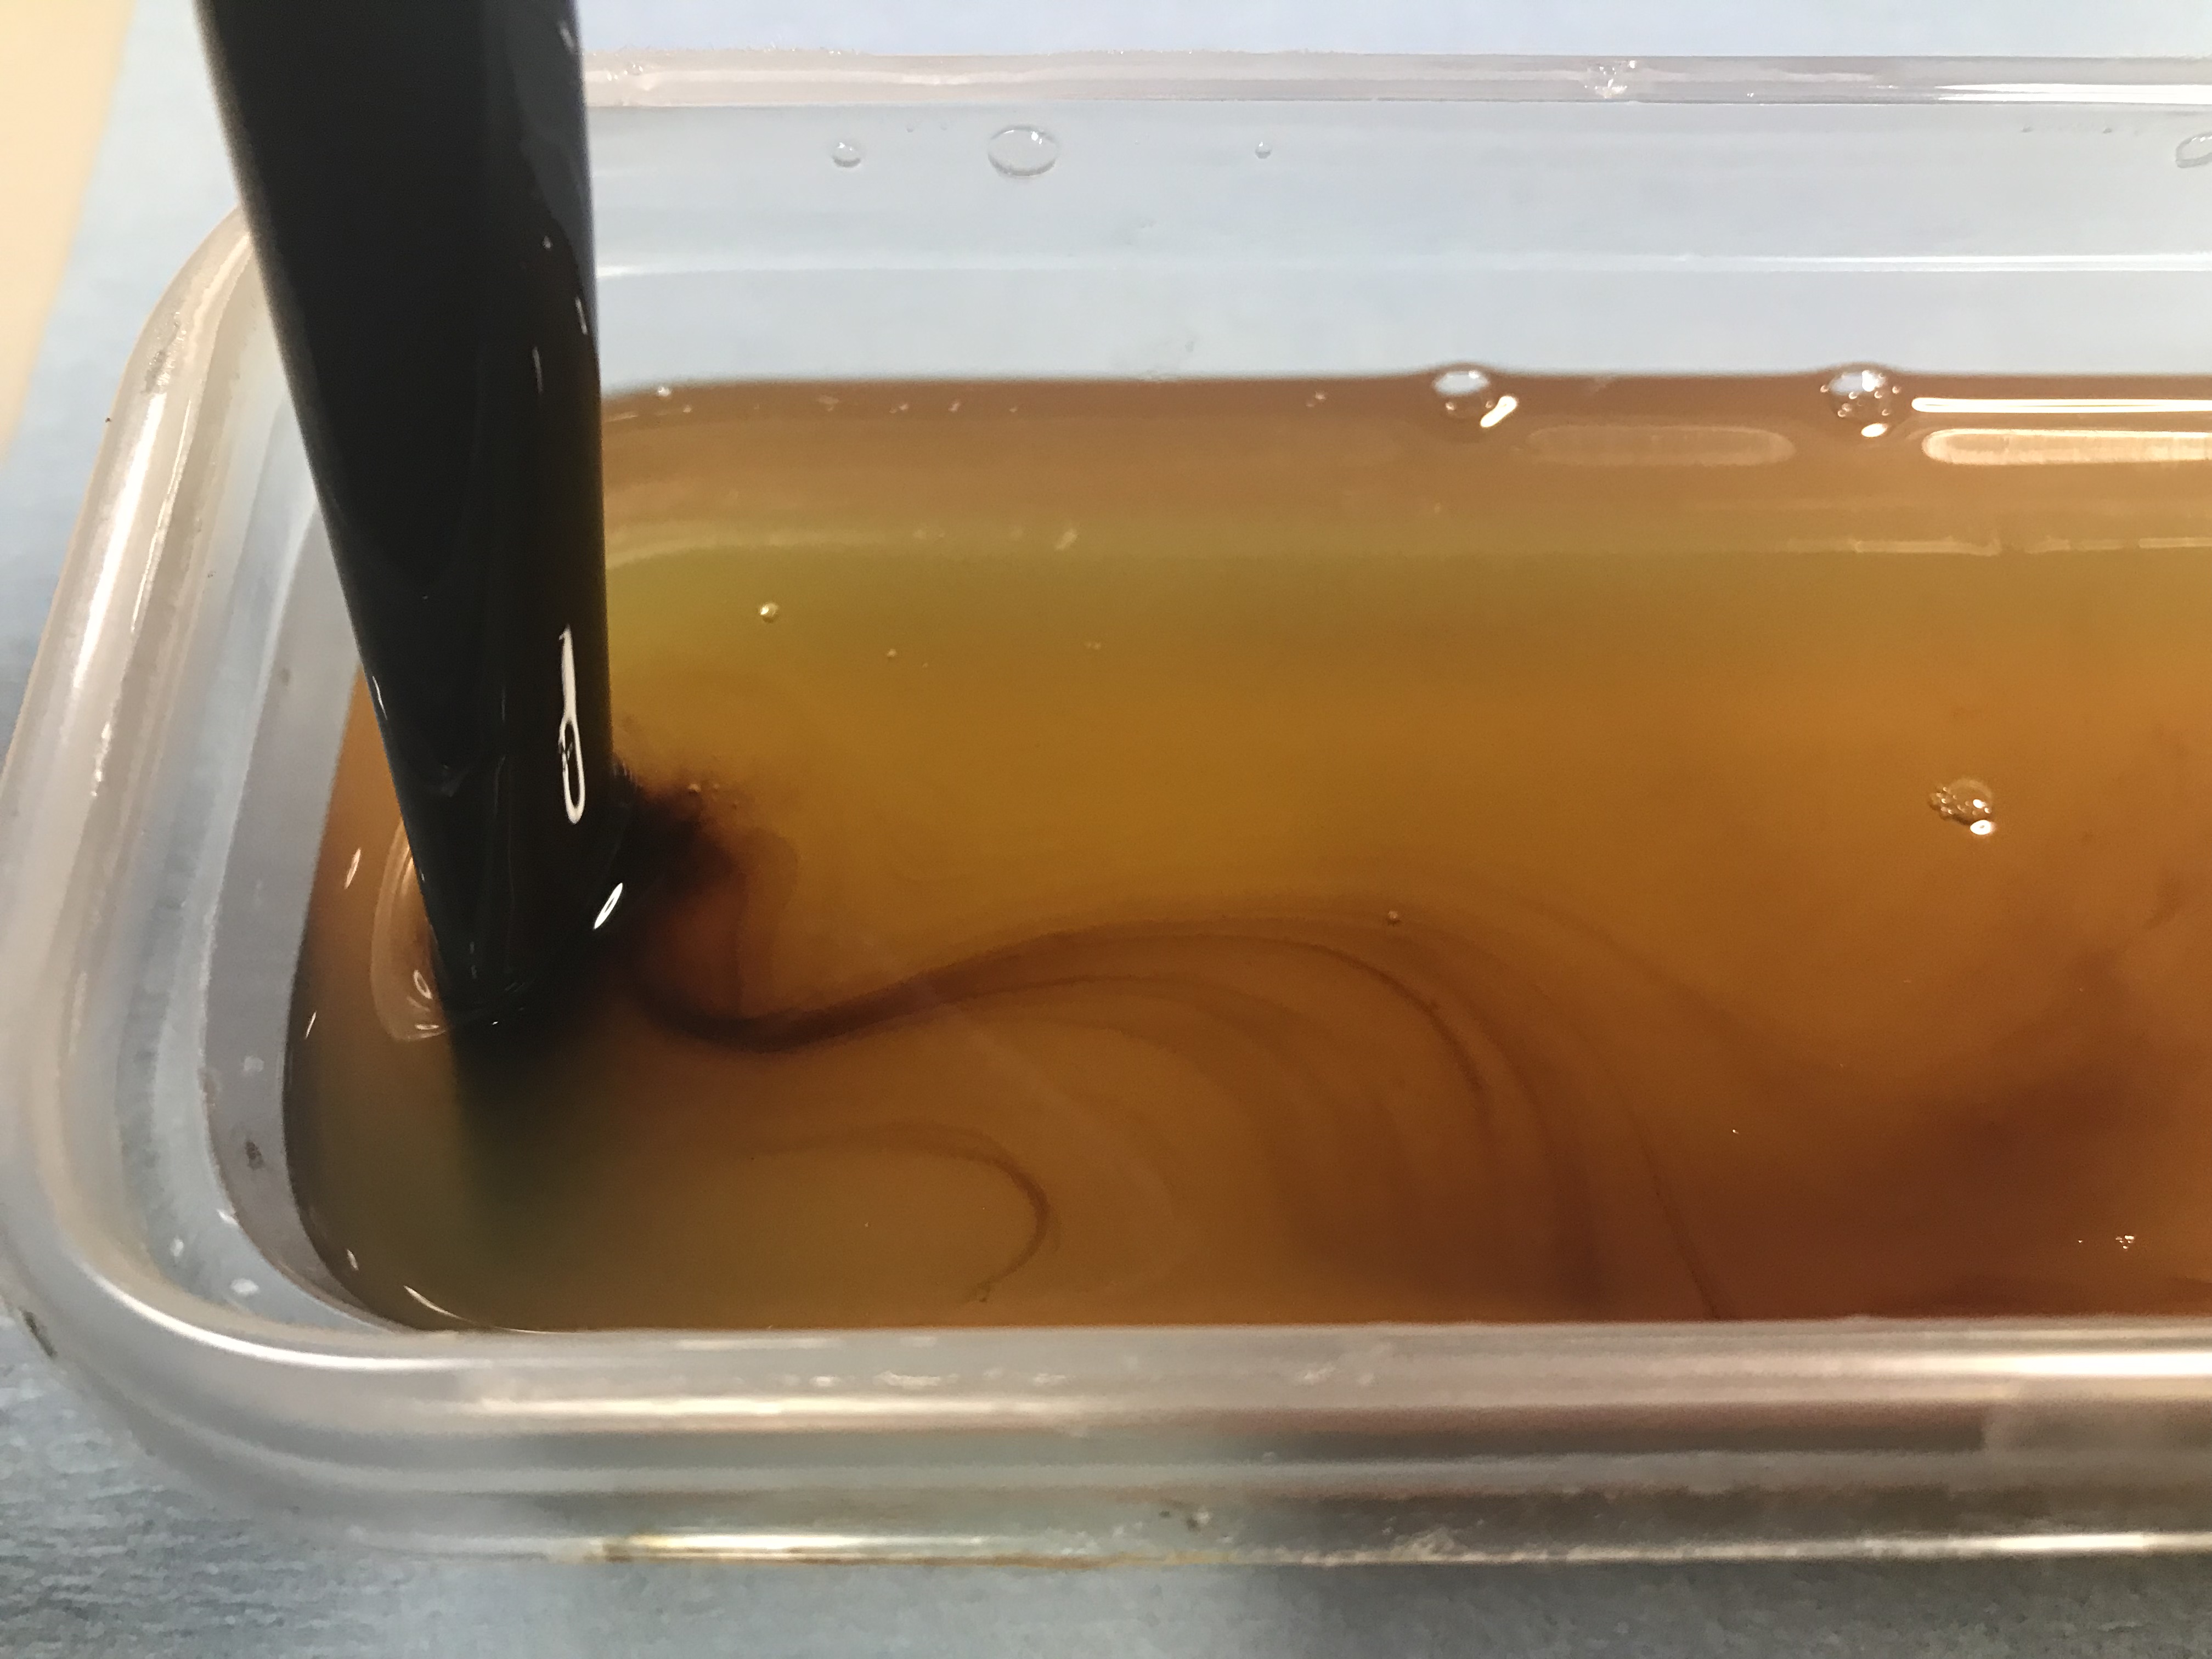

I submerged the stem in Mark Hoover’s Before & After deoxidizer available at lbepen.com. I have found where the oxidation is from age and not sun damage, this product is ideal for stripping away the oxidation from the surface. As you can see by the colourful swirl in the second picture, that is the oxidation left behind in the solution after a 24 hr bath. Some paper towel and mineral oil removes the residue from the stem revealing the untarnished vulcanite underneath. Unfortunately, stems that have been bleached or sustained heavy sun damage will require a lot of sanding at lower grits to get rid of the oxidation, sometimes the stem is a lost cause and needs to be replaced. Thus far I haven’t had a “lost cause” stem but I have had one or two that were close to it. I would highly recommend Mark’s product for routine restoration of vulcanite stems. Saves a lot of sanding!
After I cleaned up the stem, I used a CA glue containing rubber to fill the tooth dents on the stem. Bob Smith Industries carries this glue and is ideal for seamless stem repairs.
Step 4: Rim restoration


With the stem repairs complete, I turned my attention back to the stummel and removed the remaining carbon adhered to the bowl using 320 grit sandpaper. I placed the bowl, rim down, on the sandpaper and moved the bowl in a circular motion to sand the rim back to bare briar. This pipe had a smooth rim, so this was an easy decision to quickly bring it back. Afterwards I worked through progressive sandpaper grits 400, 600, 800 then 1000.

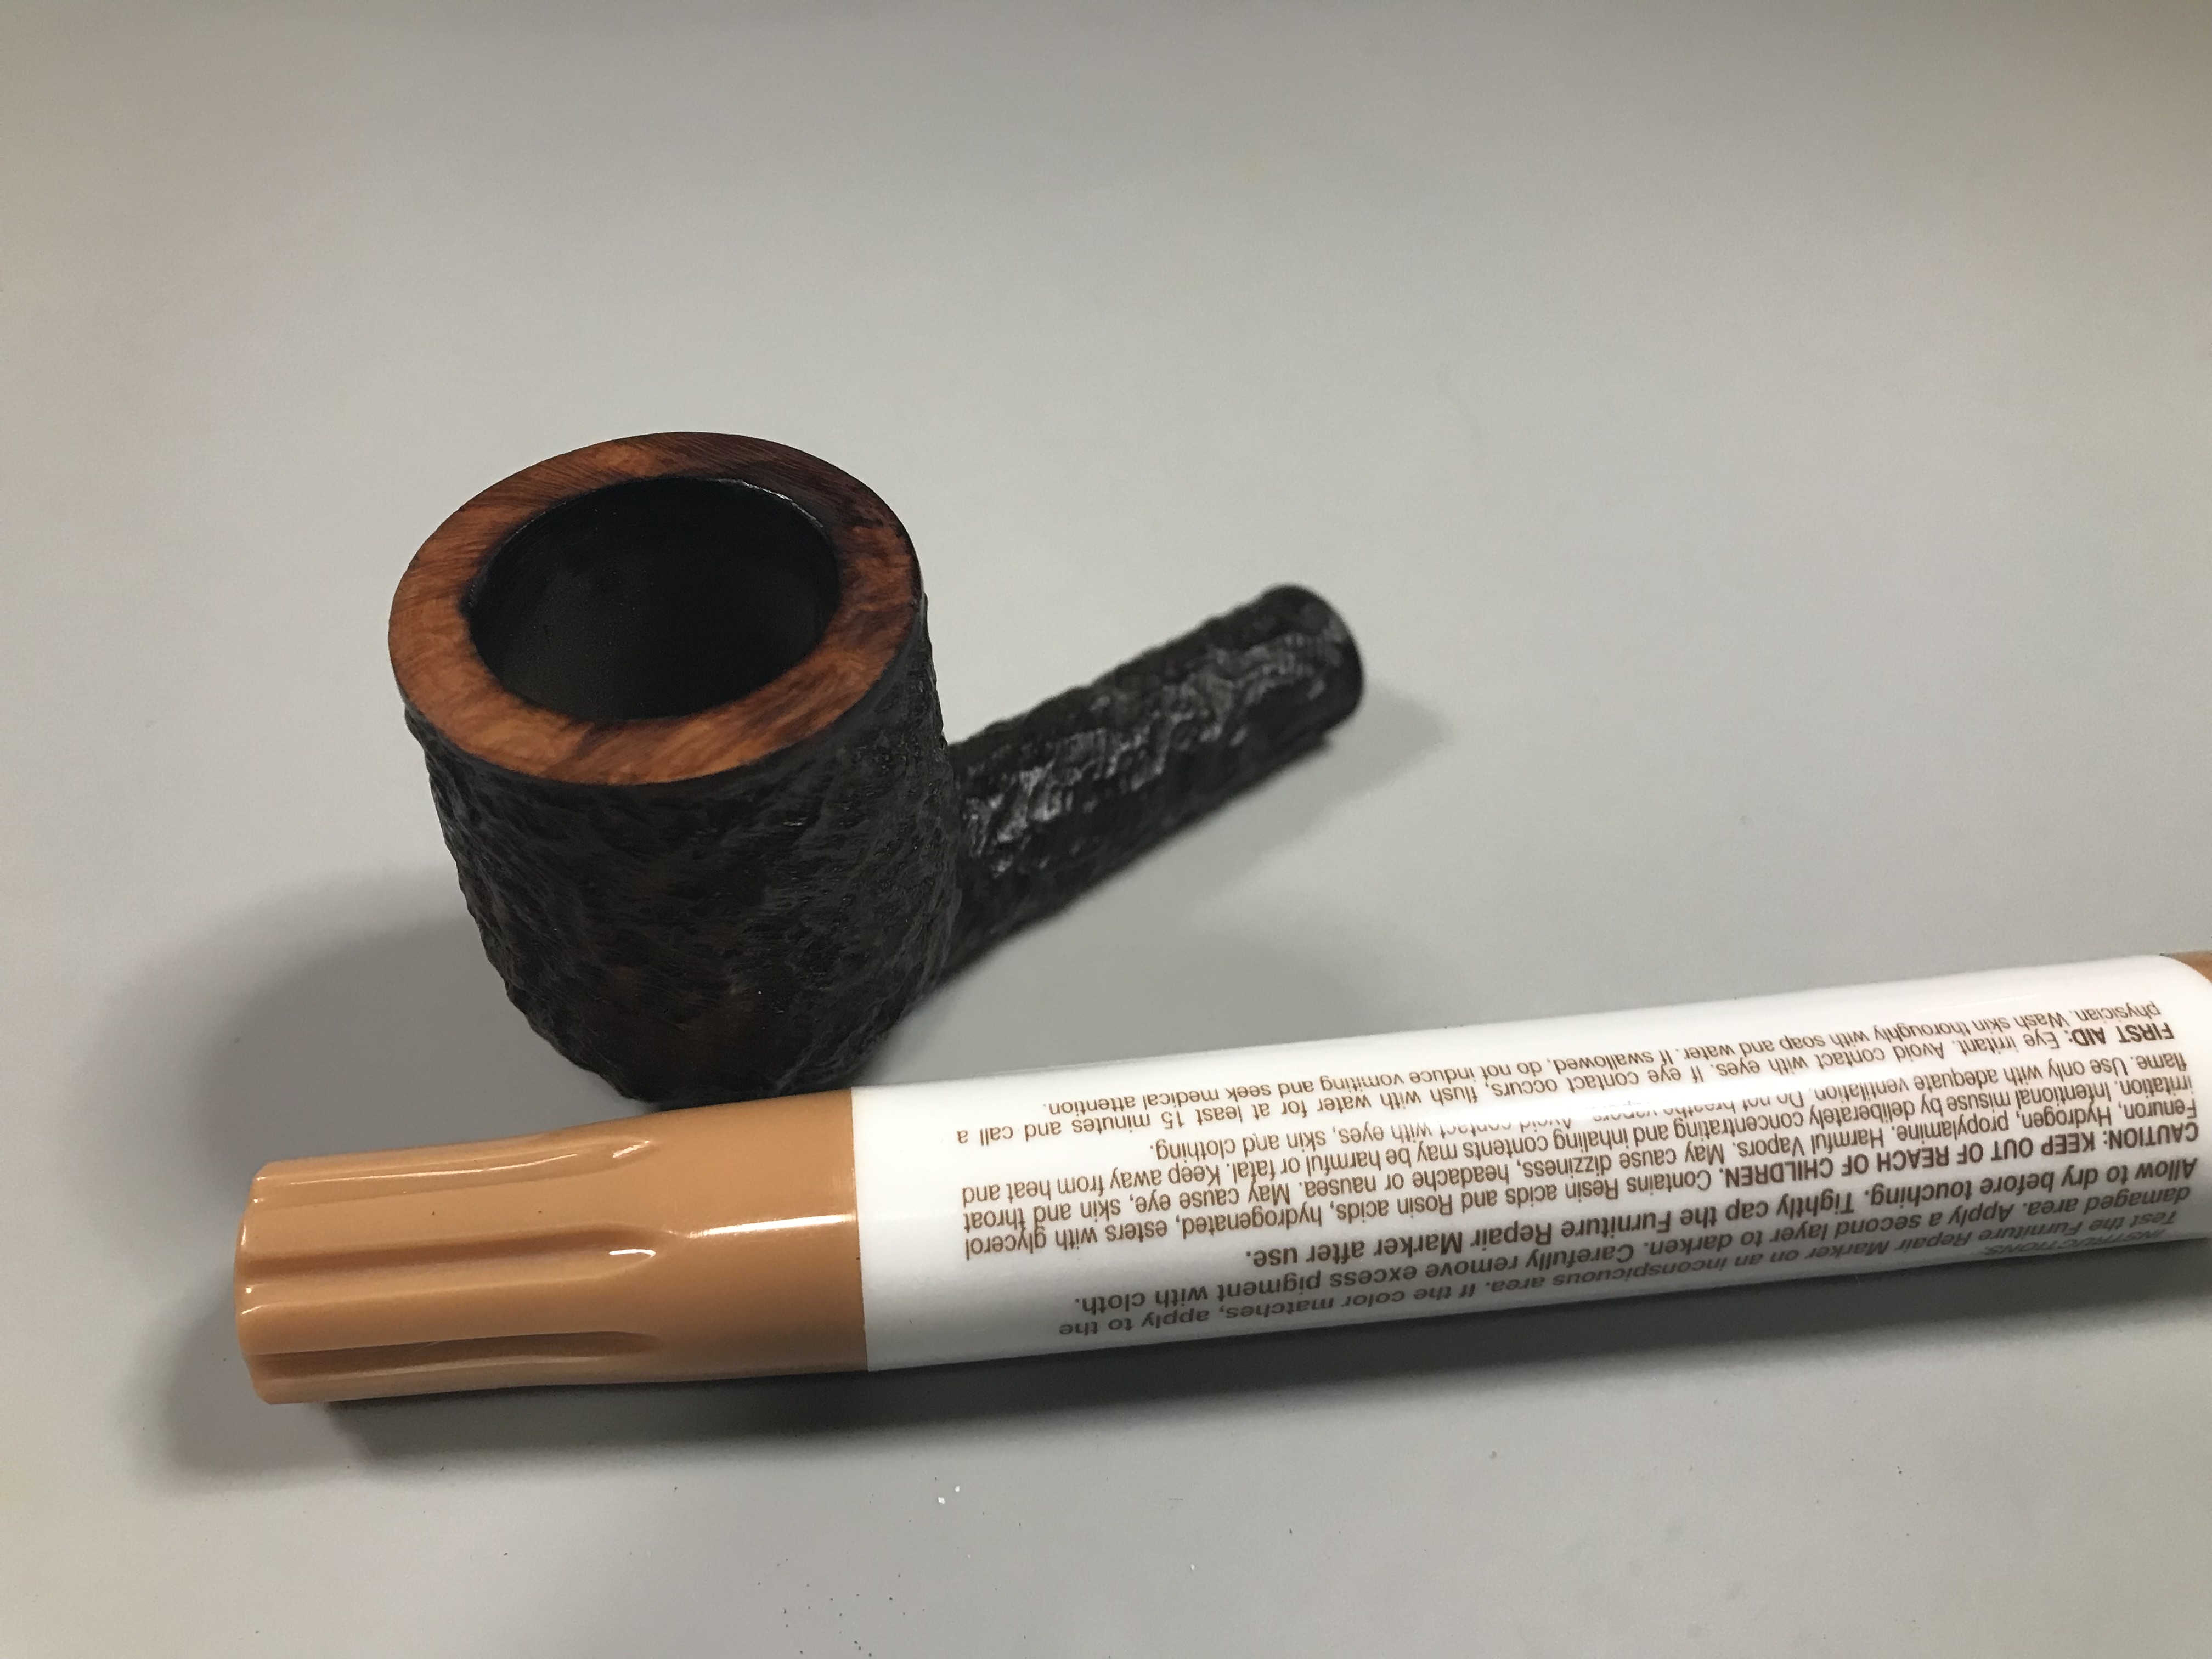
I utilized one of my stain markers to match the pigment of the stain on the bottom of the pipe where the stamping was located. These stain applicators are a great way to apply pigment without the mess. They are not useful or efficient over larger areas, but does a great job on the rim of a pipe.
Step 5: Buff and Polish
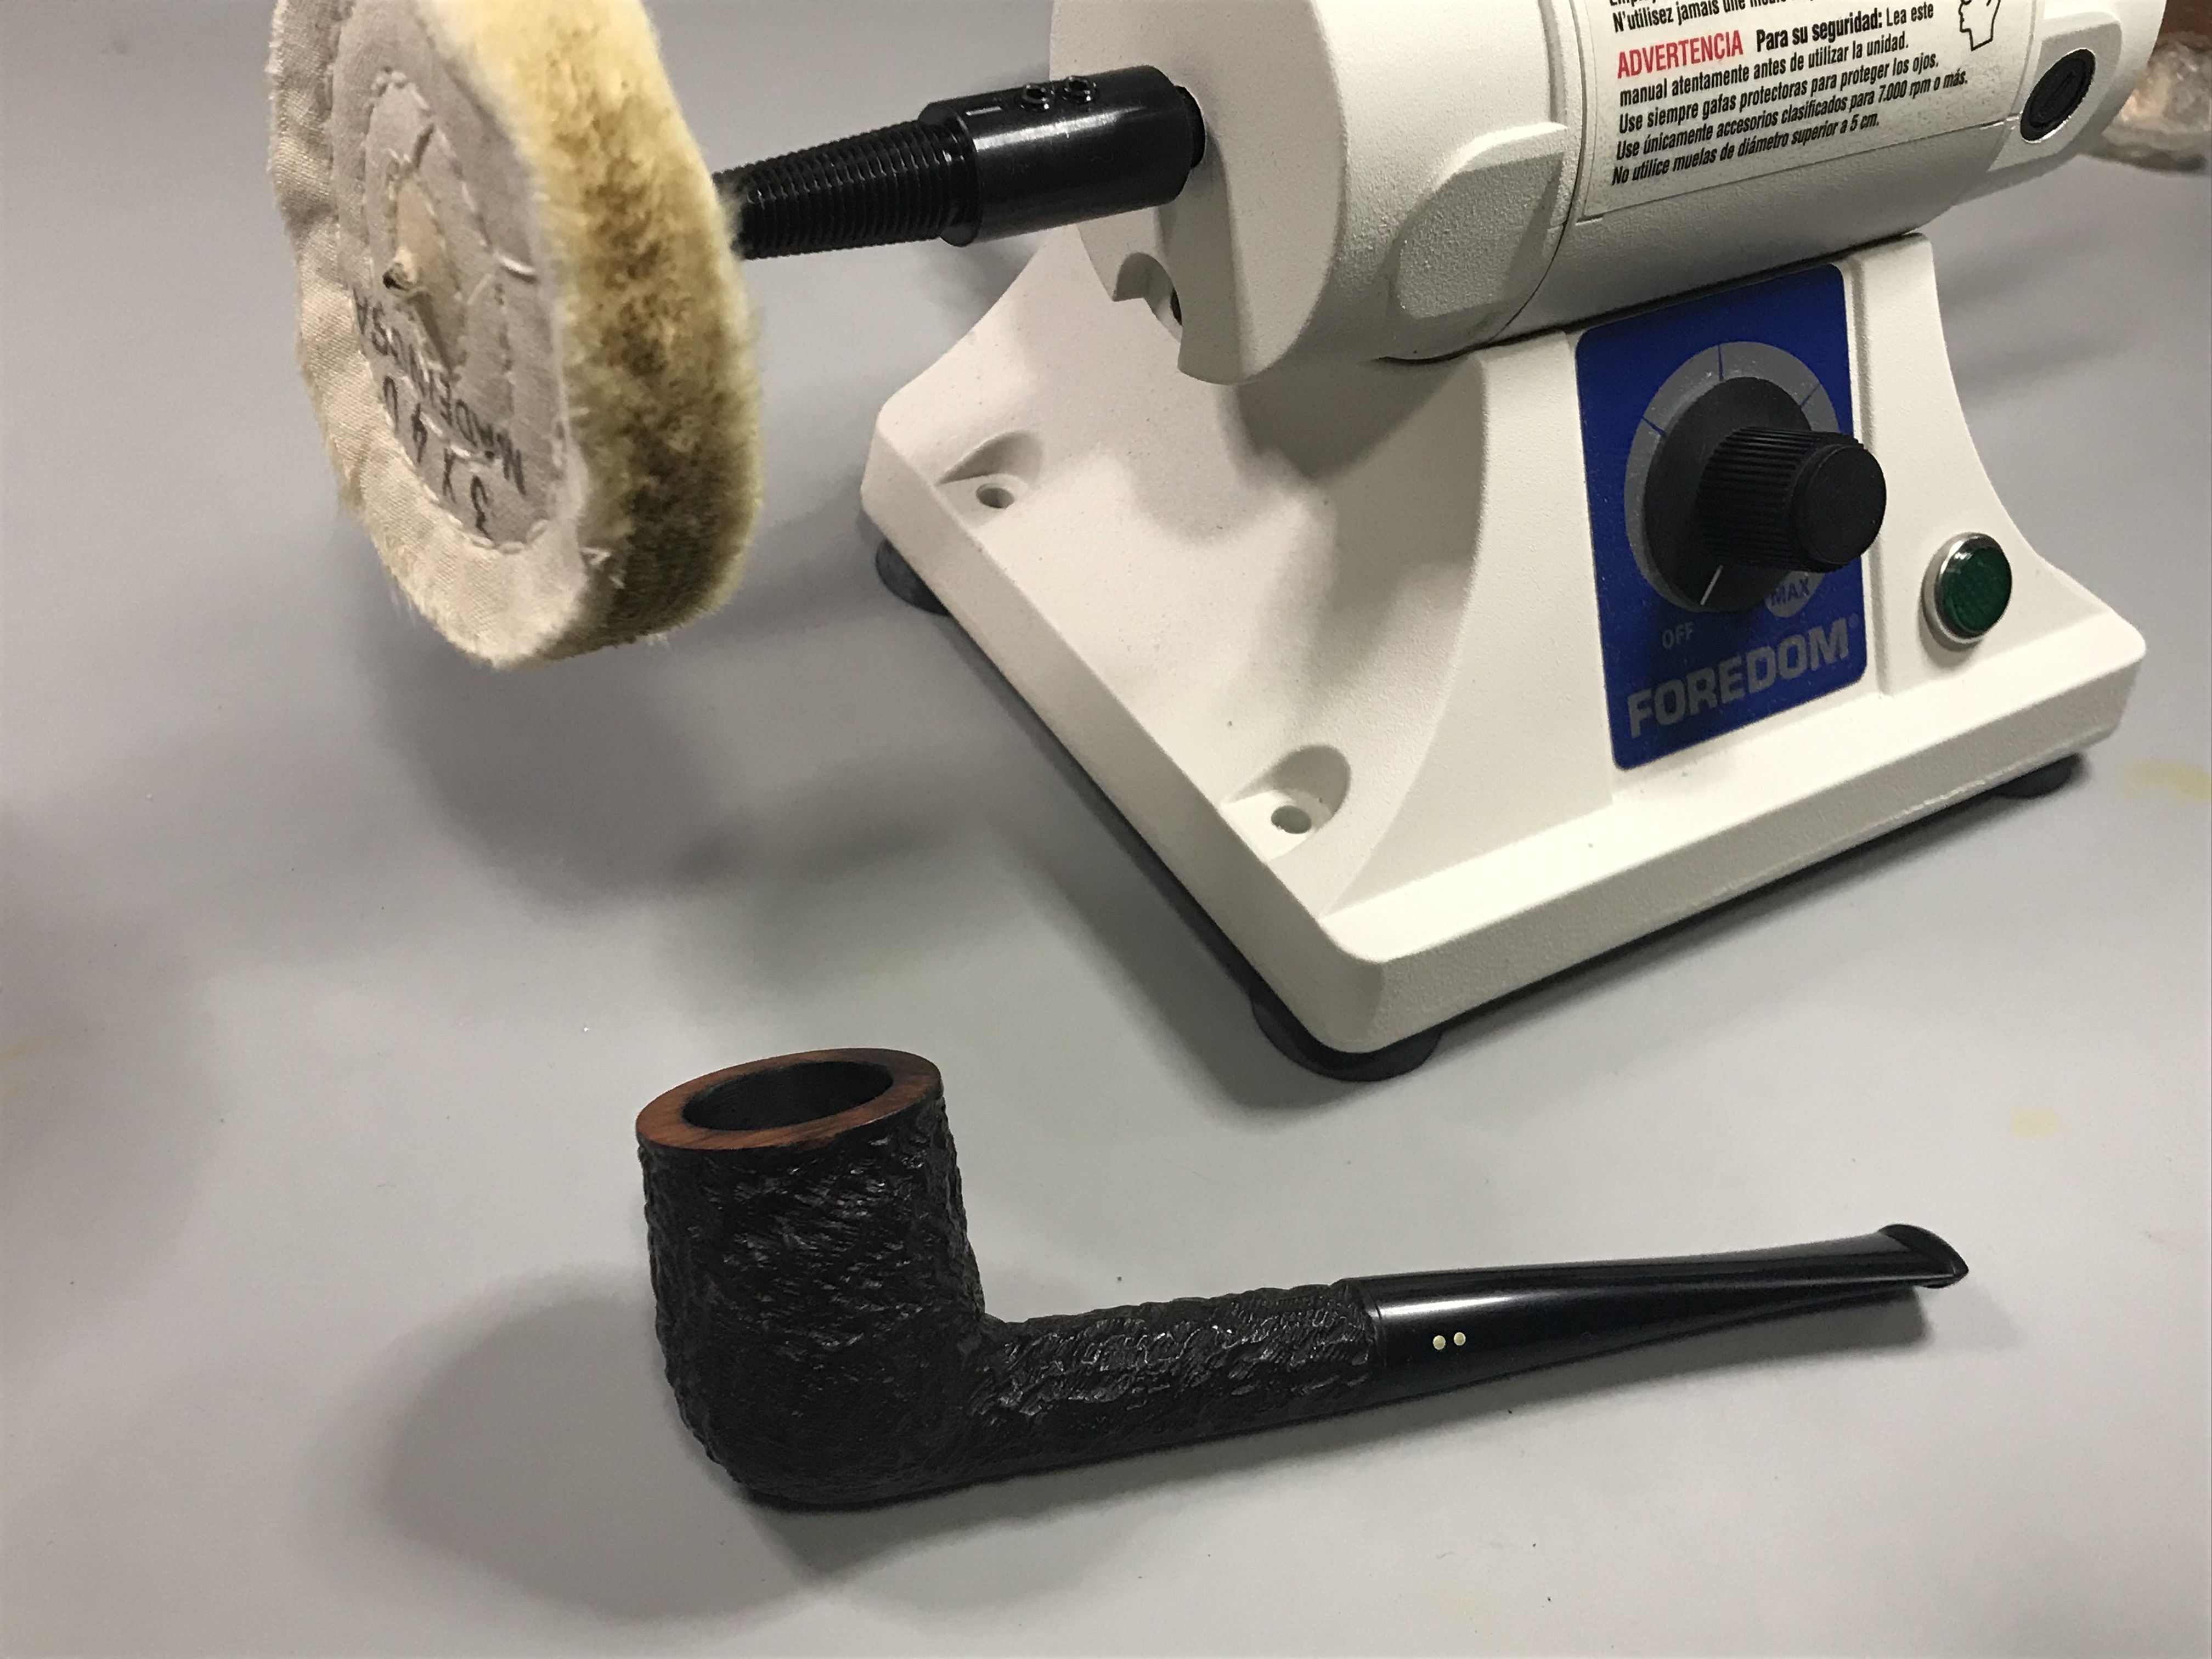
Using my newly acquired Foredom Buffing lathe, I polished the pipe using Tripoli, White Diamond, then Carnauba Wax.
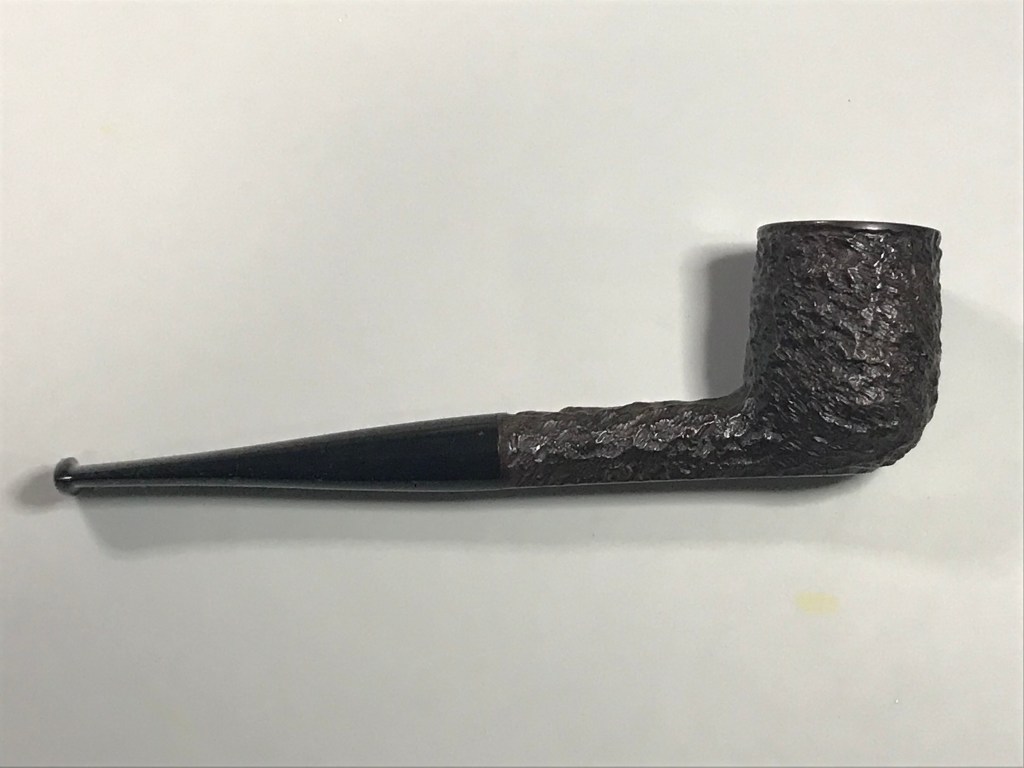
Here is the finished pipe! You can purchase this pipe for your own collection exclusively at the Lunting Bear store! Thanks for stopping by!


Love your blogs, Ryan! Always a fun read, and educational, too! Cheers!
LikeLiked by 1 person
Always enjoy reading your blogs, Ryan. Well-written, nice pics, and educational, too! Cheers!
LikeLiked by 1 person