

Dunhill pipes are the most recognized pipe brand in the world. Highly regarded for their commitment to quality standards and design. Of course my opinion is biased based on my own love affair with the brand.
It must be useful. It must work dependably. It must be beautiful. It must last. It must be the best of its kind.
Alfred Dunhill
This Dunhill pipe came to me in a lot with several other pipes at an estate auction. When I entered the home to collect my items I realized that this was likely a situation where “Mom & Dad” had been put into a home after no longer being able to care for themselves. Looking around I could see a lifetime of curated objects. Imagine the stories they could tell! Unfortunately the home had fallen into disrepair and neglect. My lot resided in the office of the patriarch of the household upstairs. As I entered, again I observed a lifetime of objects curated to the tastes and passions of the owners.
My lot of pipes resided on a shelf in the fellas office, however upon inspection one of the pipes in the lot was missing. I spoke with the Estate seller and they commented that the elderly couple were “taking” items back from the house that were put in auction. They apologized and offered my money back. I contemplated it for a moment then remarked “if my kids put me in a home and tried to sell my pipe collection, I’d steal my favourite pipe back too”! We both had a chuckle and I collected my remaining items.
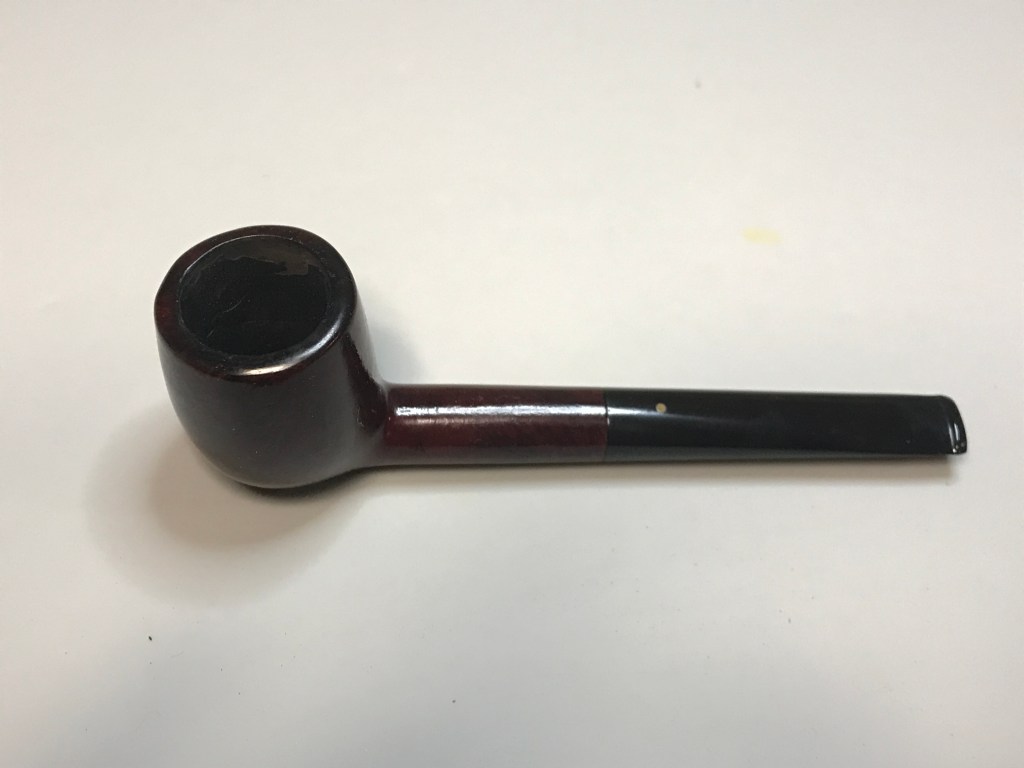
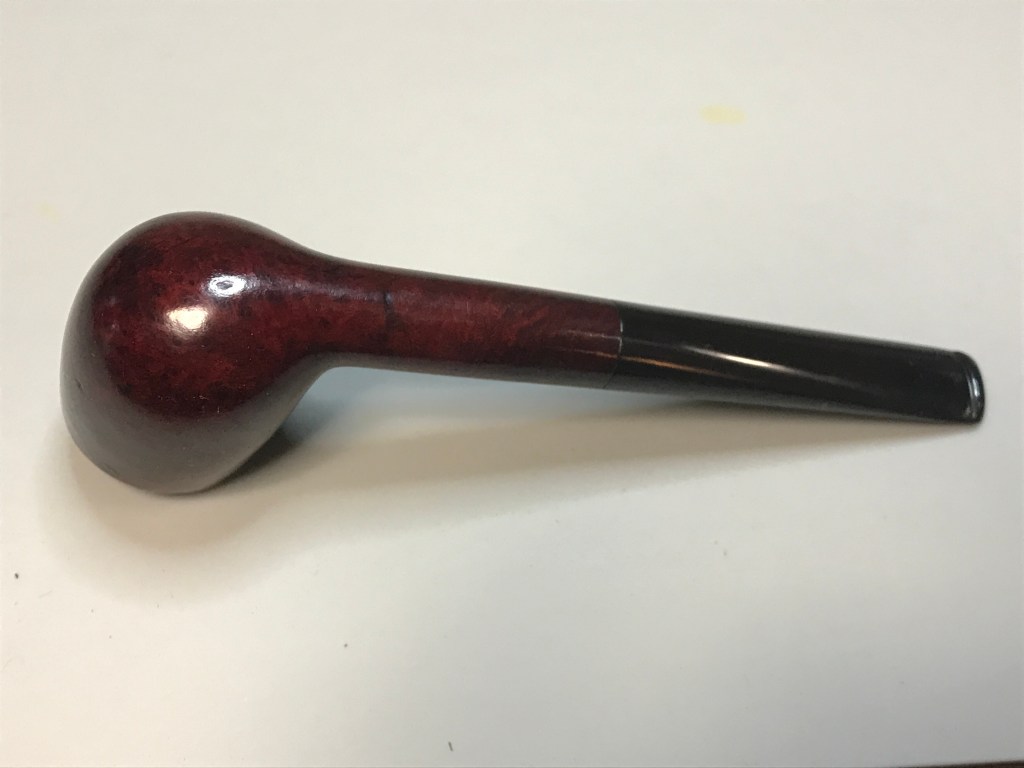
To my surprise there was a filthy little billiard with a telltale white spot on the stem. I couldn’t see much else under all the years of dirt and carbon buildup but it appeared that a Dunhill was in the lot.
First Impressions:

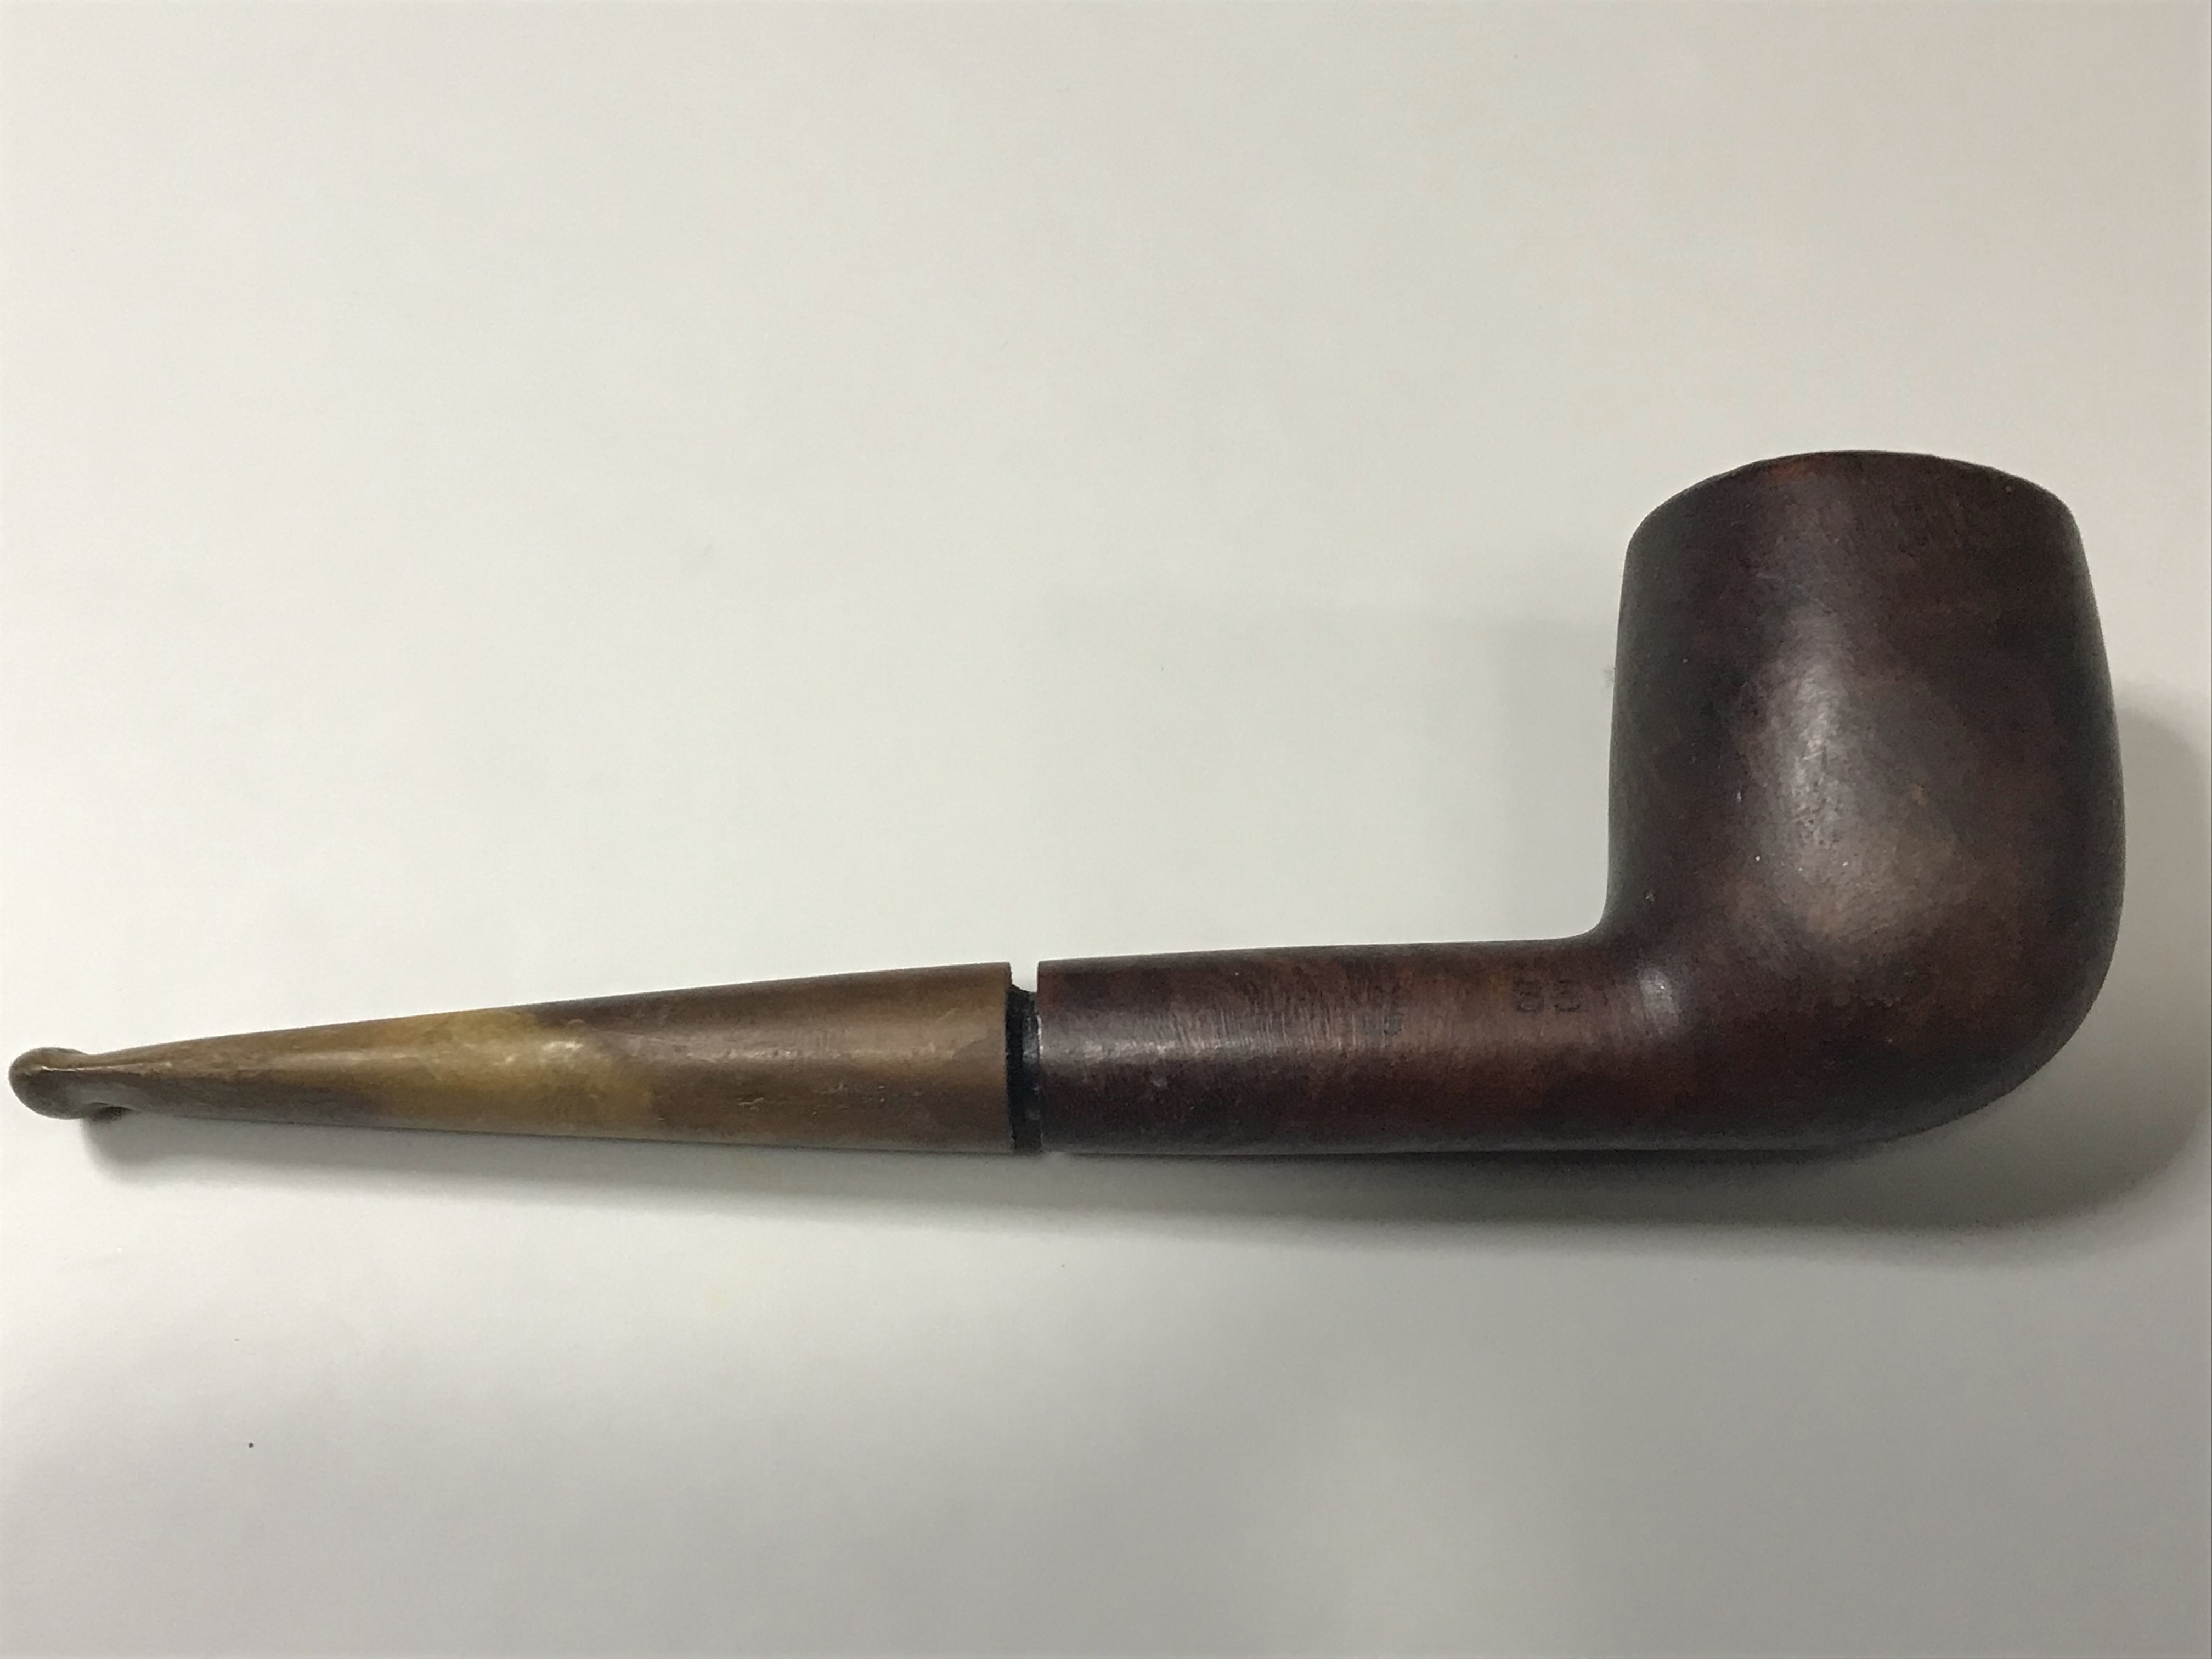
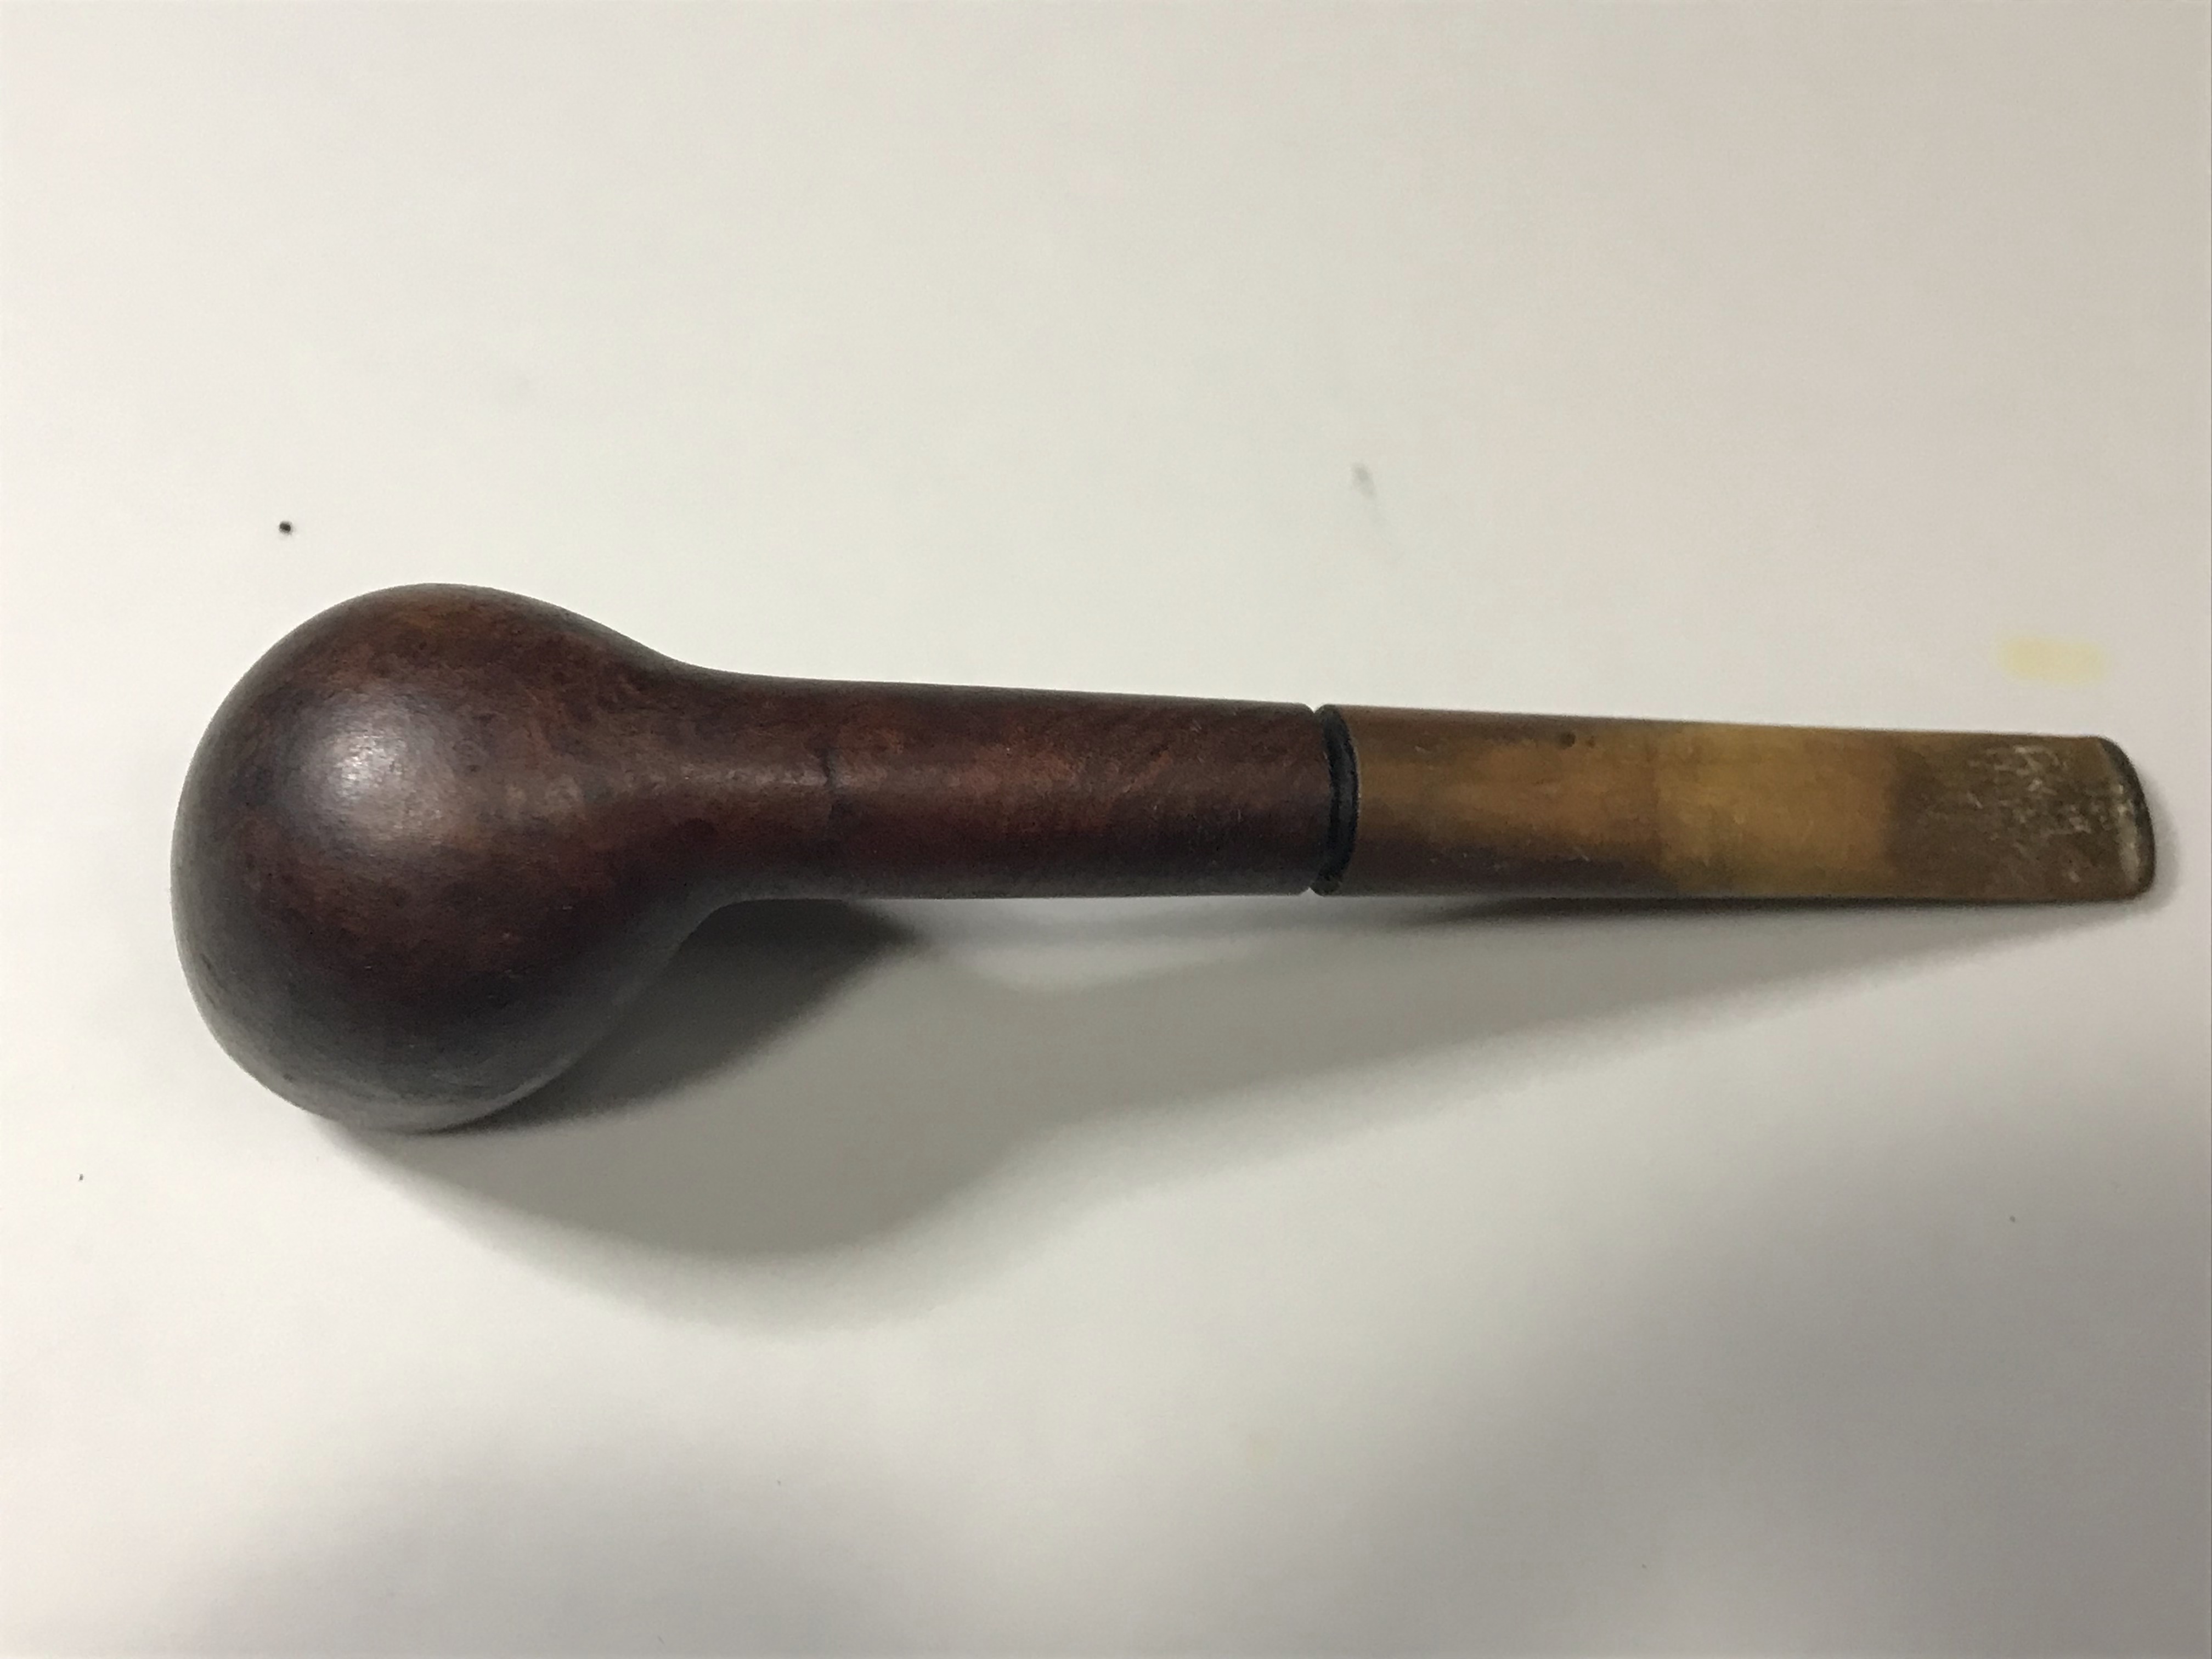


This pipe certainly served its master well. This pipe was HEAVILY smoked and despite the previous owners best efforts, I was shocked that it did not have a catastrophic crack, split or burnout anywhere on the pipe. Structurally this pipe was in fair condition. Clearly the title of this restoration has spoilers, but it was during this initial inspection that I was trying to determine what it was I had in my hand. Thus far that only distinguishable Dunhill feature was the white spot. Fortunately I have a magnifying lamp which came in handy for identification.
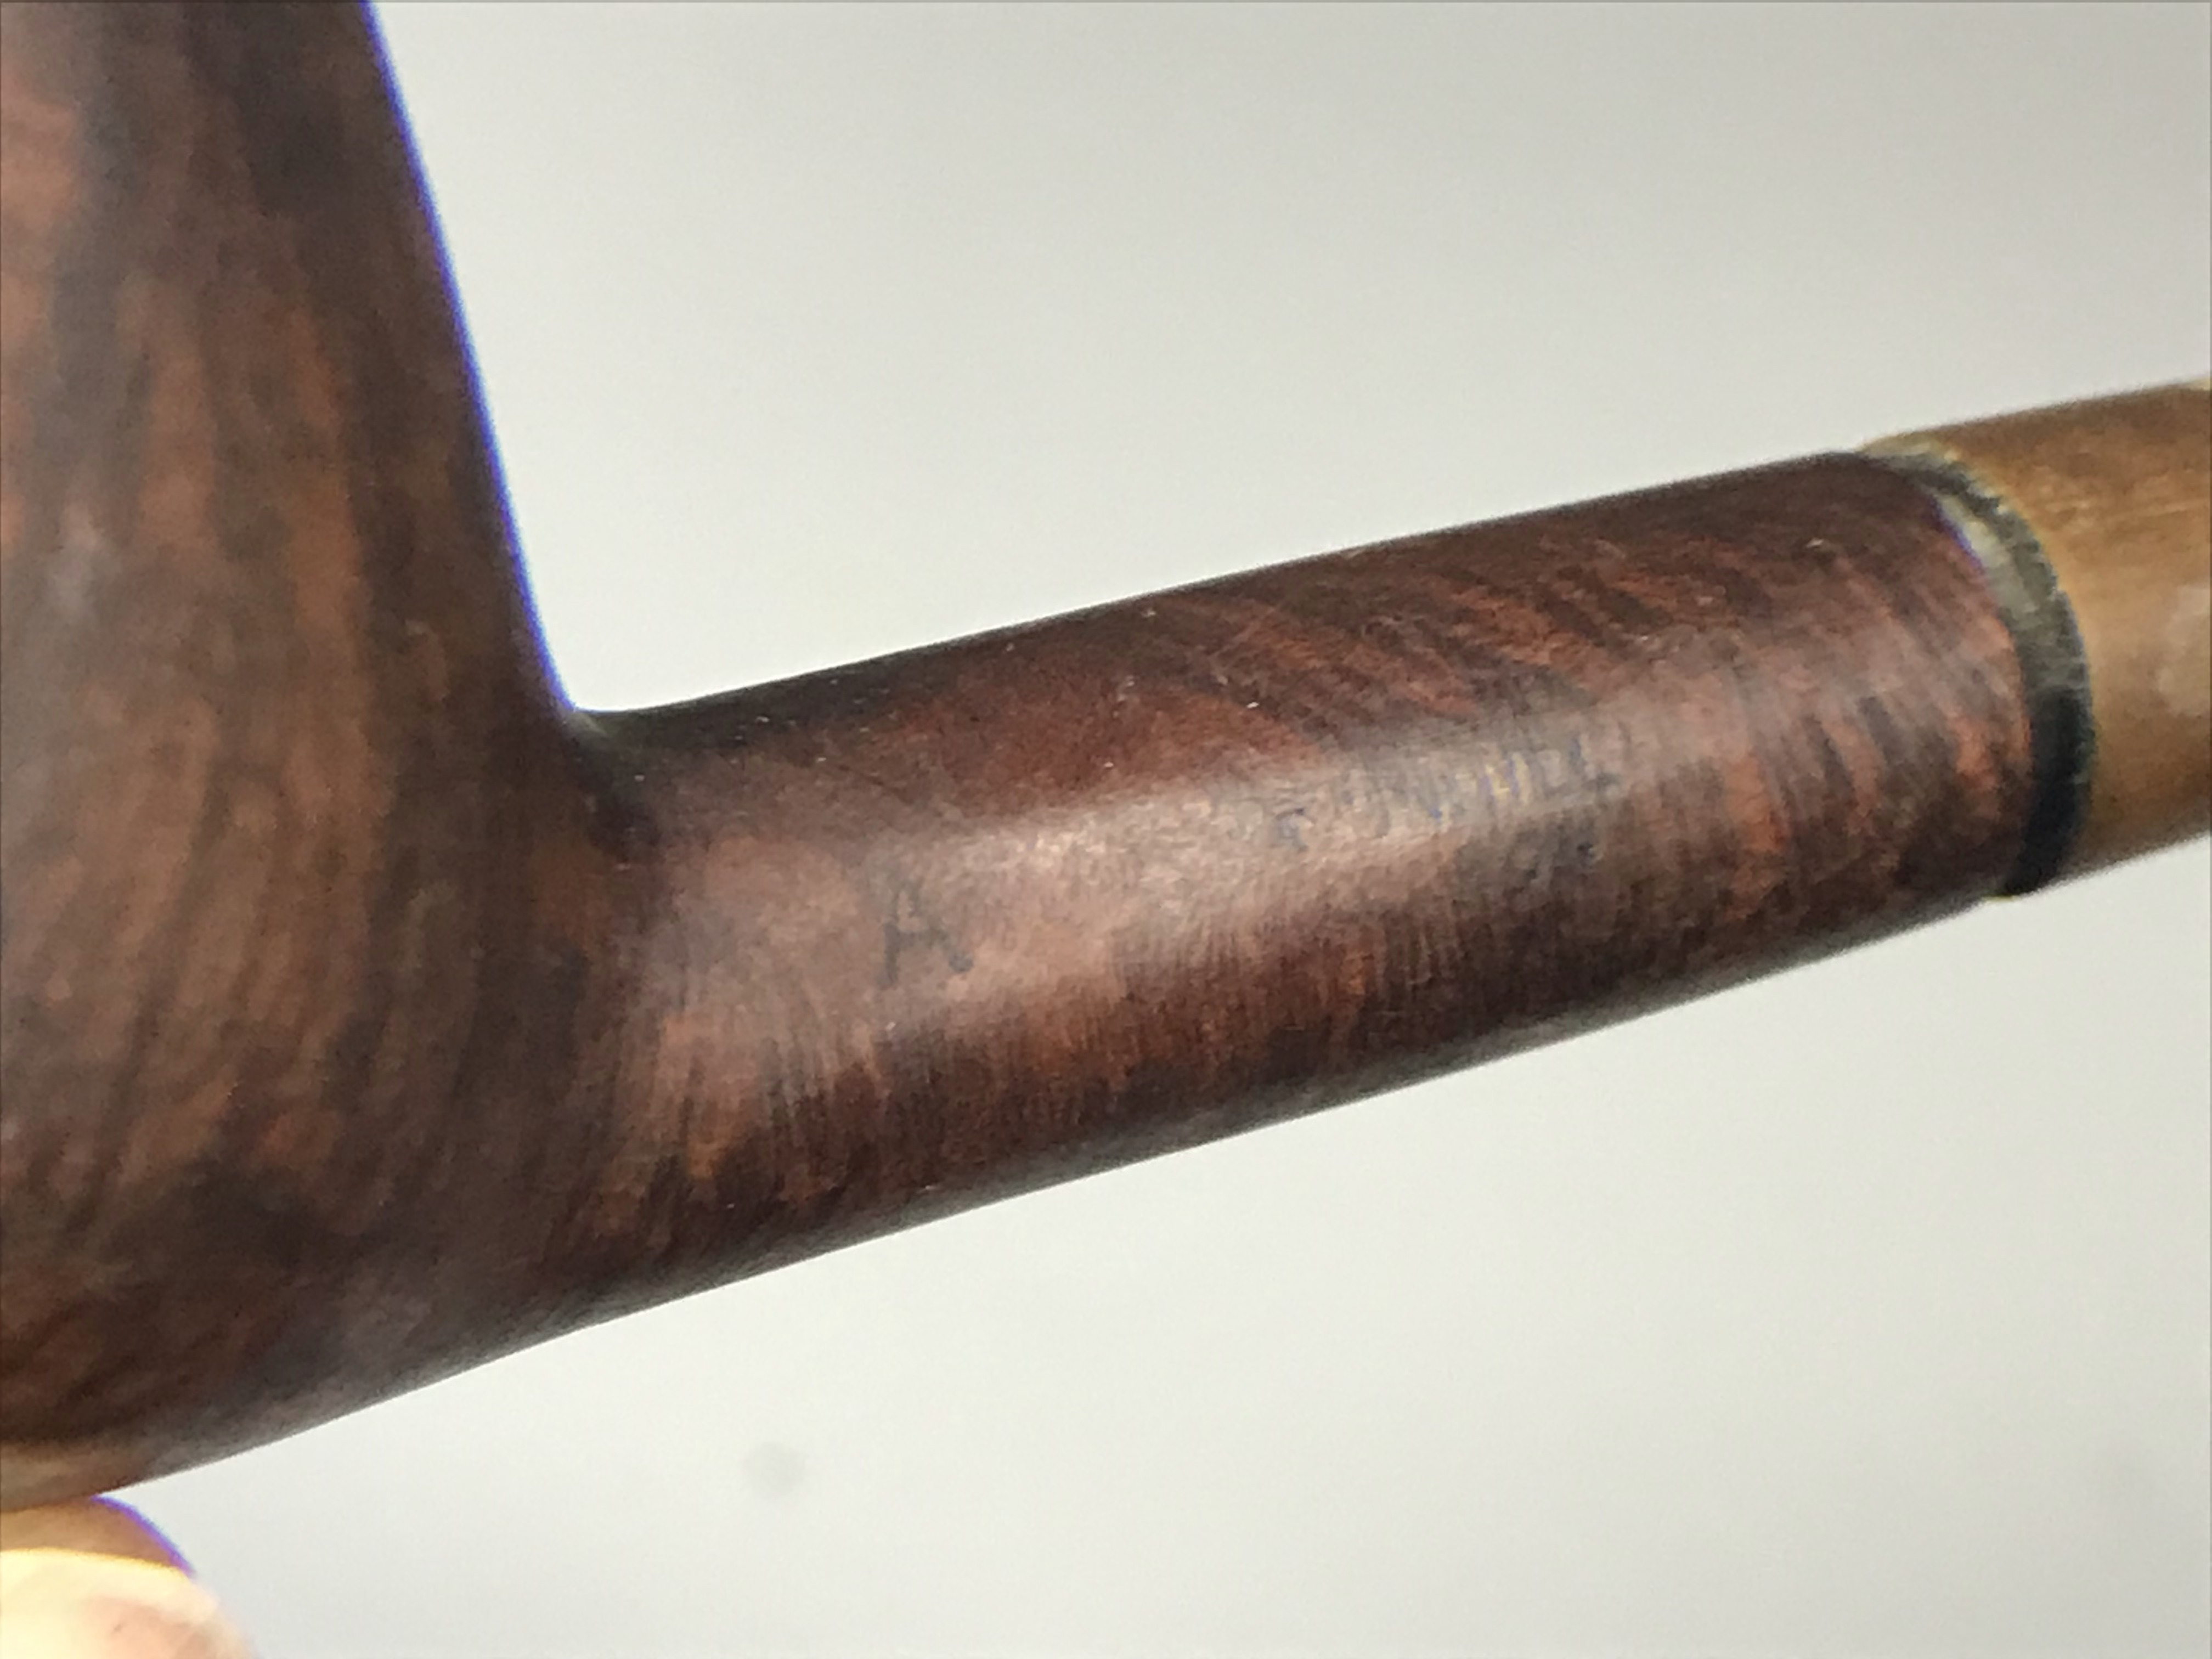

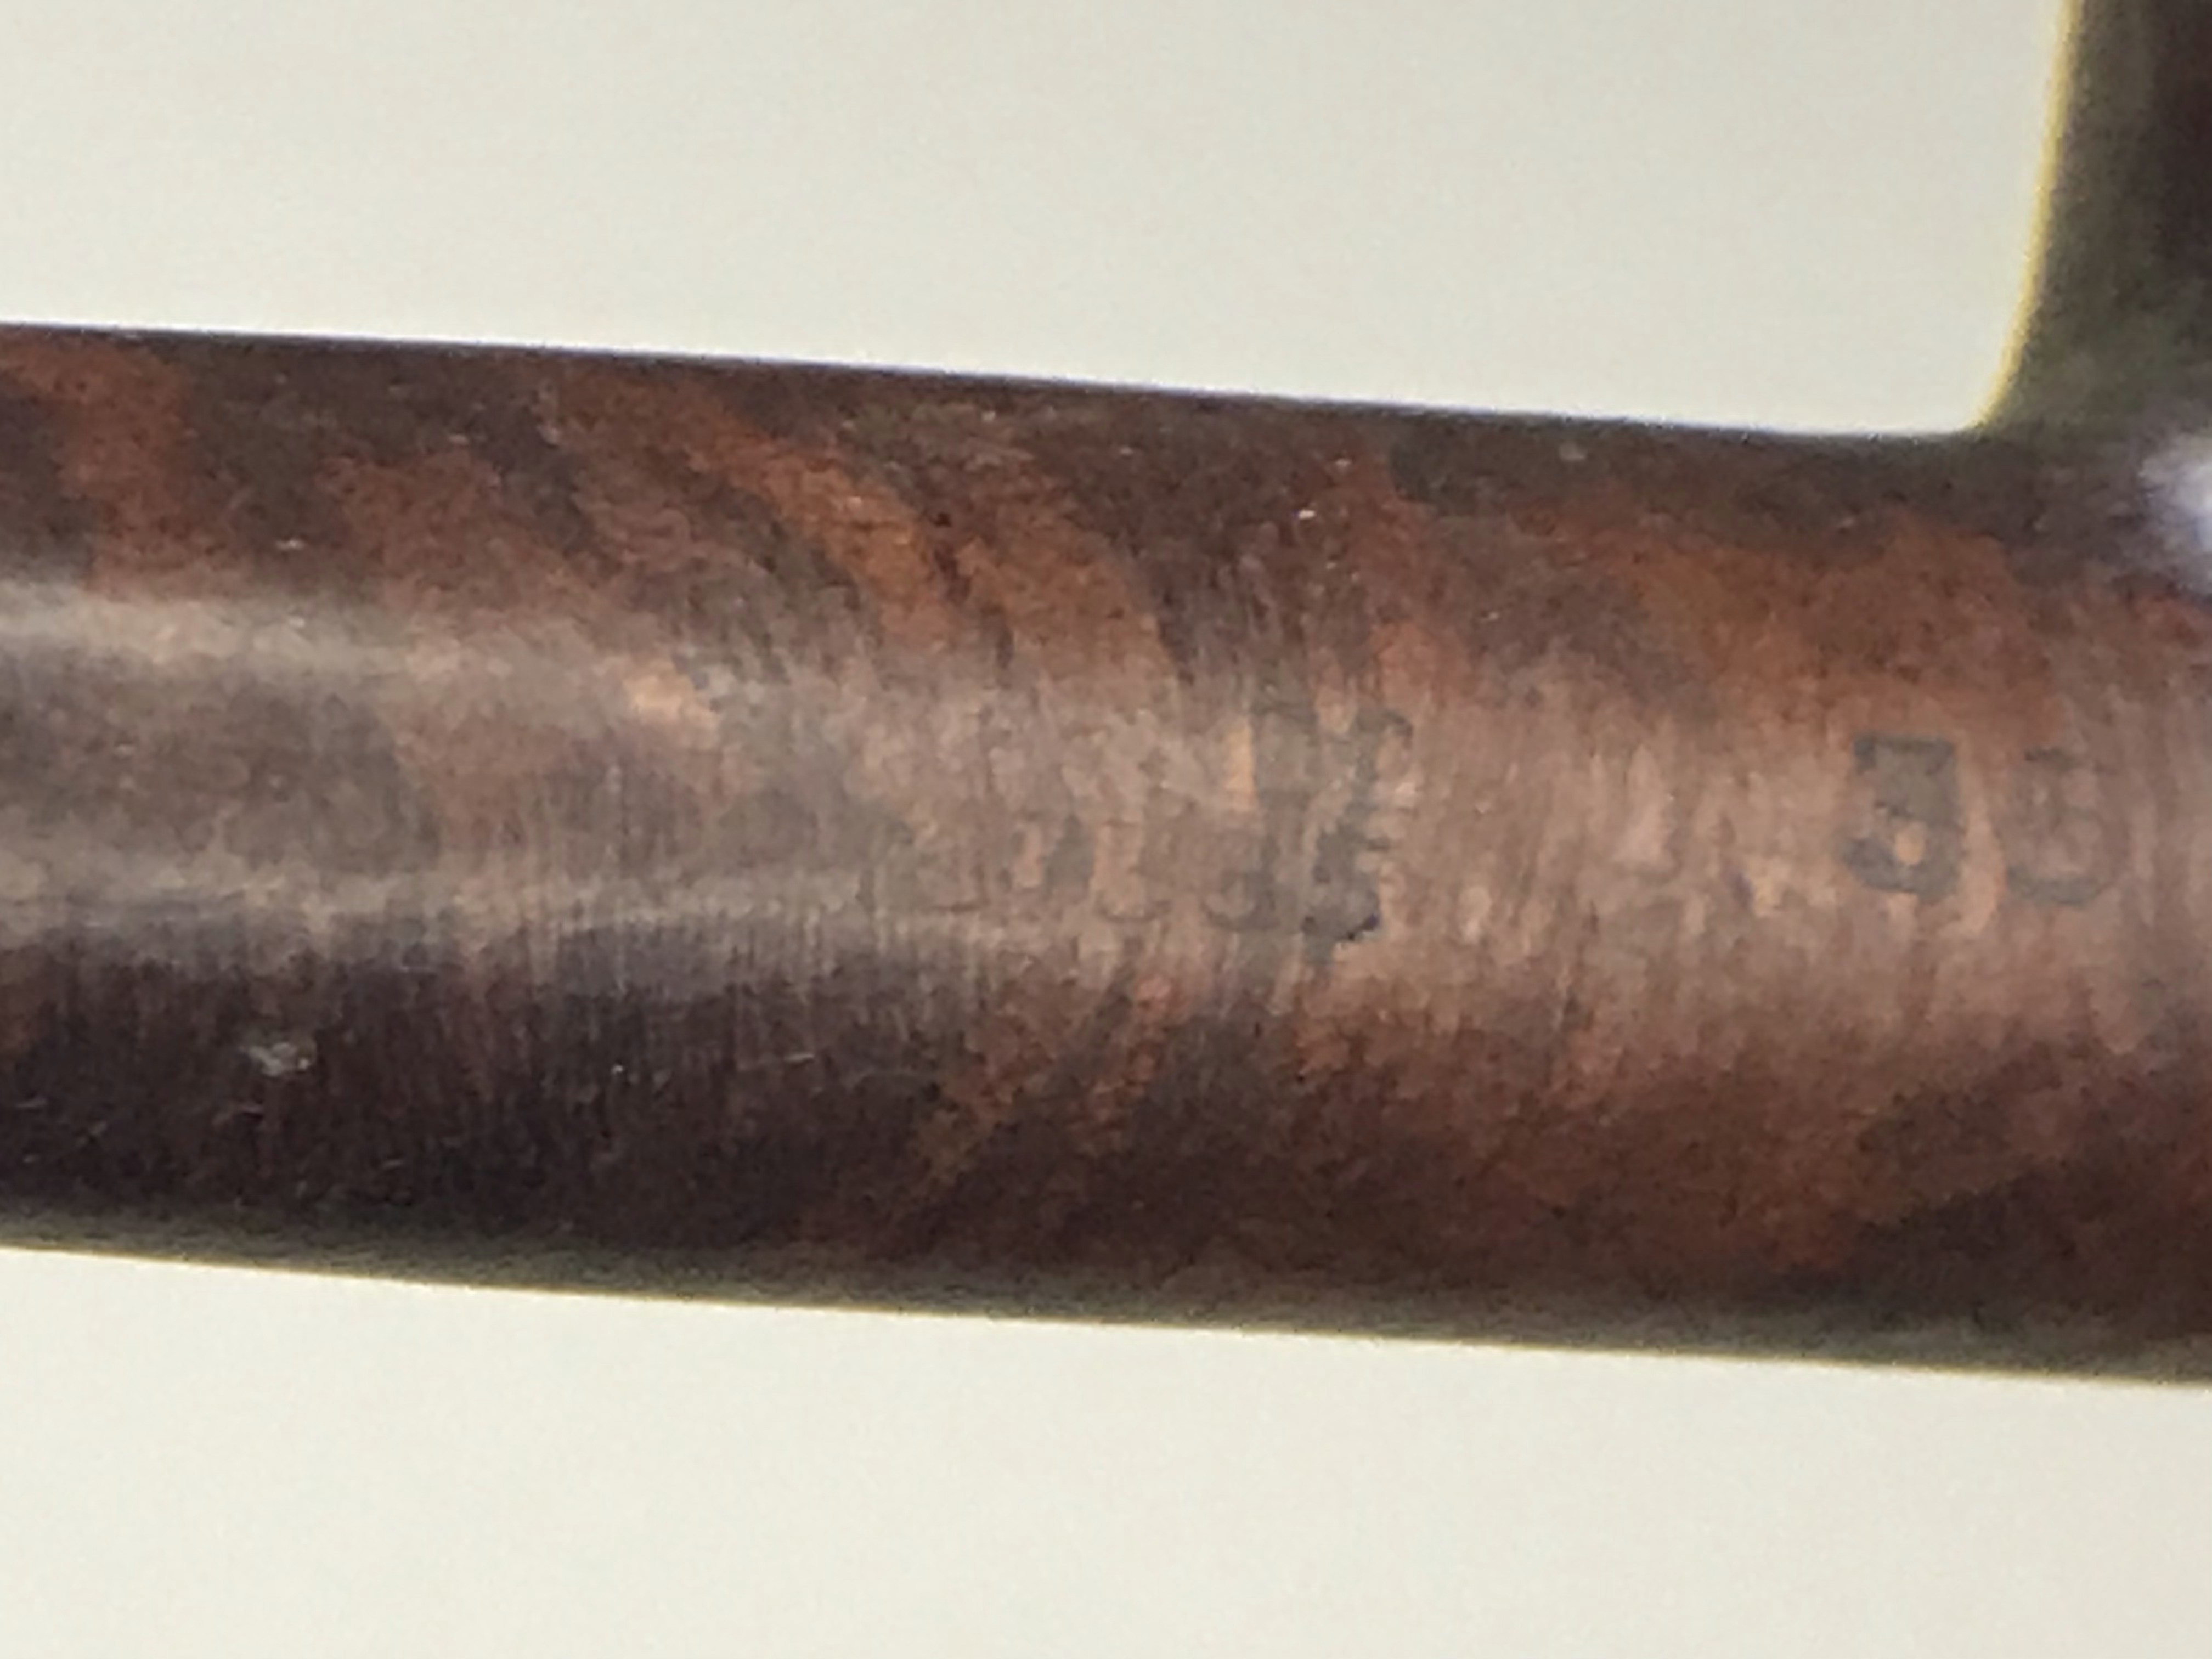

I referred to the Dunhill Dating Guide on Pipedia to see if I could determine the age of this Dunhill based on the information I was able to glean from its initial inspection. I searched for a patent number that ended in “365” and found one, see below.

Dunhill had several patents, one of the patents made for the Canadian market was Patent No. 197365/20. Now to find the date code so I can determine the exact age of the pipe. As you can see below, the mark beside the “D” in ENGLAND is an underscored “0”. This indicates that this pipe was manufactured in 1930 making it 92 years old.

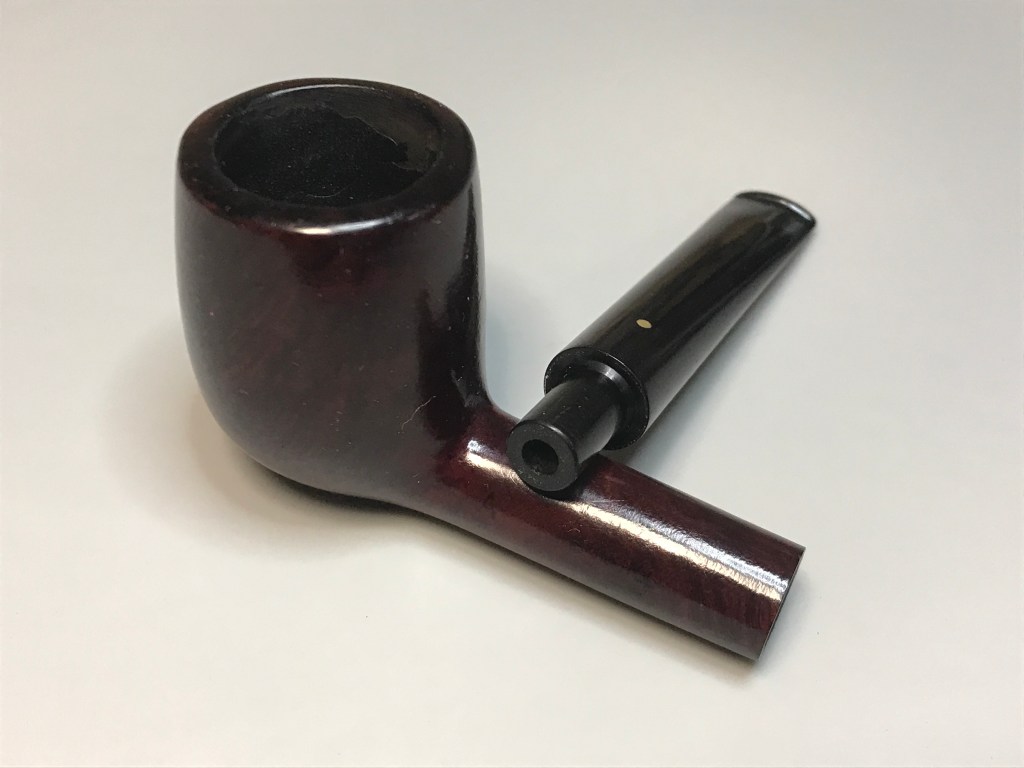
The other information that is important here that I’ve indicated with an arrow above is that this pipe used “Inner tubes with flange”. I’ve highlighted in yellow below how the inner tube would be positioned in the pipe. This will be important further into the restoration.


Step 1: Remove carbon buildup

There was quite a bit of carbon buildup inside the tobacco chamber, however; it was not as problematic as it appears in the picture. It crumbled away relatively easily when I reamed the bowl. It wasn’t long before I was back to the briar wall. Next step will be to ream the draught hole and the mortise.


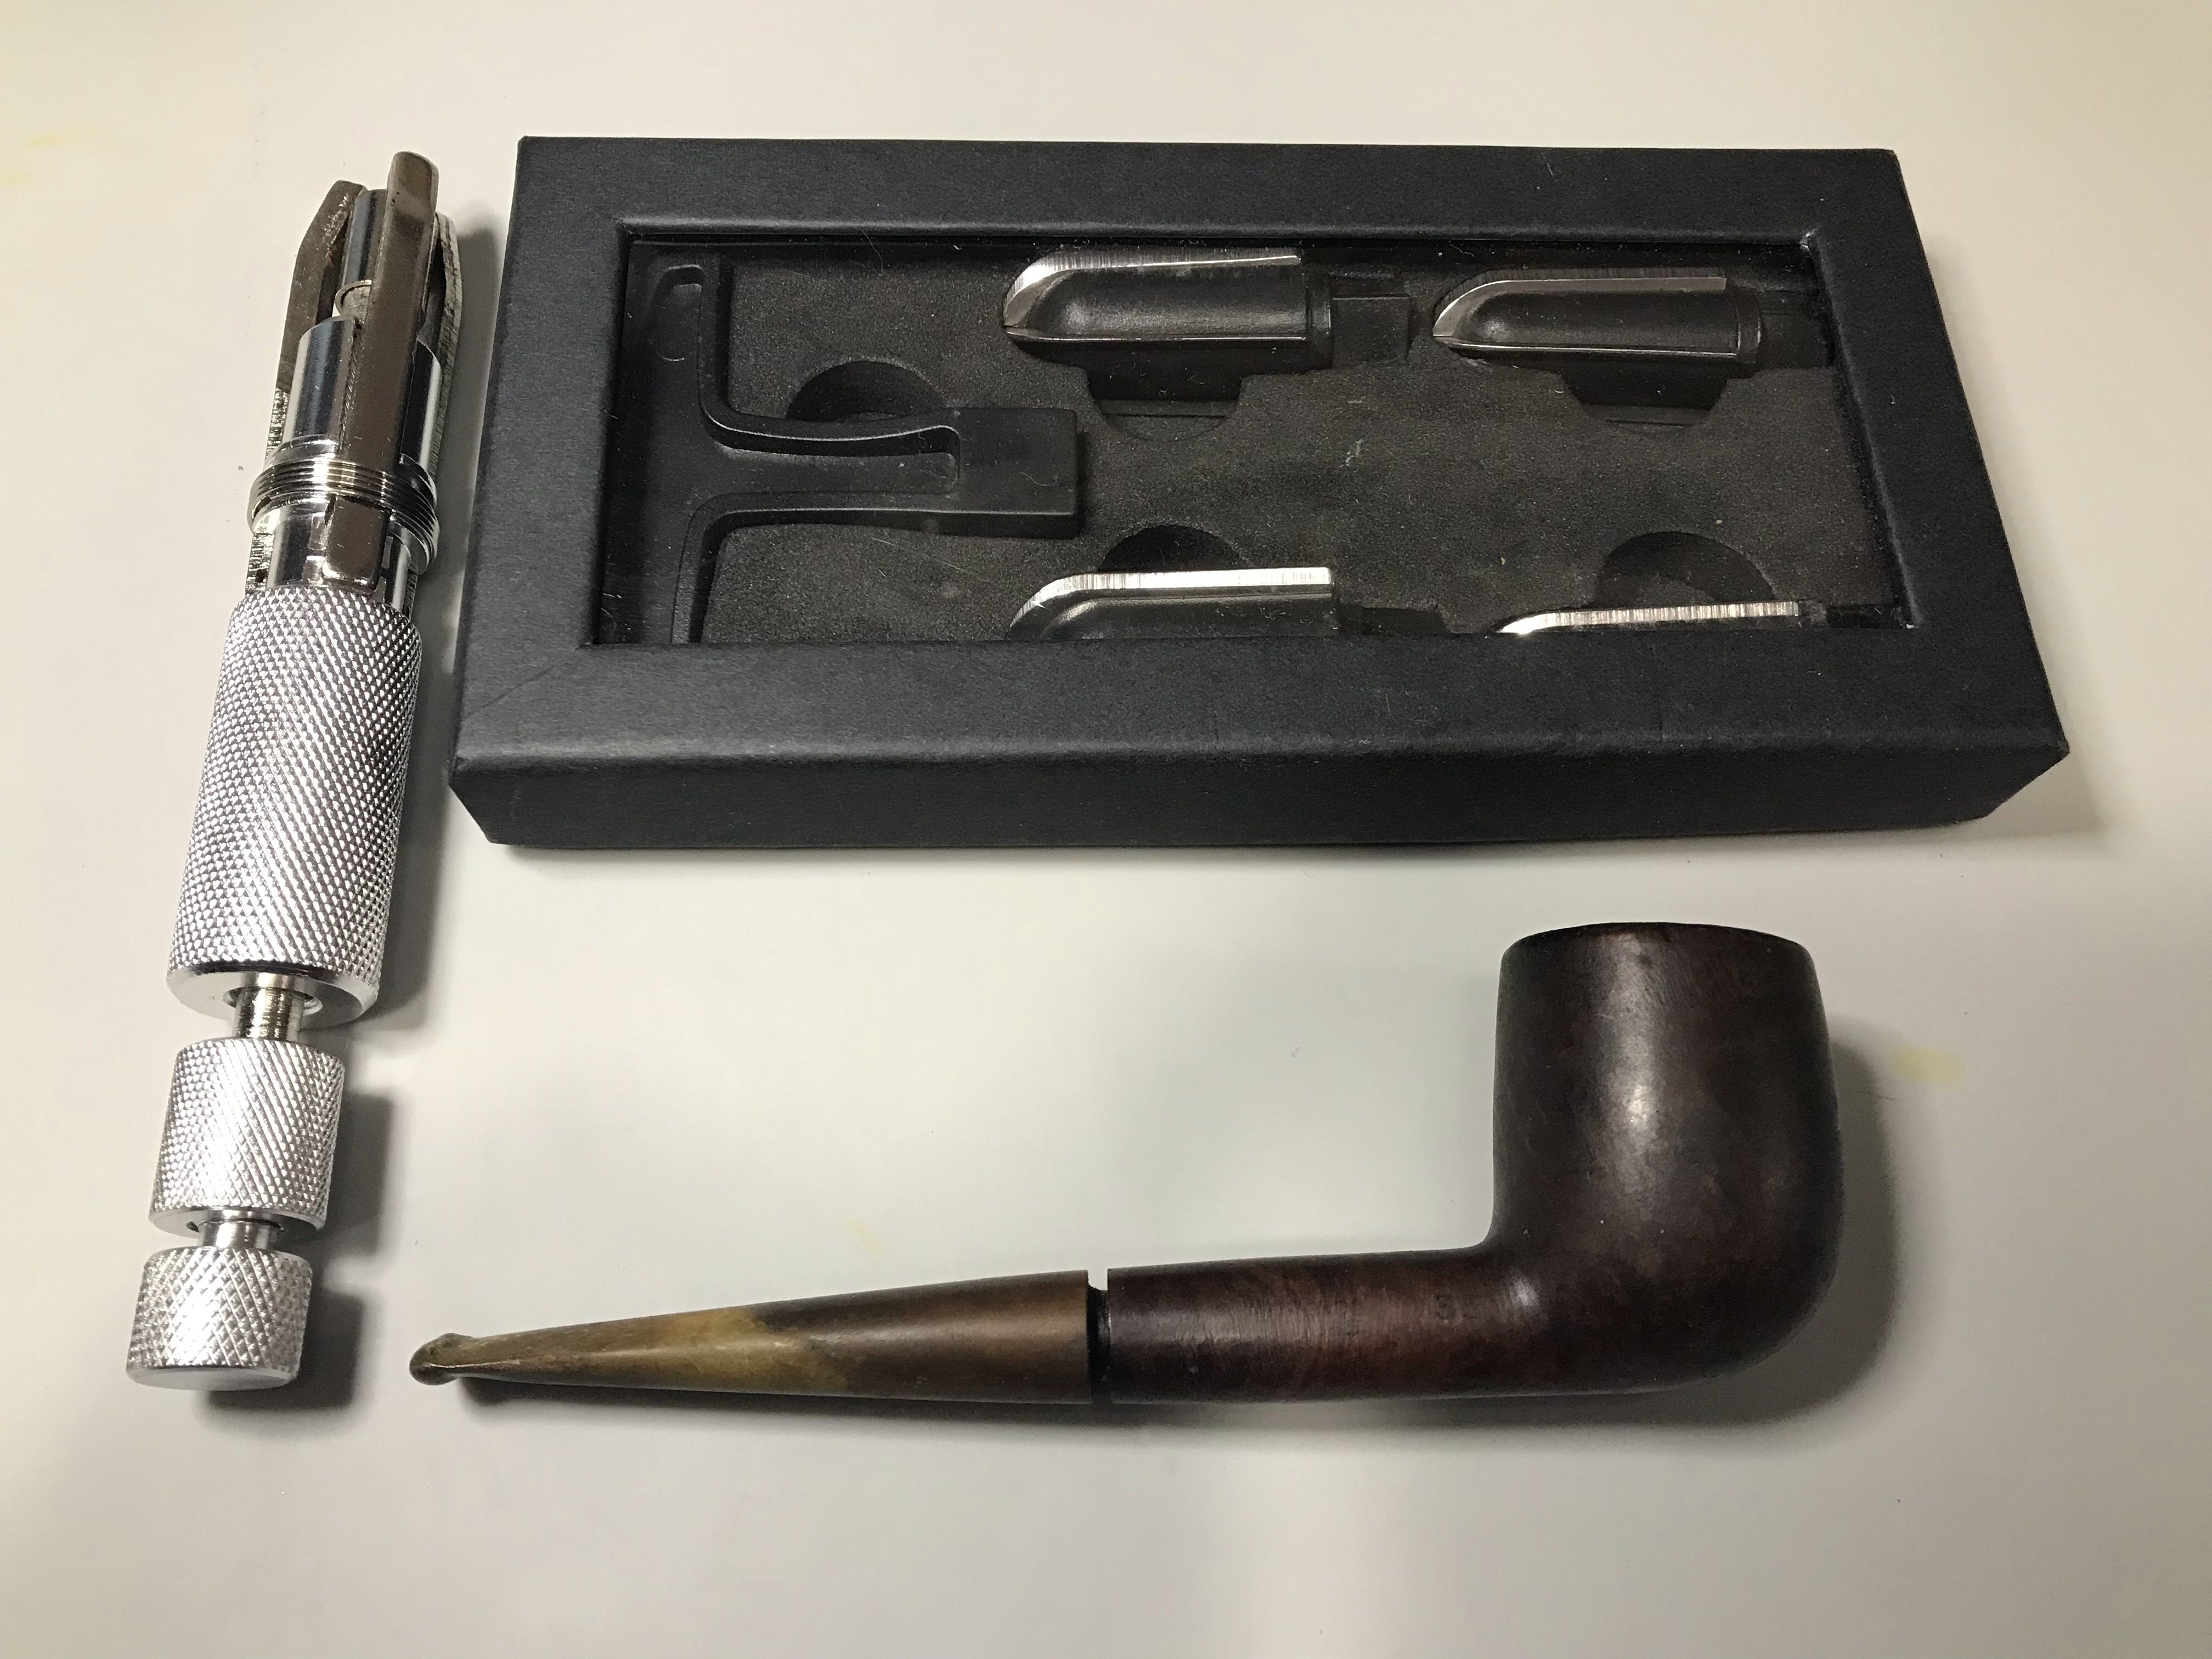
I insert a drill bit into the chuck from my lathe and turn the bit manually to ream the mortise and the draught hole. I start with smaller drill bits and work up to the original size that the pipe would have been drilled with. I do this before I clean with alcohol and pipe cleaners.

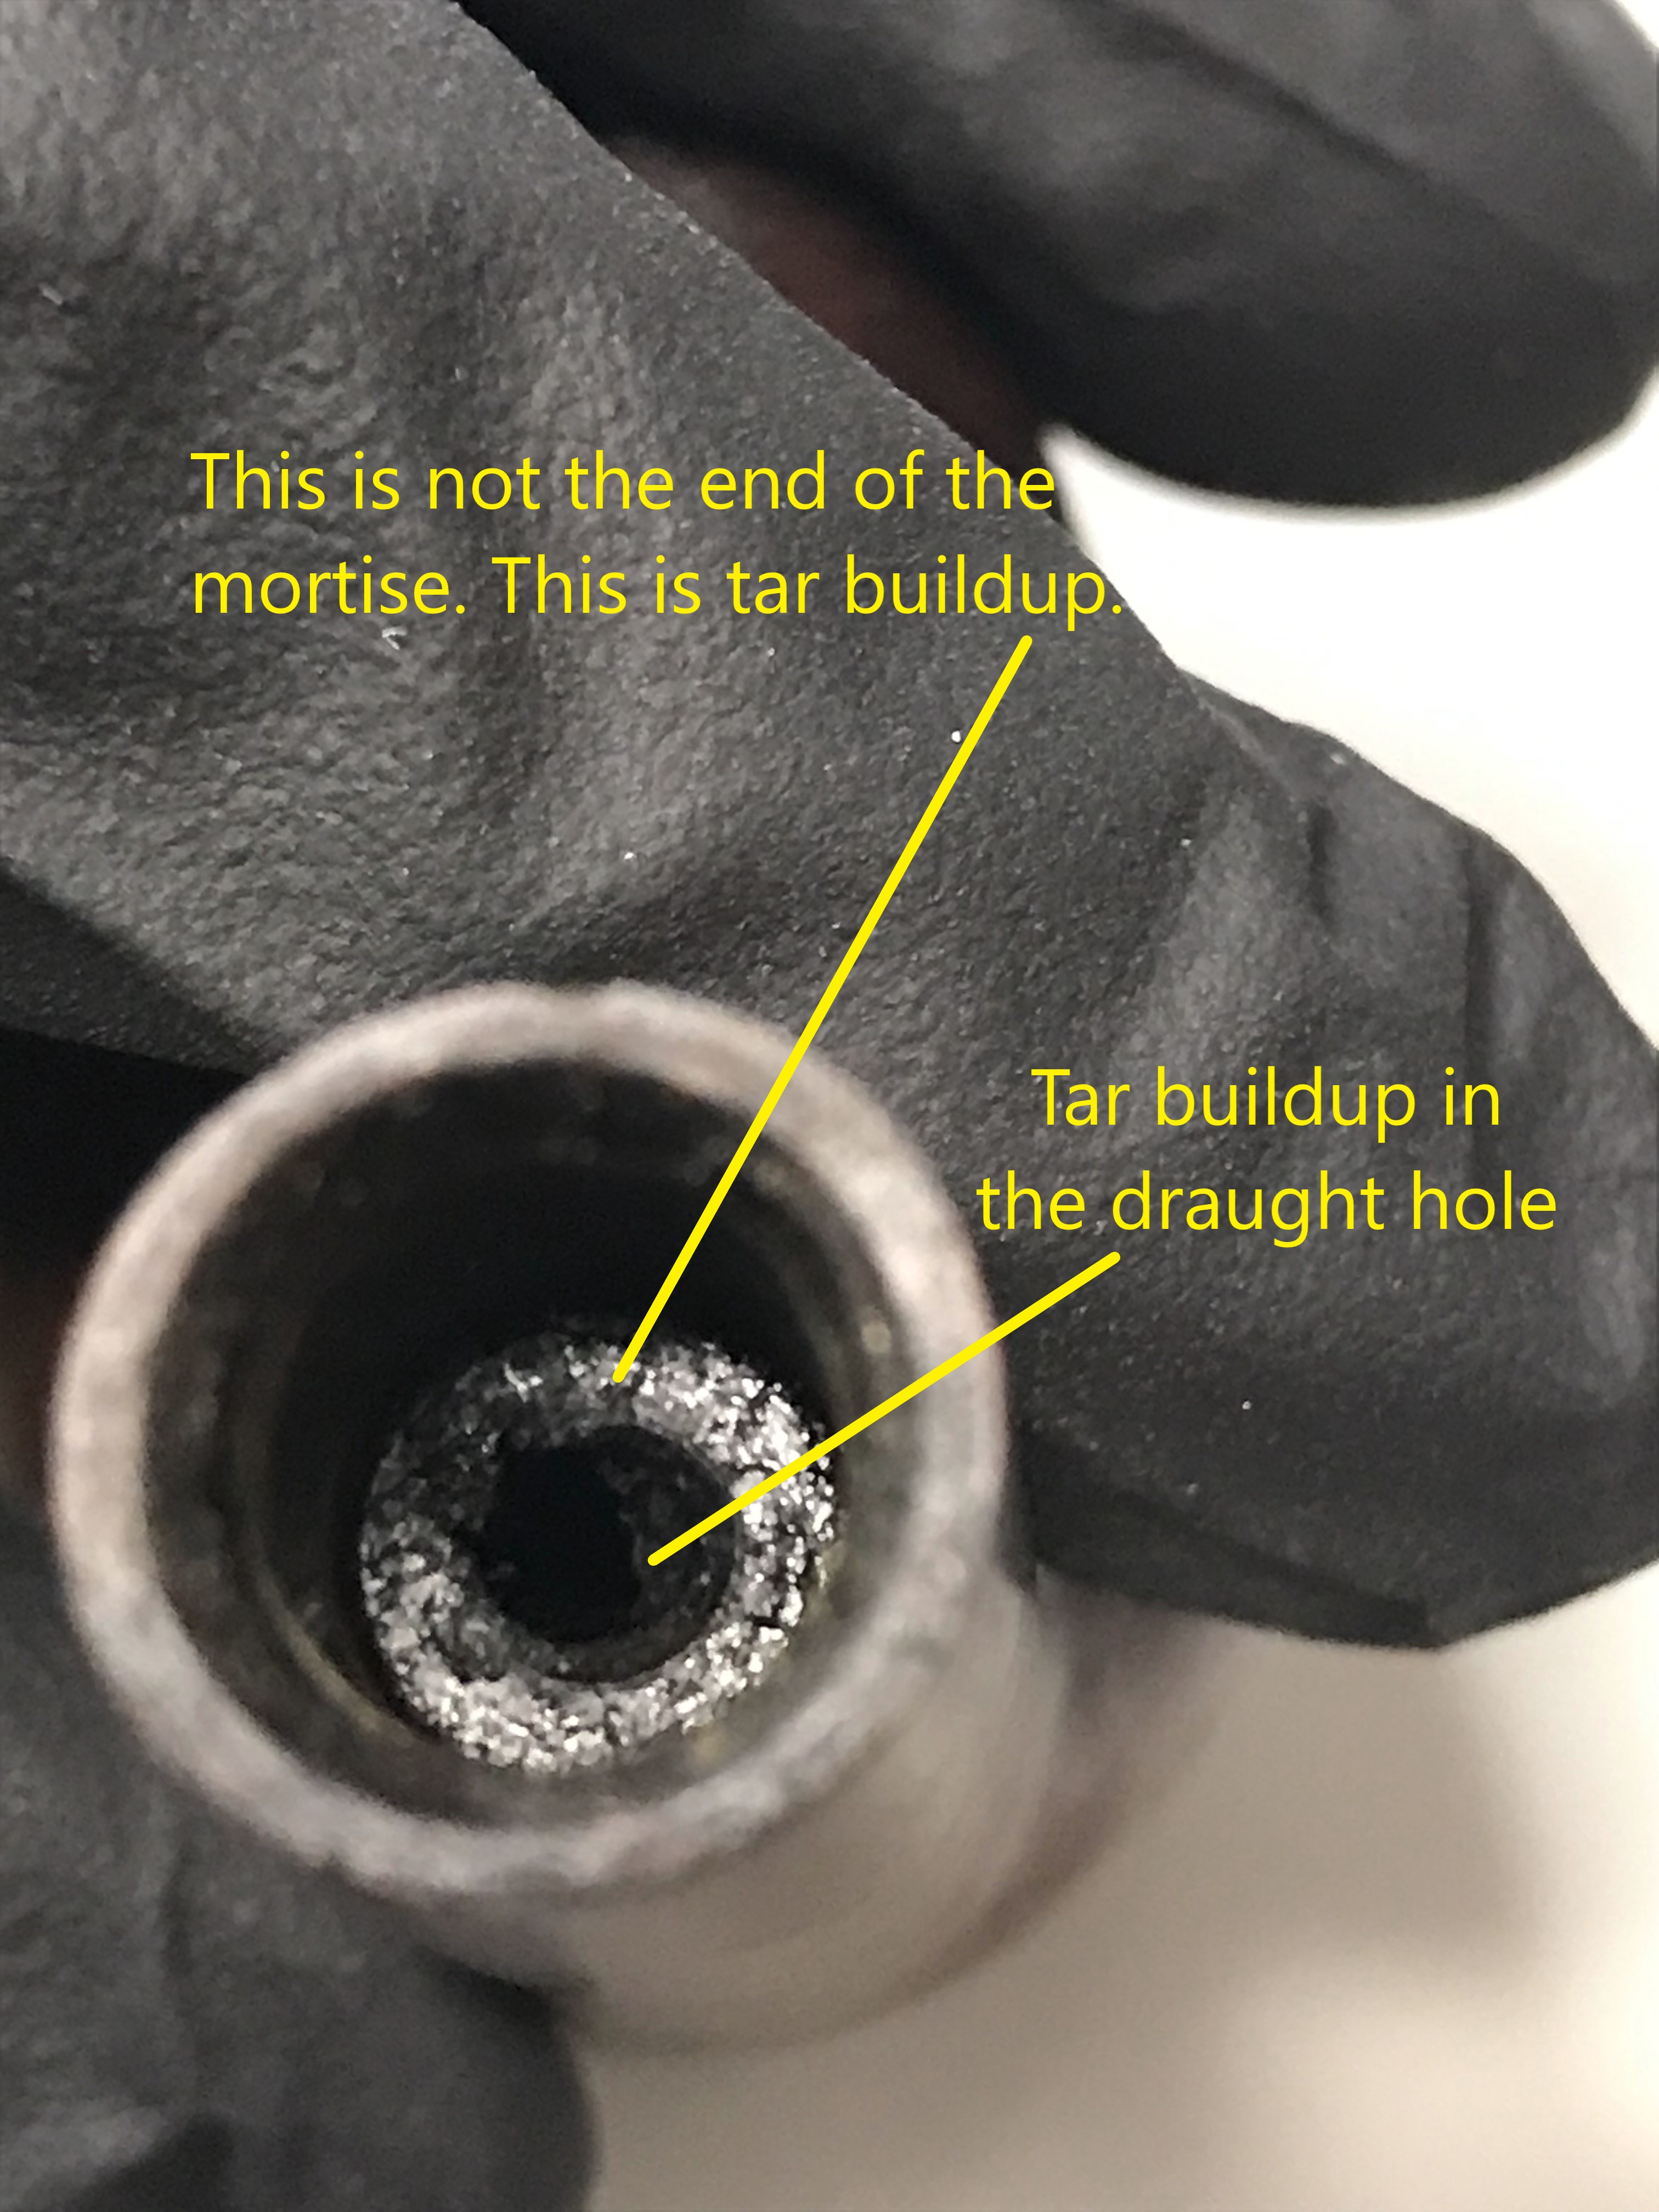
As you can see below I removed quite a bit of matter from the mortise and draught hole. I was able to ream and reface the end of the mortise along with removing and tar or matter that builds up in this area between the tenon and the mortise walls.

When I inspected the condition afterwards, it was clear that the mortise was much deeper than the tenon itself. I used my calipers to measure the difference which you can see below.

There could be a variety of reasons that could have caused this. This Dunhill used the flanged inner tubes, that would mean that the mortise would need to be drilled to accommodate both the flange and tenon in the mortise. Secondly I’m make an assumption that the pipe was intended to be smoked with the inner tube in place, as such a gap between the tenon and the end of the mortise would be inconsequential. This may be a common occurrence with some of these older Dunhills. But I’m making some assumptions here. Reader, if you have some knowledge on this feel free to share!
Step 2: Clean & Deoxidize the stem


The stem was equally as clogged as the stummel. I used a combination of methods including using a drill bit to ream the accumulated tars from the stem. With every turn of the drill bit, more and more matter came out. I couldn’t even bother trying to clean with alcohol until I pulled out all the crusty internal buildup.

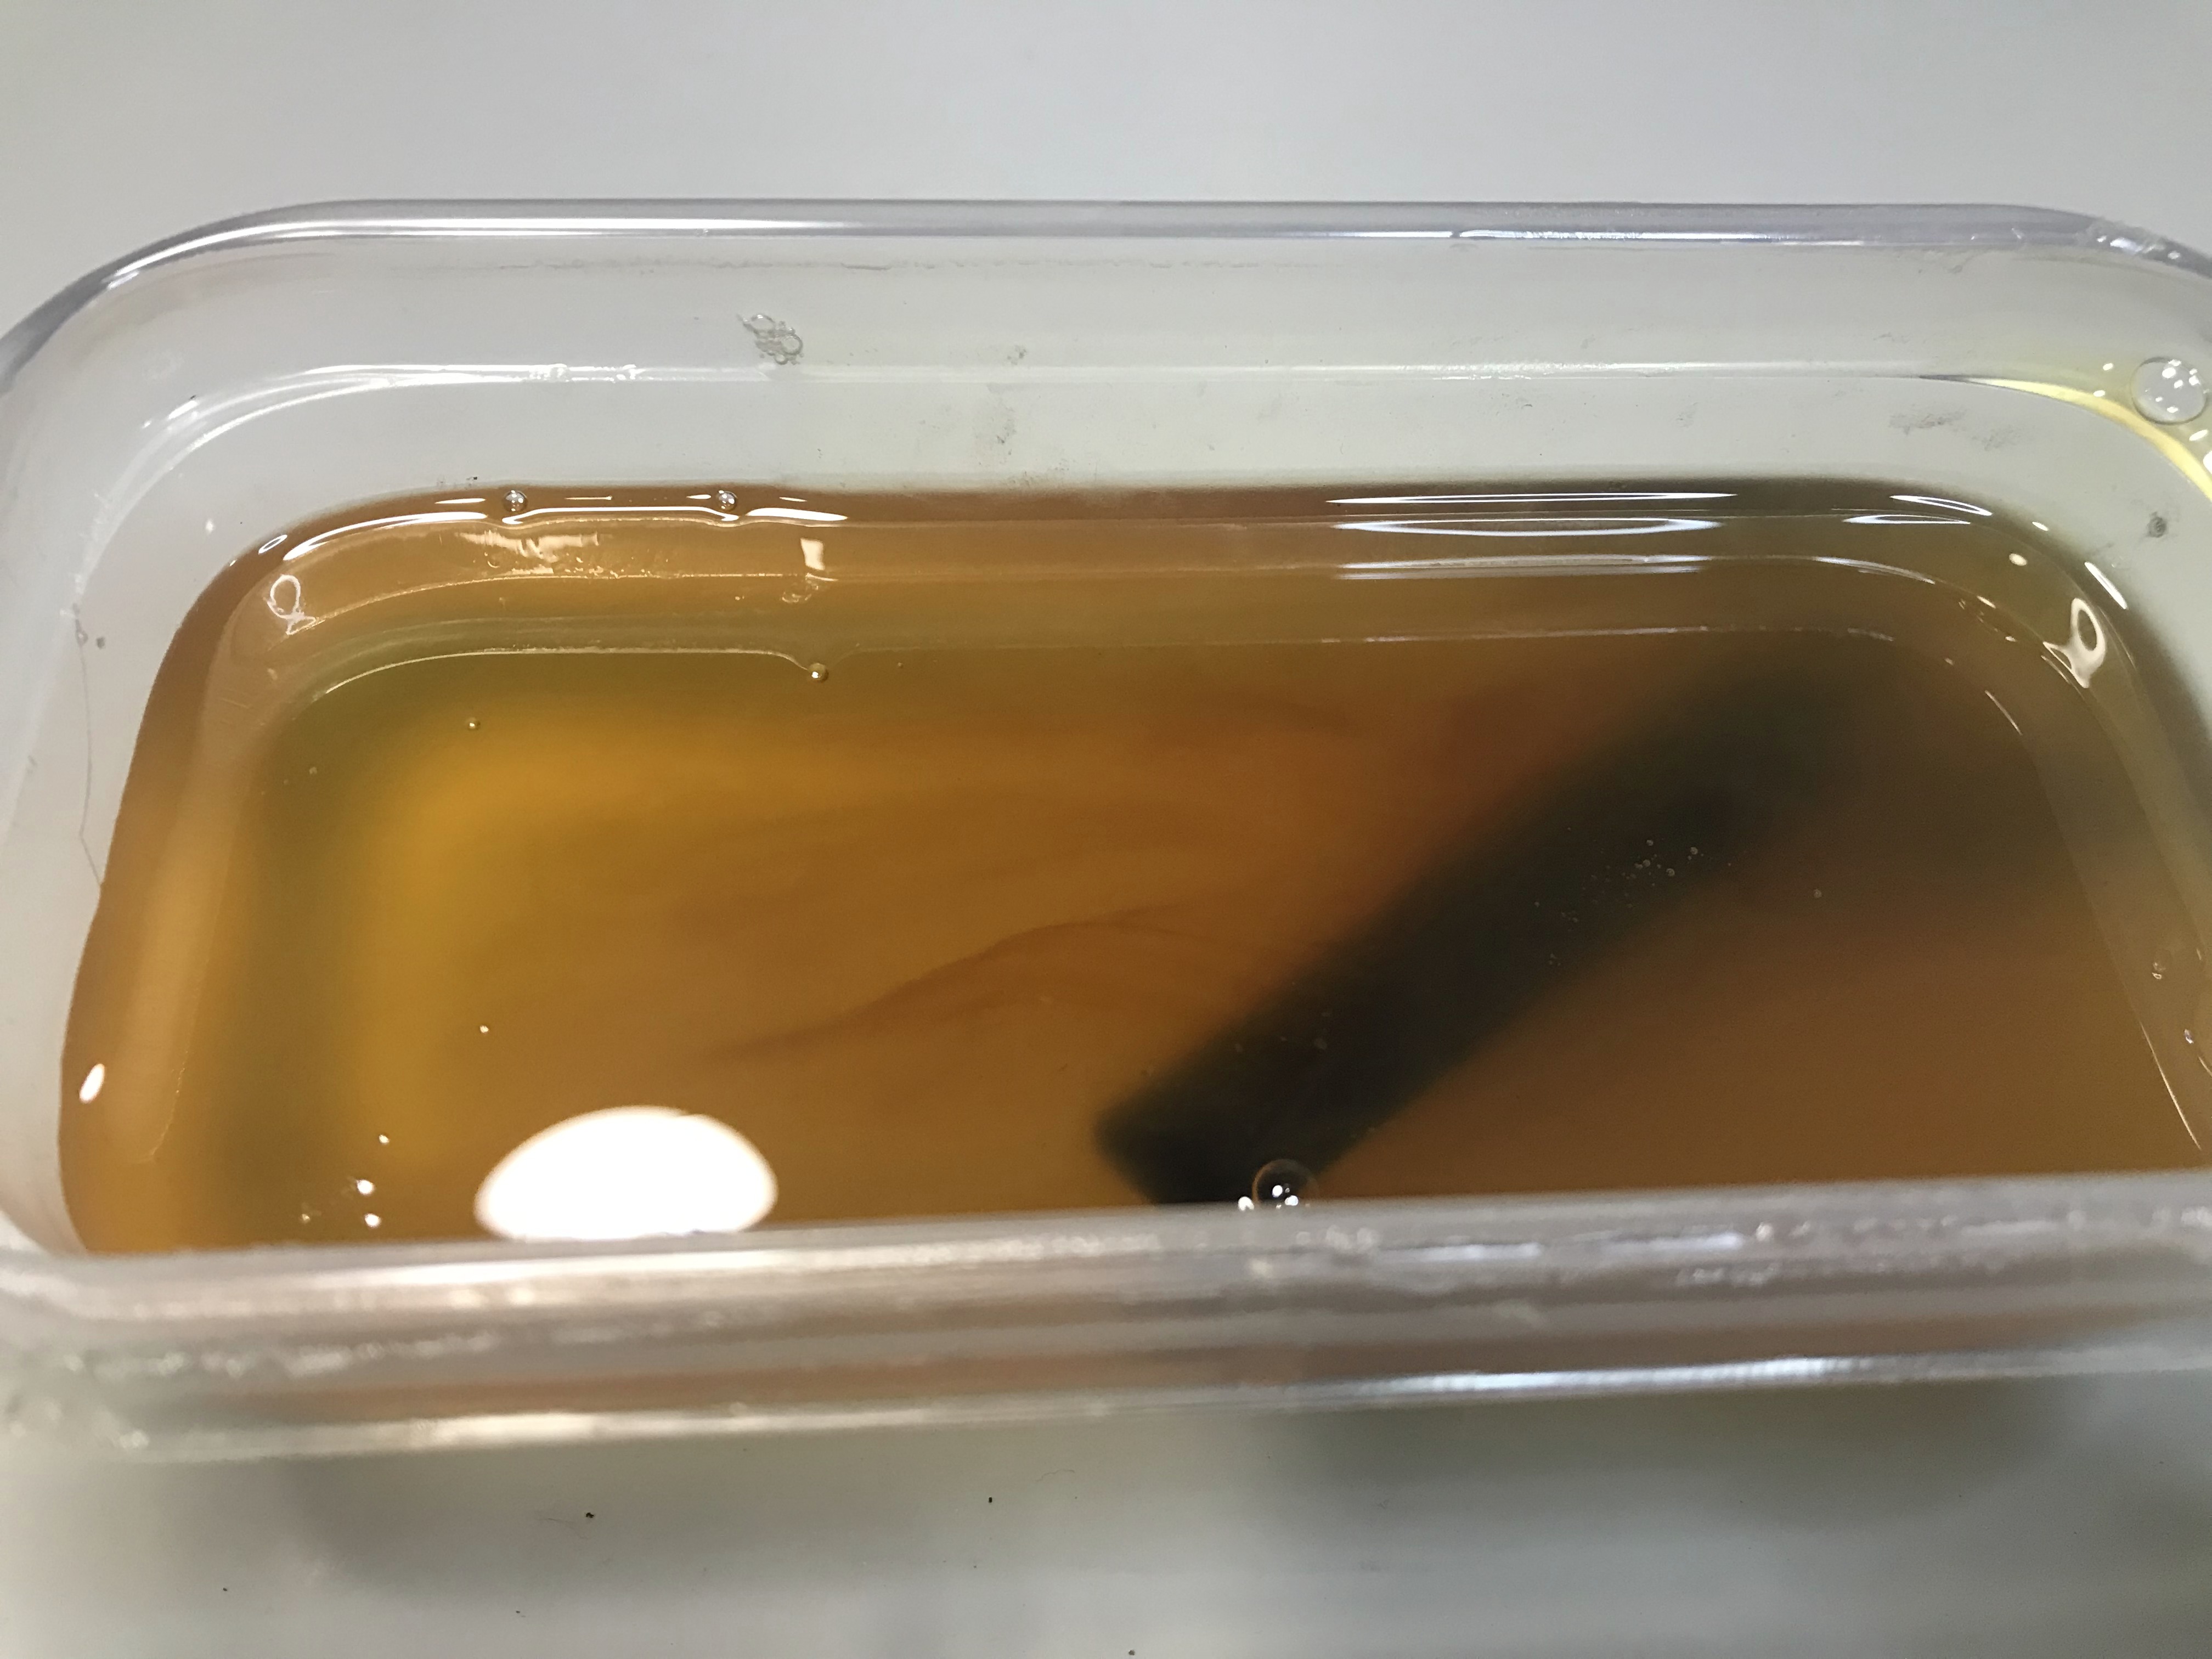

Once the internals of the stem were clean, I soaked it for 24 hrs in Mark Hoover’s Deoxidizer, available at lbpen. The results are ideal. You can see the brown oxidation has been completely removed.
Step 3: Clean & Recondition the stummel
While the stem was soaking, I used this opportunity to thoroughly clean and recondition the stummel. Thankfully due to all the prep work with reaming, I didn’t need to use many pipe cleaners to clean the draught hole. I inserted some cotton balls into the tobacco chamber and the mortise then soaked them in Isopropyl alcohol for 24 hrs.


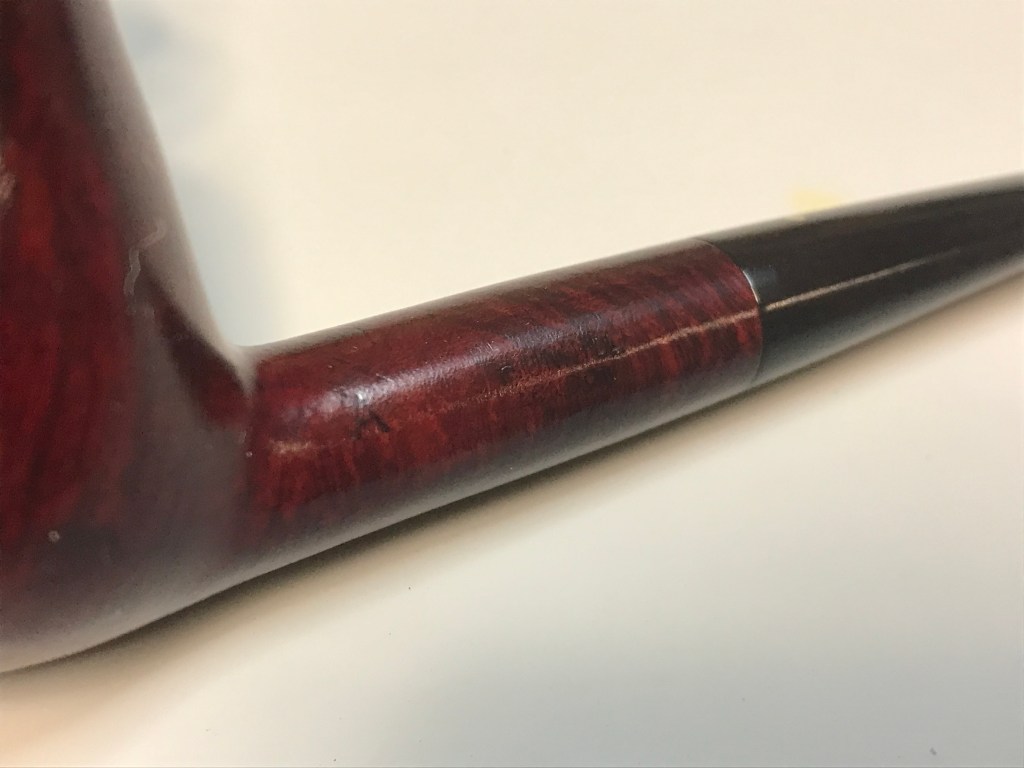
With the stummel cleaned and reconditioned, it was time to scrub 92 years worth of filth off the pipe. For this I use a toothbrush and scrub the pipe with Murphy’s Oil Soap.


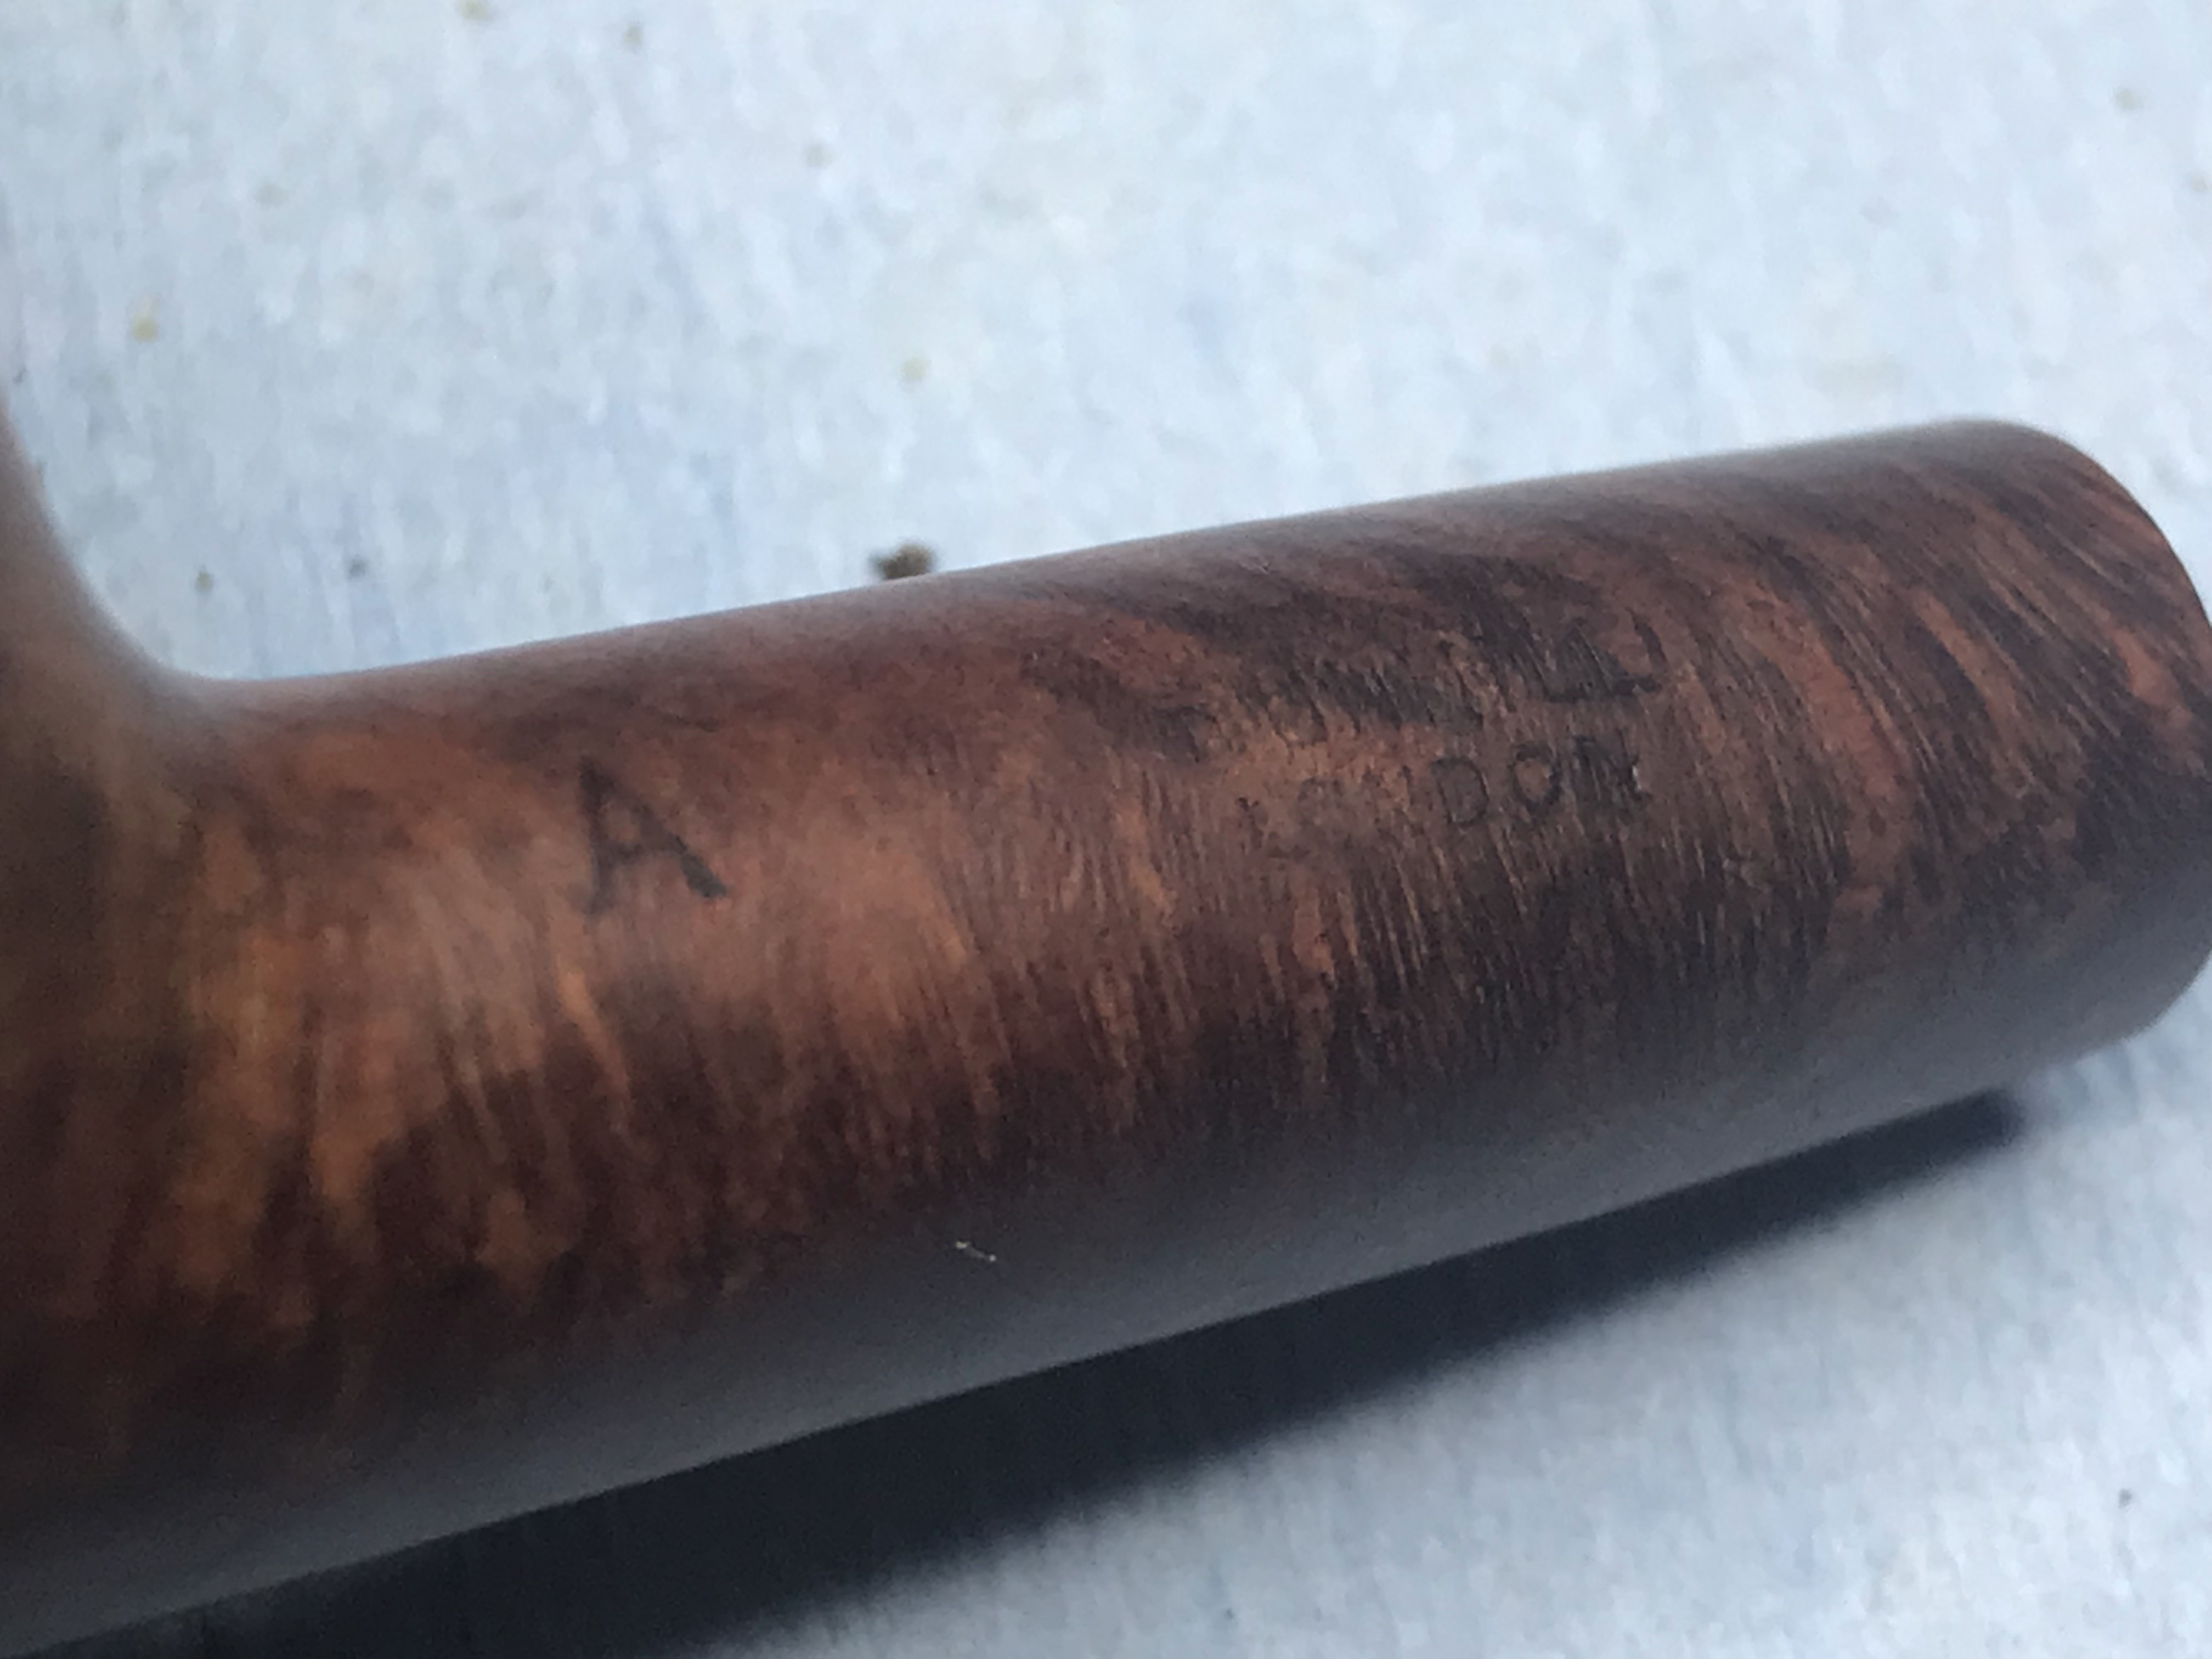
With the stummel cleaned, you can see the markers mark much clearer on the shank, verifying my initial inspection.
Step 4: Stem Repair
I turned my attention back to the stem to remove the tooth dents and chatter. The button was deformed and almost nonexistent from years of the smoker clenching the stem in their teeth.

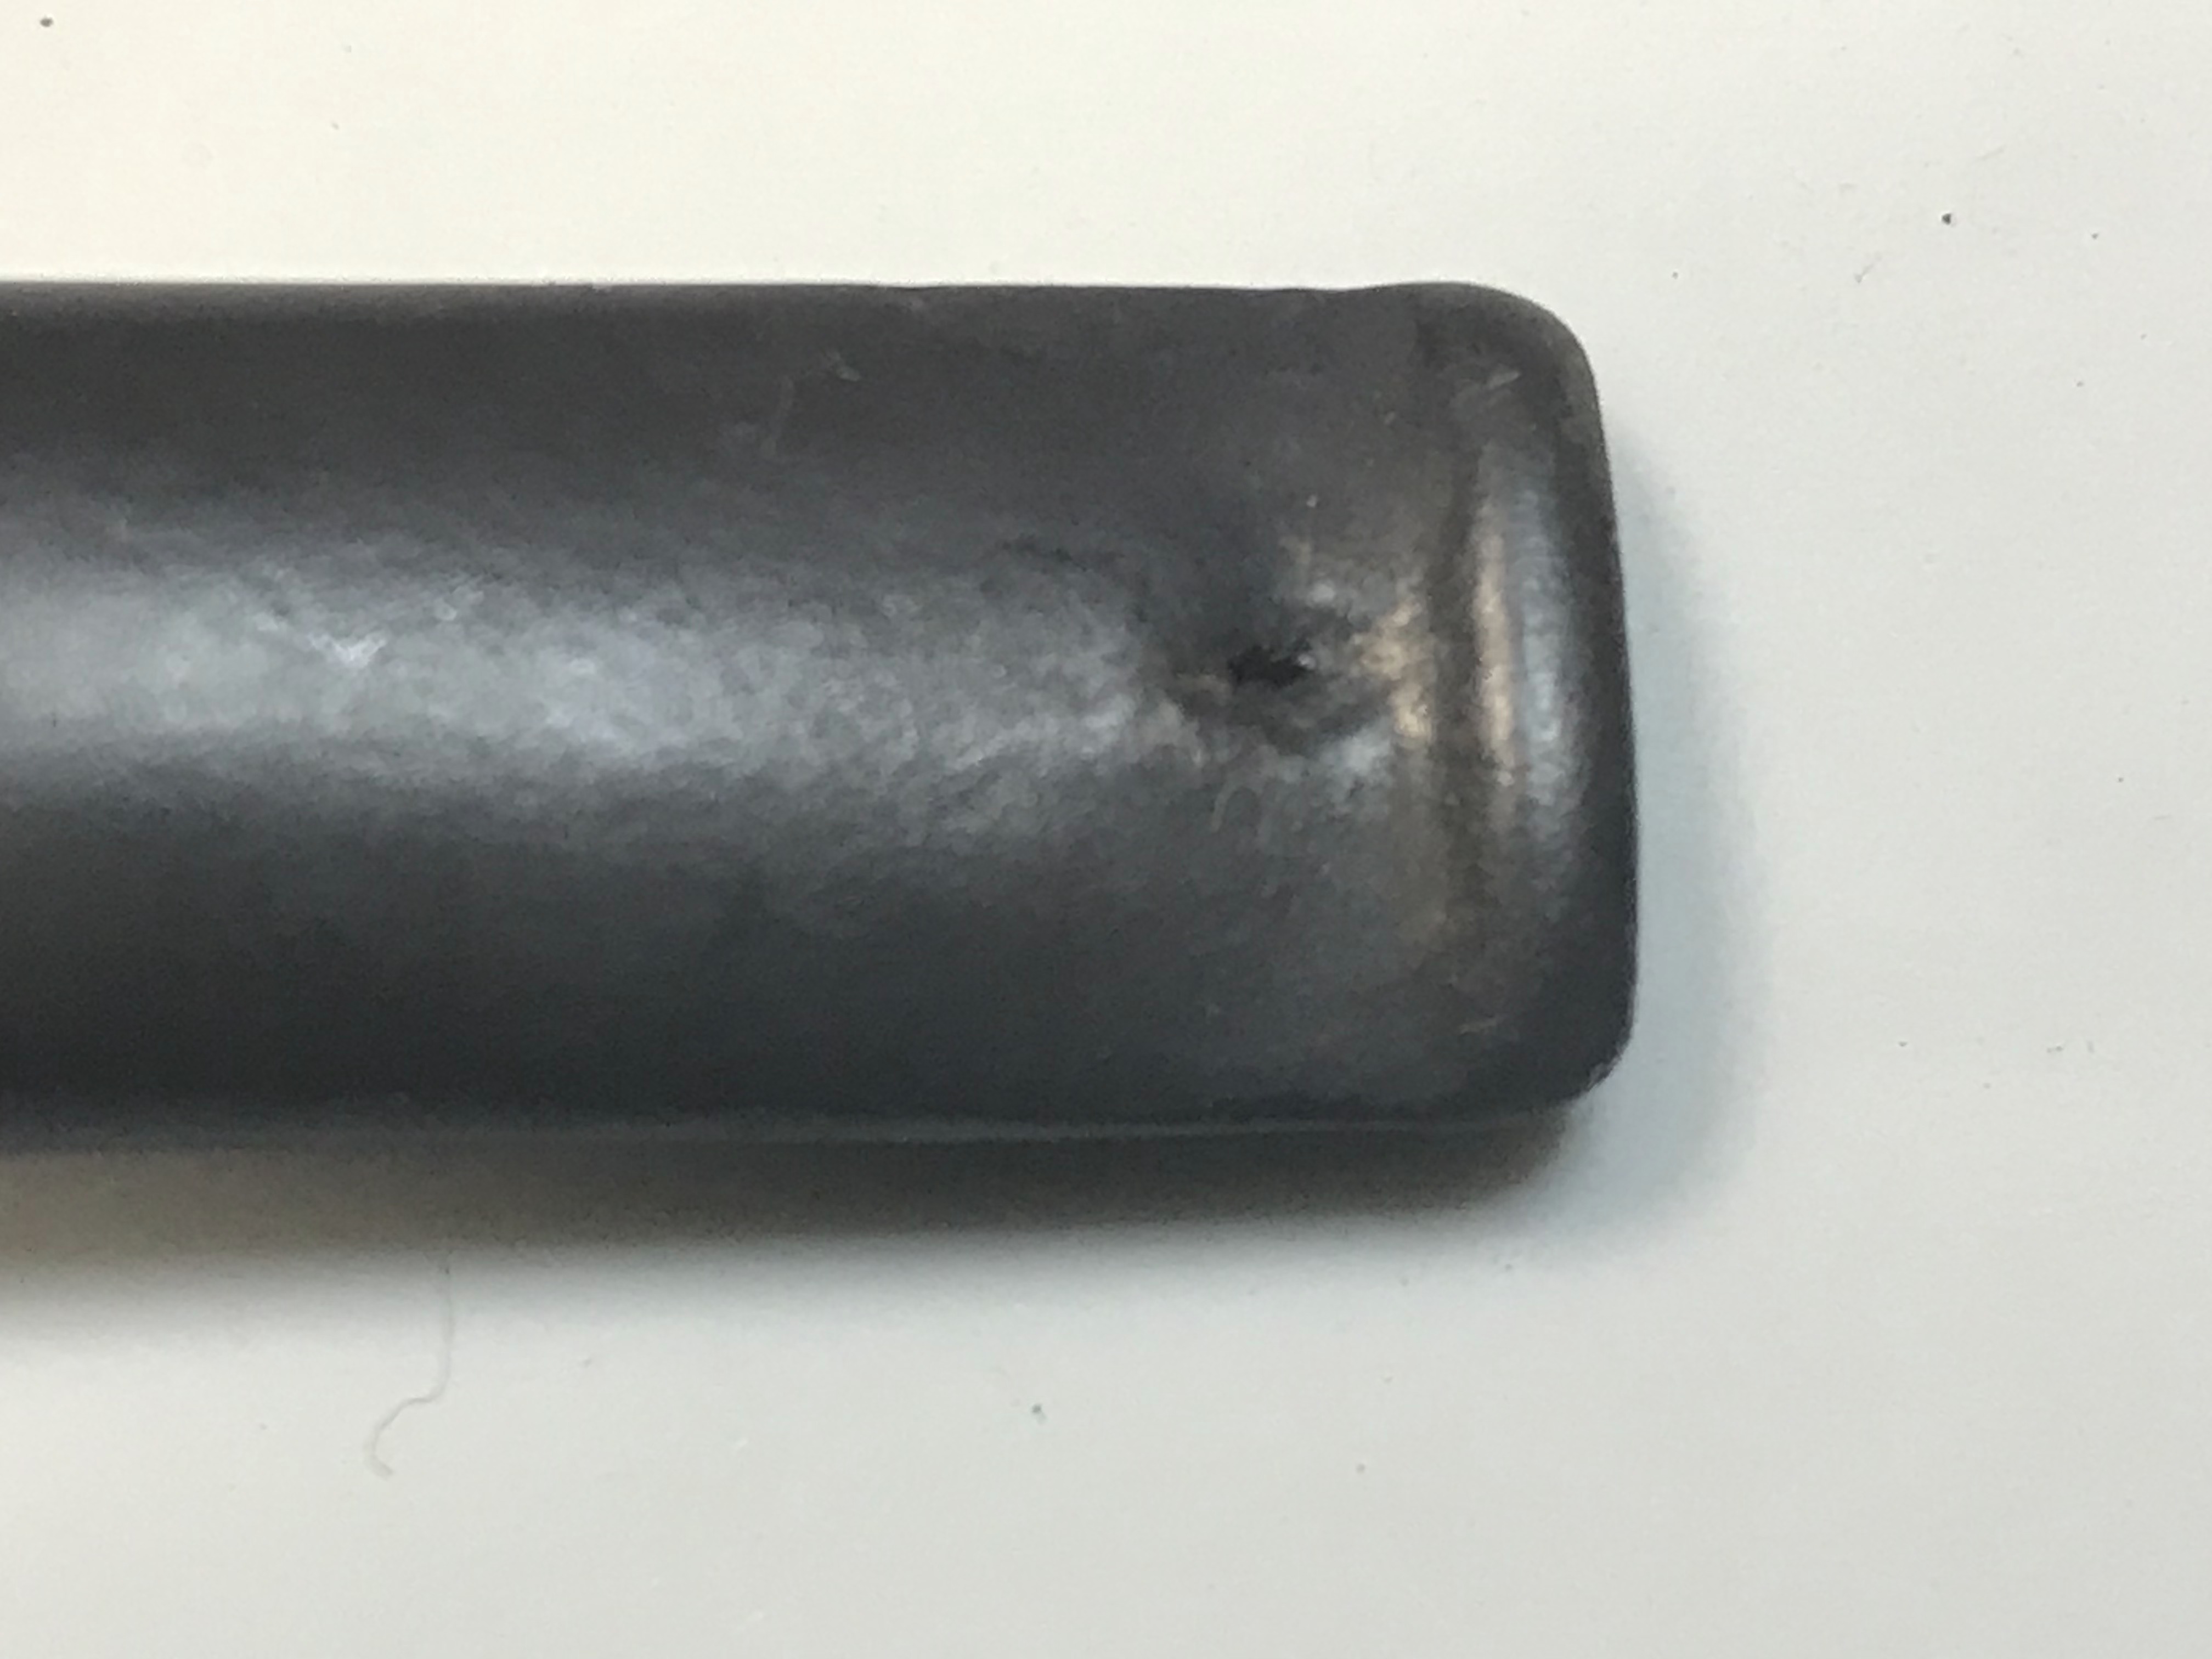
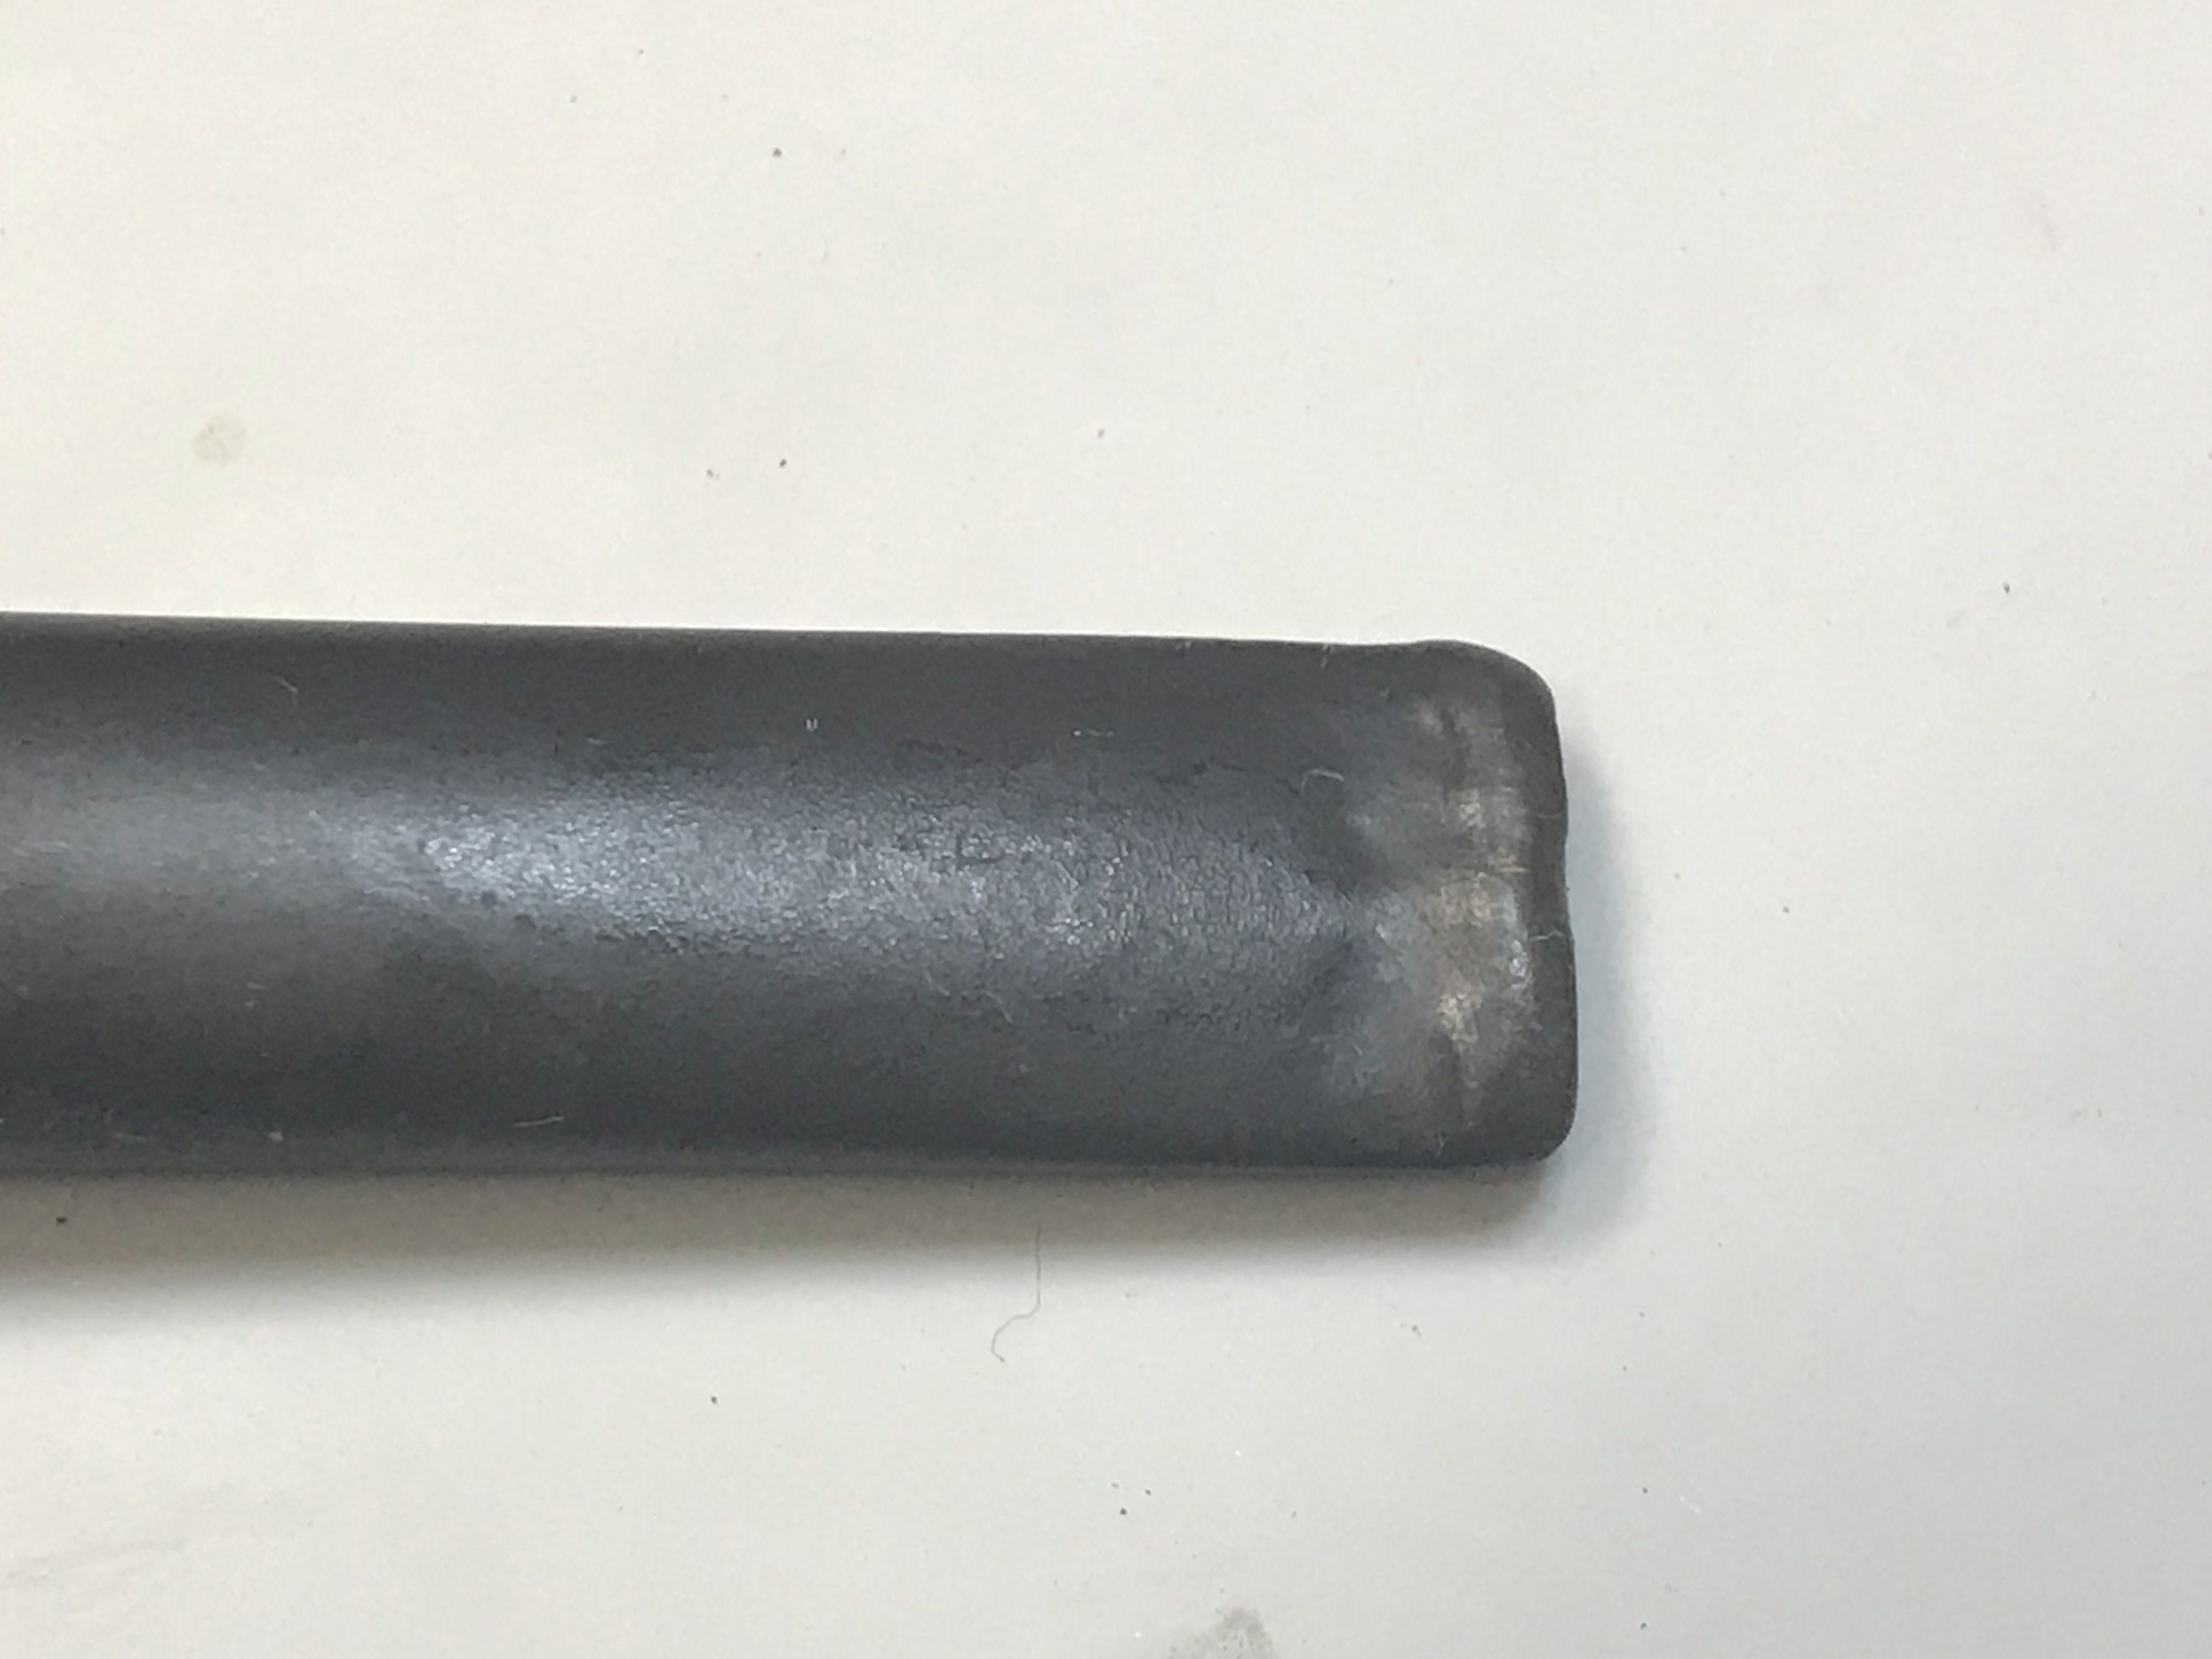
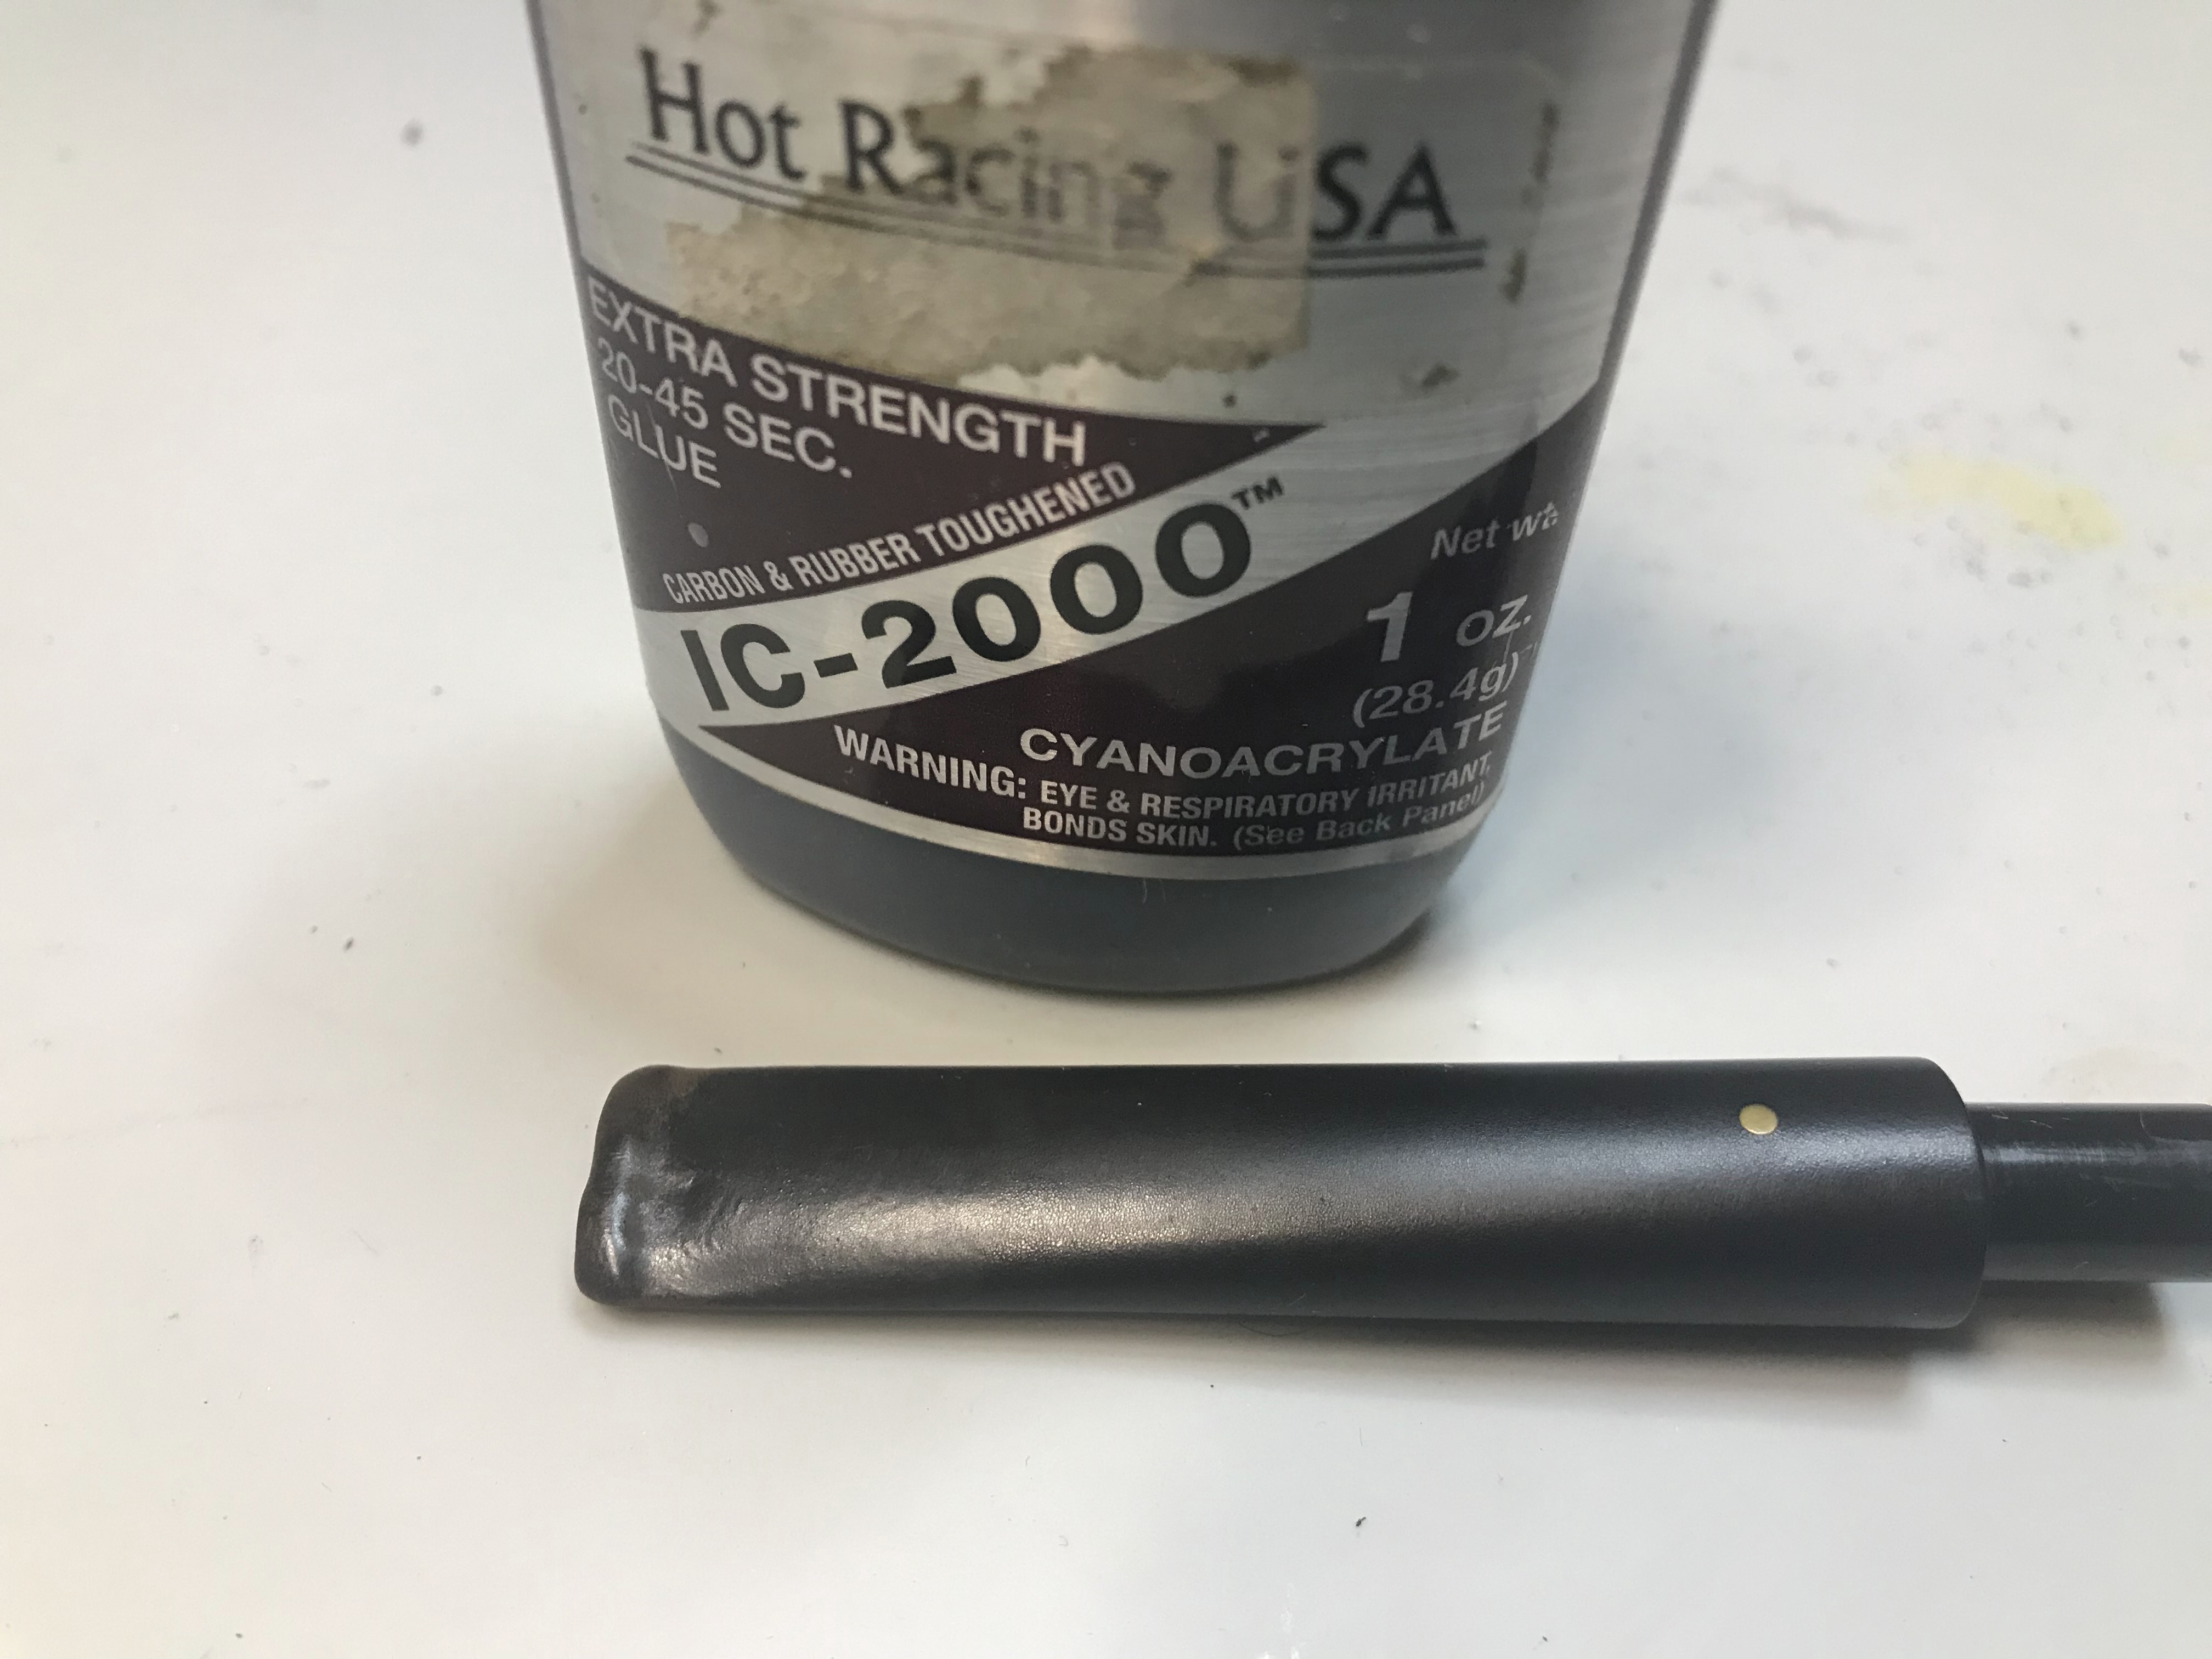
I attempted to lift the tooth dents out using my heat gun. I was able to lift some of the tooth dents out, what remained would have to be repaired. I used Rubber Toughened CA glue to rebuild the button and the bite area. I used hobby files to shape the end of the stem, afterwards I sanded the stem from 320-1000 grit, then switched to micro mesh sanding pads from 1500-12,000 grit.


Step 5: Refinish the stummel
The finish on the pipe was all but gone with just the brown undercoat visible. I again turned to the Dunhill guide to determine what the original finish would be for the Bruyere series. I found the following:

I used Dark Red Feibings Leather dye to apply the top coat on the pipe and restore the original finish of this Dunhill Bruyere.


Step 6: Buff and Polish
With the finish restored and the stem repaired, it was time for the last step to buff and polish this Dunhill back to a standard worthy of the royal warrant given to Alfred Dunhill. Here is the finished pipe.