
In 1964 the Beatles were introduced to American and our pipe smoker was introduced to this Dunhill Tanshell billiard. For over 100 years Dunhill has developed a provenance as a world renowned pipe manufacturer, a reflection of a pipe smokers class and style. As a 3rd generation pipe smoker, I have a soft spot for the white spot, made familiar to me by my Father and Grandfather.
“Dunhill Pipes creates some of the highest quality smoking instruments and accessories in the world. They are inventive, glamorous, worldly, effortless and of ultimate quality – the definitive source of pleasure and status for people the world over.”
https://dunhillpipes.com/

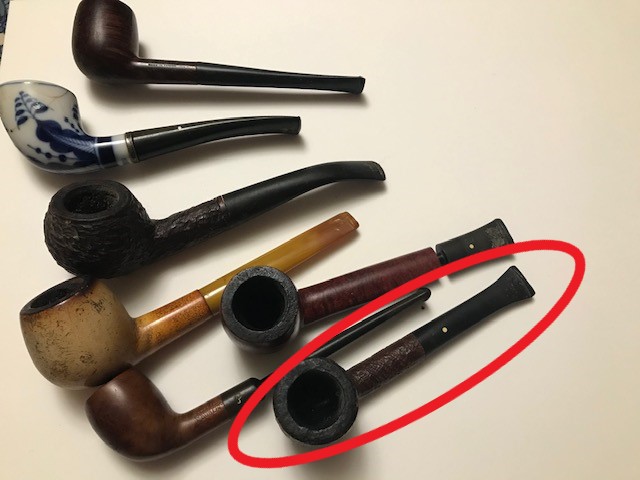
For comparison, in the middle is the Group 1 Tanshell featured in this article, at the bottom is my Father’s Group 4 Shell Briar.
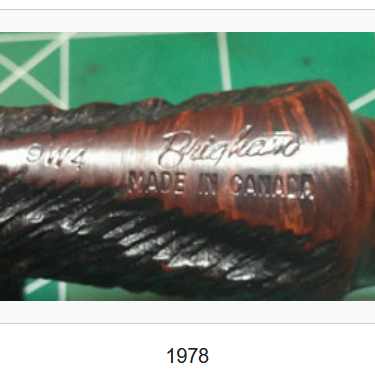
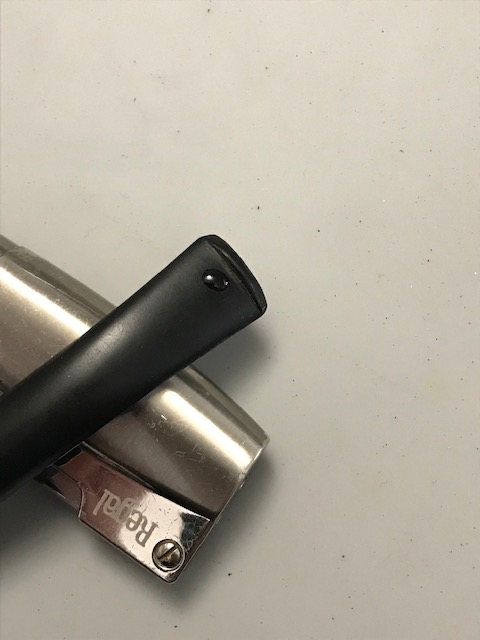
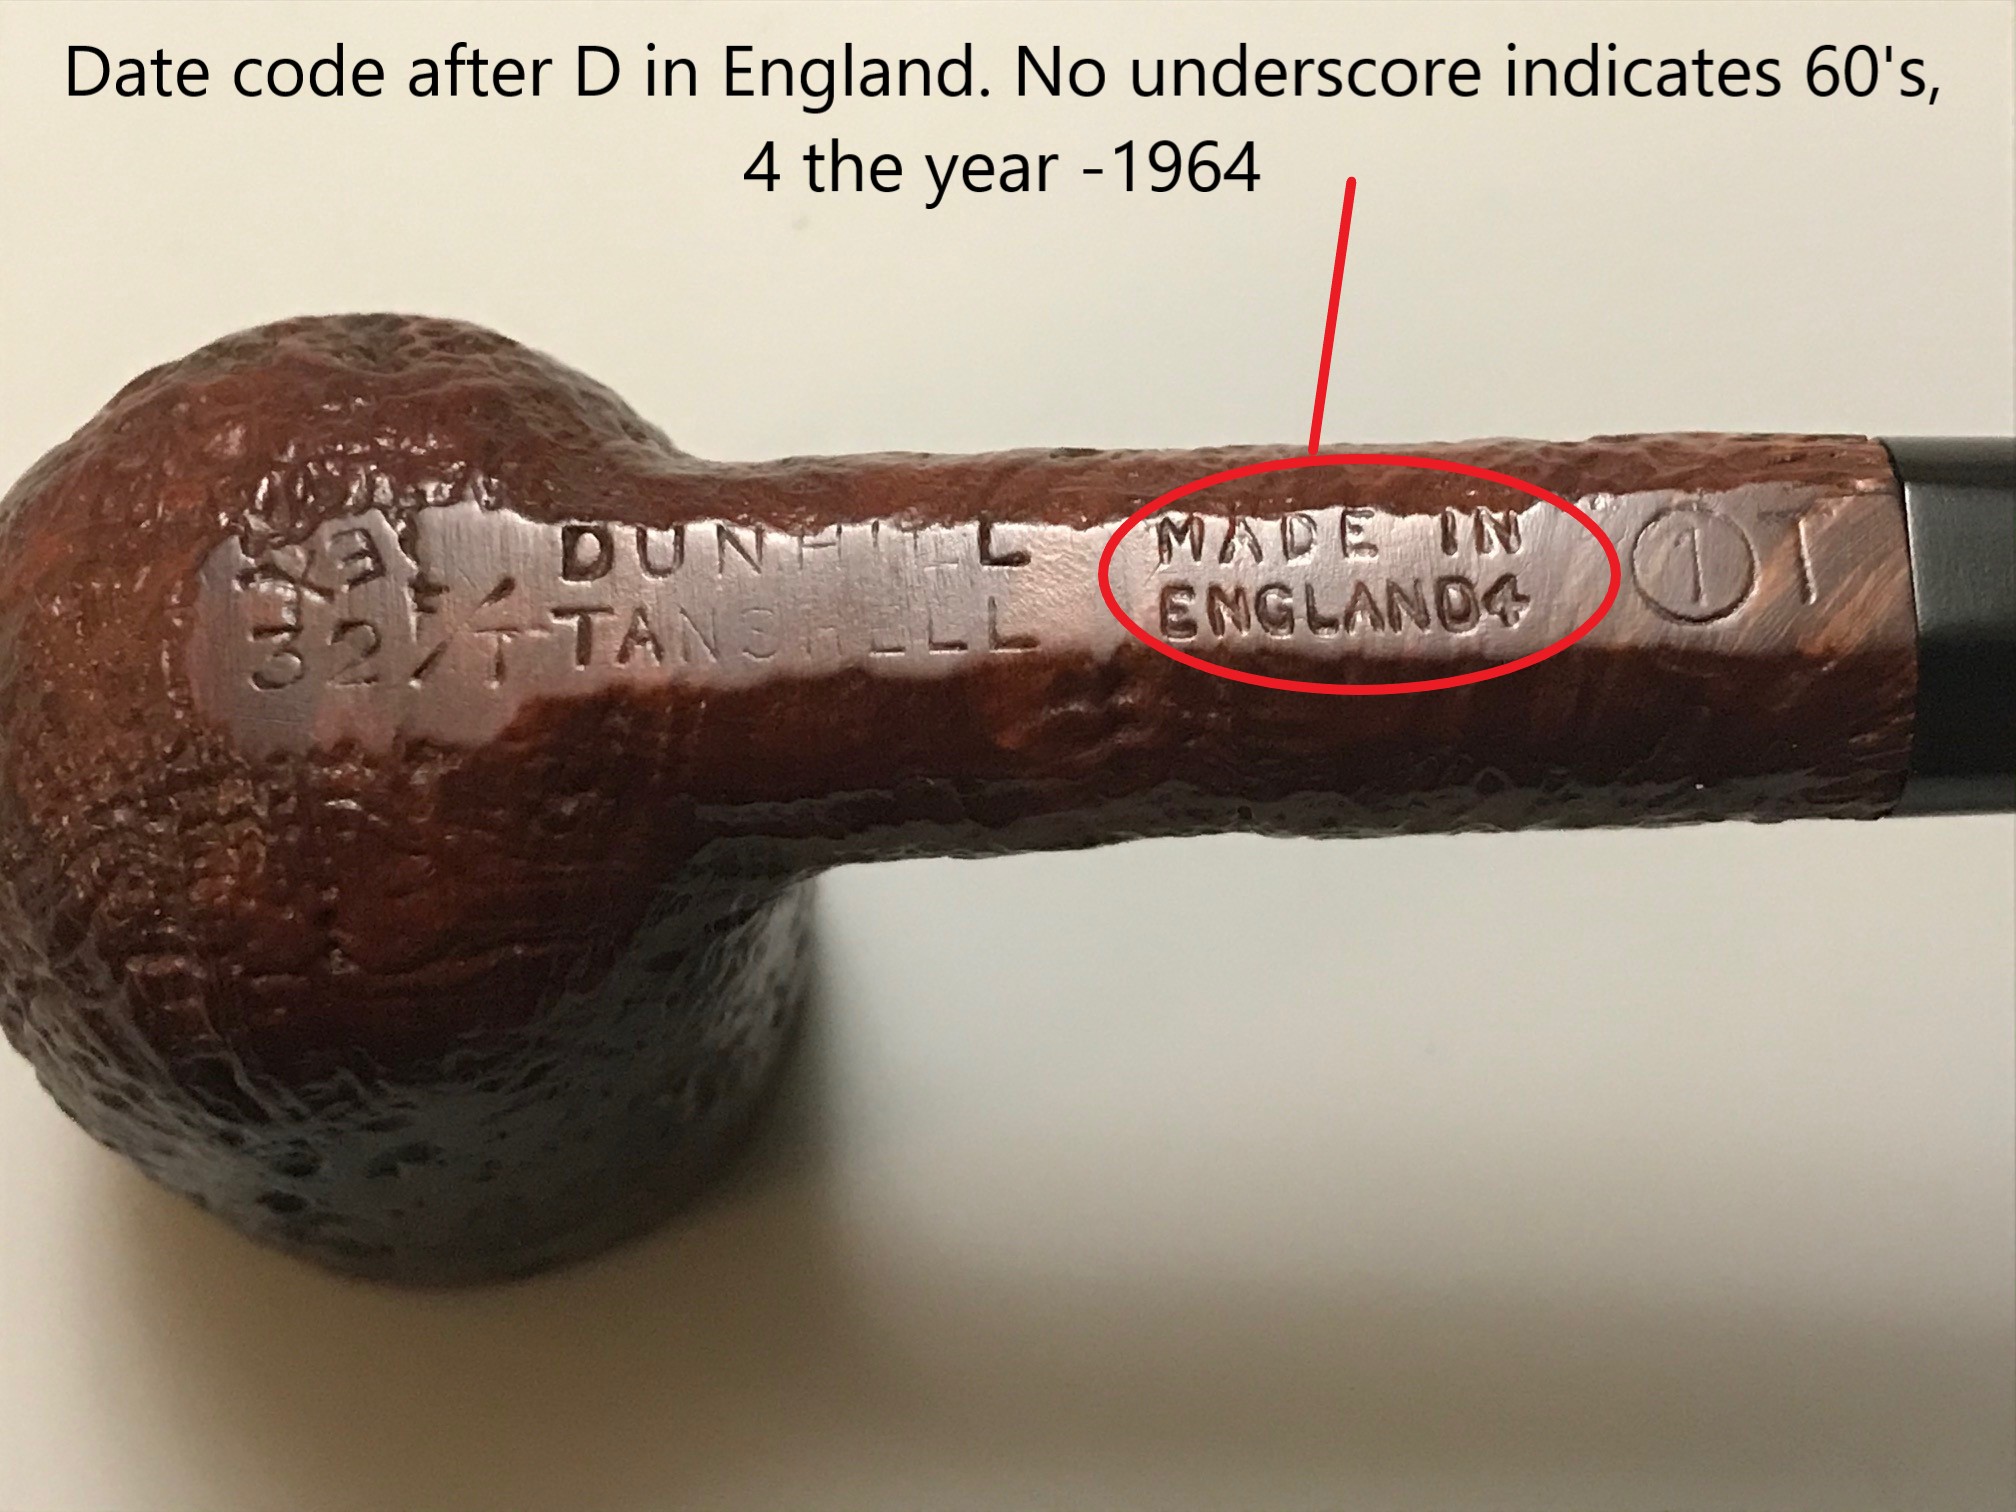
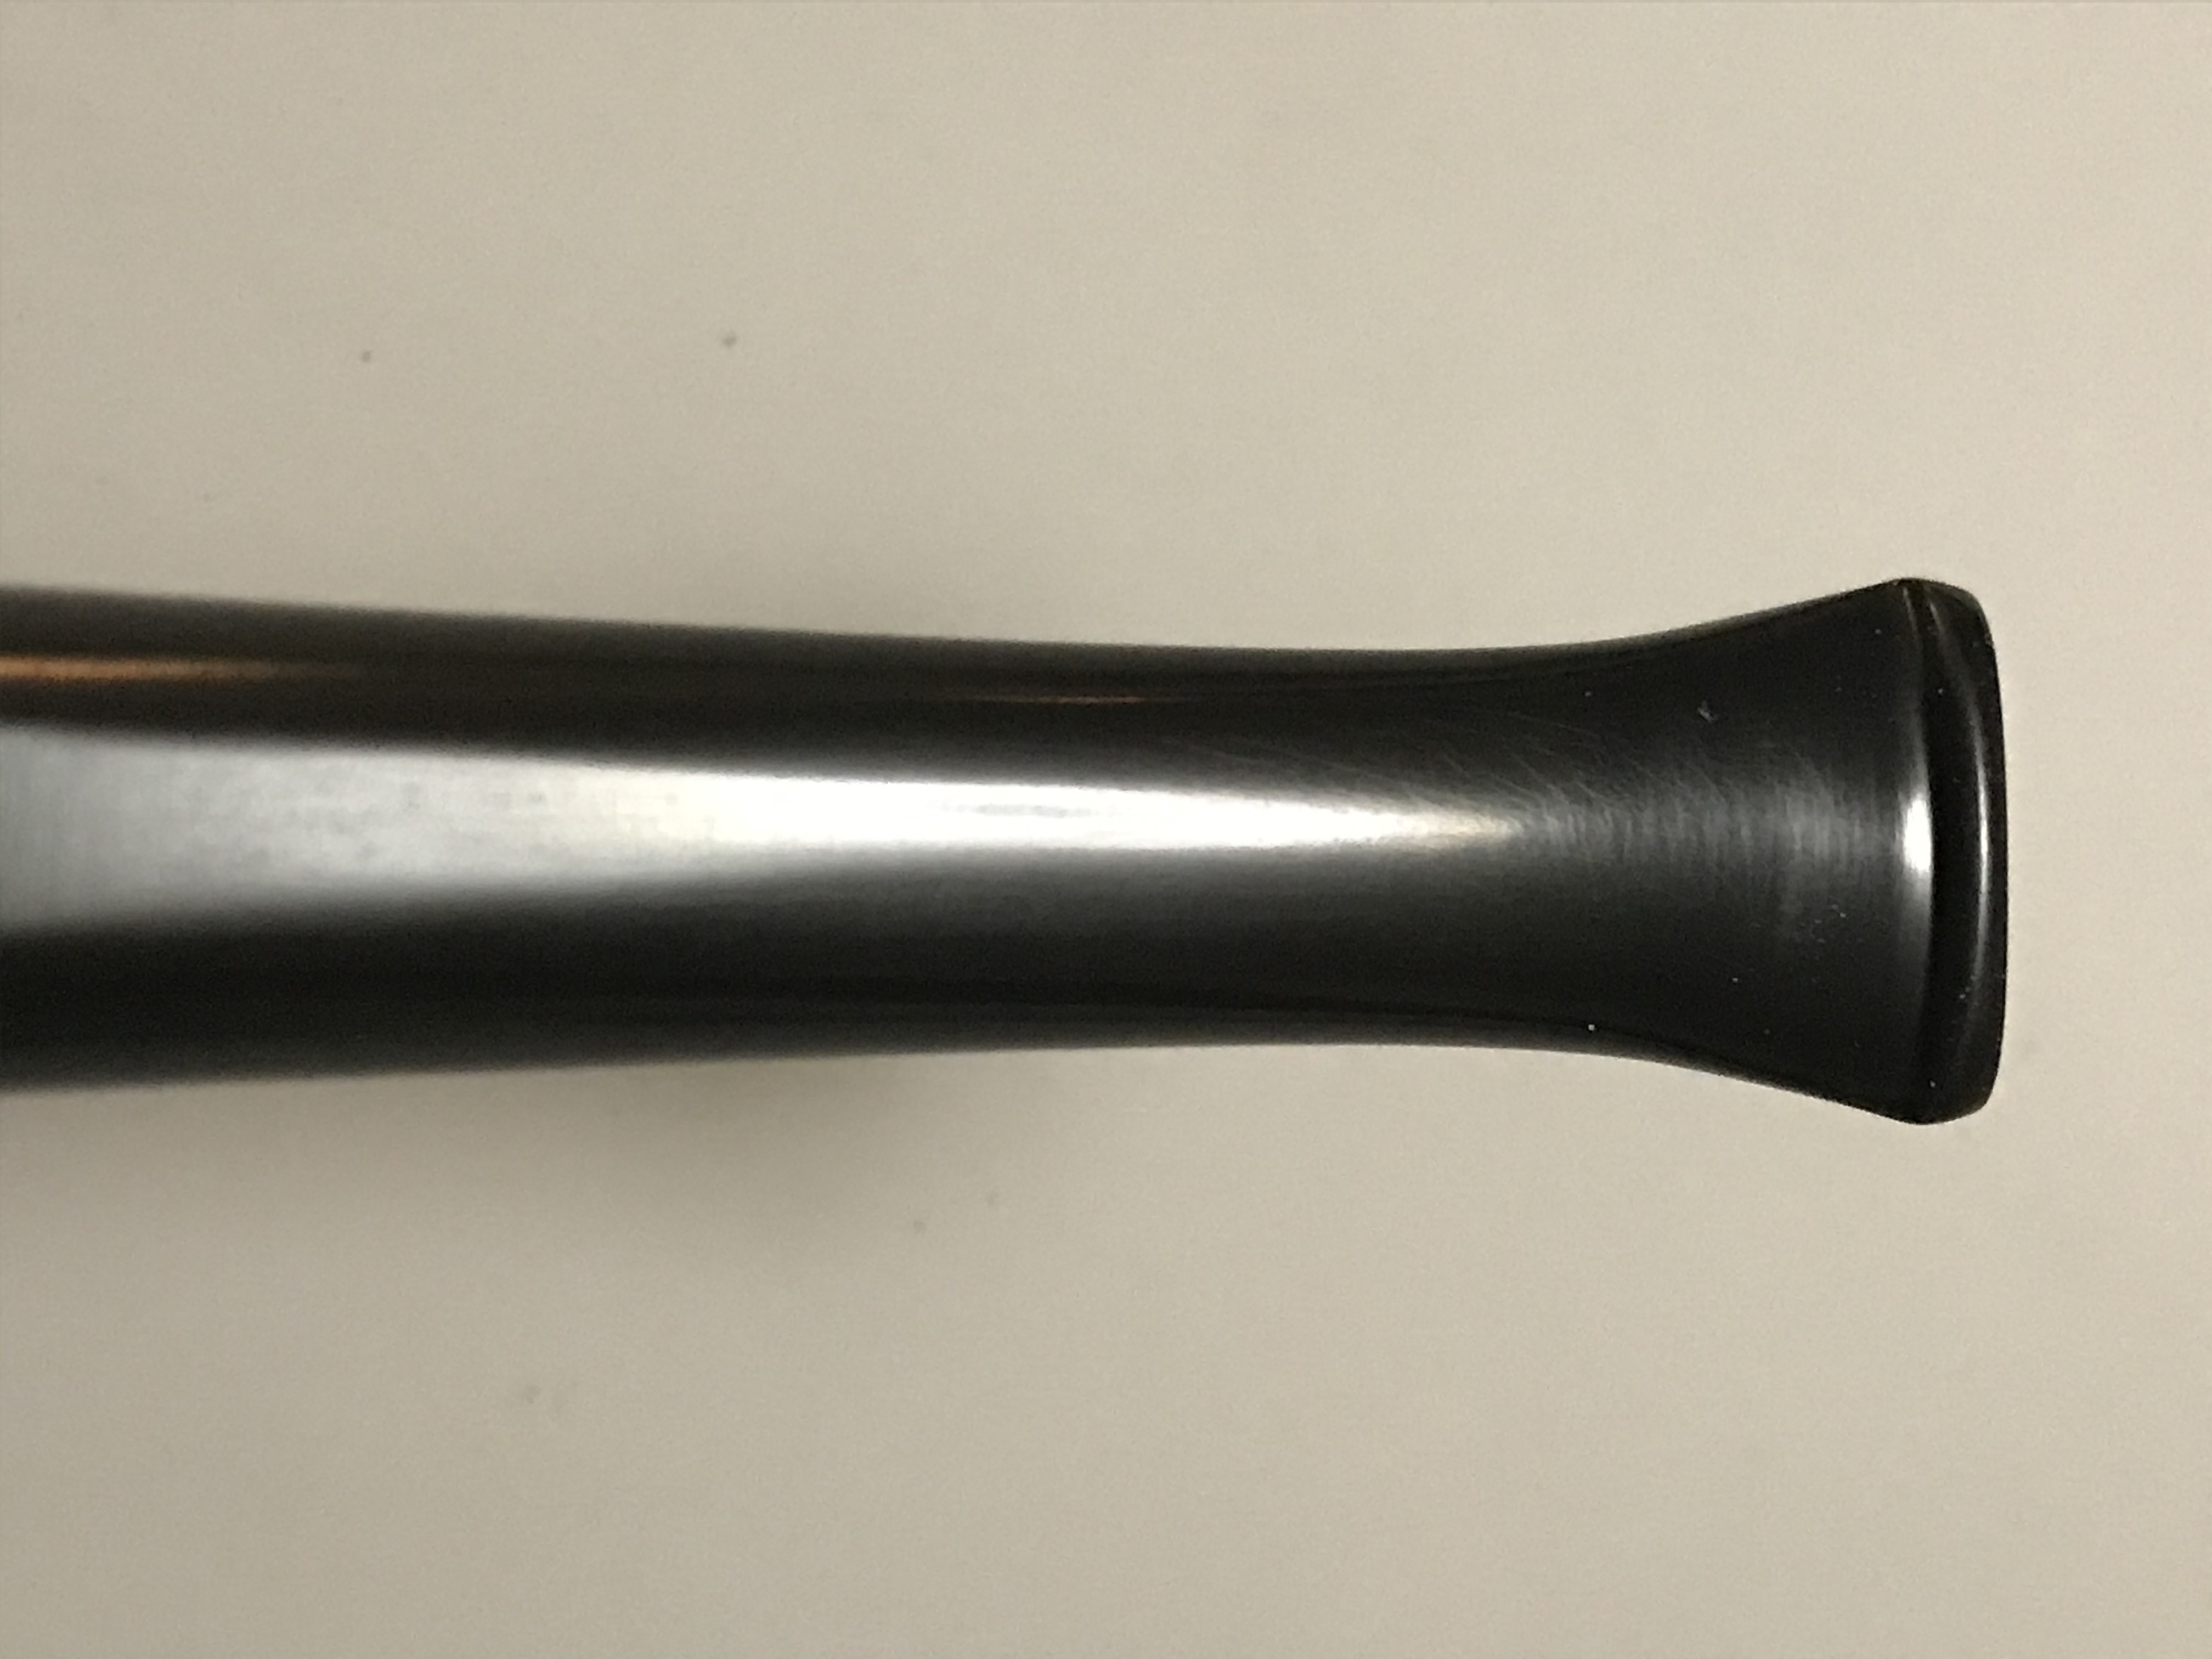
The Tanshell finish was introduced in 1952, this pipe is stamped DUNHILL TANSHELL (32) (FT) (1)T (EX). So what does that all mean? Sometimes trying to decipher the stamping on a pipe can be an exercise in futility but thankfully we have some great resources to turn to at the Pipedia Dunhill Dating Guide. As illustrated below, this pipe is a *inhale* Dunhill Tanshell, Shape 32 (32), with a fish tail (FT) stem, Group Size 1T(Tanshell), Made in England4 (1964) *exhale*…phew.


“EX” Stamp & Dunhill Lifetime Warranty
I could not find much about Dunhill’s old warranty policy other than anecdotal information. My Father recalled that Dunhill had a “lifetime” warranty on their pipes. If there was a flaw or an issue with the pipe, simply return it to the place of purchase and it would be replaced with a new pipe.
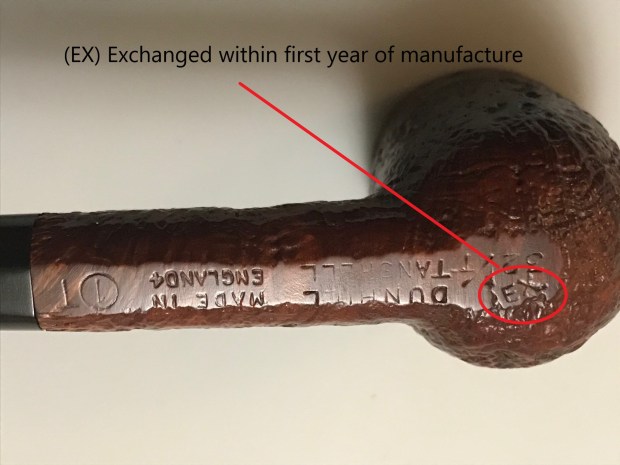
The “EX” stamp on the stummel above the shape number indicates that the pipe or the stem was replaced within the first year of manufacture. I’m surmising then that Dunhill would stamp the pipe after doing a stem replacement or replacing the pipe thus fulfilling and voiding the warranty.
First Impressions


This pipe was heavily smoked by its previous owner. There was a moderate amount of carbon buildup in the tobacco chamber as well as the rim of the pipe. The carbon buildup had obscured the blast finish on the rim. One can also assume that he was a clencher as there was a lot of tooth chatter on both sides of the stem in the bite area as well as indentations from his teeth.
Step 1: Ream and Clean


I reamed the tobacco chamber and did a cursory clean of the draught hole. Initially it didn’t seem that bad. I used Kosher salt and 94% Alcool alcohol to recondition the tobacco chamber and draw as much matter out of the briar as possible. There was no ghosting present in the pipe prior to the treatment. After a day I returned to see the salt had done its job, however some of the matter leached up the cotton swab and around the shrink wrap I used to plug the mortise with. This pipe needed a thorough cleaning!

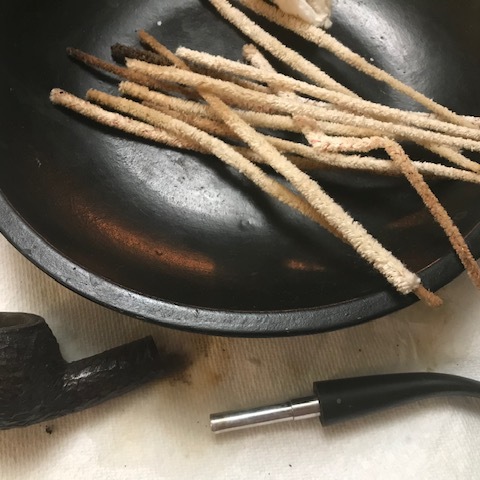
Unfortunately I cannot take pictures and do an alcohol retort at the same time, so you’ll have to use your imagination. I can tell you though, on the first pass with the retort, the fluid return almost black. I repeated the process two or three times then scrubbed the internals with bristled pipe cleaners until the draught hole had reached a standard I was satisfied with.

I scrubbed the stummel with undiluted Murphy’s Oil Soap and set it aside while I worked on the stem.
Step 2: Stem Cleaning & Deoxidation
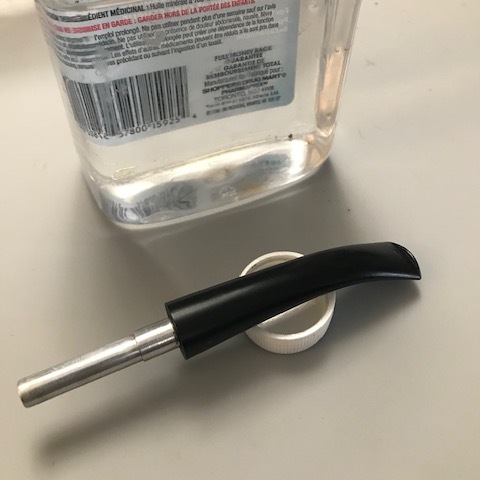
I used Mark Hoover’s Before & After Hard Rubber Deoxidizer for this pipe. You can find all of marks products ====>HERE. I must say it works really well. I have noticed that it works better on what I would categorize as high quality vulcanite vs. what could be a lower grade vulcanite we sometimes see on old estate pipes. The oxidation was virtually gone after an overnight soak.
To remove the product and oxidation from the stem I used a cotton swab to wipe it off into the container, then scrub the stem vigorously with a paper towel. Once it starts getting tacky, I switch to a cotton paid and continue to scrub away the product with mineral oil.


After removing all the product from the exterior and interior of the stem I rubbed it down with Mineral Oil as well as passing a pipe cleaner through the interior of the stem with oil as well. In my experience, the oil dramatically reduces the possibility of the stem oxidizing again.


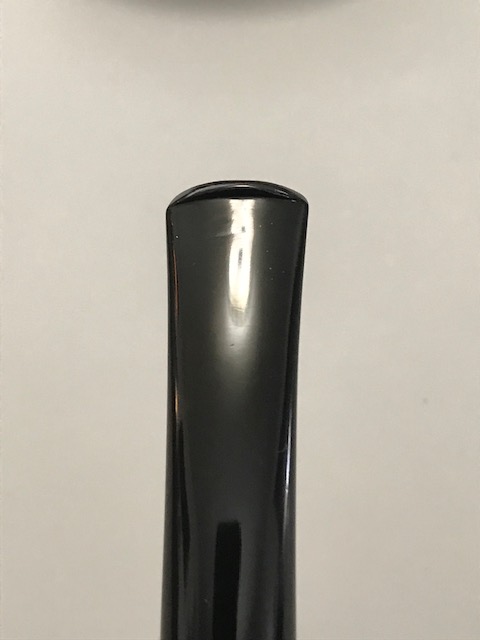
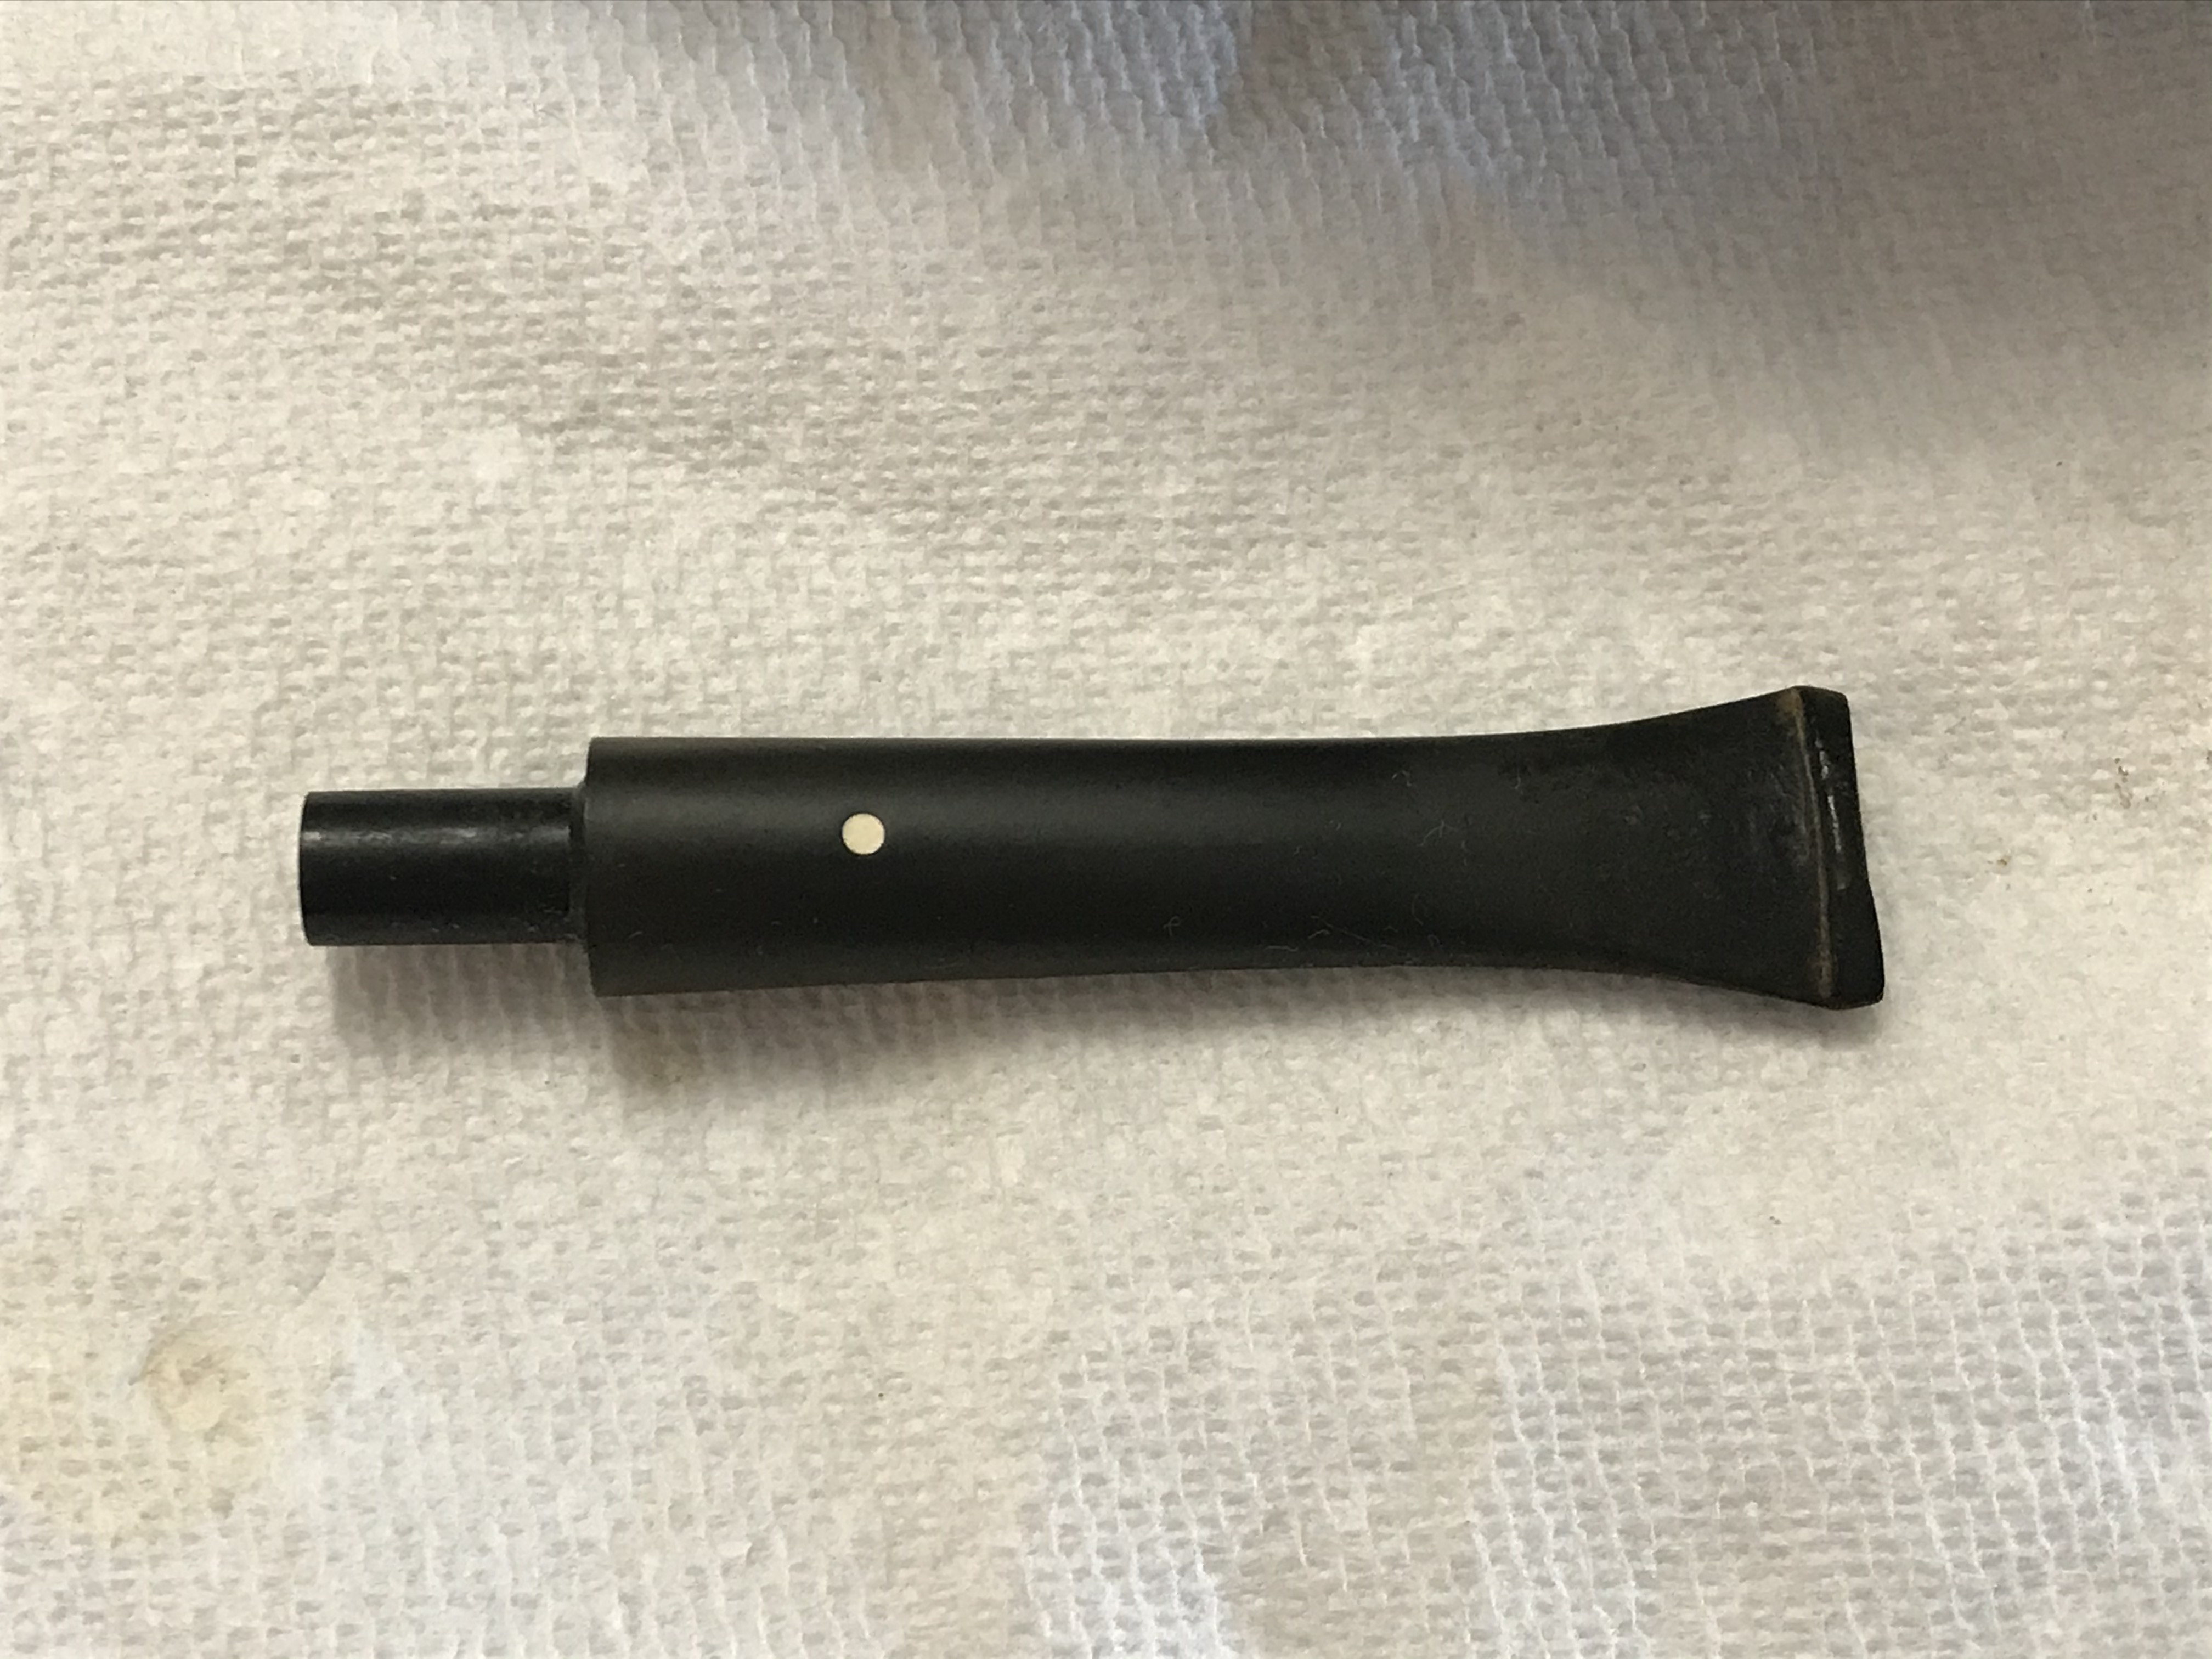
Step 3: Stem restoration
I used a butane flame on the bite zone to heat the stem. Vulcanite, when heated, will sometimes return to shape. I do this to reduce the need fill the tooth marks with CA Glue. Once I was satisfied with tooth chatter removal, I switched to sanding starting with 320 Grit and progressing up to 1000grit.


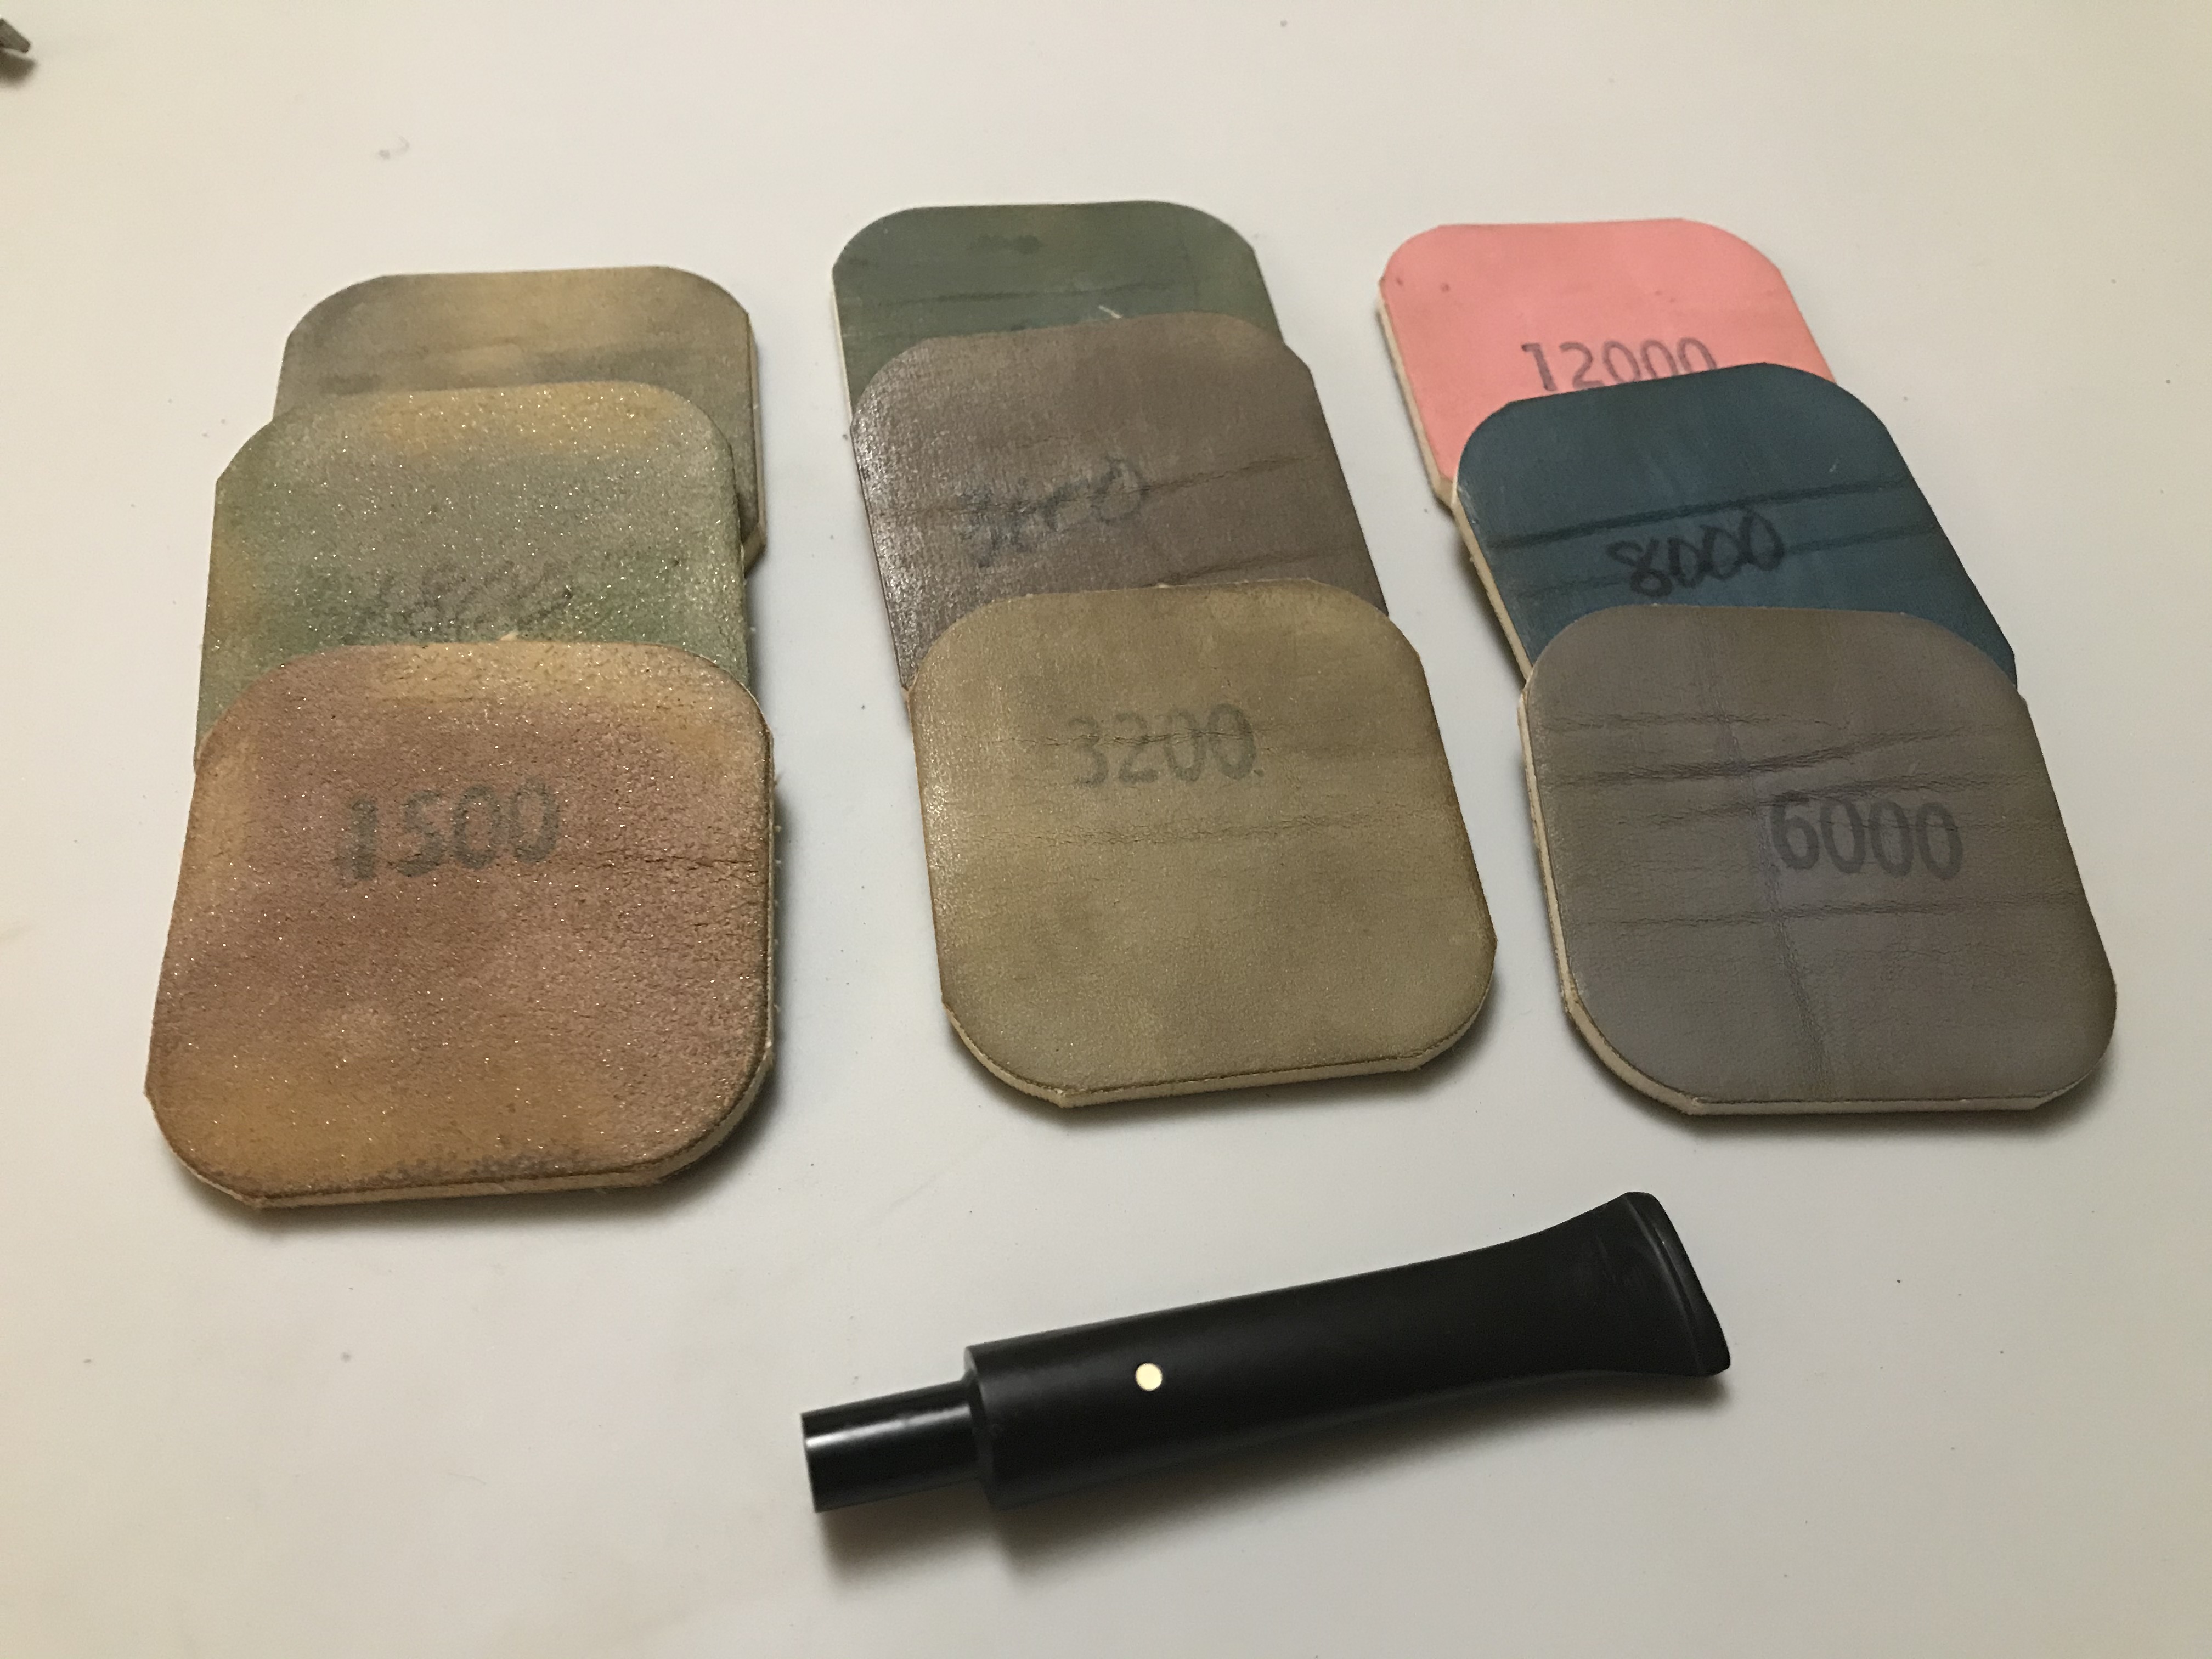
After reaching 1000grit I switch to Micro Mesh sanding pads and polished the stem from 1,500 – 12,000.

Step 4: Restoring the Rim
With the stem work complete I turned my attention back the stummel and the rustication on the rim. Although I used minor abrasive methods to remove the carbon buildup on the rim, the detail was too far gone, it was almost smooth. The rim also had evidence of rim charring on the one side. I thought it best to sand the rim, just enough to remove any staining and revealing the charred area. I didn’t need to sand it back to smooth as I fully intend to replicate the blast on the rim manually.

I grabbed a scrap piece of briar to try some different methods to replicate the blast finish. Using my rotary tool and a carving bit, I walked the bit along the rim of the pipe and just let the bit bounce off the surface. This created the craggly part of the finish. I blended that in with a wire wheel on my rotary tool. The results turned out great.
Lastly I used a stain marker to match the rim to the tanshell stain. It is quite impressive how well the stain markers are able to match the original finish. I have Fiebings Leather Dye in my arsenal, but for small repairs such as this, they are ideal. I recommend picking up a decent set from your local hardware store or retailer.

I gave the inner tube a good clean and scrubbed it with some 0000 Steel wool, then reassembled the pipe and polished it with Red Tripoli, White Diamond and then Carnauba Wax. Here’s the finished pipe!