

The morning breaks, and the first sunbeams of morning peek over the horizon. The water is calm this morning like a sheet of glass reflecting the suns rays over the bay. Gulls can be heard waking the day with their calls as they emerge from their nests greeting an old sea Captain and his boat. He loads the last of his gear onto his fishing boat, a trusted old friend, weathered and weary much like himself. He steps into the cockpit of his fishing boat and sets out across the bay, slowly chugging along the water. His hands pat his coat pockets to locate his pipe, he finds a favourite billiard, sturdy and reliable, just like him. He scoops a bowl full of his favourite tobacco from a tub that sits at the helm packing it with his thumb. He takes a sip of his black coffee and lights his pipe, a humble smile appears under his beard. This morning belongs to him, an old Sea-Dog….


Okay, indulge me, I am being a little melodramatic or verbose with this post. Its fun to imagine who the previous pipe steward was before acquiring the pipe myself. My imagination got away with me on this one.
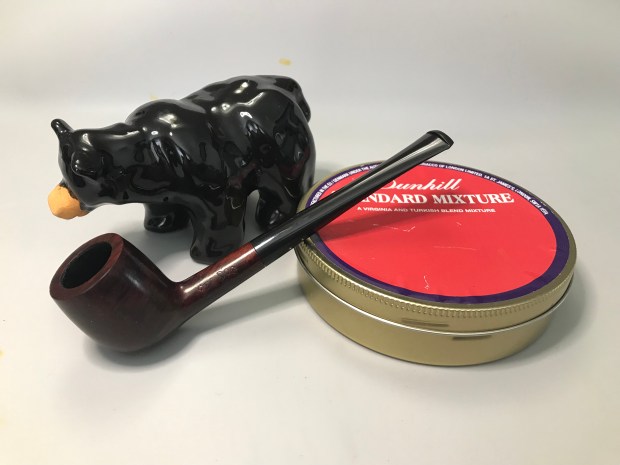
Among the pipes in this lot that I purchased was this billiard labelled Sea-Dog 8876. Sea Dog was one of many brands owned by the Oppenheimer Pipe group, apparently made in France, likely by Marechal Ruchon & Cie. as evidenced on page 34 of the Circa 1950s Oppenheimer Pipes Catalog.

One can imagine this box of pipes on display at their tobacconist counter labelled with an affordable price tag that no modern pipe smoker likely can recall or will ever see again.
First Impressions


The pipe had a few issues. Overall it was relatively clean and wouldn’t need too much elbow grease to re-condition the internals. The briar itself is a lower grade briar. The stem wasn’t oxidized and just need some tooth chatter removed and then refinished and polished. There were large fills on the side of the bowl that will need to be addressed along with some basic aesthetics to bring this pipe back up to a favourable standard.
Step 1: Ream & Clean


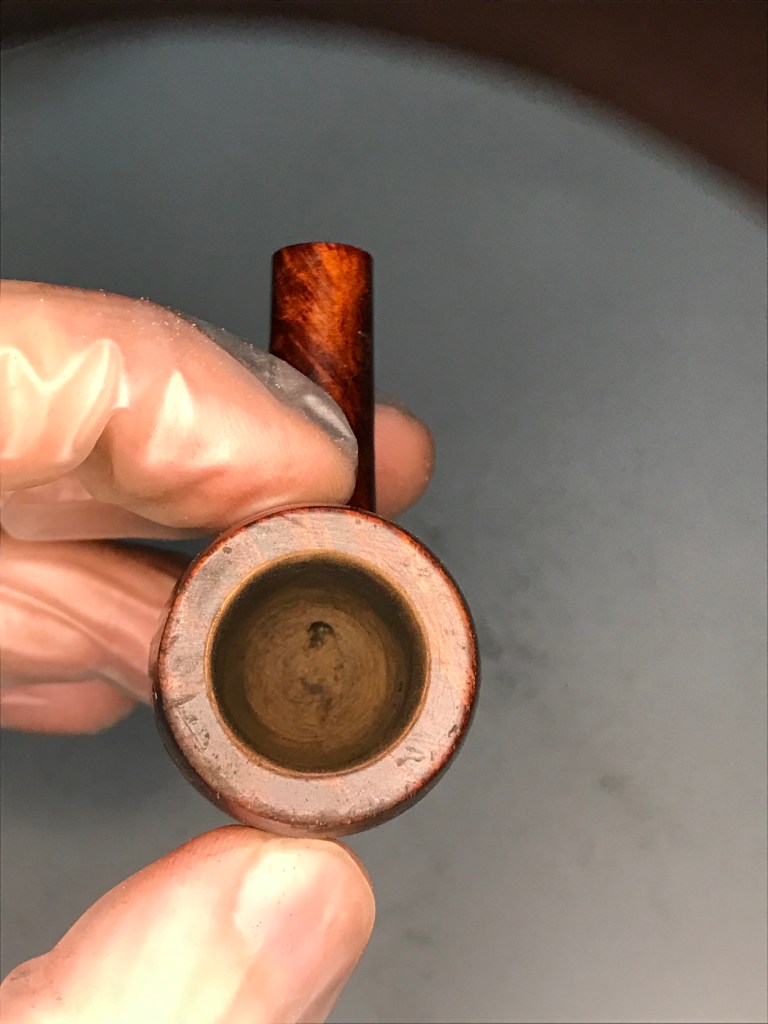
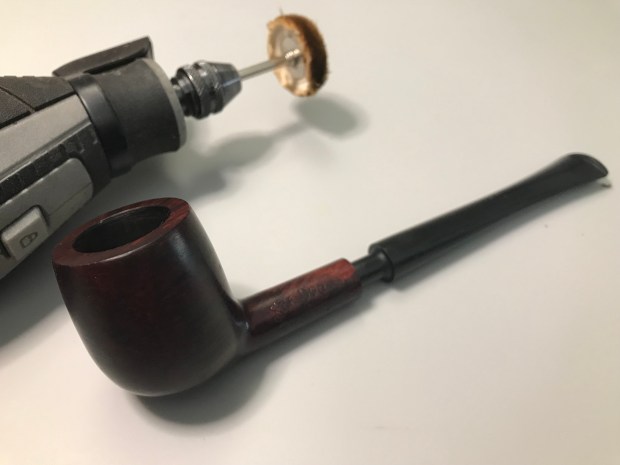
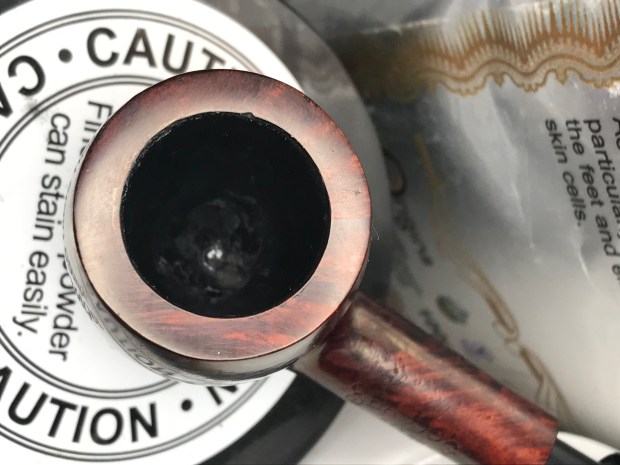
I used the typical methods to remove carbon build-up in the tobacco chamber. I also will use my drill head from my lathe with a drill bit to clear the draught hole of carbon build up. Sometimes its not necessary, but more often than not I find it necessary. This accelerates the cleaning process and removes more gunk than scrubbing endlessly with pipe cleaners. I don’t increase the draught hole, I just use this as a means to remove any carbon buildup.


Once I’m satisfied that I have removed all the carbon buildup, I will plug the mortise and tobacco chamber with cotton batting and saturate it with Alcool alcohol to sanitize the internals. As you can see the process pulled out a lot of unwanted matter, I’m assuming tars and nicotine.

Lastly I’ll give this pipe a scrub with Murphy’s Oil Soap to clean it and prepare the bowl for additional repairs and refinishing.
Step 2: Stummel Repairs

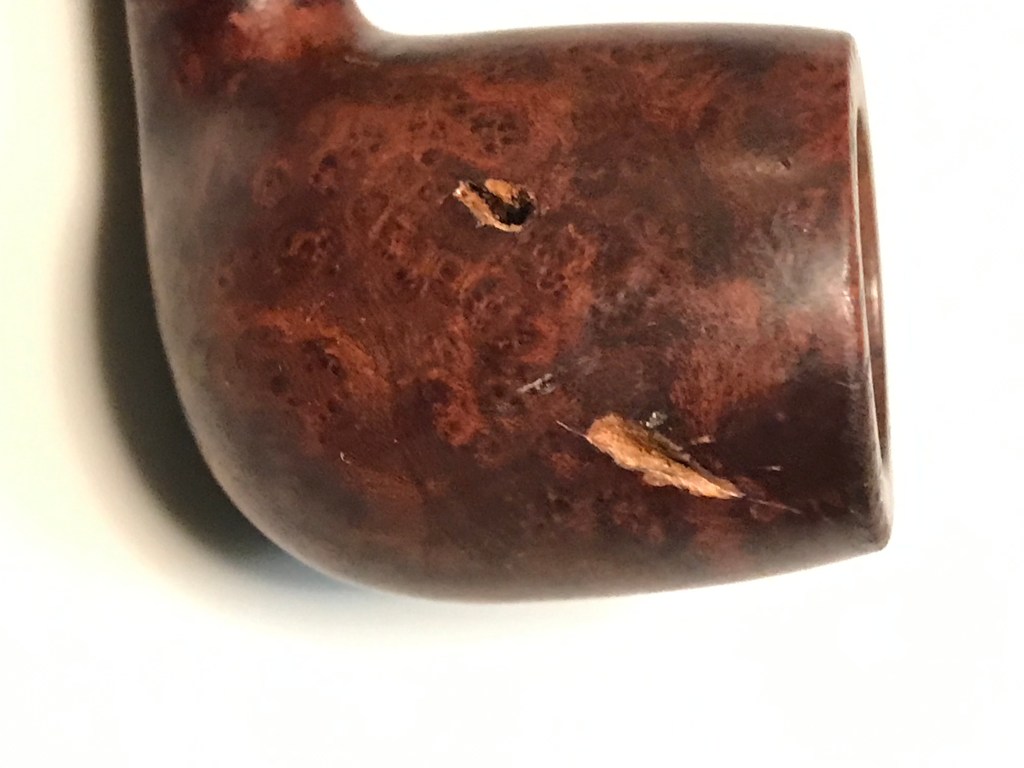
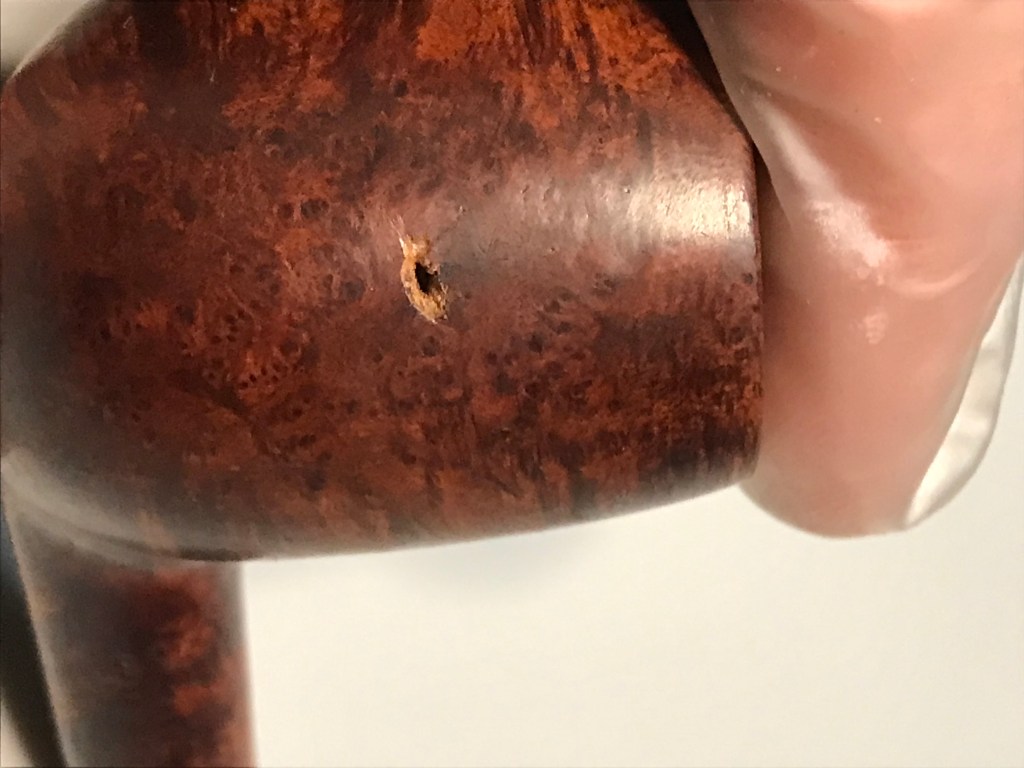
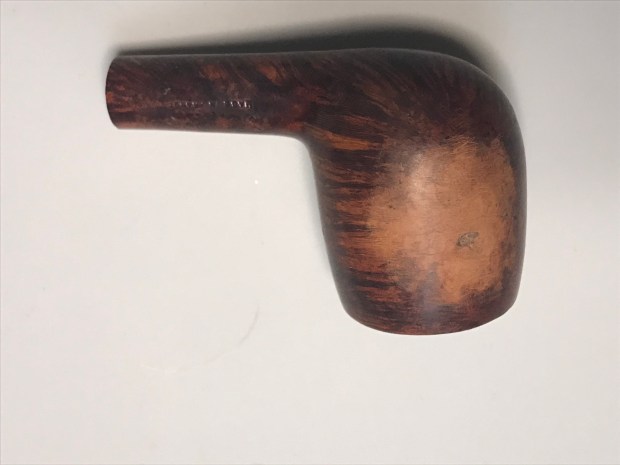
I removed the old fill material from the pits in the briar. Clearly these would have been rejects from a pipe factory and had been filled and repurposed for an economy line of pipes. I have a dental tool set I use remove the old fills. Kind of like the dentist scratching the tartar off your teeth.
Lower Grade Briar and Pit Fills


This is a good example of why we pay more money for good quality pipes. Ideally a pipe maker or factory wants to consume all their materials to produce a product they can sell. This bowl in most cases wouldn’t meet standard, likely discarded and thus not yielding a sale. Fills were probably used to capture as many sales as possible even with lower quality bowls.
Full disclosure. I will use the fill method myself to restore this pipe and put it back in service.


I make my own filler using a combination of briar dust and a CA Glue. Once the CA glue sets, I use a small hobby files to blend the fill to the contour of the pipe. I then sand using progressive grits up to 1200, at which point the pipe is ready to re-stain.
Step 3: Refinishing


I used Fiebing’s Dark Brown leather dye to match the original stain that was on the pipe. This will also do a good job of camouflaging the fills. I let the pipe rest overnight to let allow the stain to set in completely.
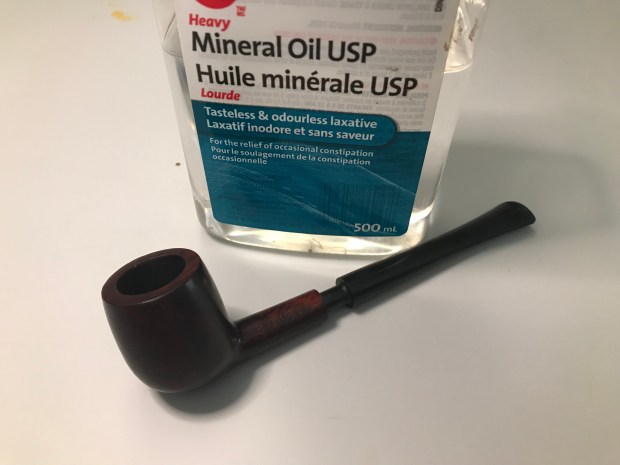
Once the stain is set, I unwrap the stain using red tripoli and a polishing bit on my rotary tool. Afterwards the whole pipe gets refreshed with mineral oil. Mineral oil can be used as a finish on wood, I usually use it to rejuvenate the wood and vulcanite stems.
**NOTE** I omitted showing the final steps of polishing the stummel and the stem work in favour of sharing how I apply bowl coatings and why
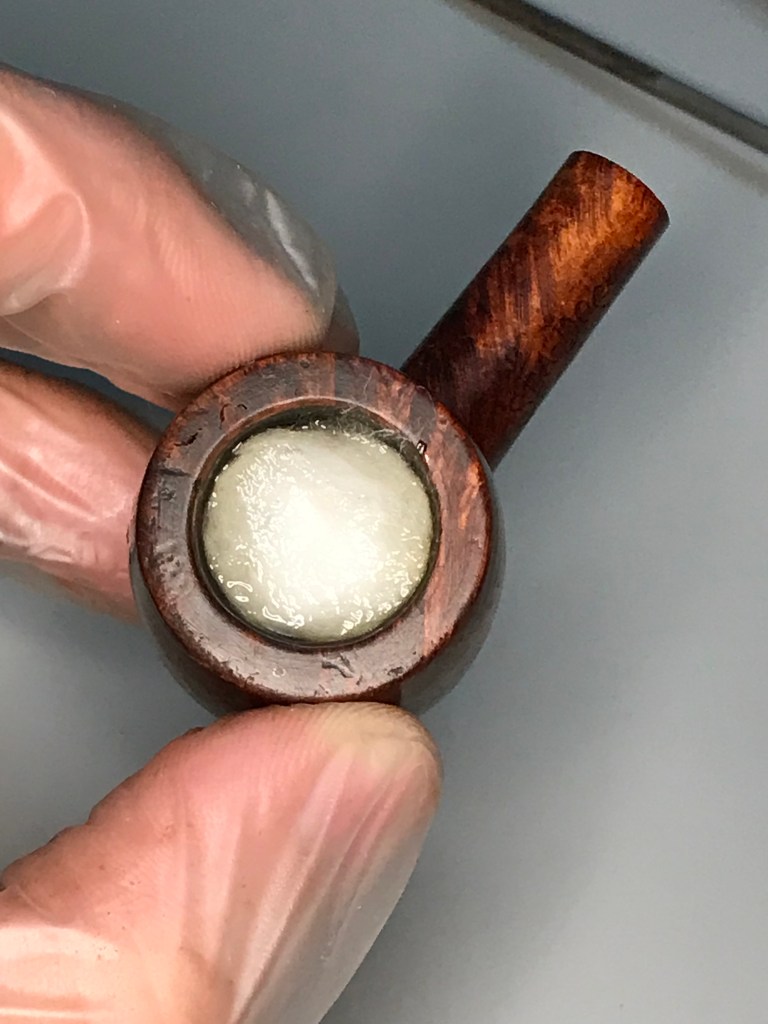
Step 4: Bowl Coating

Whenever possible I omit applying a bowl coating. However; in order to put this pipe back in service and extend its life, a bowl coating was necessary to complete this repair. Think of it like a heat shield for the pipe. I use the water glass method which is a combination of Sodium Silicate, Activated Charcoal powder and white pumice.
Water glass is the common name for an aqueous solution of either sodium silicate or potassium silicate. It gets its name because it’s essentially glass (silicon dioxide) in water. … As the water evaporates, the solution solidifies into a glassy solid. Once it cures, it appears to be exactly like the coating you get on a factory grade pipe. Aesthetically it looks good and provides a fresh surface for carbon buildup.
This old Sea Dog is ready to be re-commissioned!